Triceps Kickback Heel Tap
The Triceps Kickback Heel Tap is a standing, equipment-free exercise that pairs an arm movement with a balance demand. You keep your elbows pinned at your sides with the forearms hanging down, extend one arm straight back into a kickback position, and at the same time reach one foot behind you to tap your heel against the floor. Every rep forces the triceps to work while the standing leg and trunk handle the shifting load.
Because there is no dumbbell or cable in your hand, the resistance comes from squeezing the triceps hard through the lockout and controlling the return. That makes the movement a good fit for beginners learning what a kickback should feel like, for warm-ups before upper-body pressing, and for home workouts where you want to train the back of the arms without equipment. More advanced lifters can slow the tempo or add a light dumbbell to the kicking arm to raise the challenge.
The heel tap is what separates this from a plain kickback. Reaching one heel behind you lengthens the working side of the body, loads the hamstrings and calf of the tapping leg, and pulls your center of mass slightly off base. The glutes and core have to stay engaged to stop your torso from tipping forward or rotating as the leg reaches back.
Setup matters more than it looks. A tall spine, soft knees, and elbows genuinely locked to your ribs are what keep the kickback honest. If the elbows drift away from the body or the shoulders shrug, the triceps lose tension and the shoulders take over. Similarly, if the heel tap becomes a hard stomp, you lose the balance benefit and turn a controlled drill into a noisy step.
To execute well, think of two separate actions happening together: the forearm swings back and up until the arm is long and the triceps are fully contracted, while the same-side or opposite heel kisses the floor behind you with a light touch. Pause for a beat in the extended position, then bring the forearm and the foot back under control. Alternate sides rep by rep, or complete all reps on one side before switching.
You will see this exercise in low-impact circuits, desk-break routines, and triceps finishers where the goal is quality contractions rather than heavy load. It is also a useful teaching tool: once you can hold your torso still while one arm and one leg move, heavier dumbbell kickbacks and single-arm cable work become much cleaner.
[ Workout Log & Planner ]
Put your next workout in Fitwill
Keep your plan and training log ready when you are.


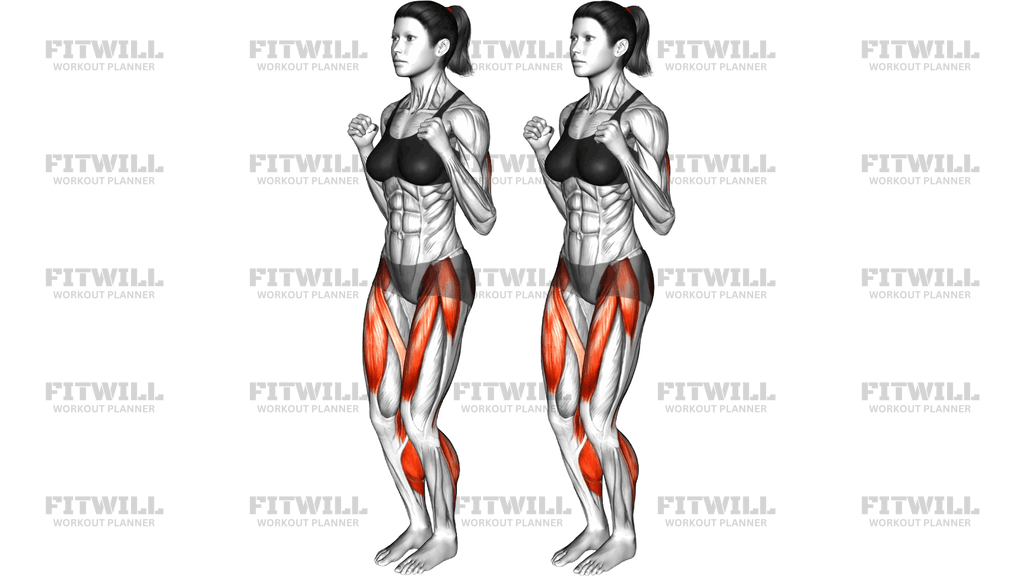
Instructions
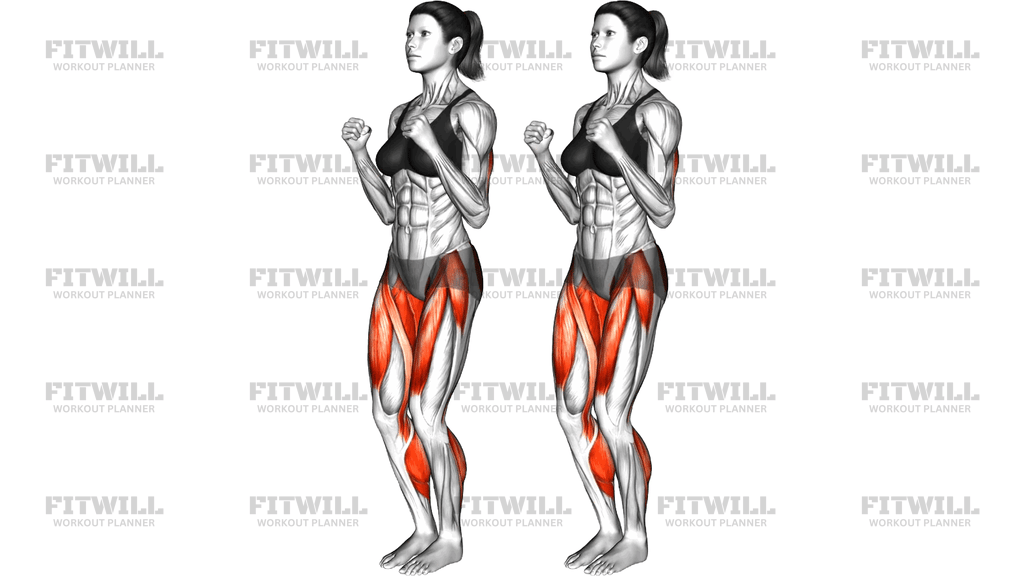
- Stand with your feet hip-width apart, weight spread evenly across both feet, and your arms bent to 90 degrees so the elbows sit directly under or just behind your shoulders at your sides.
- Pull the elbows in tight against your ribs, make loose fists, and let the forearms hang straight down toward the floor.
- Brace your abdominals, soften your knees slightly, and lengthen the back of your neck so you are standing tall rather than leaning forward.
- Exhale and extend one forearm back and up until that arm is straight at or just above hip height, squeezing the triceps at the top.
- As the arm extends, reach the foot on the same side behind you and lightly tap your toes or the ball of that heel against the floor, keeping most of your weight on the standing leg.
- Hold the straight-arm position for a one-count while the heel stays in contact with the floor behind you.
- Bend the elbow slowly and bring the foot back to the start under the hip, resisting the pull of gravity on the way down rather than letting the arm snap back.
- Inhale as you return, then repeat on the other side, alternating arm-and-leg pairs for equal reps.
- Reset your stance between reps if you notice your feet drifting wider or your torso rotating away from the tapping side.
- Finish the set standing tall, then shake out the arms and ankles before the next set.
Tips & Tricks
- If your elbow flares out to the side as you extend, imagine a coin balanced on the elbow joint — the arm should hinge from that fixed point, not swing away from the body.
- Keep the heel tap light. If you hear a slap each rep, you are shifting too much weight back; aim for a touch you can barely hear.
- Do not lean your chest forward to help the arm extend. If you find yourself tipping, stand a few inches closer to a wall and hover your fingertips against it for balance while you learn the pattern.
- The common mistake here is rushing the return. Take a full second to bend the elbow so the triceps stay loaded through the whole range instead of only at lockout.
- Squeeze the triceps deliberately at the top of each kickback — with no external weight, the contraction is the load.
- Keep the tapping leg mostly straight from the hip; a heavily bent knee turns the reach into a leg curl and shortens the hamstring stretch the tap is meant to create.
- Your standing calf and ankle will tire before your triceps do in early sessions — that is normal. Shorten the hold on the heel tap if your balance wobbles.
- Face a mirror or your phone camera from the side once to check that your back stays long and your ribs are not flaring as the arm goes back.
- Alternating sides every rep keeps the balance demand symmetrical; if one side feels much shakier, do an extra set on that side.
Frequently Asked Questions
What muscles does the Triceps Kickback Heel Tap work?
The triceps on the back of the arm are the primary movers, working hardest at the lockout. The heel tap brings the hamstrings, calves, and glutes of the reaching leg into play, while the core stabilizes your torso throughout.
Is the Triceps Kickback Heel Tap good for beginners?
Yes. Because it uses no equipment, the main challenge is coordination and balance rather than strength, so beginners can learn the kickback arm path safely. Start with slow reps and a light heel touch before adding speed or load.
Why does the heel tap happen at the same time as the arm extends?
Combining the two actions turns a simple arm exercise into a coordination and balance drill. The reach behind you lengthens the hip and challenges the standing leg, which teaches your trunk to stay still while your limbs move.
Should the arm go back at the same time as the same-side heel or the opposite heel?
Either works. Matching the same arm and heel keeps the pattern simpler and is easier for beginners; alternating arm and opposite heel adds a cross-body coordination demand once the basic version feels stable.
Can I add weight to the Triceps Kickback Heel Tap?
Yes, a light dumbbell in the kicking hand is the natural progression once your form is consistent. Because your balance is slightly challenged by the heel tap, start with a weight you could kickback for twenty easy reps.
My elbows keep drifting away from my ribs — how do I fix that?
Reduce your speed and think of gluing the elbow to your side for the entire rep. Practicing in front of a mirror, or standing with your back a hand's width from a wall, makes the drift obvious so you can correct it.
How many reps should I do?
Eight to twelve reps per side works well for strength-endurance with this movement, or fifteen to twenty per side if you are using it as a warm-up or circuit station. Keep the last few reps as clean as the first.
What can I substitute if the balance part is too hard?
Do the kickback arm motion while standing with both feet flat and simply extend one leg back without touching the floor, or hold a wall or chair with your free hand. Once stable, reintroduce the light heel tap.
Is it safe for my elbows or knees?
The movement is gentle on both joints when done with control: the elbow only moves through its natural hinge and the knees stay softly bent rather than locked. Stop and reduce range if you feel any pinching, and avoid slamming the heel down.
Where does the Triceps Kickback Heel Tap fit in a workout?
Use it as a warm-up before pressing or triceps work, as a low-impact triceps station in a home circuit, or as a finisher after heavier arm exercises when you want focused contractions without extra load.