Right Cross Hook Kick (Kickboxing)
The Right Cross Hook Kick is a three-strike kickboxing combination that chains a rear-hand cross into a hook, then finishes with a kick from the same side. You start from a standard fighting stance with both fists guarding the chin, throw the right cross by rotating the hips and rear shoulder through the target, follow immediately with the hook as the torso whips back around, and then drive the right leg up and across in a rising arc, finishing with the leg extended at roughly hip height while the torso leans away to balance the movement. The whole sequence should feel like one continuous wave of rotation rather than three separate techniques.
This combination is a staple in kickboxing and Muay Thai pad work, bag rounds, and shadowboxing because it teaches you to link upper-body and lower-body strikes without losing rhythm or structure. It is especially useful for anyone who wants to build striking coordination, since each strike forces a rotation in the opposite direction of the one before it. That constant winding and unwinding through the waist is what makes the combination so demanding on the midsection.
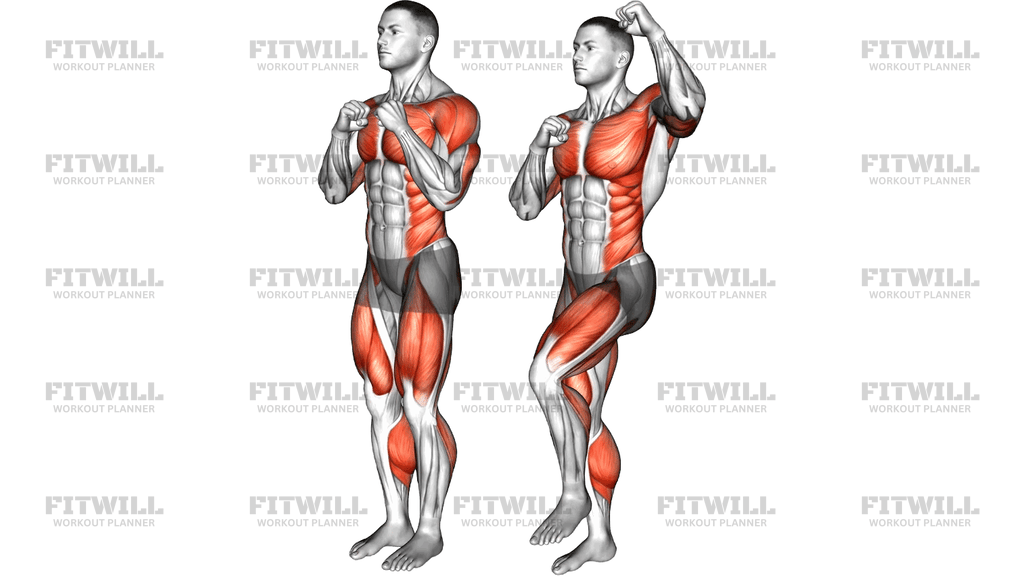
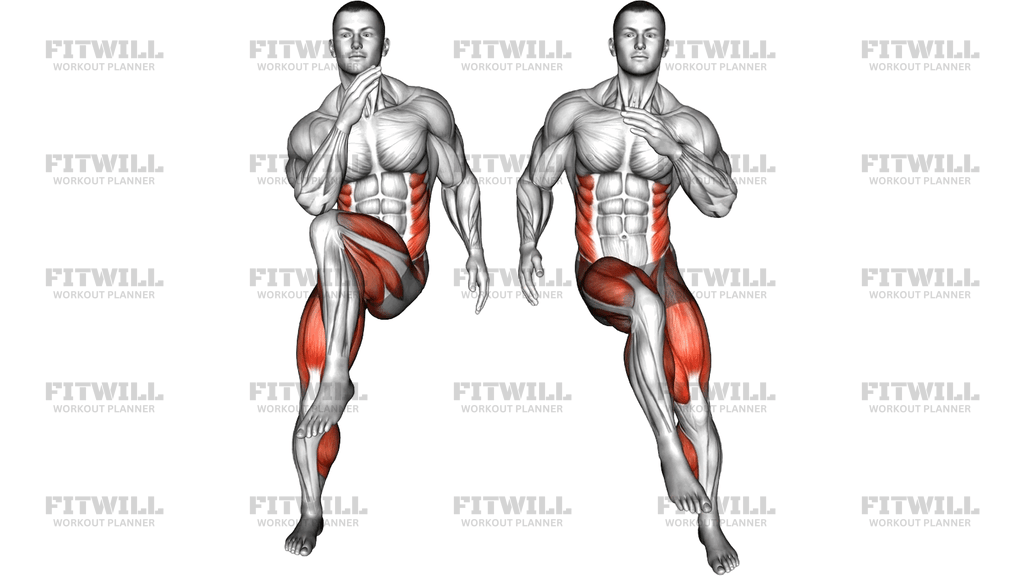
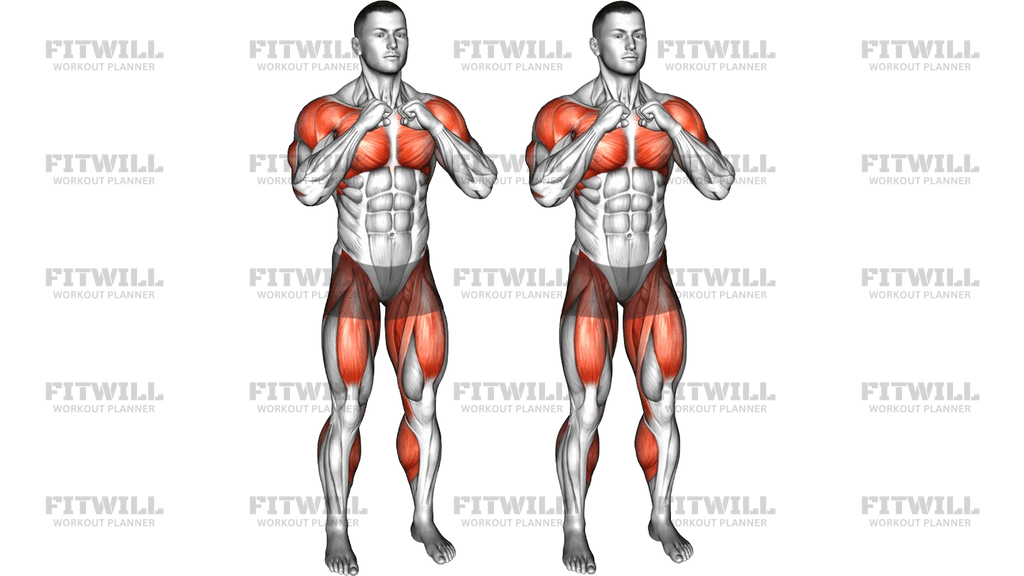
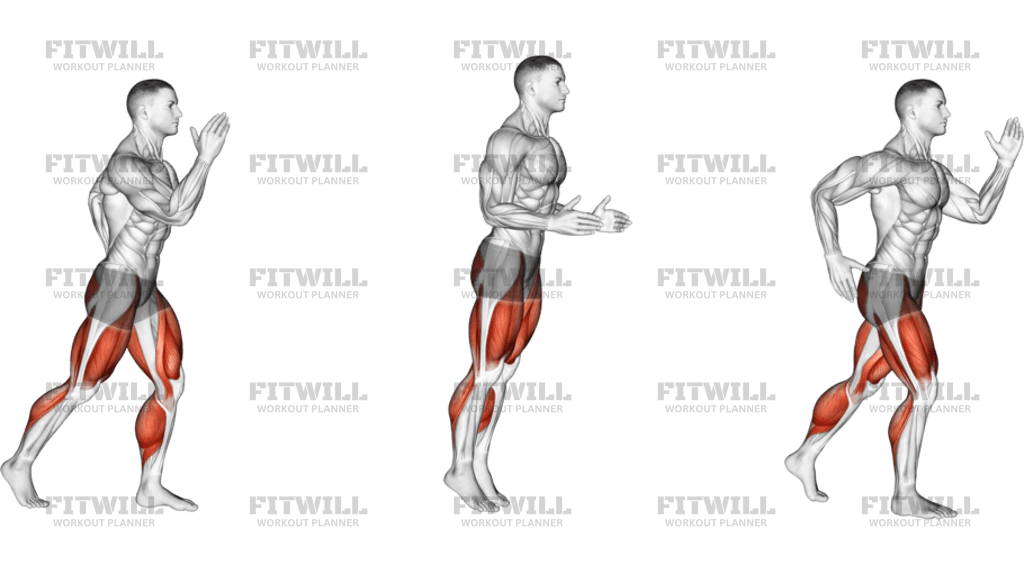
From a training standpoint, the Right Cross Hook Kick hits a wide range of muscles. The cross and hook load the chest, shoulders, triceps, and obliques, while the kick recruits the quads, glutes, hip flexors, and hamstrings to lift and extend the leg. Your standing leg and calves work the entire time to keep you balanced, and the core ties every rotation together. Because the sequence is explosive and repeated across rounds, it also drives the heart rate up quickly, making it a solid conditioning tool as well as a technical drill.
Setup matters more than most people expect. Your feet, hip rotation, and guard position determine whether the kick arrives with power or just gets lofted out there. Keep a staggered stance with the lead foot forward and the rear heel slightly lifted, knees softly bent, and weight distributed so you can pivot freely. If your stance is too wide or too square, the cross loses its hip drive and the kick has to travel around your own body, which throws off balance.
To execute it well, think of the cross as the engine that starts every rotation. Let the hook ride the momentum of the cross without pausing, then use that same turning force to lift the right knee and snap the kick out along a tight, rising path. The torso leans slightly away from the kick at full extension, which is visible in the striking position and is what keeps your head away from counters while your leg reaches its target. Keep the hands up throughout — many people drop the lead hand during the kick, which is one of the most common habits to correct.
You can train this combination on a heavy bag, with a partner holding pads, or as pure shadowboxing in the air. Beginners should start slow and segmented, pausing briefly between strikes, then gradually close the gaps until the three strikes flow as one motion. Because it is performed with body weight only, it is easy to scale: reduce the height and speed of the kick, shorten the sets, or work single repetitions with a full reset between reps until the pattern feels natural.
Fitwill
Log Workouts, Track Progress & Build Strength.
Achieve more with Fitwill: explore over 9600 exercises with images and videos, access built-in and custom workouts, perfect for both gym and home sessions, and see real results.
Start your journey. Download today!




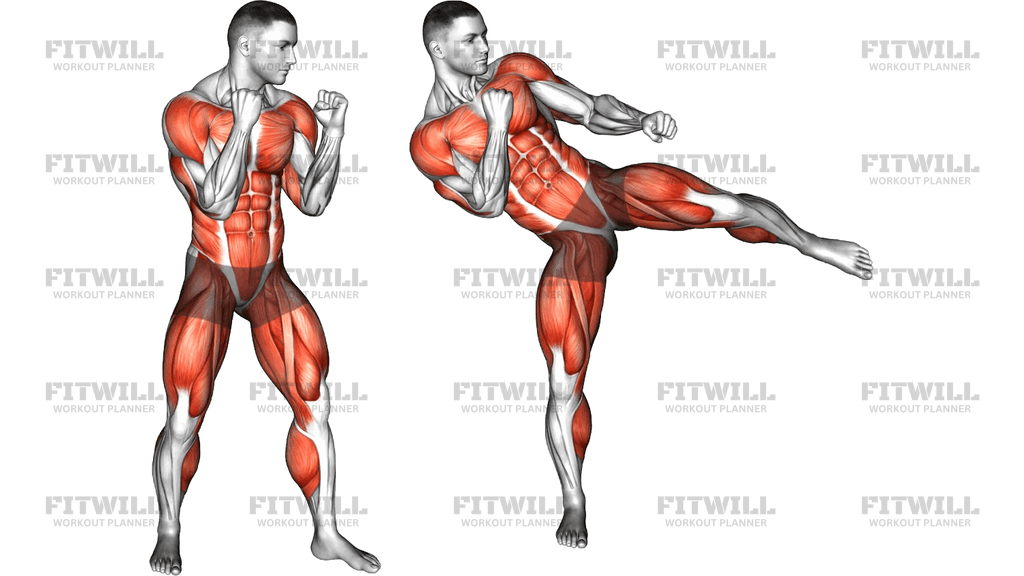
Instructions
- Stand in a fighting stance with your lead foot forward, rear foot behind and turned slightly out, knees bent, and both fists raised to guard your chin.
- Check that your weight sits evenly over both feet with the rear heel slightly lifted, so the right side is free to rotate.
- Brace your midsection and keep your eyes forward as if looking at a target at chest or head height.
- Throw the right cross by driving the rear hip and shoulder forward, extending the right arm straight out while the rear foot pivots on the ball of the foot.
- Without pausing, retract the cross and whip the right arm into a horizontal hook, turning the hips and rear foot through the rotation.
- As the hook finishes, transfer your weight onto the left leg and lift the right knee up and across your body.
- Extend the right leg in a rising arc toward kick height, letting the torso lean slightly away from the leg while the foot turns over at the end of the arc.
- Keep both hands up through the entire combination, especially as the kick extends.
- Exhale sharply on each strike, then bend the right knee and re-chamber the leg under your body with control.
- Step back into your original fighting stance, reset your guard, and breathe before starting the next repetition.
Tips & Tricks
- The most common mistake is pausing between the hook and the kick — the hook should load the rotation that lifts the knee, so if you stop, you lose both speed and balance.
- If you lose your balance during the kick, your standing foot is probably flat; keep the left heel and ball of the foot ready to pivot in the direction of the kick.
- Dropping the lead hand while the leg kicks out is a habit worth fixing early — consciously keep the left fist glued to the cheek through the entire combination.
- Aim the cross through the target, not at it; stopping the arm short kills the hip rotation the hook and kick depend on.
- Keep the kick's path tight and rising — throwing the leg out in a wide loop around your body slows you down and pulls your torso off line.
- Start each session with slow, segmented reps (cross... hook... kick) and only link them once each strike lands in the right position.
- Lean the torso only as much as the kick height demands; excessive leaning is usually a sign of tight hips or a low knee lift.
- Chamber the knee back under you before setting the foot down — landing heavily on a straight leg is hard on the knee and breaks your stance.
- On a heavy bag, position the kick at the same target height every rep so you build consistent distance control instead of guessing each time.
Frequently Asked Questions
Which muscles does the Right Cross Hook Kick work the most?
The core and obliques drive the rotation through all three strikes, while the quads, glutes, and hip flexors power the kick itself. The calves and standing leg stabilize you throughout the combination.
Is the Right Cross Hook Kick suitable for beginners?
Yes, provided you learn it in pieces first. Practice the cross and hook together until they flow, add the kick afterward, and only then link all three strikes at full speed.
Why does my body lean so far back when I throw the kick?
Excessive leaning usually comes from a low knee lift or tight hips, forcing the torso to compensate to get the leg up. Lift the knee higher before extending, and lean only as much as the kick height requires.
Should the kick in the Right Cross Hook Kick be a roundhouse or a hook kick?
As shown in the striking position, the leg travels in a rising, arcing path with the foot turning over at the end, which matches the hook kick pattern rather than a straight roundhouse.
Can I train this combination without a bag or partner?
Absolutely. Shadowboxing the combination in the air is an effective way to groove the pattern and build conditioning; just keep the kick height controlled so you do not overextend the knee.
How do I stop from losing balance after the kick?
Re-chamber the knee under your hips before setting the foot down, and keep a slight bend in the standing leg. Landing on a straight, planted leg is what usually throws people off.
What is the most common mistake in this combination?
Treating it as three separate strikes with pauses between them. The cross, hook, and kick should share one continuous rotation so momentum carries from your fist to your foot.
Is the Right Cross Hook Kick good for cardio and conditioning?
Yes. Repeated rounds raise the heart rate quickly because it combines explosive upper-body strikes with a demanding single-leg kick, making it a efficient conditioning drill as well as a technical one.
How can I protect my knees when practicing this combination?
Avoid snapping the kick to full extension against heavy resistance, keep the standing knee softly bent, and always bend the kicking knee on the way back down instead of dropping the leg straight.
What can I substitute if I cannot kick at hip height yet?
Throw the same combination with a lower leg kick aimed at thigh or knee level. The rotation, balance, and timing benefits remain the same while your hip flexibility develops.