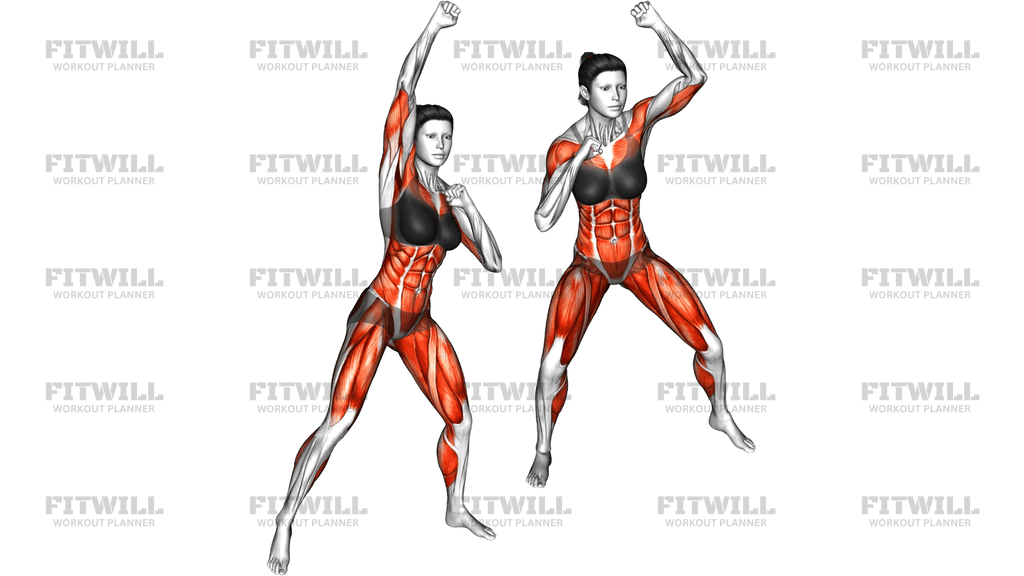
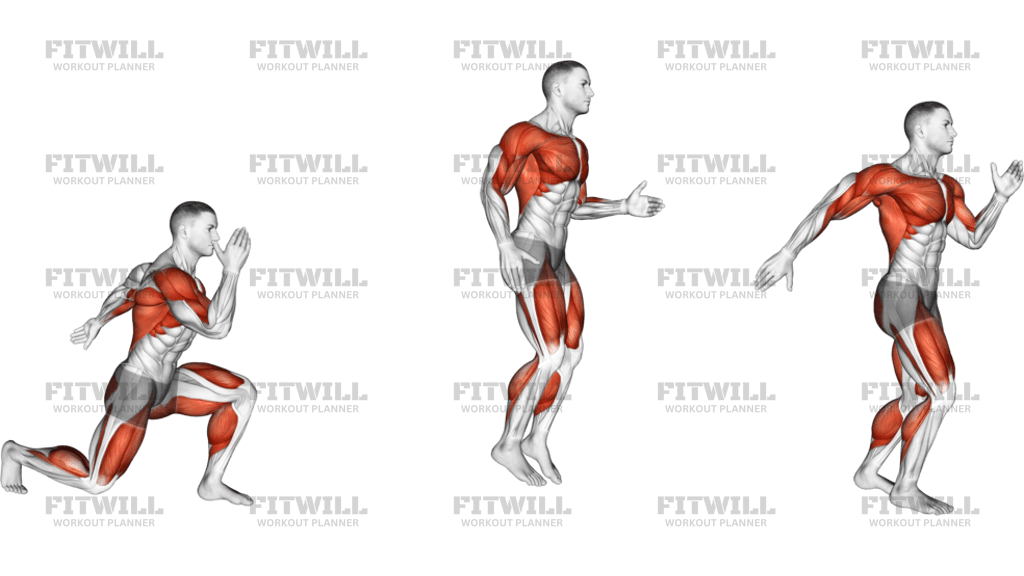
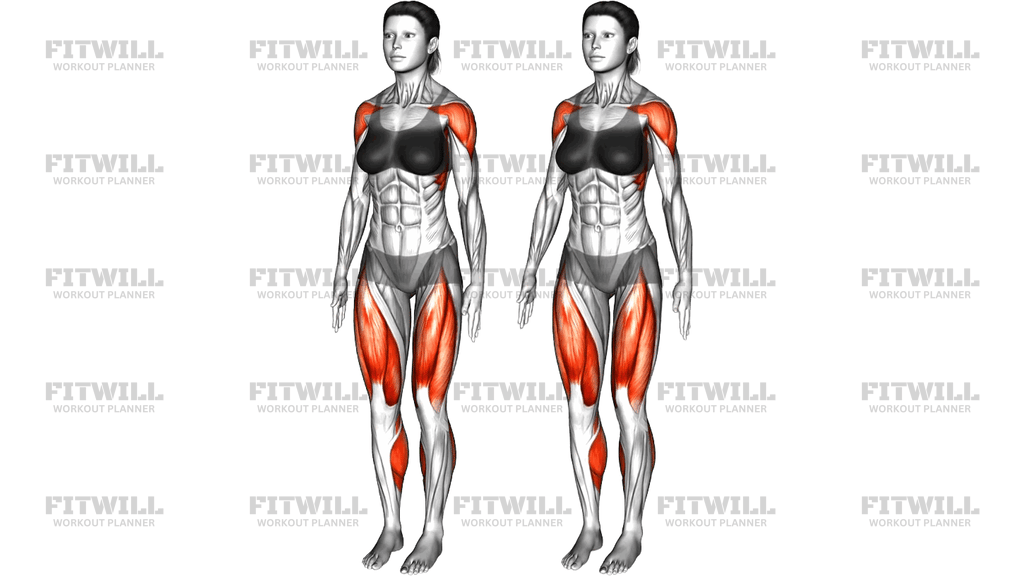
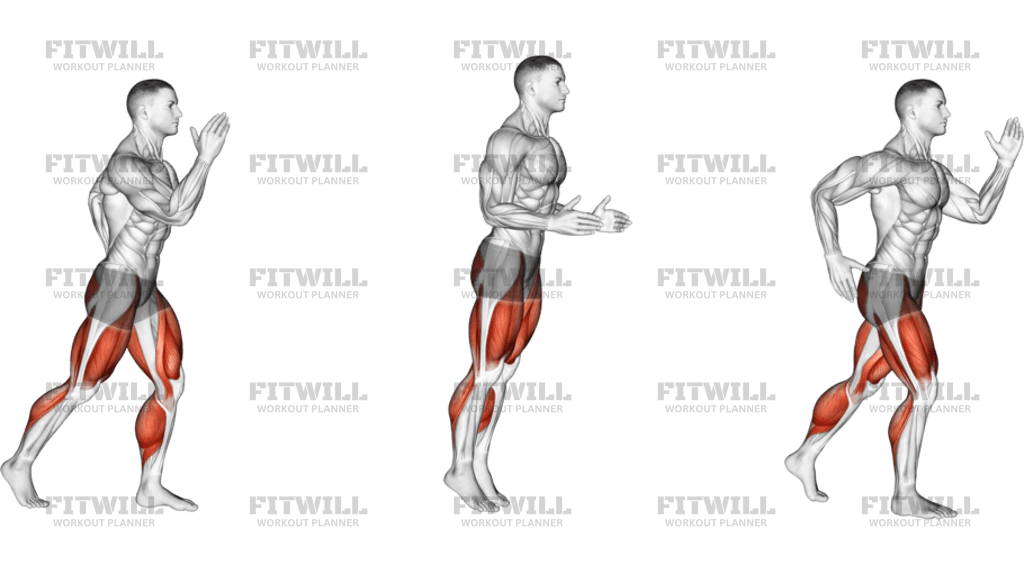
Assault Bike Run
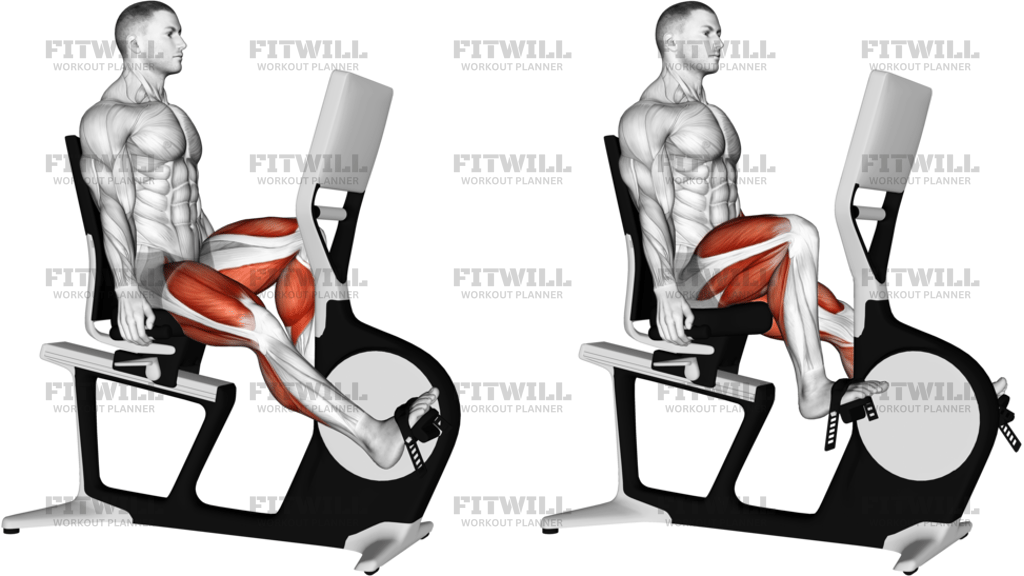
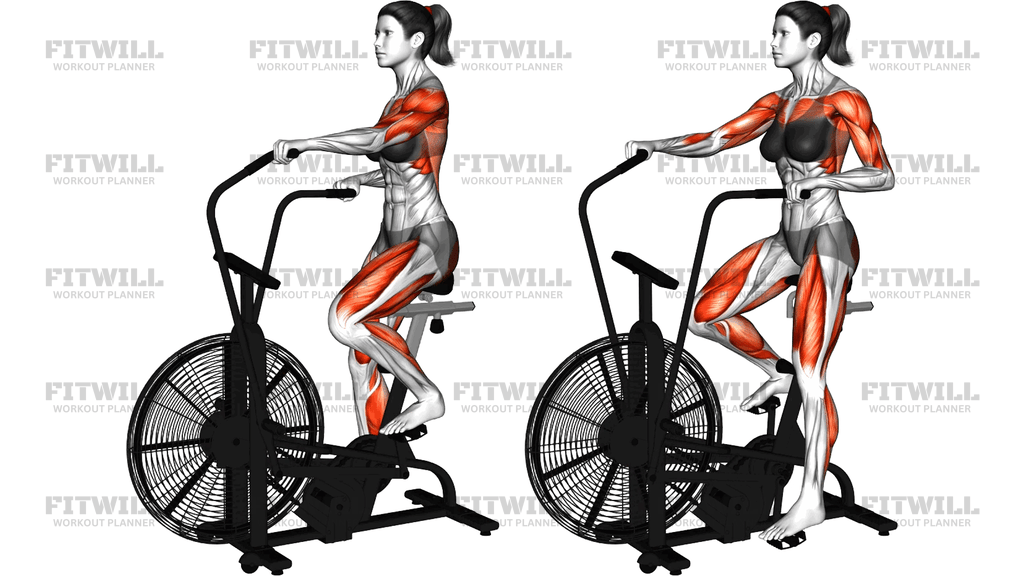
The Assault Bike Run is a standing sprint variation on a fan resistance air bike. Instead of sitting on the saddle, you plant your feet on the pedals, rise off the seat, and drive your legs in an aggressive running rhythm while your arms push and pull the handles in sync. The fan creates resistance that scales with your effort, so the harder you run, the harder the bike fights back.
This movement is one of the most demanding conditioning tools you can use. Standing removes the seat support and forces your quads, hamstrings, glutes, and calves to produce force on every revolution while your shoulders, arms, and core stabilize and drive the handles. Because both the upper and lower body work together against the fan, heart rate climbs faster than on almost any other cardio machine, which makes the Assault Bike Run a favorite for interval training, CrossFit-style conditioning, and short, brutal finishers.
Setup matters more than people expect. Before you stand, adjust or note your saddle height as a reference, then position your feet squarely on the pedals with your weight spread across the whole foot. Your grip on the handles should be firm but not strangled, and your torso should stay tall with a slight forward lean from the hips rather than a rounded hunch over the console. A stable, athletic stance is what lets you transfer full force into the pedals without wobbling side to side.
To execute it well, think of the pedals as the ground in a sprint. Drive one leg down and back while the other leg lets the pedal rise, and match that rhythm with your arms: one handle pushes away as the other pulls toward you. Keep the motion fluid rather than stomping, breathe steadily even at high effort, and hold your ribs down over your hips so your core stays engaged instead of your lower back taking the strain.
The Assault Bike Run fits best into timed intervals, something like 15 to 40 seconds of hard effort followed by generous rest, or as a final push at the end of a training session. Beginners should start with shorter bursts and moderate cadence to learn the standing rhythm before chasing maximum watts. Because the fan resistance has no fixed gears, the exercise is self-scaling: the same setup serves a first-timer pacing gently and an athlete sprinting flat out.
A few practical points keep this safe and effective. The pedals on an air bike are usually flat and can be slick when wet, so wear trainers with solid grip and keep your feet fully on the pedal surface. If you feel your balance breaking down or your lower back arching under fatigue, sit back down on the saddle or stop the interval rather than grinding through sloppy reps. As with any high-intensity machine work, warm up your legs and shoulders first and build intensity progressively.
[ Workout Log & Planner ]
Put your next workout in Fitwill
Keep your plan and training log ready when you are.


Instructions
- Stand facing the air bike and place one foot at a time firmly on the flat pedals, rising off the saddle so your full weight is supported by your feet.
- Set your feet so the entire sole sits on each pedal, roughly hip-width apart in the pedaling plane, and settle into a slight athletic bend at the hips and knees.
- Grip both handles with a full wrap, arms extended but not locked, and keep your chest lifted with your eyes forward rather than down at the console.
- Brace your core by gently drawing your ribs down over your hips so your torso stays stacked and your lower back stays neutral.
- Begin the run by driving one pedal down and back while the opposite handle pushes forward and away, letting the other leg ride its pedal upward.
- Switch rhythm smoothly so legs and arms alternate together, building to a fast but controlled cadence that feels like sprinting in place against resistance.
- At the top of each drive, keep tension through the handle instead of letting it slam to the end of its range, and keep your feet flat on the pedals rather than pedaling on your toes.
- Breathe in a steady rhythm throughout, exhaling forcefully with each hard leg drive instead of holding your breath during the sprint.
- To finish, gradually ease the cadence down over several revolutions, sit back onto the saddle or step one foot off to a side peg, and let the fan coast to a stop before dismounting fully.
Tips & Tricks
- The most common mistake is stomping straight down on the pedals. Think down-and-back, like a sprinter scraping the ground behind them, to get more drive from the glutes and hamstrings.
- If the bike rocks side to side, your feet are probably drifting toward the outer edges of the pedals. Center each foot and keep your weight even to stay balanced at high cadence.
- Rounding over the console is a telltale sign of fatigue on the Assault Bike Run. Reset your chest tall and hinge slightly from the hips rather than collapsing through the midsection.
- Don't strangle the handles. A crushing grip fatigues your forearms early and steals effort from the actual sprint; hold firmly with relaxed fingers.
- Keep your shoulders working, not just hanging. Actively push one handle away while pulling the other in, because pulling harder on an air bike immediately raises the resistance.
- Watch for toes-only pedaling when the pace climbs. Pull the pedal back to flat at the bottom of each stroke so your calf doesn't take over the whole movement.
- Save the Assault Bike Run for short intervals at first. Standing sprints tax your quads and breathing far faster than seated riding, and form tends to break down right around the 30-second mark.
- If your lower back starts arching as you tire, that's your core disengaging. Slow the cadence slightly and re-brace before ramping back up, or end the interval.
- Pedals and hands get slippery with sweat during long sessions. Wipe the pedals and grips between intervals to keep your footing and grip secure.
Frequently Asked Questions
What muscles does the Assault Bike Run work?
It is a full-body conditioning movement. The quads, hamstrings, and glutes drive the pedals, the calves assist each stroke, and the shoulders, arms, and grip work the handles while the core stabilizes your standing torso.
How is the Assault Bike Run different from sitting and pedaling normally?
Standing removes the saddle support, so your legs carry your full body weight on every revolution and your core has to hold you upright. Resistance feels dramatically harder at the same cadence, and heart rate rises much faster.
Is the Assault Bike Run suitable for beginners?
Yes, as long as beginners start with short efforts of 10 to 20 seconds at a moderate cadence and master the standing rhythm before sprinting. The fan resistance self-scales, so you cannot spin faster than your own effort allows.
Why do my feet slip on the pedals during Assault Bike Run sprints?
Flat air bike pedals get slick with sweat, and toe-only pedaling makes slipping worse. Wear grippy trainers, place your whole foot on the pedal, keep the pedal flat at the bottom of each stroke, and wipe the pedals between intervals.
How long should an Assault Bike Run interval last?
Most people get the best quality from 15 to 40 seconds of hard effort with equal or longer rest, since the standing position is very demanding. Longer intervals work, but expect the pace and form to fade noticeably.
Should my arms really work during the Assault Bike Run?
Yes. The handles and pedals are linked on an air bike, so actively pushing one handle and pulling the other adds direct resistance to your legs. Lazy arms simply mean a harder workout for your lower body alone.
Can I substitute another cardio exercise for the Assault Bike Run?
A seated air bike sprint, rowing machine intervals, or burpees can fill a similar conditioning role, but none combine the linked arm-and-leg sprint against fan resistance the same way. Choose the substitute that matches your equipment and joints.
Is it safe to stand on an air bike if I have knee issues?
Standing sprints load the knees more than seated riding because of body weight and cadence. If you have known knee problems, start with seated pedaling at low intensity and get clearance from a qualified professional before adding standing runs.
How do I mount and dismount the bike safely for this exercise?
Step on with the pedals near the bottom of their arc so they cannot spin away, establish your grip before adding force, and when finishing, coast the fan down and step off one foot at a time only once the pedals have nearly stopped.