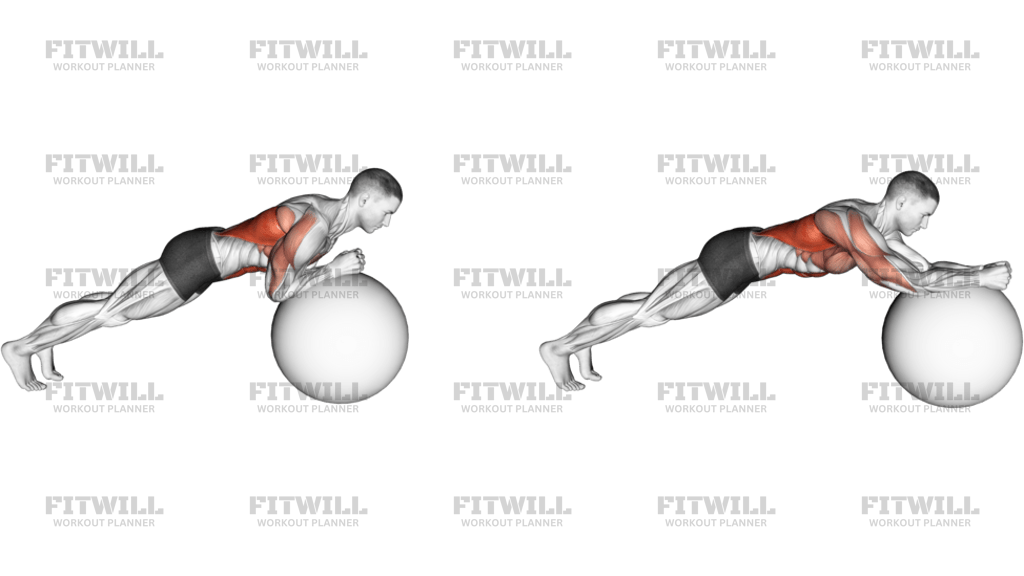
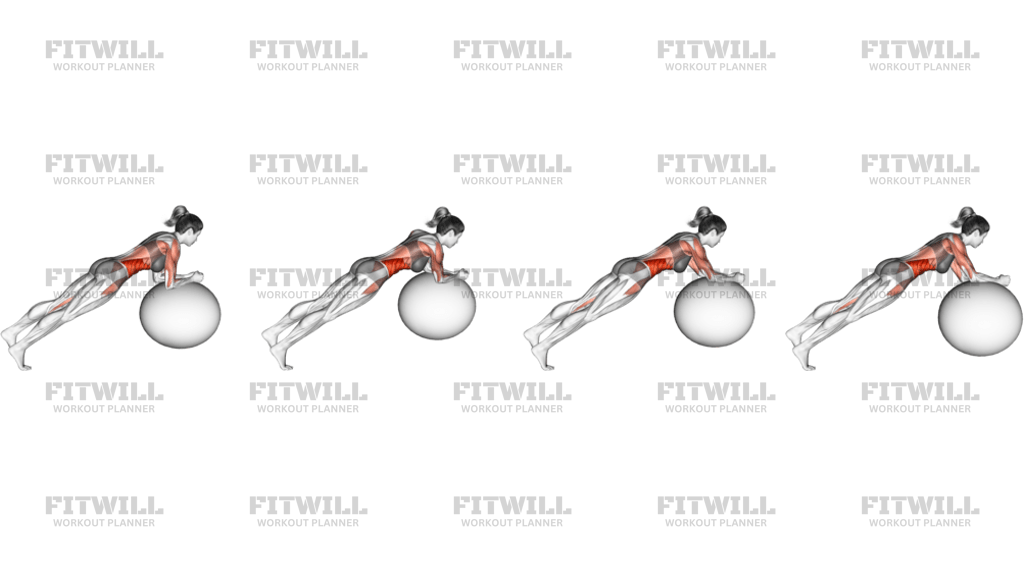
Stability Pull In To Wall
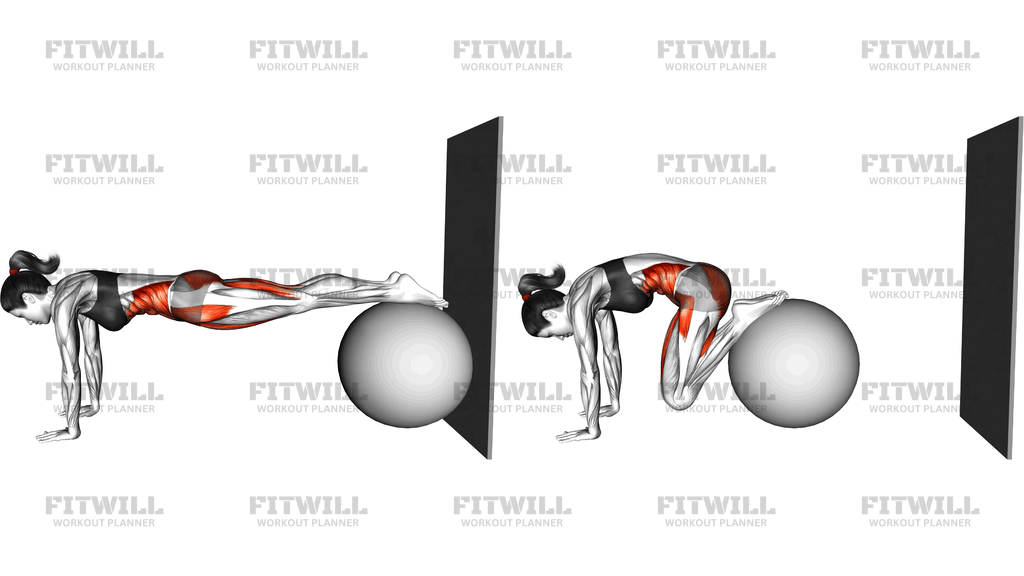
The Stability Pull In To Wall is a core exercise performed in a high plank position with your shins or the tops of your feet resting on a stability ball. The ball is positioned against a wall behind you, which limits how far it can roll away and makes the setup far more forgiving than an open-floor version. From that plank, you pull your knees in toward your chest, letting the ball roll forward under your legs, then extend back out to the straight plank. It is essentially a moving knee tuck where the ball replaces the floor under your lower body.
The main work comes from the abdominal wall, especially the rectus abdominis, as it flexes the spine during the tuck. The hip flexors drive the legs forward, the obliques work to keep your torso square, and the shoulders, chest, and triceps hold you up through the entire set. Because your feet are on an unstable, rolling surface, your deep core and shoulder stabilizers are also challenged just to keep you from wobbling side to side.
The wall matters more than it might seem. With a free-rolling ball, a single sloppy rep can send the ball shooting out behind you and drop you onto your face. Wedging the ball lightly against a wall gives you a safety boundary while still demanding full control of the rolling motion, so you can focus on the tuck itself rather than chasing the ball around the room.
This movement suits people who already own a solid plank. If you can hold a high plank for thirty to sixty seconds with a flat back, you are ready to try it. It appears frequently in core circuits, at-home stability ball workouts, and athletic training programs where anti-extension and dynamic trunk control are priorities. Start with a modest number of reps and slow tempo rather than rushing the tucks.
Keep the quality high by moving the ball with your legs, not by collapsing your hips. The plank line should stay long and level as the ball rolls, and the tuck should come from your ribs drawing down toward your pelvis. If your lower back sags or your shoulders drift behind your wrists, shorten the range or slow down. Controlled reps on this exercise beat fast ones every time.
[ Workout Log & Planner ]
Put your next workout in Fitwill
Keep your plan and training log ready when you are.


Instructions
- Place a stability ball against a wall so it cannot roll backward, and leave enough floor space in front of it for your full plank.
- Walk your hands out until your shins or the tops of your feet rest on top of the ball, and set up in a high plank with your hands under your shoulders and arms straight.
- Squeeze your legs toward each other on the ball, brace your abs, and check that your body forms one straight line from head to heels.
- Exhale and pull your knees in toward your chest, letting the ball roll forward under your shins as your hips lift slightly.
- Keep your shoulders stacked directly over your wrists the whole time so your arms stay vertical and your torso stays square to the floor.
- At the end of the tuck, your knees should be tucked under your hips with the ball rolled up near your ankles, and your abs should feel fully shortened.
- Inhale and extend your legs back out slowly, letting the ball roll back along your shins until you return to the straight plank.
- Reset your brace at the top of each rep rather than letting your lower back sag between tucks.
- Complete your reps with steady control, then step one foot off the ball to the floor to dismount safely.
Tips & Tricks
- Start with the ball closer to the wall than feels necessary; the wall only helps you, and a ball that rolls free mid-set is the most common way this exercise goes wrong.
- If your wrists ache, spread your fingers wide and press the base of the palm into the floor instead of dumping weight onto the heel of the hand.
- A common mistake is dropping the hips down instead of lifting them during the tuck, which turns it into a sagging bend; cue your ribs down and hips slightly up as the knees come in.
- Keep the ball contact point consistent, either shins or feet, and do not let it slide up to your thighs, which shortens the roll and removes the ab work.
- Point your toes and press the tops of your feet gently into the ball so your legs grip the surface instead of sliding off it.
- Slow the return phase down to a two or three count; most people control the tuck but let the ball fly back out, which loses half the benefit.
- If you wobble side to side, narrow your hands slightly and think about pressing evenly through both palms.
- Deflate the ball slightly for your first sessions; a softer ball is more stable and rolls less aggressively than a fully inflated one.
- Stop the set as soon as your hips start to sag from fatigue, since a broken plank position shifts the work to your lower back.
Frequently Asked Questions
What muscles does the Stability Pull In To Wall work?
The abs, particularly the rectus abdominis, do the brunt of the work during the tuck, while the hip flexors lift the legs. Your shoulders, triceps, and deep core stabilizers work isometrically to hold the plank throughout.
Why is the stability ball placed against a wall for this exercise?
The wall stops the ball from rolling away behind you, which keeps the setup safe and lets you focus on controlling the tuck. It is a helpful regression for anyone still learning to manage the ball.
Is the Stability Pull In To Wall suitable for beginners?
It can be, as long as you can already hold a solid high plank for about thirty seconds. Beginners should start with the ball closer to the wall, use a slightly softer ball, and take slow, small tucks.
Should my shins or feet be on the ball?
Shins give you a larger, more stable contact area and are the better starting point. Once that feels controlled, moving to the tops of your feet lengthens the lever and makes the exercise harder.
How do I keep the ball from sliding out from under me?
Squeeze your legs together, press lightly into the ball with your feet, and keep the movement smooth rather than jerky. Sweaty hands and socks on a polished floor also make setup unstable, so consider bare feet or a non-slip surface.
My lower back hurts during this exercise, what should I change?
Lower back discomfort usually means your hips are sagging or you are extending your spine as the ball rolls back. Brace your abs harder, reduce the range of the tuck, and stop the set when your plank position breaks.
What can I use instead of a stability ball?
A pair of sliding discs or a towel on a smooth floor can substitute, letting you slide your knees in from a plank. The ball version is less stable, so treat the slider version as an easier regression.
How many reps of the Stability Pull In To Wall should I do?
Start with two or three sets of six to ten controlled reps, resting when your plank form breaks. As your control improves, add reps or slow the tempo before making the setup harder.
Is this the same as a stability ball knee tuck?
It is the same core movement, but the wall behind the ball adds a safety boundary that limits backward roll. That makes the wall version more forgiving and easier to learn first.