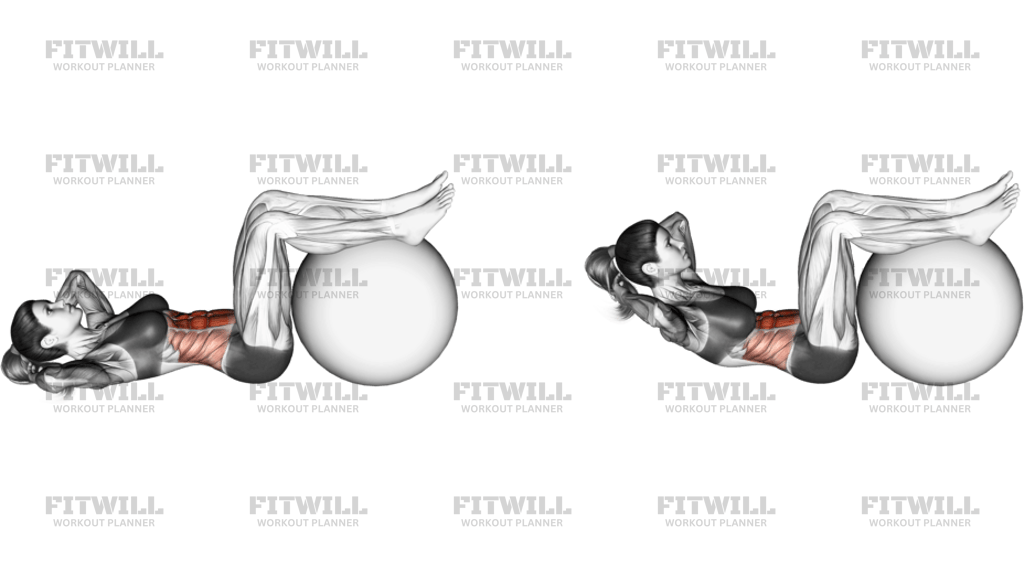
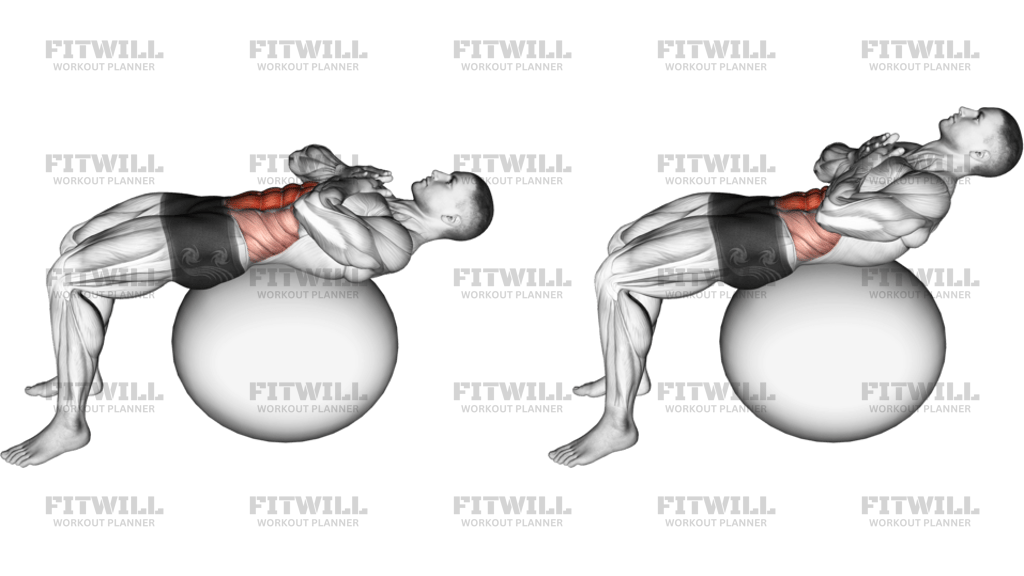
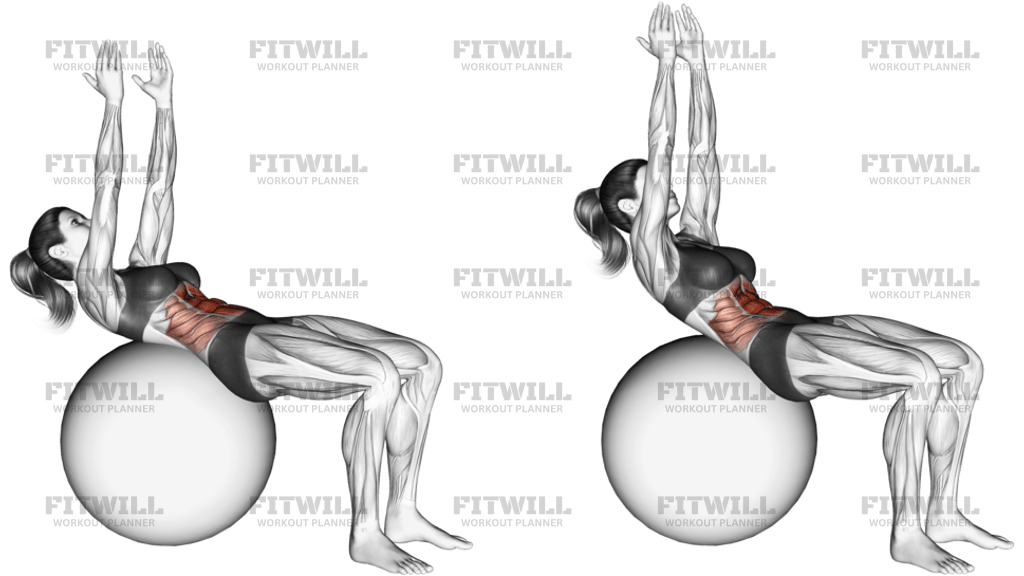
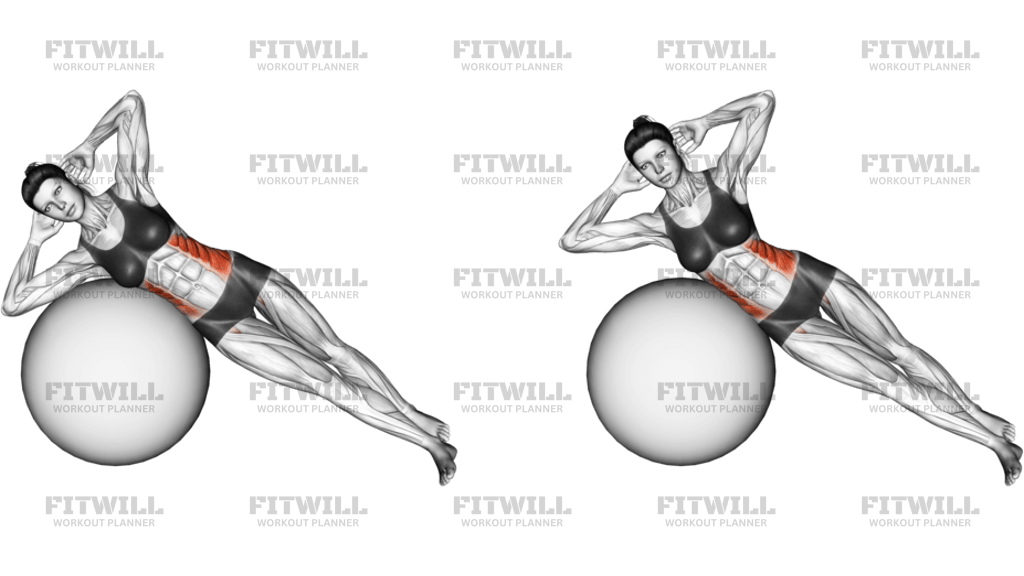
Lying Side To Side Roll On Stability Ball
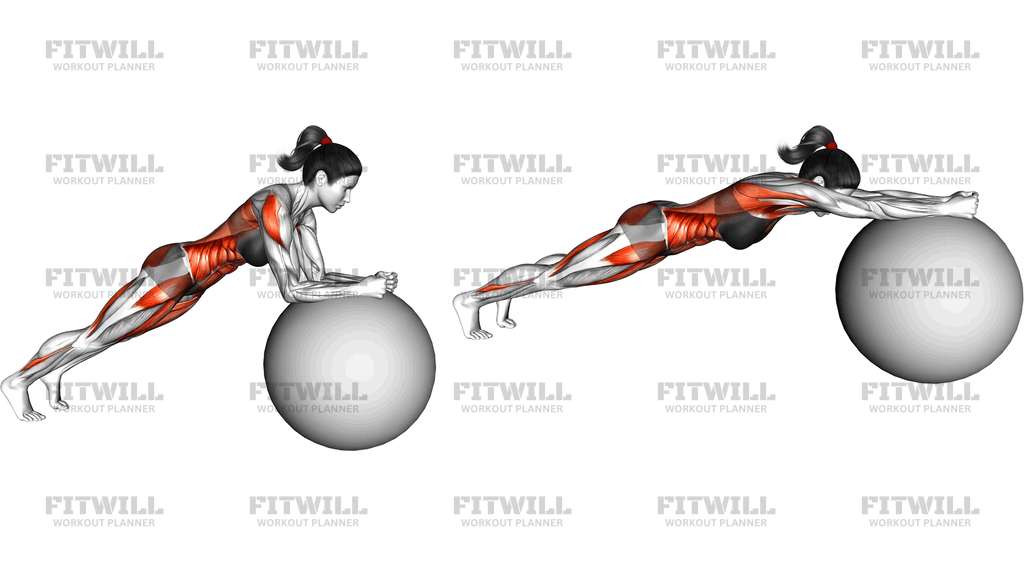
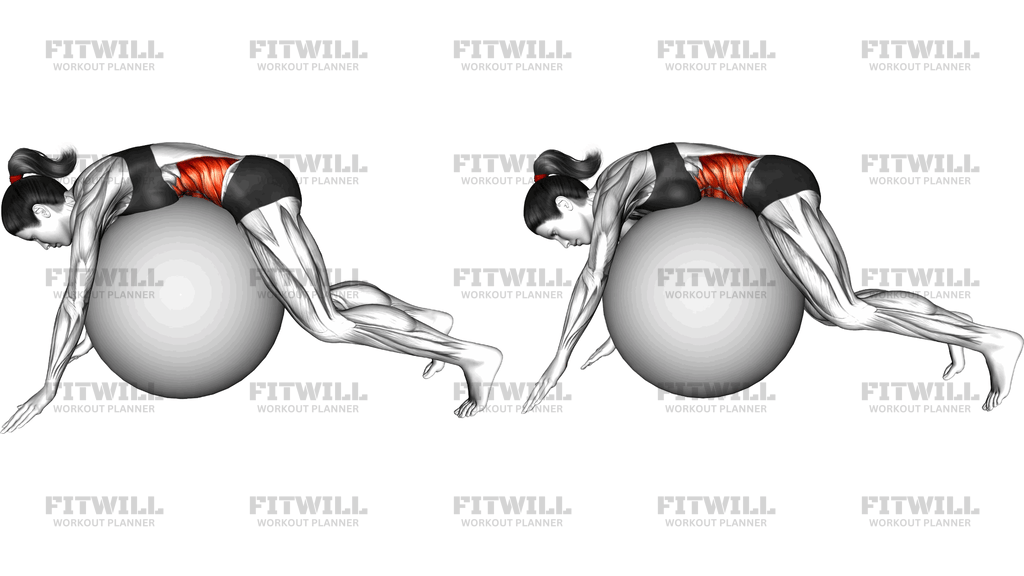
The Lying Side To Side Roll On Stability Ball is a core control exercise performed face-down over a stability ball, with your hands on the floor and your legs extended behind you. From this draped position, you roll the ball deliberately from one side to the other, letting your trunk tilt laterally while your shoulders and arms stay planted. The movement looks simple, but keeping your body unified as the ball travels sideways demands real work from the obliques and the deep stabilizers along your spine.
The main muscles at work are the obliques on the sides of your waist, along with the quadratus lumborum and the smaller muscles that run alongside the lumbar spine. These muscles have to shorten on one side and lengthen under tension on the other with every pass, which is exactly the kind of anti-extension and lateral control work they rarely get from crunches or planks. Your shoulders, chest, and arms contribute isometrically as they support your upper body against the floor.
This exercise suits people who already feel comfortable on a stability ball and want to train lateral core strength, trunk rotation control, and balance in one drill. It is popular in core stability routines, athletic warm-ups, and rehabilitation-style programs where controlled, low-load spinal movement is the goal. Because the ball creates an unstable surface, even light rolling challenges your nervous system to coordinate the whole trunk.
Setup matters more than speed here. Position the ball under your abdomen and hips, roughly in line with your navel, so your body is balanced like a see-saw. If the ball sits too far toward your chest you will tip forward onto your hands; too far toward your thighs and your lower back arches hard. Place your hands shoulder-width apart on the floor with soft elbows, and keep your legs extended with your feet lightly touching or hovering near the floor.
To execute the roll, brace your trunk gently, then shift your weight through the ball toward one side so your body angles sideways, letting the ball travel a few inches beneath you. Pause briefly at the end of the range, then roll back through center to the opposite side. The path should be a smooth, side-to-side arc rather than a quick swing, and your hips and shoulders should move together as one piece.
A few practical points keep this safe and effective. Move within a range where your hands can still control your upper body, and stop well before you feel the ball sliding out from under you. Work on a mat or non-slip floor, keep your neck relaxed by looking down, and treat slow, controlled reps as the standard. If you feel the movement in your lower back instead of your waist, reduce the range and re-brace before continuing.
[ Workout Log & Planner ]
Put your next workout in Fitwill
Keep your plan and training log ready when you are.


Instructions
- Place a stability ball on a mat or non-slip floor and kneel in front of it.
- Lean forward and drape your abdomen and hips over the top of the ball, then walk your hands out until they are shoulder-width apart on the floor beneath your shoulders.
- Extend your legs behind you with your feet on or just above the floor, keeping the ball centered under your navel and your body in one long line from head to heels.
- Lighten the pressure in your hands, brace your abdominal wall, and gently squeeze your glutes so your hips and shoulders move as a single unit.
- Shift your weight sideways through the ball toward your right, letting the ball roll a few inches to that side while your torso tilts laterally over it.
- Pause for a moment at the end of the sideways range, feeling the obliques on the underside of your waist work to control the position.
- Roll the ball back through center without pausing, and continue smoothly to the left side to complete one full side-to-side pass.
- Breathe steadily throughout, exhaling as you roll away from center and inhaling as you return through the middle.
- After your final rep, settle back to center over the ball, then walk your hands in and kneel back up to dismount safely.
Tips & Tricks
- If you tip forward onto your hands during the roll, the ball is too far up near your chest — walk it back until it sits under your abdomen and hips.
- Keep your elbows soft rather than locked; rigid arms turn the roll into a shoulder dump and take work away from your waist.
- Avoid letting your hips lag behind your shoulders. If your trunk twists instead of tilting, slow down and imagine a rod running from your head through your heels.
- Keep the side-to-side distance modest at first. A few inches of ball travel in each direction is enough to challenge the obliques without losing balance.
- Do not hold your breath at the end range — that is where people brace hardest and strain. Exhale into the pause instead.
- If your feet slide or drag on the floor, place the balls of your feet on the mat with light contact rather than letting your legs float freely.
- Look down at the floor between your hands instead of lifting your head, which keeps your neck in line with your spine.
- On an over-inflated or slippery ball this exercise gets much harder; use one that compresses slightly under your body weight and sits still on the mat.
- If you feel the work only in your lower back instead of your sides, reduce the range and re-engage your glutes before rolling again.
Frequently Asked Questions
What muscles does the Lying Side To Side Roll On Stability Ball work?
The primary muscles are the obliques along the sides of your waist, supported by the quadratus lumborum and the deep stabilizers of the lower back. Your shoulders and arms also work isometrically to hold your upper body steady on the floor.
Where exactly should the stability ball sit under my body?
Position it under your abdomen and hips, roughly level with your navel. This lets your body balance like a see-saw and keeps the roll from tipping you onto your hands or arching your lower back.
Can beginners do the Lying Side To Side Roll On Stability Ball?
Beginners can, but it helps to first get comfortable simply balancing prone over the ball with hands on the floor. Start with a very small side-to-side range and keep your feet in light contact with the floor for extra stability.
Why do I feel this exercise in my lower back instead of my obliques?
That usually means the ball is too far toward your thighs, your glutes have switched off, or you are rolling too far for your current control. Reposition the ball under your abdomen, squeeze your glutes lightly, and shorten the range.
How far should I roll the ball from side to side?
Only a few inches in each direction at first. The goal is a smooth, controlled tilt of the whole trunk, not a large swing — expand the range only when you can pause comfortably at each side without wobbling.
Should my feet touch the floor during the roll?
Keeping your feet lightly touching or hovering just above the floor is fine and makes the drill more manageable. Lifting them entirely removes a stability point and significantly increases the balance demand.
What can I substitute if I do not have a stability ball?
A standing side bend or a side plank variation trains the obliques with similar intent, though neither reproduces the unstable rolling surface. A smaller soft ball or a rolled mat under the abdomen offers a partial substitute with less range.
How many reps and sets should I do?
One full pass to the right and back through center to the left counts as one rep. Two to three sets of 8 to 12 controlled passes is a reasonable starting point, prioritizing smoothness over speed.
Is the Lying Side To Side Roll On Stability Ball safe for my spine?
When performed slowly with a modest range and a braced trunk, it is a low-load, controlled movement. If you have an active back injury or feel sharp pain while rolling, stop and choose a more supported core exercise instead.