Lever Graviton Assisted Dip
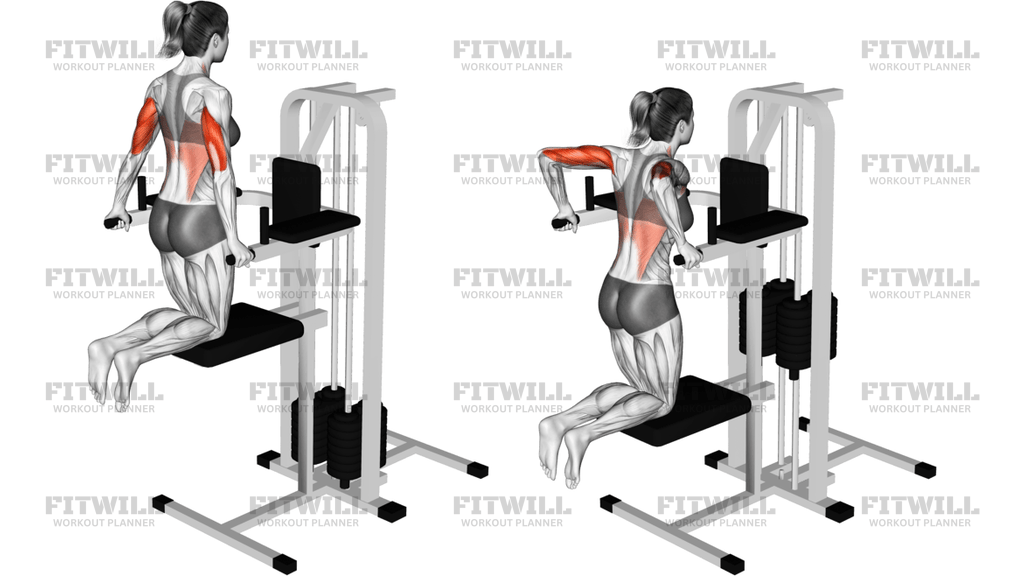
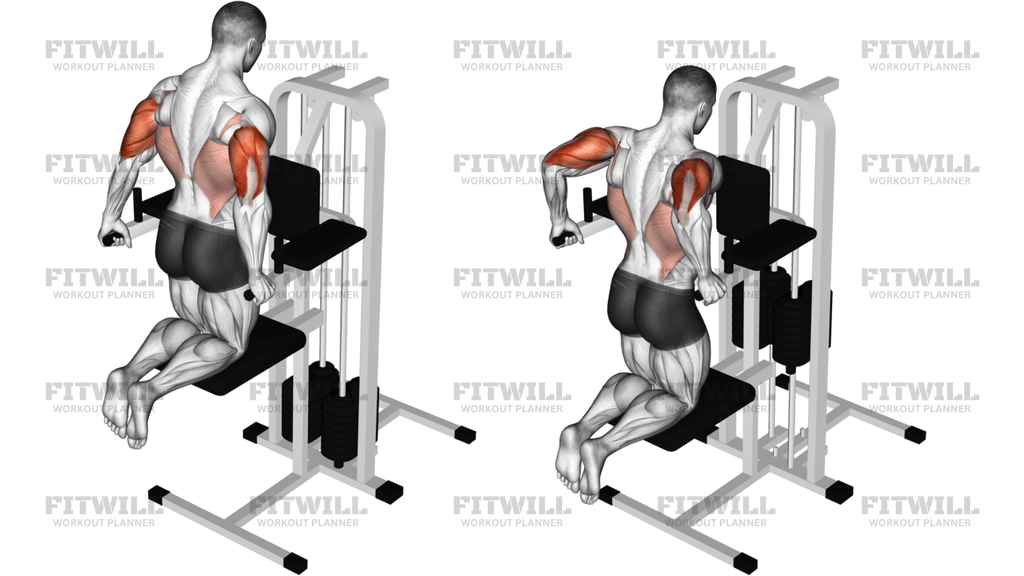
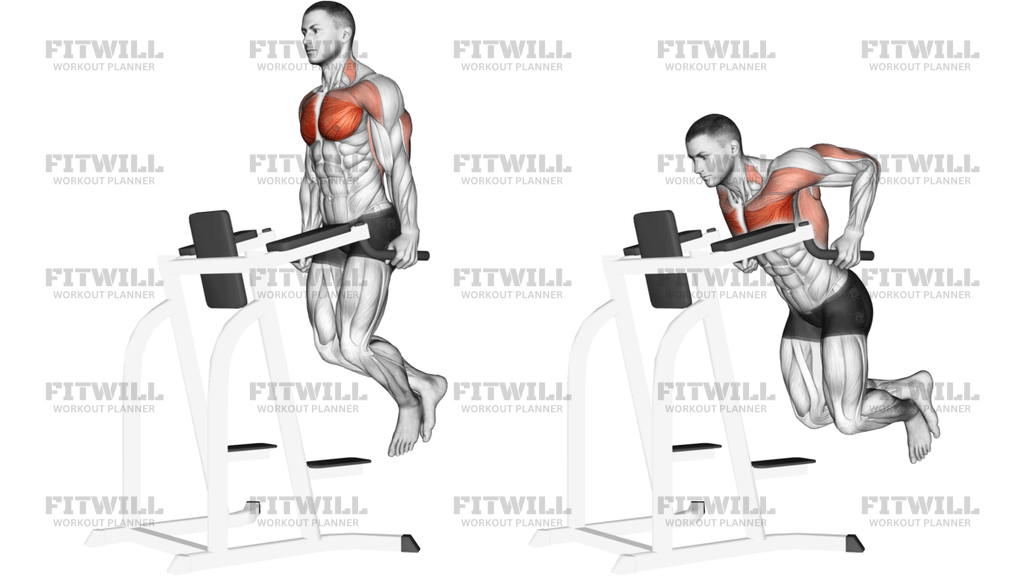
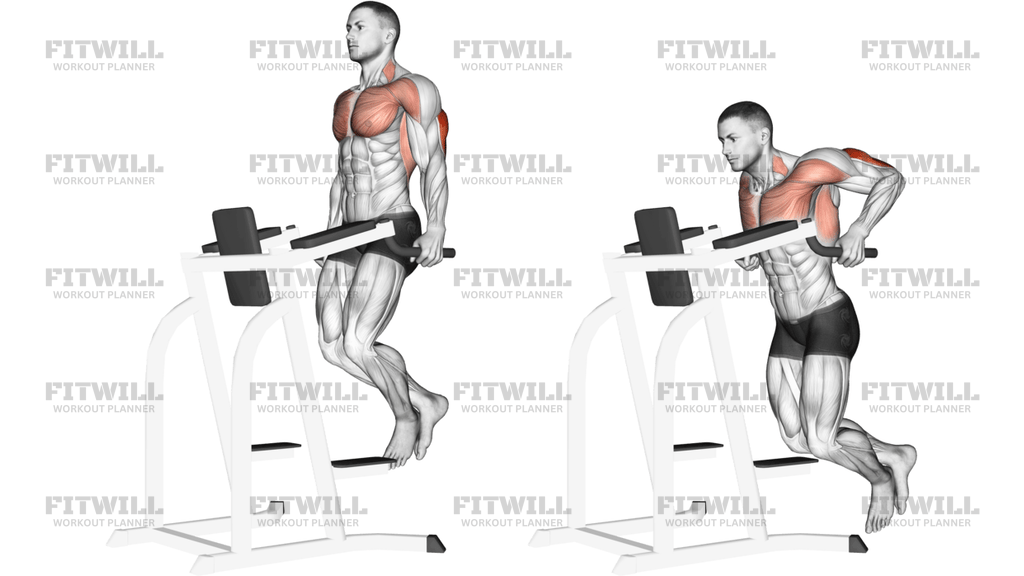
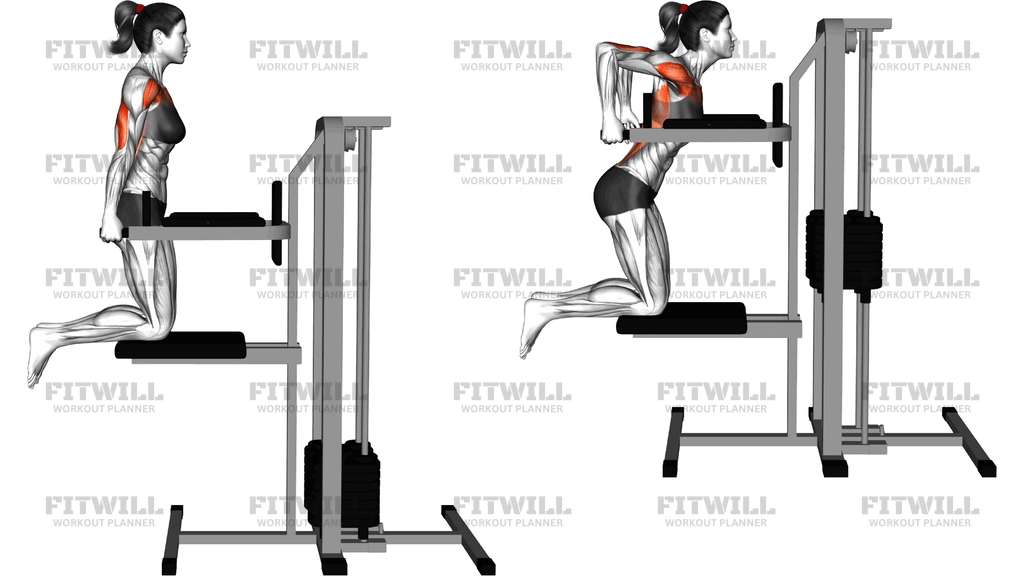
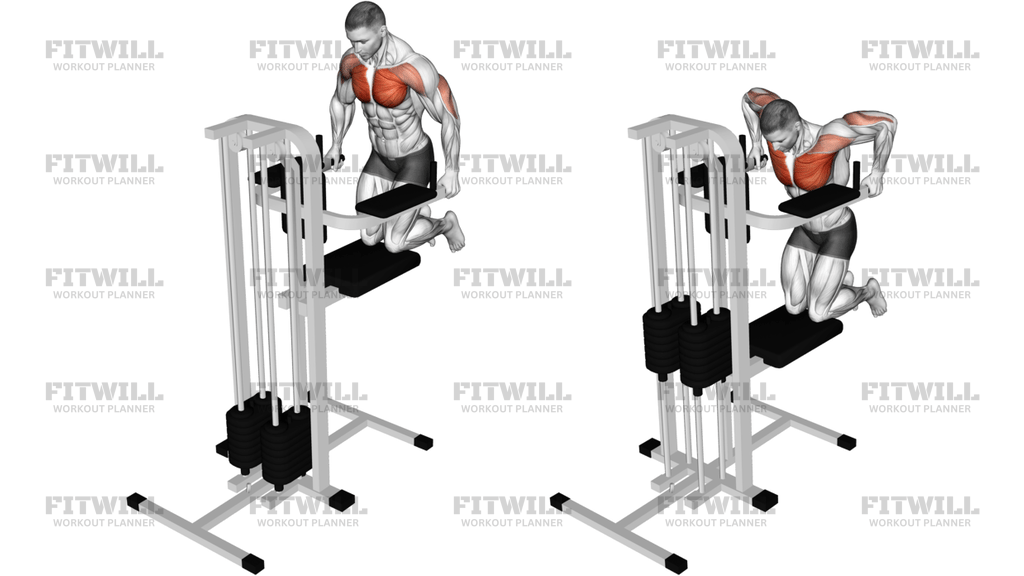
The Lever Graviton Assisted Dip is a machine-based version of the classic parallel bar dip. You kneel on a padded platform that connects to a weight stack, grip the fixed dip handles, and lower and raise your body through the standard dip path. The platform pushes up against your knees with a selectable amount of assistance, which means part of your body weight is carried by the machine while your arms, chest, and shoulders handle the rest.
This exercise is a practical bridge for anyone who cannot yet perform full bodyweight dips. If your dips stall at the bottom half, or you can only manage one or two shaky reps on bars, the assisted setup lets you practice the exact same movement pattern with a manageable load. It is also useful for higher-volume triceps work later in a session, or for returning to dipping after a layoff without immediately jumping back to full bodyweight.
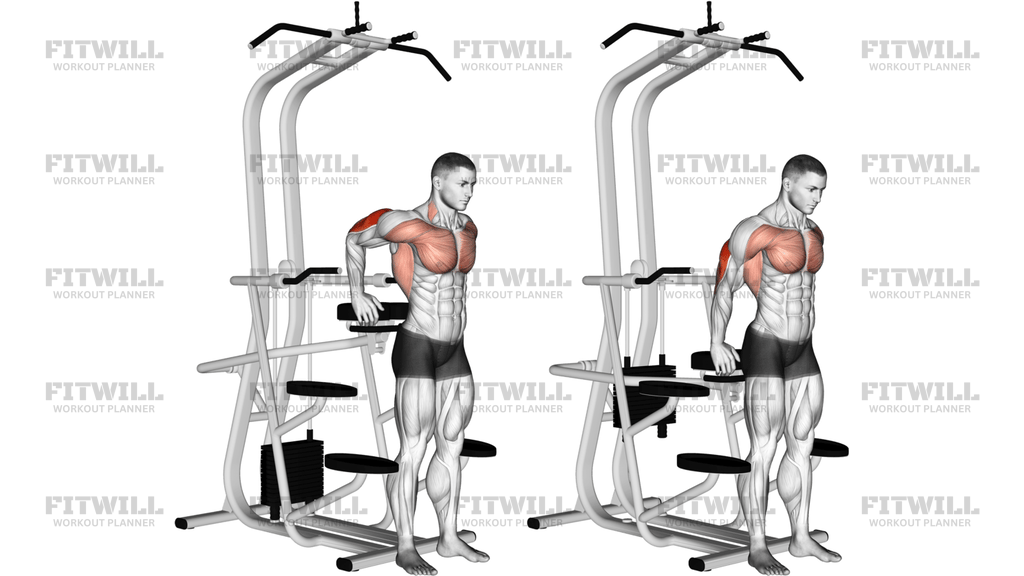
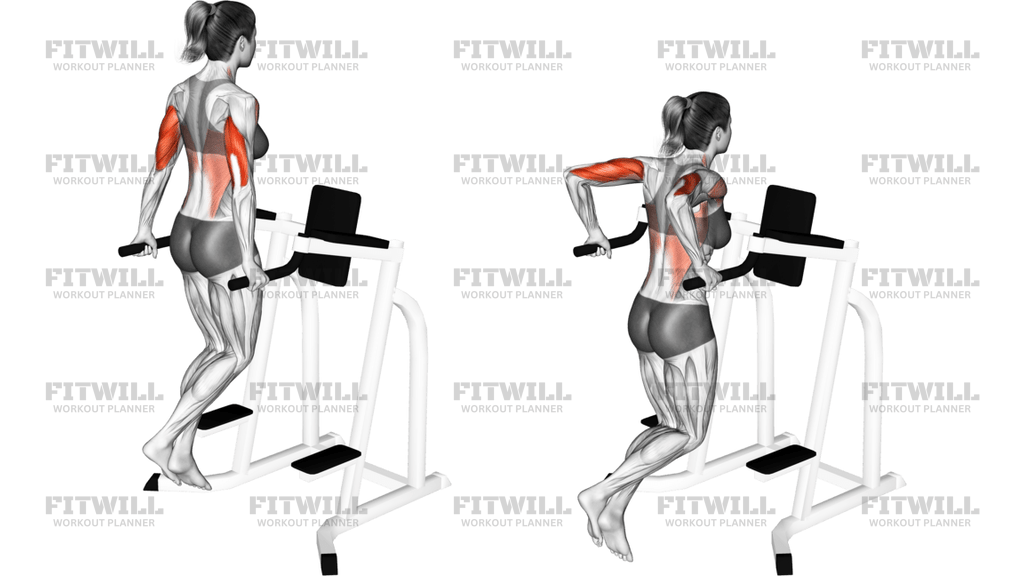
The main movers are the triceps, which extend the elbows as you press back up, along with the lower chest and front delts, which drive the humerus through the pressing arc. Keeping a more upright torso biases the triceps, while leaning the torso forward and letting the elbows flare slightly shifts more work to the chest. The kneeling position on the pad also demands a bit of core control, since your hips and trunk have to stay organized as the platform rises and falls.
Setup matters more than most people expect. Set the assistance too high and the movement becomes a leg-press-like ride with almost no upper body effort; too low and you lose position and bounce out of the bottom. Choose a weight that lets you control the descent for a full second and reach full elbow extension at the top without locking hard or shrugging. Knee placement on the pad also changes the feel — sitting slightly back toward the rear of the pad usually gives a more stable base than perching on the edge.
A common use case is dip-focused progression: start with assistance around half your bodyweight, and each week or two, reduce the counterweight so your muscles handle progressively more of the load. Others use it as a safer alternative to bar dips when shoulder comfort is a concern, since the machine guides the path and removes the balance requirement. Either way, treat it as a real pressing exercise, not a machine to rush through.
Safety-wise, mount and dismount the platform deliberately — step onto the side footrests first, get your knees placed, then take your weight onto the handles. Keep the descent controlled and avoid dropping into a depth where your shoulders roll forward or you feel pinching at the front of the shoulder. Full depth is a goal, not a requirement; the bottom position should feel like a stretch across the chest, not strain in the joint.
[ Workout Log & Planner ]
Put your next workout in Fitwill
Keep your plan and training log ready when you are.


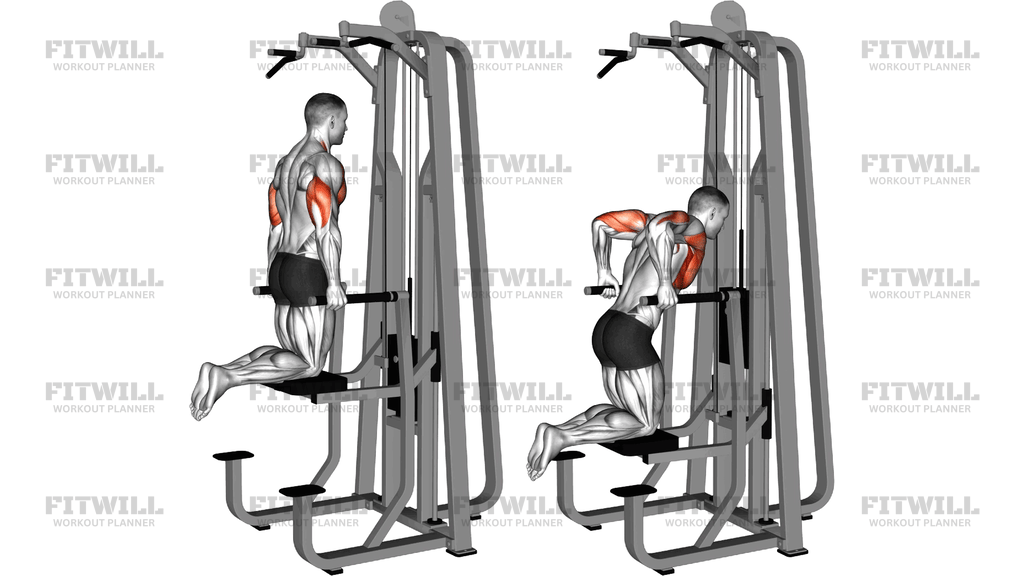
Instructions
- Set the counterweight on the stack to your chosen assistance level, then step onto the lower footrests so you can mount the pad without loading your arms yet.
- Kneel on the padded platform with your knees roughly hip-width apart, positioned near the center or slightly back on the pad so it moves smoothly on its lever.
- Grip the parallel dip handles with your palms facing inward and your arms fully extended, supporting your weight as your knees sink slightly and lift the platform off its rest.
- Brace your core, pull your shoulder blades down and slightly back, and keep your chest lifted before you begin the descent.
- Bend your elbows to lower your body, letting them travel back and out to the sides until your upper arms are roughly parallel to the floor or your chest feels a solid stretch.
- Press down through the handles to extend your elbows and return to the top, squeezing the triceps at full extension without shrugging your shoulders up to your ears.
- Exhale as you press up and inhale as you lower, keeping the breathing rhythm steady rather than holding your breath through the rep.
- Complete your reps with the same depth and tempo each time, then bend your knees to settle the pad back down onto its rest before stepping off onto the footrests.
Tips & Tricks
- If the machine feels unstable at the bottom, your knees are probably too far forward on the pad — slide them back so the pad tilts less and tracks smoothly.
- Do not chase a very high assistance setting just to hit more reps; if the platform is doing most of the lifting, your triceps stop getting the stimulus you set the exercise up for.
- Watch your elbow flare: tucking them completely turns it into a triceps-only press, while letting them drift too wide can pinch the front of the shoulder. A moderate angle just outside your ribcage works for most people.
- Keep your head neutral by picking a spot on the machine frame slightly ahead of you; craning your neck up usually comes with a collapsing chest at the bottom.
- Lower for a full count instead of letting gravity drop you — the assisted setup removes some load, but rushing the descent is still the fastest way to bounce your elbows out of position.
- If your shoulders dislike deep dips, stop a few degrees above parallel; you lose a little range but keep the exercise comfortable and repeatable.
- Progress by small reductions in assistance — dropping the counterweight by one plate or one increment at a time keeps the jump manageable as you move toward bodyweight dips.
- Before your working sets, do one light warm-up set at a higher assistance level to groove the path and check that the knee pad height feels right.
Frequently Asked Questions
Which muscles does the Lever Graviton Assisted Dip work?
The triceps are the primary movers, with strong support from the lower chest and front delts. A more upright torso emphasizes the triceps, while a forward lean shifts more of the load to the chest.
How much assistance should I set on the machine as a beginner?
Start with a counterweight around half your bodyweight and adjust from there. The right setting lets you complete 8-10 controlled reps where the last two feel challenging but your form stays intact.
Does less weight on the stack mean a harder exercise?
Yes — on an assisted dip machine the stack provides counterweight, so a lighter setting gives you less help and makes the dip harder. Heavier stack settings make the movement easier.
Why do I kneel on the pad instead of standing on it?
The kneeling position places your knees directly under your hips so the platform can push up through a stable, vertical line. It also keeps your torso from swinging the way it can during free bar dips.
How deep should I go on the Lever Graviton Assisted Dip?
Lower until your upper arms are roughly parallel to the floor or until you feel a firm stretch across the chest without shoulder discomfort. Going deeper is optional and only worth it if your shoulders stay comfortable.
Can this exercise help me progress to unassisted bar dips?
That is one of its best uses. Gradually reduce the counterweight over weeks of training, and once you can handle a small amount of assistance for solid sets, full bodyweight dips become a realistic next step.
What is the most common mistake on this machine?
Letting the knees sink or slide forward mid-set, which changes the leverage and can make the pad lurch. Keep your knee position fixed and your trunk braced so the platform moves only as much as your arms lower you.
Is the Lever Graviton Assisted Dip safe for sensitive shoulders?
Many people find it easier on the shoulders than free dips because the guided path and adjustable load reduce strain. Still, cap your depth, avoid flaring the elbows wide, and skip the exercise if you feel pinching at the front of the shoulder.
What can I use instead if my gym has no assisted dip machine?
Resistance bands looped over parallel dip bars under your knees offer a similar assist, or you can perform slow negatives on regular bars — lowering only and stepping back up — until pressing strength catches up.