Band Curl To Press
The Band Curl To Press is a two-part compound movement that combines a standing biceps curl with an overhead shoulder press in one continuous flow. You stand on the middle of a resistance band, hold a handle in each hand, curl the handles up to shoulder height, and then press them straight overhead before reversing the whole sequence under control. Because the band is anchored under your feet, the tension is hardest at the top of the curl and at lockout of the press, which challenges your arms and shoulders through a long range.
This exercise is a great fit for anyone training at home or traveling with minimal equipment, since one band replaces both a curl station and a press setup. It also works well as a finisher at the end of an upper body session, when you want to fatigue the biceps and shoulders together without loading a barbell. Because each rep moves through two distinct patterns, it builds coordination between the elbow and shoulder joints, which carries over to real-world lifting like placing a heavy object on a high shelf.
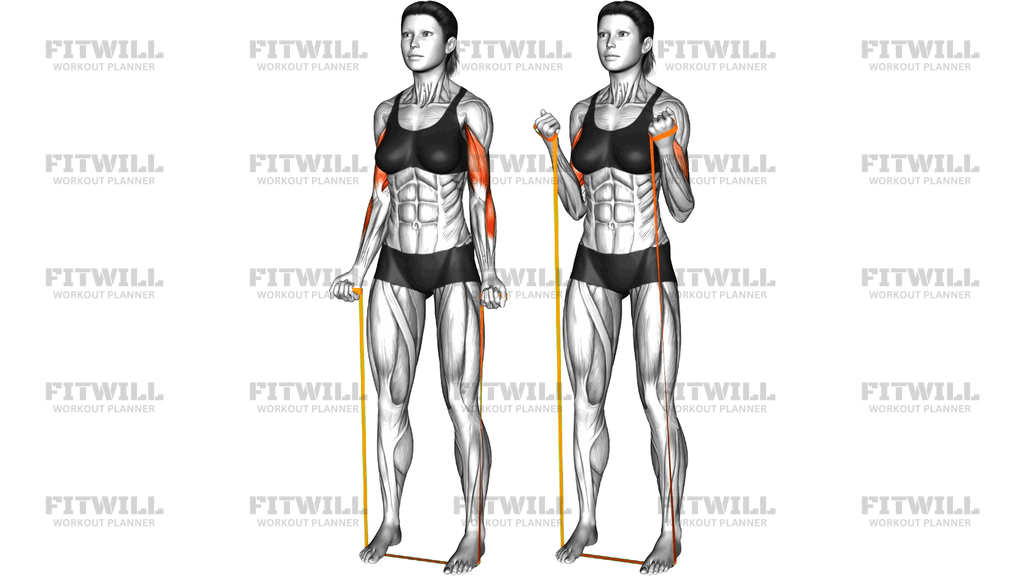
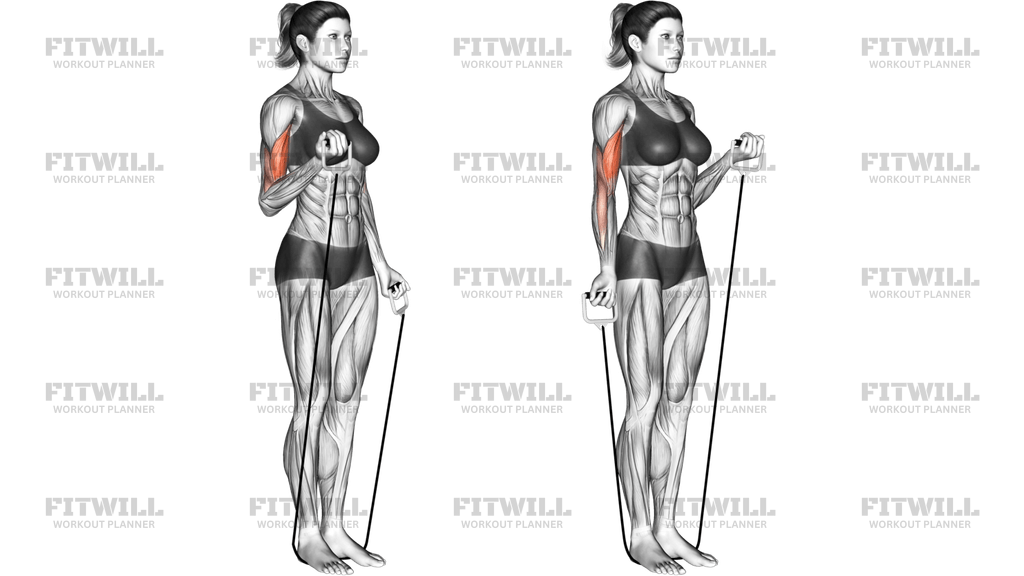
The primary work comes from the biceps during the curling phase, while the front and side shoulders take over as you press overhead. The triceps control the descent of the press, the forearms and grip work to hold the handles, and your core stays engaged the entire time to keep your torso from leaning or arching as the band pulls downward. The highlighted areas in the movement reflect exactly this emphasis on the arms and deltoids.
Setup matters more than people expect. If you stand too narrow, the band can slip off your feet; if you stand too wide, the tension becomes uneven between hands. Your stance should be roughly shoulder-width with the band secured under the full sole of both feet, and there should be some tension in the band before you even start the first curl. If the band is slack at the bottom, you lose half the rep.
To execute it well, think of it as two clean movements joined at the shoulders, not one vague swing. Curl with your elbows pinned to your sides, pause briefly with handles at shoulder height, then press vertically until your arms are fully extended overhead with the handles above your shoulders. Reverse the press first, then lower the curl, keeping your wrists straight throughout. Avoid thrusting your hips forward or leaning back to help the press; if you need to lean, the band tension is too high.
A practical safety note: always check the band for small tears or worn spots before standing on it, and keep your feet planted flat so the anchor point cannot slide. If the band snaps free mid-press, the handle can travel toward your face, so inspecting your equipment takes seconds and removes that risk entirely.
Fitwill
Log Workouts, Track Progress & Build Strength.
Achieve more with Fitwill: explore over 9600 exercises with images and videos, access built-in and custom workouts, perfect for both gym and home sessions, and see real results.
Start your journey. Download today!




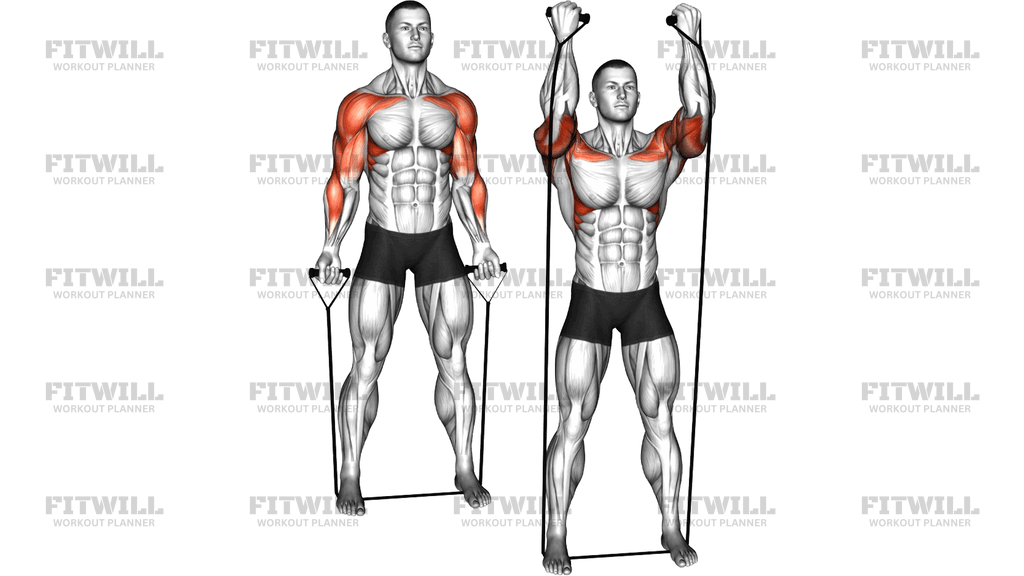
Instructions
- Place a resistance band flat on the floor and stand on the middle of it with both feet, about shoulder-width apart, so the band is anchored securely under the full sole of each foot.
- Grip a handle in each hand with an underhand grip, palms facing forward, and stand tall with the band running up the outside of your arms; there should be light tension at your sides before you begin.
- Brace your core, pull your ribs down slightly, and set your shoulder blades down and back so your torso stays upright for the whole set.
- Curl both handles up toward your shoulders by bending your elbows, keeping your upper arms pinned to your sides and your wrists in line with your forearms.
- At shoulder height, rotate your grip so your palms face forward, then press both handles straight up until your arms are fully extended overhead, biceps beside your ears.
- Pause for a beat at the top with the band stretched, making sure your lower back has not arched to fake extra height.
- Reverse the press with control, lowering the handles back to shoulder height while resisting the band's pull.
- From shoulder height, lower the handles back down to your sides by straightening your elbows, again fighting the band's tension rather than letting it snap you down.
- Exhale as you curl and press, inhale as you lower the press and the curl back to the start.
- Complete your rep, then reset your stance and check that the band is still flat and secure under both feet before starting the next one.
Tips & Tricks
- If the band feels slack at the bottom of the curl, shorten it by widening your stance slightly or choking up on the handles, otherwise the first third of every rep is wasted.
- Do not let your elbows drift forward during the curl; if they travel toward the mirror, the front shoulders steal work from the biceps and the curl turns into a partial front raise.
- The most common fault in the Band Curl To Press is leaning the torso back during the press. Squeeze your glutes and brace your abs before pressing to lock your ribcage in place.
- Keep your wrists neutral through the curl. Bending the wrists back so the handles sit behind your forearms shifts load onto the wrist joint and shortens the biceps range.
- If one arm lags behind the other, slow the tempo down or perform the movement one arm at a time so the stronger side cannot mask the difference.
- Choose a band tension you can press overhead for all reps with clean form; a band that is fine for the curl often becomes too heavy for the press, which is the weaker link here.
- Control the transition point at shoulder height. Rushing from curl to press turns the movement into momentum-driven swinging and removes the pause where the biceps and shoulders trade work.
- Stand tall and look straight ahead rather than watching your hands; dropping your head forward during the press rounds your upper back and narrows the space your arms press through.
- Check the band for wear before each session. Standing on it means it is compressed under your full bodyweight, and a worn band under tension at head height is a real hazard.
Frequently Asked Questions
What muscles does the Band Curl To Press work?
The biceps do the main work during the curling phase, and the front and side shoulders take over during the overhead press. The triceps, forearms, and core muscles assist and stabilize throughout the movement.
Is the Band Curl To Press good for beginners?
Yes, as long as you start with a light band. Beginners should first practice the curl and the press separately to learn each pattern, then combine them into the full movement.
Why do I need to pause at shoulder height during the Band Curl To Press?
The pause is the transition point where the biceps finish and the shoulders take over. Pausing briefly prevents you from swinging the handles and ensures both muscle groups get clean, deliberate work.
My lower back arches when I press the band overhead. How do I fix it?
Squeeze your glutes and brace your abs before pressing, and use a lighter band. Arching usually means the band tension exceeds what your shoulders can press with a stable torso.
Should my palms stay facing up the whole time?
No. Your palms face up during the curl, then rotate to face forward for the press. Forcing an underhand grip through the press strains the wrists and limits shoulder positioning.
What can I substitute if I do not have a band?
A pair of light dumbbells allows the same curl to press pattern, though the resistance is constant rather than increasing at the top. Keep the same pause at shoulder height and the same controlled tempo.
How wide should my stance be when standing on the band?
About shoulder-width, with the band flat under the full sole of each foot. Too narrow and the band can slip off your heels; too wide and the tension becomes uneven and much harder than intended.
Is it safe to stand on a resistance band?
It is safe when the band is intact and anchored flat under your whole foot. Inspect the band for cracks or thin spots before every session, and never use a band with visible wear, since a snapped handle at head height can cause injury.
How many reps should I do of the Band Curl To Press?
For muscle endurance and hypertrophy with bands, 8 to 15 controlled reps per set works well. Because the press is usually the limiting factor, reduce tension until you can complete all reps with a stable torso.