Lever Biceps Curl
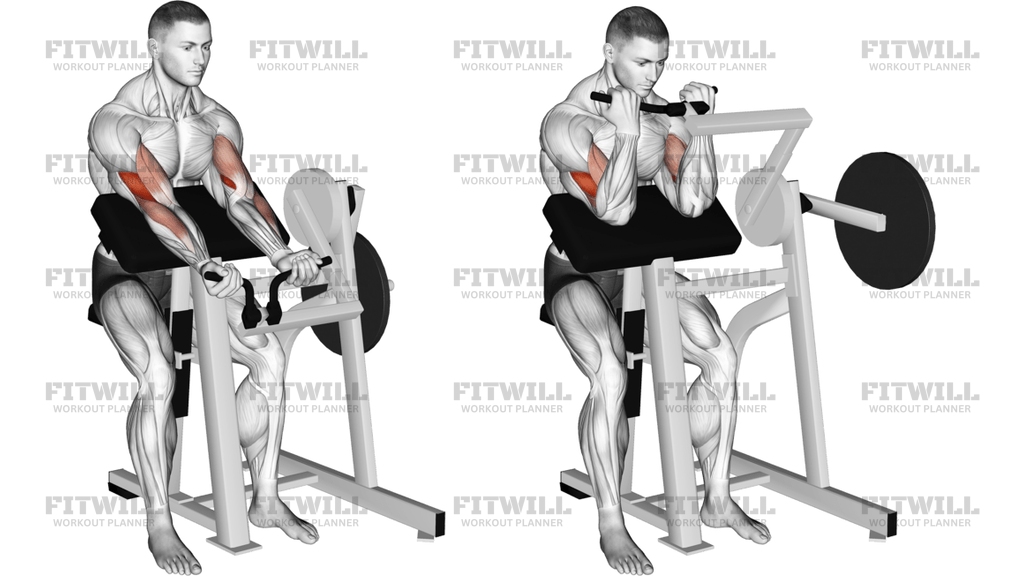
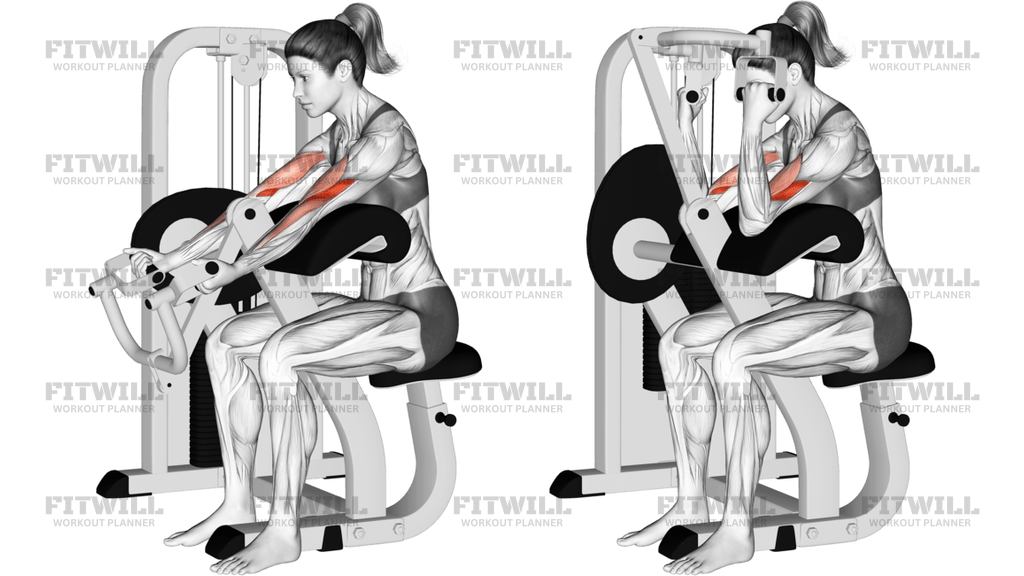
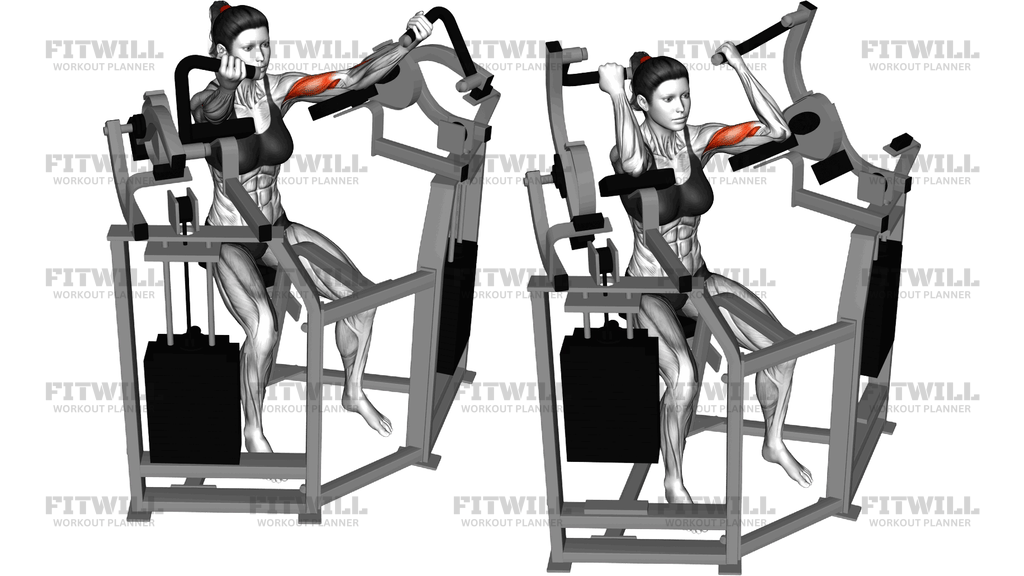
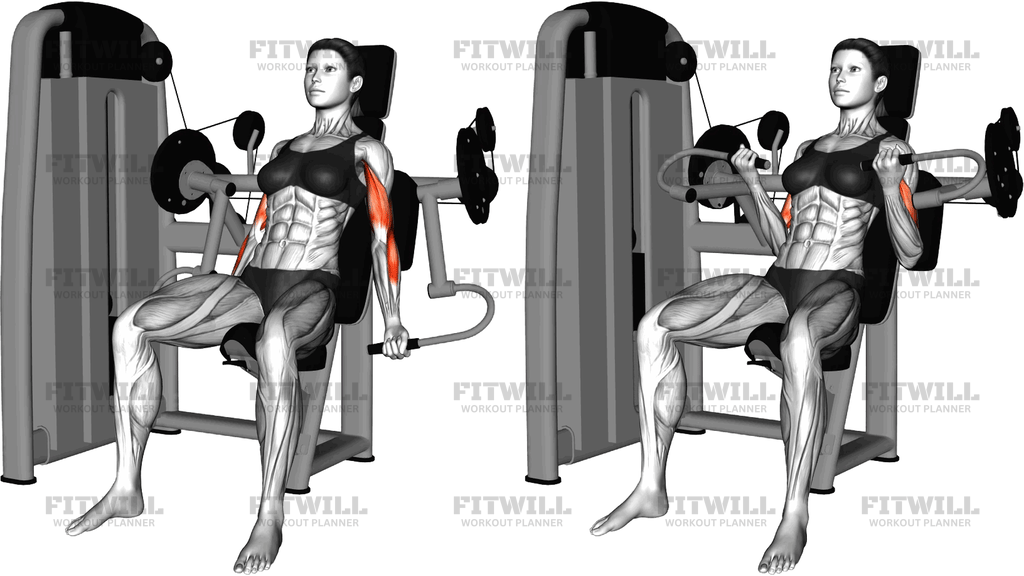
The Lever Biceps Curl is a machine-based arm exercise performed seated at a leverage (plate-loaded) curl station. You sit with your back against the upright pad, take hold of the machine's handles at your sides, and curl the lever arms up and forward in a smooth arc until your forearms approach your shoulders. Because the resistance travels along a fixed path on pivoting arms, the movement stays consistent from rep to rep, which makes it easy to focus purely on the biceps rather than on stabilizing a free-weight barbell or dumbbell.
This exercise primarily targets the biceps brachii, with solid support from the brachialis underneath and the brachioradialis in the forearm. The seated position with the back pad removes most of the body English people rely on when curling a barbell, so the arms do the work on their own. It is especially useful for lifters who want to train biceps to fatigue without swinging, leaning, or losing elbow position late in a set.
The Lever Biceps Curl suits a wide range of trainees. Beginners often appreciate the guided path and the straightforward seat adjustment, while more experienced lifters use it as a finisher after heavy free-weight curls or as a controlled overload tool when the weight stack or plate loading allows small, precise jumps. Because each arm rides on its own lever, both sides are forced to contribute evenly, which helps keep left-right development balanced.
Setup matters more than most people think. Adjust the seat so your upper arms hang naturally at your sides and your elbows line up roughly with the pivot of the machine's arms. If the seat is too low, your elbows drift forward and the shoulders take over; too high, and the range at the bottom gets cut short. Feet flat on the floor, back against the pad, and a neutral-to-supinated grip on the handles put you in the right track before the first rep.
Execution should stay simple: curl the handles up in a controlled arc, squeeze at the top, and lower with deliberate speed rather than letting the lever drop. The fixed path means the hardest part of the rep is predictable, so you can pace your breathing and brace your core steadily. Keep the shoulders relaxed and down instead of shrugging to help the handles along.
A few practical points keep this movement safe and productive. Start lighter than you think you need until you learn where the machine's resistance curve peaks, and never slam the lever arms back to the starting position. If you feel wrist or elbow discomfort, experiment with hand position slightly within what the handles allow, or reduce the load before changing anything else.
[ Workout Log & Planner ]
Put your next workout in Fitwill
Keep your plan and training log ready when you are.


Instructions
- Sit down at the leverage curl machine and adjust the seat height so your upper arms hang straight down at your sides and your elbows sit close to the machine's pivot points.
- Grip the machine's handles with a firm, comfortable hold, palms facing up or slightly inward depending on the handle design, and press your back against the upright pad.
- Place your feet flat on the floor about hip-width apart and brace your abdominal muscles lightly to keep your torso still.
- Let your arms extend fully toward the floor to reach the starting position, keeping a soft bend at the elbows rather than locking them out hard.
- Curl the lever arms up and forward by bending your elbows, keeping your upper arms pinned to your sides throughout the rep.
- Continue the arc until your forearms are near vertical or the handles reach your shoulder height, then squeeze your biceps for a brief pause at the top.
- Lower the handles back down along the same path under control, resisting the weight on the way down instead of letting the lever drop.
- Exhale as you curl up and inhale as you lower the weight, keeping the breathing rhythm steady across the set.
- Complete all repetitions without shifting your hips or shoulders, then finish the set by guiding the lever arms fully back to rest before letting go.
Tips & Tricks
- If your shoulders round forward at the top of the rep, the seat is usually set too low — raise it until your elbows can stay behind your torso through the full curl.
- Avoid letting your elbows flare outward or drift forward off the pads; if they will not stay put, the load is likely too heavy for your biceps to move alone.
- Do not shrug your shoulders to help the handles up — if you notice your traps kicking in, drop the weight and focus on isolating the elbow joint.
- The leverage machine's resistance curve is often hardest in the mid-range, so expect the top of the rep to feel easier and resist the temptation to cut the bottom half short.
- Lower the lever over two to three seconds rather than dropping it — the controlled eccentric is where a lot of the growth stimulus for the biceps comes from.
- Keep your wrists straight and neutral over the handles; bending them back under load shifts tension to the forearm flexors and can aggravate the elbow.
- Because the levers move independently, watch in the mirror for one arm finishing before the other and match the weaker side's range rather than the stronger one.
- Rest about a second at full extension between reps to remove any bounce from the machine's pivots before starting the next curl.
Frequently Asked Questions
Which muscles does the Lever Biceps Curl work?
The biceps brachii is the primary muscle, with the brachialis and brachioradialis assisting and the forearm muscles working to hold the handles. The shoulders and traps should stay mostly uninvolved if your position is correct.
Is the Lever Biceps Curl good for beginners?
Yes. The fixed lever path takes stability demands out of the equation, so a beginner can learn what a proper biceps contraction feels like before progressing to free-weight curls.
How is the Lever Biceps Curl different from a dumbbell curl?
The machine locks your elbows at your sides and moves the resistance along a set arc, which prevents swinging and lets you push closer to failure safely. A dumbbell curl offers more freedom of movement but also more ways to cheat.
How should I set the seat height on the machine?
Adjust it so your upper arms hang vertically at your sides and your elbows align close to the machine's pivot points. This keeps tension on the biceps and stops your shoulders from taking over the movement.
Why do my wrists ache during the Lever Biceps Curl?
This usually comes from bending the wrists backward under load. Keep your knuckles in line with your forearm, loosen your grip slightly, and if discomfort persists, reduce the weight before changing your hand position.
Should I let my elbows come forward at the top of the curl?
No. Keep your upper arms against your sides for the whole rep. Driving the elbows forward turns it into a front raise pattern and takes work away from the biceps.
Where should the Lever Biceps Curl fit in my workout?
It works well as a finishing movement after heavier barbell or dumbbell curls, or as a primary biceps exercise early in an arm session when you want strict, fatigue-free volume.
What can I substitute if my gym has no leverage curl machine?
Seated dumbbell curls with your back braced against an incline bench, preacher curls, or cable curls with the pulley set low all train the biceps through a similar arc with the elbows stabilized.
How slow should I lower the handles on each rep?
Aim for roughly two to three seconds on the way down. Dropping the lever quickly removes tension at the bottom and lets the machine's momentum do the work for you.
Is it safe to train the Lever Biceps Curl to failure?
It is one of the safer exercises to push hard because the fixed path and supported back position remove balance demands. Still, guide the lever arms down on the final rep and never release the handles while the weight is loaded.