Lying Alternate Knee Tuck
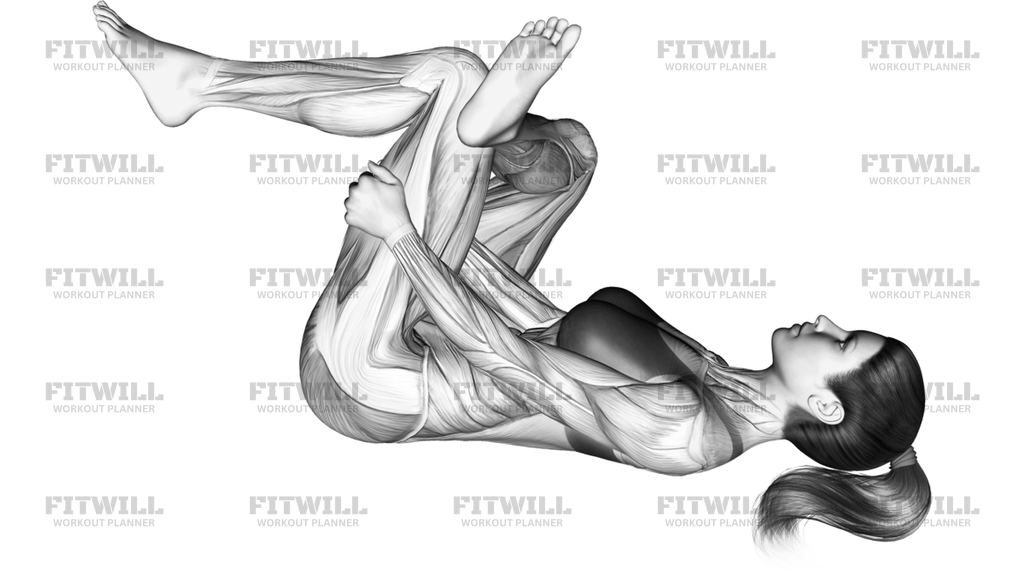
The Lying Alternate Knee Tuck is a supine mobility drill where you lie on your back, pull one knee toward your chest with both hands, and keep the opposite leg extended and hovering just above the floor. You then swap legs in a slow, controlled rhythm, so each hip gets a turn at being tucked and stretched. Because it happens on the floor with no load, it is one of the safest ways to loosen the hips, glutes, and low back.
The tucked side gets a gentle stretch through the glutes and the back of the hip as the knee moves toward the chest, while the extended side lengthens the hip flexors and quads, which sit in a shortened position for most people who sit at a desk all day. Holding one leg off the floor also asks your lower abs to work lightly to keep the pelvis from tipping, so the drill doubles as gentle trunk control work rather than pure passive stretching.
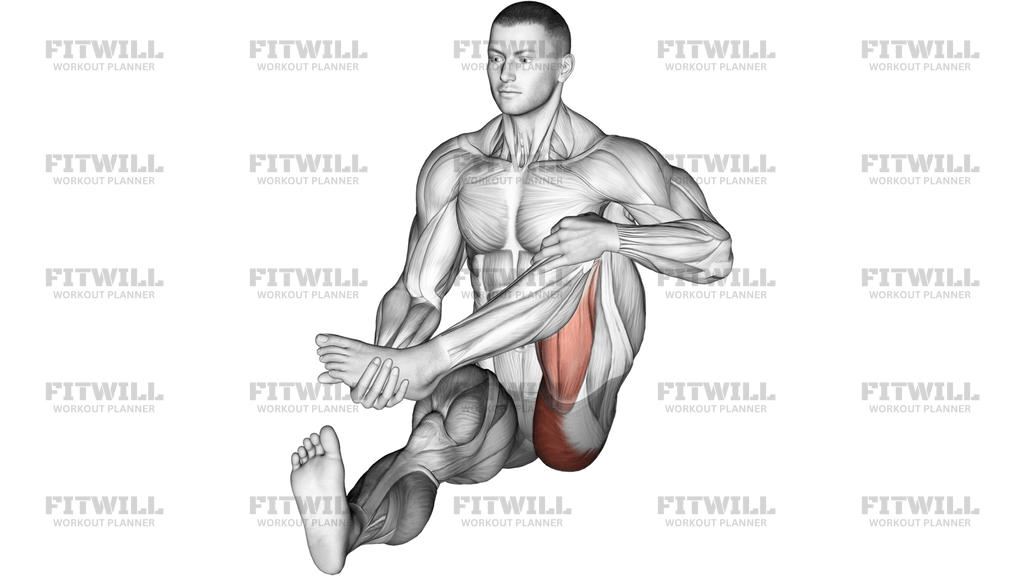
Setup matters more than it looks. Your lower back should stay in contact with the mat, your head and shoulders relaxed on the floor, and your hands clasped over the shin just below the knee rather than pressing on the kneecap. If the extended leg drops the pelvis into an arch, bending that knee slightly or letting it rest closer to the mat in a controlled way keeps the stretch honest without straining the spine.
This movement fits well at the start of a workout as a hip and low back warm-up, at the end of a session to bring the hips down, or on its own during recovery days. It is especially useful for runners, cyclists, and anyone with tight hip flexors or a stiff low back. Beginners can do it easily, and people returning from long breaks often use it as a first step back into floor work.
Execute it slowly: pull one knee in until you feel a comfortable stretch across the hip, pause briefly, then trade legs while the first foot returns to the extended, hovering position. Alternating in a smooth tempo keeps both hips engaged and prevents you from rushing through the range. Keep the neck relaxed and breathe steadily throughout.
The main safety point is to avoid cranking the knee or bouncing at the end range. The pull should come from the arms gently guiding the thigh, not from yanking the joint. If you feel pinching in the front of the hip or any low back discomfort, reduce the range or keep the extended leg bent until your mobility improves.
Fitwill
Log Workouts, Track Progress & Build Strength.
Achieve more with Fitwill: explore over 9600 exercises with images and videos, access built-in and custom workouts, perfect for both gym and home sessions, and see real results.
Start your journey. Download today!




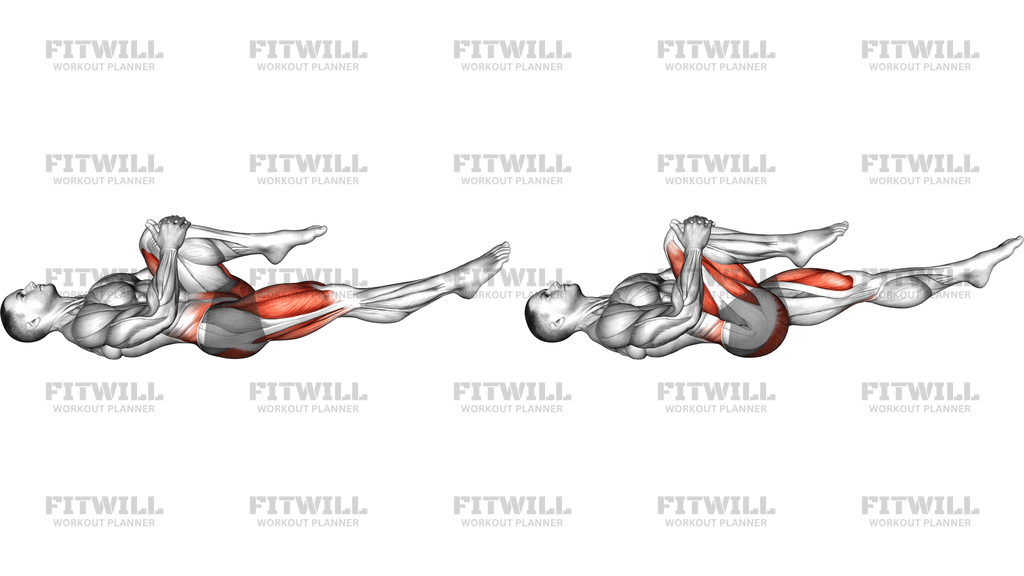
Instructions
- Lie flat on your back on an exercise mat with both legs extended and your arms resting at your sides.
- Draw your right knee toward your chest and clasp both hands together over the shin, just below the knee.
- Extend your left leg straight out so it hovers a few centimeters above the mat, toes pointing up.
- Keep your head, shoulders, and lower back in contact with the mat throughout the movement.
- Pull the tucked knee gently closer until you feel a comfortable stretch in the glute and back of the hip, and pause for a moment.
- Release the right knee slowly, extend that leg to the hovering position, and immediately draw the left knee to your chest with both hands.
- Continue alternating legs in a slow, controlled rhythm, keeping the non-working leg straight and off the floor.
- Exhale as you pull each knee in and inhale as you switch legs, keeping your breathing steady.
- Complete an even number of repetitions on each side, then lower both legs to the mat to finish.
- If your lower back arches when the extended leg hovers, bend that knee slightly or shorten the hold until you build more control.
Tips & Tricks
- Grip the shin behind the knee, not the kneecap. Pressing directly on the knee joint is the most common mistake in this drill and gives you no extra stretch.
- Watch the extended leg. It tends to creep toward the floor as fatigue sets in, which arches the lower back and steals the stretch from the hip flexors, so hold it actively above the mat.
- Keep your ribcage down. As the knee pulls in, many people lift the chest or tip the pelvis, which turns a hip stretch into a low back strain.
- Do not bounce the knee at the top. A slow, steady pull with a brief pause does more for hip mobility than repeated jerking.
- If the back of your thigh cramps on the extended leg, which is common in tight hamstrings, soften the knee slightly rather than forcing it perfectly straight.
- Keep the neck and shoulders completely relaxed on the mat. Tension in the upper body is a sign you are pulling too hard.
- Move slowly between sides. Rushing the switch lets the hovering leg drop and turns the drill into a momentum exercise.
- A im for a mild stretch, never pain. Pinching at the front of the tucked hip means reduce the range and pull the knee slightly outward toward the armpit instead.
Frequently Asked Questions
What muscles does the Lying Alternate Knee Tuck target?
The tucked side stretches the glutes and the back of the hip, while the extended side lengthens the hip flexors and quads. The lower abs also work lightly to keep the pelvis stable and the hovering leg under control.
Why does one leg have to stay off the floor in the Lying Alternate Knee Tuck?
Keeping the extended leg hovering lengthens the hip flexors of that leg and makes the lower abs stabilize the pelvis. If you rest it on the floor, you lose most of the front-of-hip stretch and the drill becomes a simple knee-to-chest hold.
Is the Lying Alternate Knee Tuck good for beginners?
Yes, it is one of the most beginner-friendly hip mobility drills because it is performed on the floor with no load. Beginners should simply reduce the range and keep the extended leg slightly bent if the lower back arches.
Should I pull on my knee during the Lying Alternate Knee Tuck?
No. Clasp your hands over the shin just below the knee and let the thigh do the moving. Pulling directly on the kneecap stresses the joint without improving the stretch.
How long should I hold each knee tuck?
A brief pause of one to three seconds at the top works well when alternating, or hold each side for 15 to 30 seconds if you are using it as a dedicated stretch. Either approach counts, just keep the tempo slow.
My lower back arches when the extended leg hovers. What should I change?
Bend the extended knee slightly or let it hover higher above the mat, and press your lower back gently toward the floor. This keeps the pelvis neutral while your hip mobility and core control improve.
What can I substitute for the Lying Alternate Knee Tuck?
A single knee-to-chest stretch with the other foot flat on the floor covers similar ground with less core demand. Standing knee pulls while holding a wall work when getting down to the floor is uncomfortable.
Is it better to do the Lying Alternate Knee Tuck before or after a workout?
It works well before a workout as a gentle warm-up for the hips and low back, and after training to relax the hip flexors and glutes. Keep the pre-workout version moving and the post-workout version held longer.
I feel a pinch at the front of my hip when I tuck the knee. Is that normal?
A sharp pinch is not a normal part of the stretch. Pull the knee slightly out toward the same-side armpit, reduce how far you draw it in, and if the pinching persists, skip the drill and have it assessed by a qualified professional.
How many repetitions of the Lying Alternate Knee Tuck should I do?
Six to ten controlled alternations per side is a solid dose for warm-ups or recovery days. The key is even, slow reps on both sides rather than a high total.