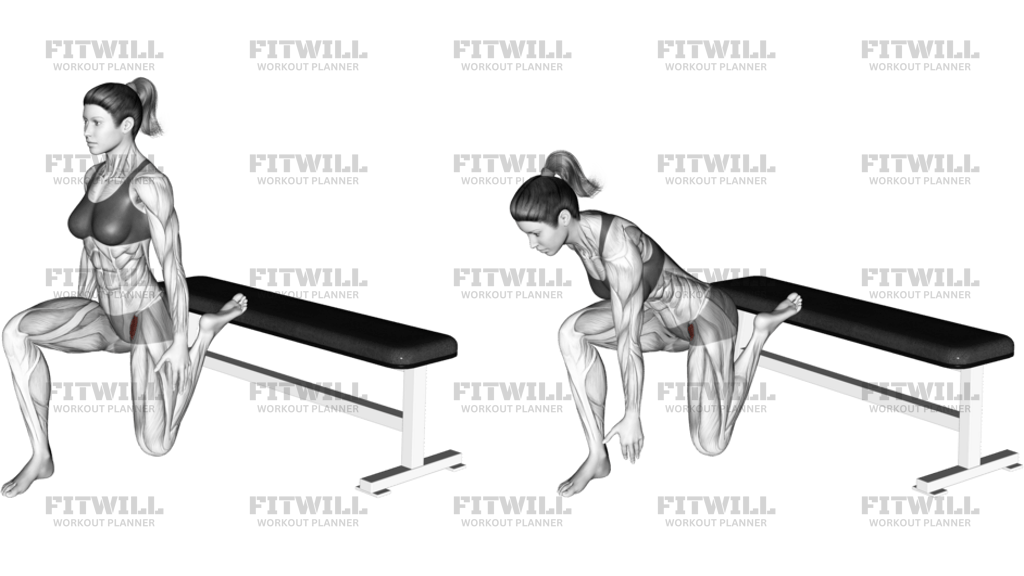
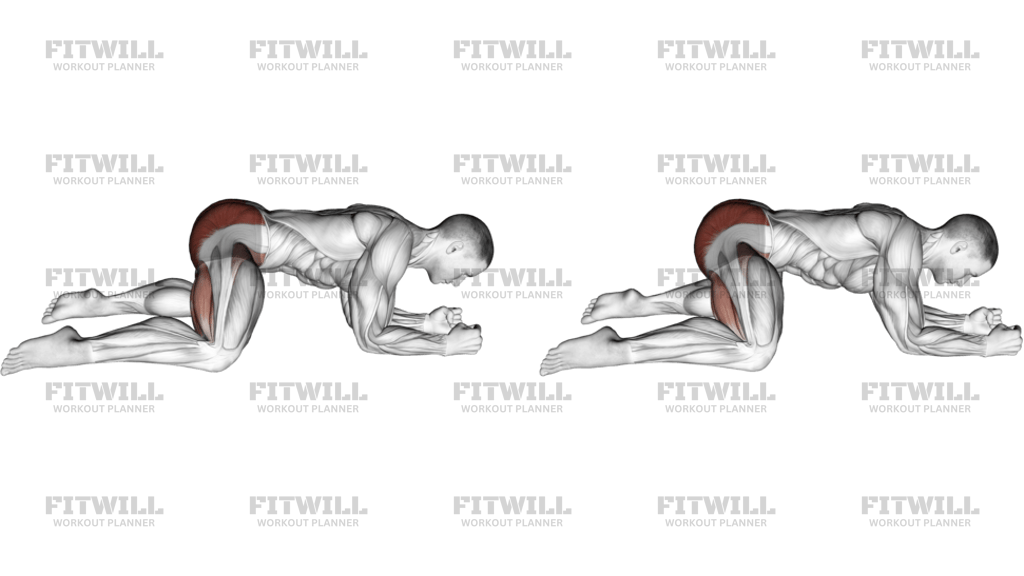
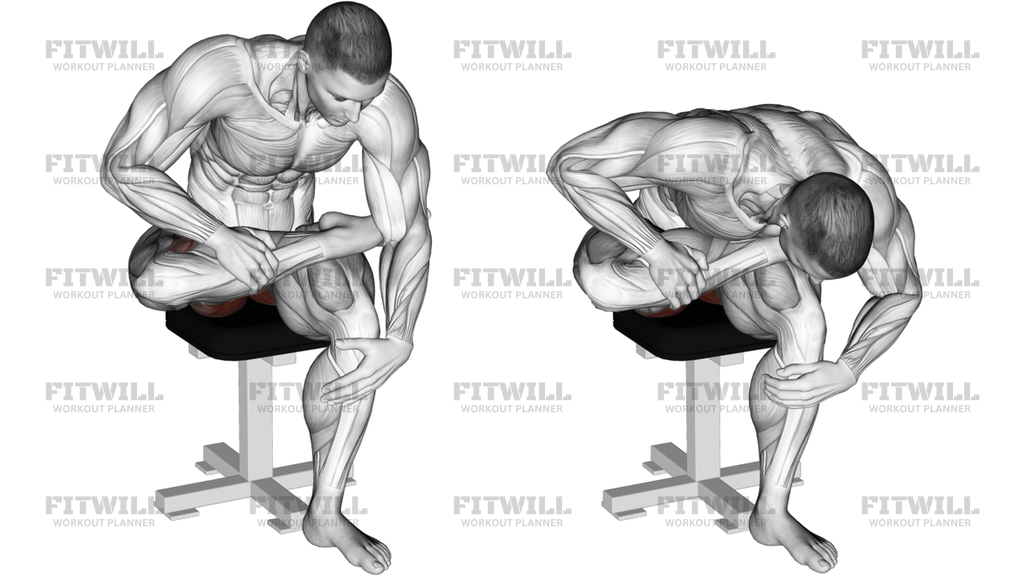
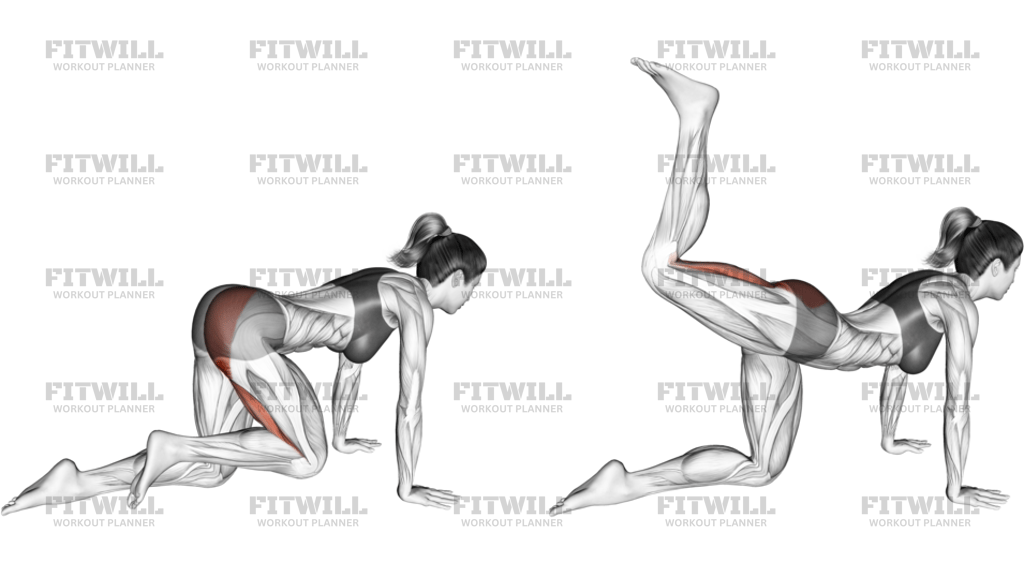
Lying Figure 4 With Rotation
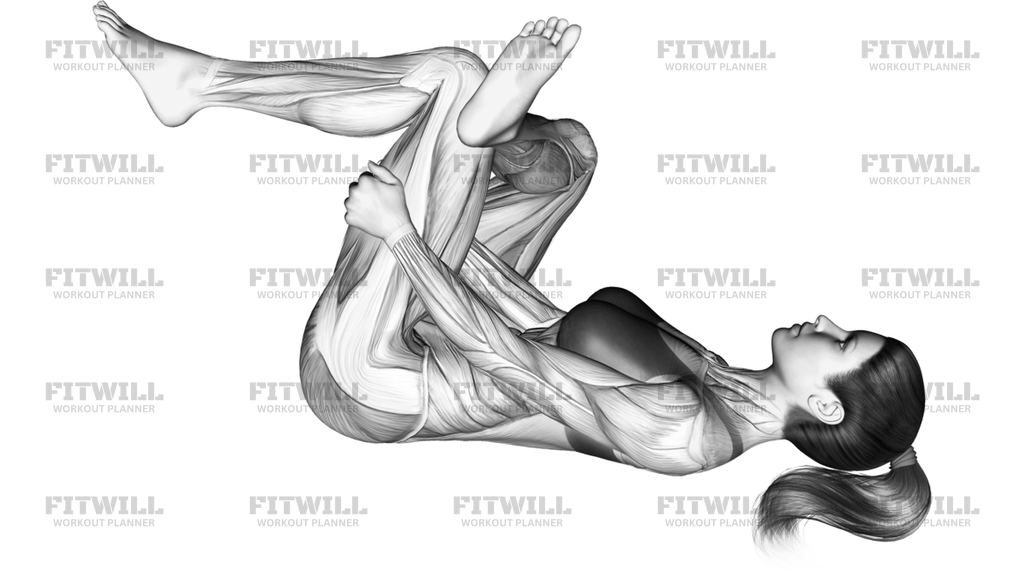
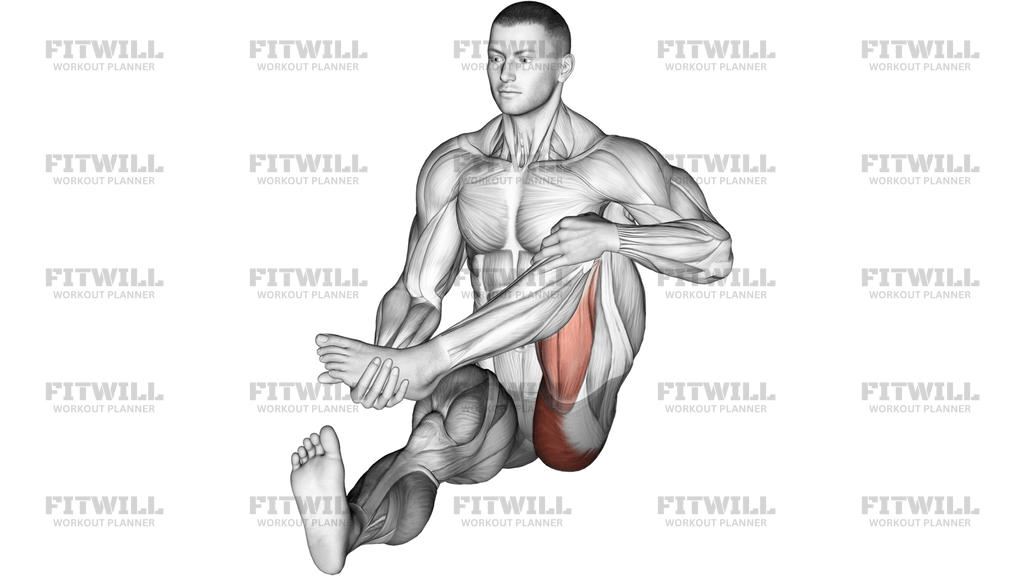
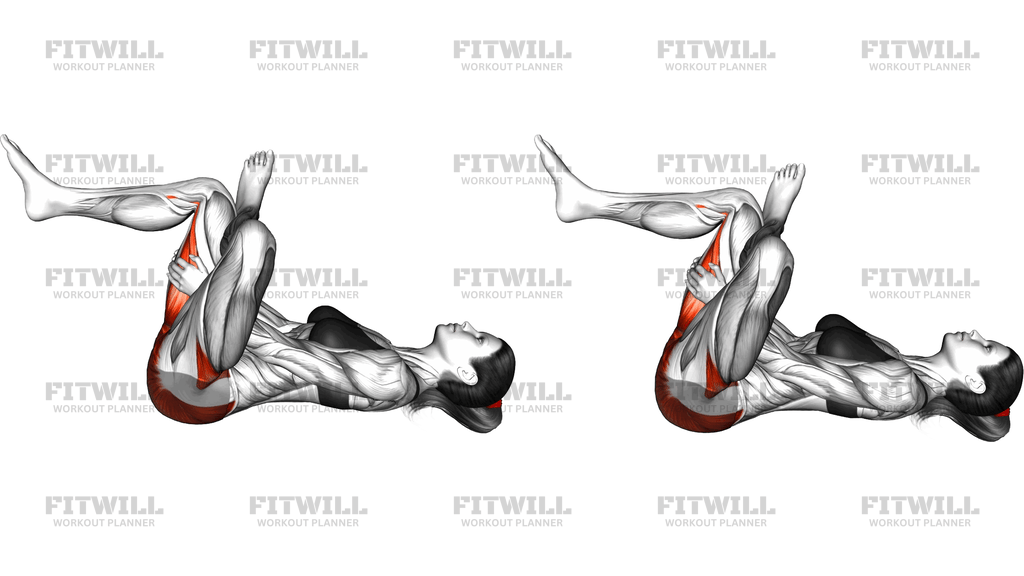
Lying Figure 4 With Rotation is a supine hip mobility stretch that targets the glutes and outer hip in a single position. You lie on your back, cross one ankle over the opposite knee to form a figure 4 shape, then draw the supporting thigh toward your chest and add a gentle rotational element that spirals the crossed knee. Because your spine stays fully supported by the floor, this is one of the safest ways to open up the deep hip rotators, even for people who find seated hip stretches uncomfortable.
The main area this stretch reaches is the glute complex, especially the gluteus maximus and the deeper outer-hip muscles that rotate and stabilize the thigh. When you pull the supporting leg in and rotate the figure 4 position, those tissues are taken through a combination of flexion and external rotation that is hard to isolate in standing or seated stretches. The lower back also benefits, since the supine position lets the lumbar spine relax completely while the hips do the work.
This movement is a staple for anyone who sits for long hours, runners and cyclists whose hips tend to feel tight and compressed after training, and people working on hip mobility for squats, lunges, or everyday comfort. The rotation component makes it especially useful for addressing stiffness that a plain figure 4 hold does not fully reach, as the rotational angle shifts tension through slightly different fibers of the glutes and outer hip.
Setup matters here. Your head, shoulders, and sacrum should rest evenly on the mat, and your hands should clasp behind the supporting thigh rather than pressing down on the crossed knee. Pressing on the knee is the most common error and can strain the knee joint instead of stretching the hip. Keep the crossed foot flexed to protect the ankle and knee, and let the stretch come from the hip. Move into the rotation slowly and stay within a comfortable range, since the deep hip rotators respond better to patience than to force.
Use this stretch after lower body training, on rest days, or as part of an evening wind-down routine. Hold each side long enough for the tissue to actually release, breathe steadily throughout, and never bounce or force the rotation. If you feel pinching in the front of the hip or any knee discomfort, reduce the angle of the cross or back off the pull slightly.
[ Workout Log & Planner ]
Put your next workout in Fitwill
Keep your plan and training log ready when you are.


Instructions
- Lie on your back on an exercise mat with both knees bent and your feet flat on the floor.
- Cross your right ankle over your left thigh just above the knee, letting the right knee open out to the side so your legs form a figure 4, and flex the right foot.
- Lift your left foot off the floor and thread your hands through the opening to clasp them behind your left thigh.
- Brace lightly by keeping your ribs down and your lower back in contact with the mat, then exhale as you draw the left thigh toward your chest.
- Stop when you feel a clear stretch through the right glute and outer hip, keeping your head and shoulders relaxed on the floor.
- Add the rotation by slowly turning the figure 4 shape, guiding the right knee a few degrees toward your right shoulder and then easing it back, letting the hip spiral under control.
- Breathe slowly and deeply, releasing a little further into the stretch with each exhale, and hold for 20 to 40 seconds.
- Return the left foot to the floor with control, uncross the right ankle, and reset briefly before switching sides.
- Repeat the same sequence on the other side, aiming for equal time and equal range on both hips.
Tips & Tricks
- Clasp behind the supporting thigh, not on top of the crossed shin, so the force goes into the hip you are trying to stretch rather than the knee you are crossing over.
- If your head or shoulders lift as you pull the thigh in, you are pulling too hard; ease off until your upper back stays heavy on the mat.
- Keep the crossed foot actively flexed the whole time, because a floppy ankle lets the knee collapse inward and shifts stress into the joint.
- Do the rotation as a slow oscillation, not a jerk; the deep hip rotators release gradually and will guard against fast twisting.
- If you cannot reach behind the thigh comfortably, use a towel looped around the thigh to extend your reach instead of straining forward and rounding your neck.
- Watch that your pelvis stays level; letting one hip hike off the floor shortens the stretch on the very side you are working.
- A mild ache deep in the glute is expected, but sharp pain, pinching at the front of the hip, or tingling down the leg means back out of the position immediately.
- Warm hips stretch better, so this works well after a walk, a workout, or a warm shower rather than first thing in the morning on cold muscles.
- If the outer hip feels tight but painless, hold the rotation end range slightly longer rather than increasing the pull.
Frequently Asked Questions
What muscles does the Lying Figure 4 With Rotation stretch?
It primarily targets the glutes, especially the gluteus maximus and the deeper outer-hip rotators, with secondary tension in the hip flexors of the supporting leg and the muscles along the lower back.
Why add rotation to a standard Lying Figure 4 stretch?
The rotation changes the angle of pull through the glutes and outer hip, reaching fibers that a straight pull toward the chest does not fully address. It makes the stretch feel deeper without needing to pull harder.
Is the Lying Figure 4 With Rotation suitable for beginners?
Yes, the floor supports your spine the entire time, which makes it easier to control than seated or standing hip stretches. Beginners should simply use a smaller pull and skip deep rotation until the basic position feels comfortable.
How long should I hold the Lying Figure 4 With Rotation?
Aim for 20 to 40 seconds per side, and repeat 2 to 3 times if the hips feel particularly tight. Longer, relaxed holds work better than forcing a deeper range quickly.
Should I press on the crossed knee to deepen the stretch?
No, pressing on the knee loads the knee joint rather than stretching the hip. Keep your hands clasped behind the supporting thigh and let the hip be the only place the stretch comes from.
My lower back lifts off the mat when I pull my thigh in. What should I change?
Pull the thigh less far toward your chest and keep the opposite leg's position slightly lower until your sacrum stays grounded. You can also bend the supporting knee more to shorten the lever.
Can I do this stretch if I have a knee injury?
Be cautious, because the figure 4 position places a rotational demand on the crossed knee. Flexing the crossed foot and reducing the angle of the cross helps, but check with a qualified professional if the knee is currently painful or healing.
When is the best time to use the Lying Figure 4 With Rotation?
It works well after running, cycling, leg training, or long periods of sitting. Warm muscles release more readily, so post-workout or evening sessions tend to feel better than cold morning stretches.
What can I use if I cannot reach behind my thigh?
Loop a towel or strap around the supporting thigh and hold the ends instead. This keeps your shoulders and neck relaxed while you maintain the same pull and rotation.