Marching On Spot (Version 2)
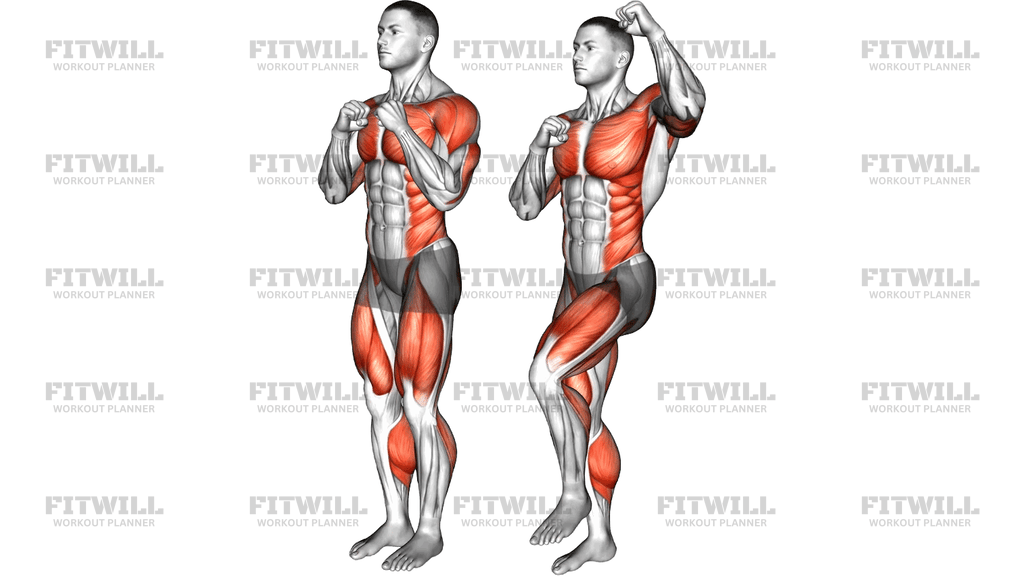
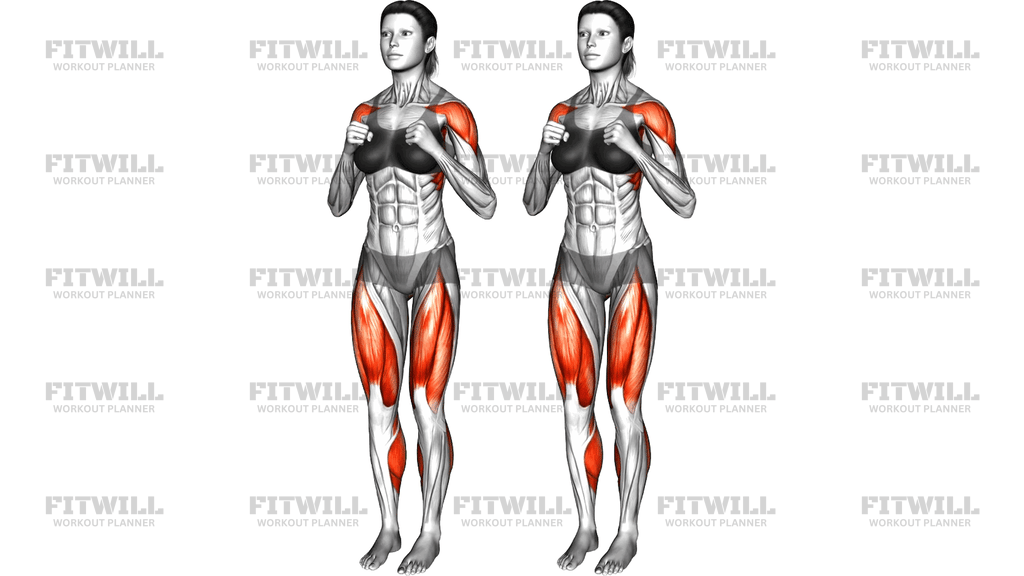
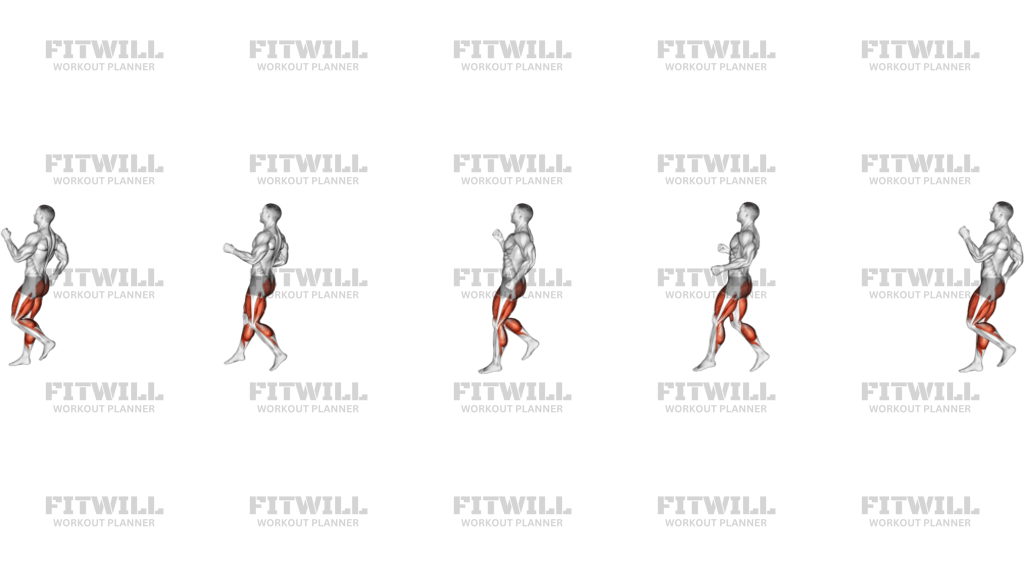
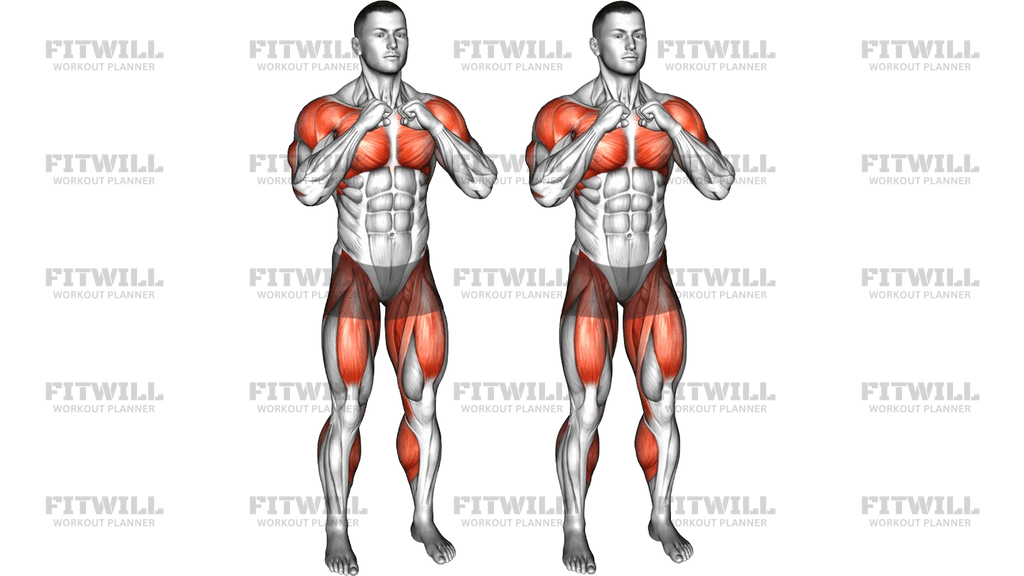
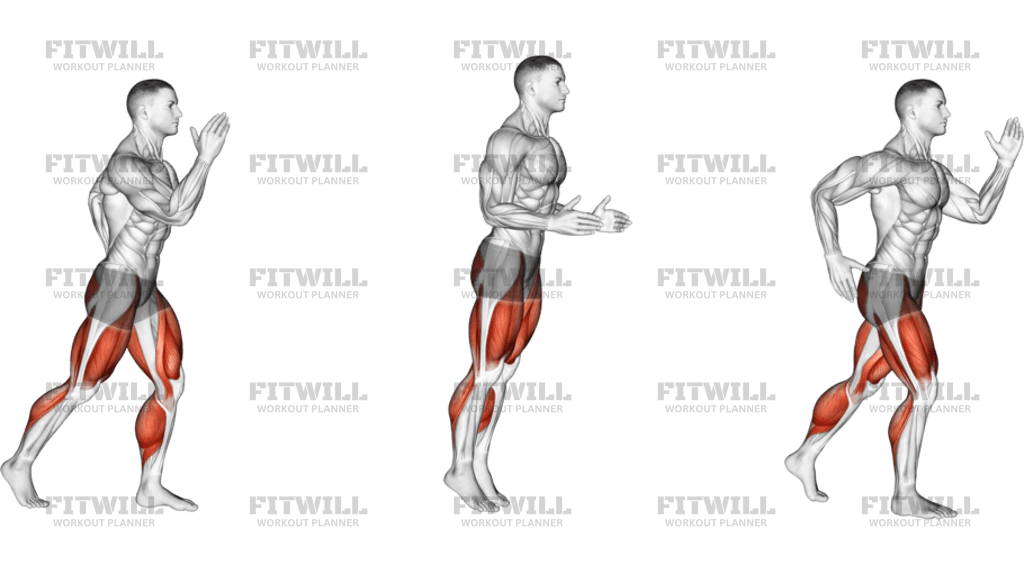
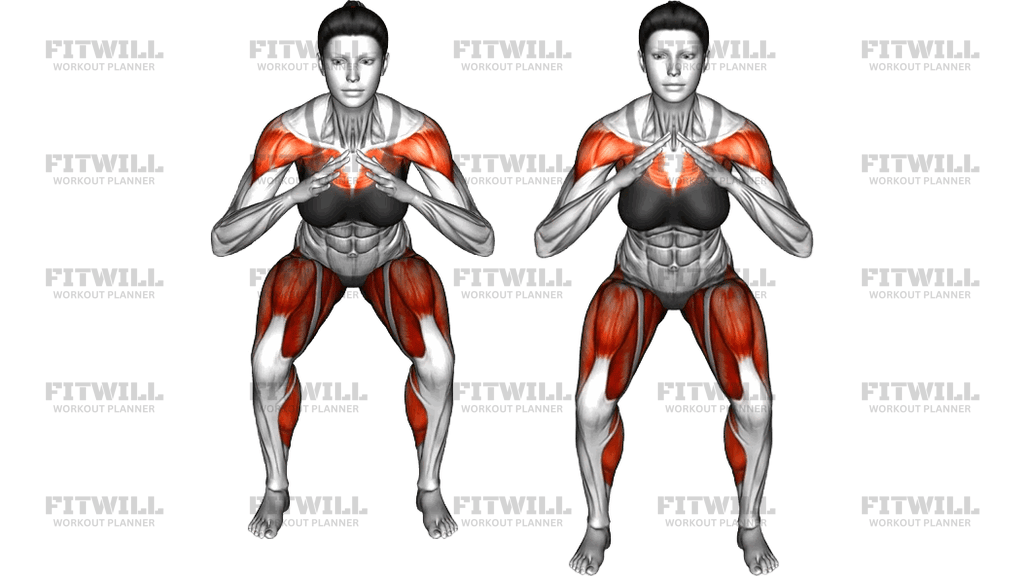
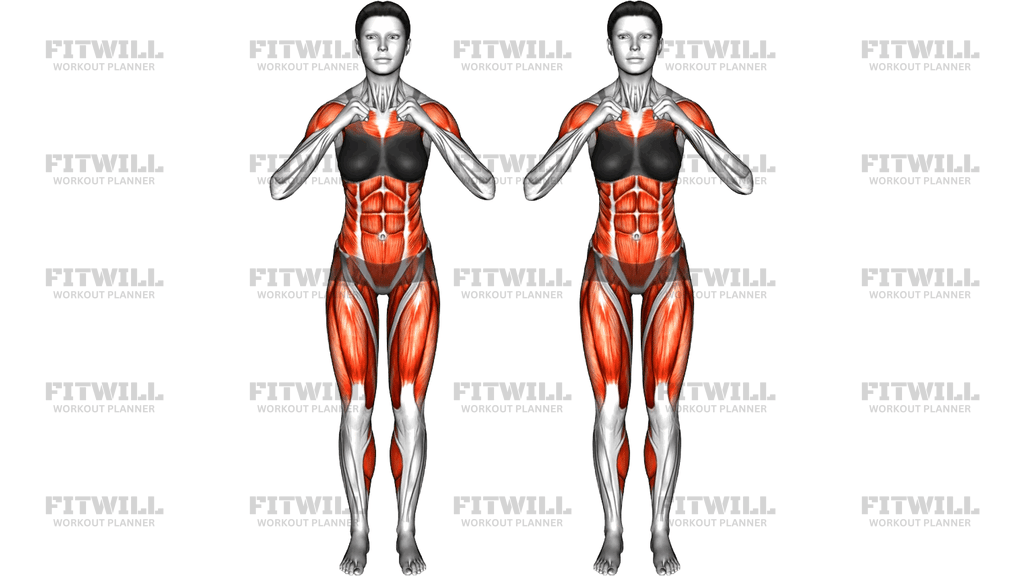
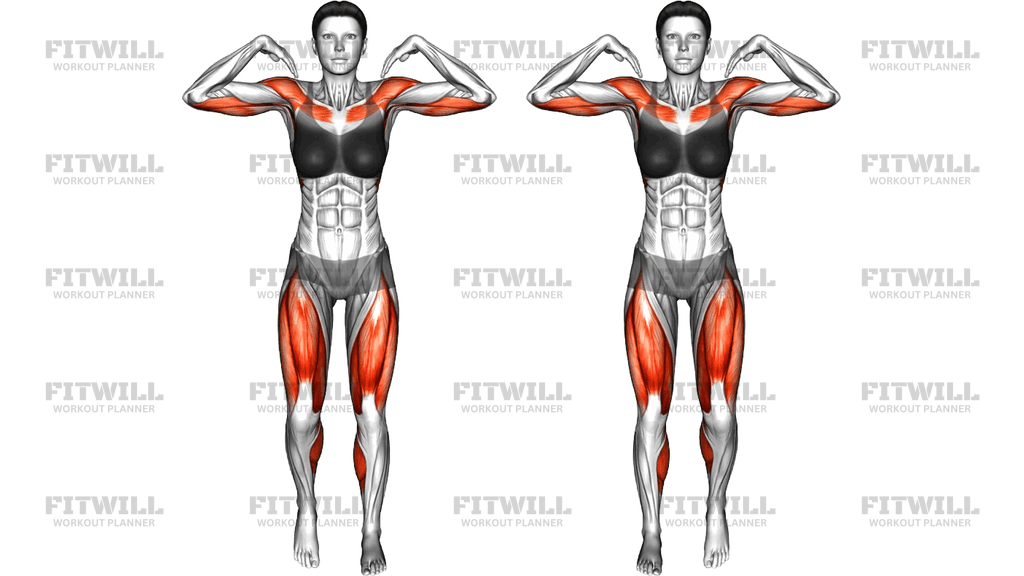
Marching On Spot (Version 2) is a standing, low-impact cardio movement where you lift your knees one at a time to roughly hip height while staying in place. Unlike the standard version where the arms swing naturally with the legs, this version keeps your hands in loose fists held up near your chest in a fixed guard-style position, so the emphasis stays squarely on the legs and trunk. The highlighted working area in this movement is the front of the thighs, with the calves and hip flexors assisting on every lift.
This exercise suits a wide range of people: complete beginners who need a gentle entry into cardio, older adults who want rhythm and balance practice without joint impact, and trained lifters who use it as a warm-up before squats, lunges, or running. Because one foot is always returning to the floor, the stress on the knees, ankles, and hips stays low, yet your heart rate climbs quickly if you keep the tempo honest.
The setup matters more than most people expect. Standing tall with a braced core, shoulders relaxed, and weight balanced across the whole foot prevents the two most common faults: leaning back as the knee comes up and slapping the feet down without control. When your torso stays upright and your hips stay level, each knee drive actually comes from the hip flexors and thighs rather than from momentum or a lean of the upper body.
To execute it well, think about driving the knee up rather than lifting the foot. Aim to bring the thigh roughly parallel to the floor, pause for a beat at the top, then place the foot down softly under your body. Alternate legs at a steady rhythm, keeping your breathing even and your fists stationary near your ribs so the arms do not drift or swing.
Common use cases include home cardio sessions, active recovery between strength sets, warm-ups before leg training, and low-impact conditioning for days when jumping is not appropriate. You can scale it easily: slow marching for recovery, faster cadence for conditioning, or a longer duration for endurance work.
From a safety standpoint, keep the movement within a knee height that feels comfortable, and stop if you feel pinching in the front of the hip or any knee discomfort. Soft landings and an upright torso protect your joints far better than speed or height, so build duration and cadence gradually.
Fitwill
Log Workouts, Track Progress & Build Strength.
Achieve more with Fitwill: explore over 9600 exercises with images and videos, access built-in and custom workouts, perfect for both gym and home sessions, and see real results.
Start your journey. Download today!




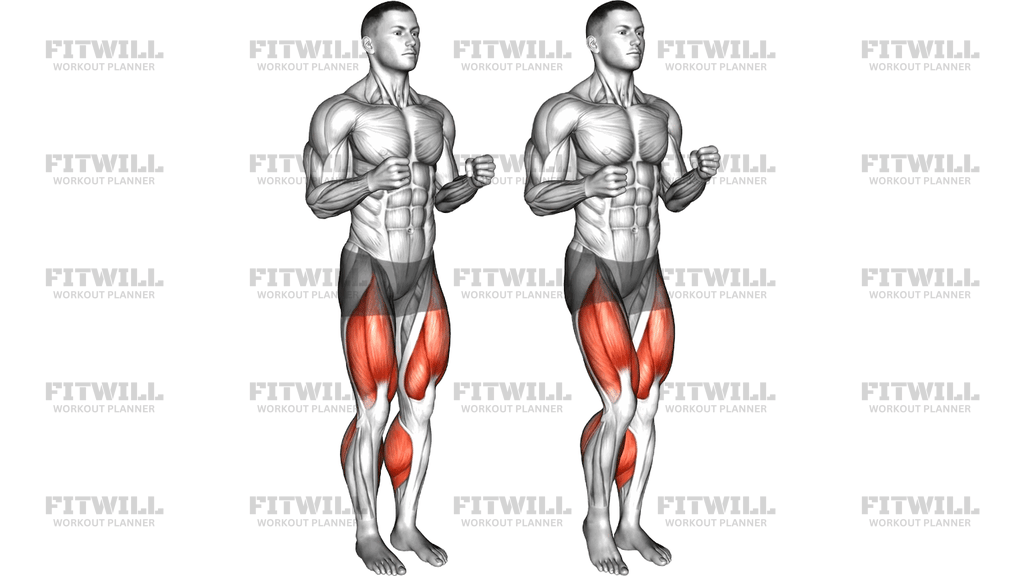
Instructions
- Stand with your feet hip-width apart, weight spread evenly across both feet, and your arms bent at the elbows with loose fists held up beside your chest.
- Roll your shoulders back and down, look straight ahead, and brace your abdominal muscles so your torso is upright and stable before you start.
- Shift your weight slightly onto your left foot, then drive your right knee upward until your thigh is roughly parallel to the floor.
- Keep your hands fixed near your ribs the entire time; the arms hold their position instead of swinging with the legs.
- Pause briefly at the top of the lift, then lower your right foot and place it softly back on the floor directly under your hip.
- Immediately repeat the drive with your left knee, alternating legs in a smooth, even rhythm.
- Breathe steadily throughout, inhaling and exhaling in rhythm with the steps rather than holding your breath.
- Keep your hips level and your torso tall on every rep; do not lean backward or let your lower back arch as the knee rises.
- Continue for your planned time or rep count, then slow the cadence for the last few steps and finish by standing still on both feet.
Tips & Tricks
- If you catch yourself leaning back as the knee comes up, shorten the lift to a height you can reach with a vertical torso; the lean usually means the hip flexors are being asked to work past their comfortable range.
- Soft, quiet foot contacts are the goal. Loud slapping means you are dropping the leg instead of controlling the lowering phase.
- Keep the fists near the chest rather than dropping the arms; once the hands fall, the pace usually slows and the posture slumps with them.
- Push the floor away through the ball of the standing foot on each lift so the calf contributes instead of the ankle collapsing inward.
- Do not let the knee drift outward or inward as it rises; track it straight ahead in line with the toes to keep the hip and knee joints aligned.
- If your lower back arches at the top of the lift, think about tucking the pelvis slightly and keeping the abs braced rather than chasing extra knee height.
- Start with a slower cadence than feels necessary. Most people rush the rhythm and lose the controlled foot placement that makes this drill effective.
- Marching on a firm, non-slip surface gives the best feedback; avoid soft or uneven ground until your single-leg balance feels solid.
Frequently Asked Questions
Which muscles does Marching On Spot (Version 2) work the most?
The quadriceps at the front of the thighs do the bulk of the visible work, with the hip flexors driving each knee lift. The calves, glutes, and core stabilize the body and assist on every step.
What makes Version 2 different from the standard Marching On Spot?
In this version the arms stay bent with the fists held up near the chest instead of swinging with the legs. This keeps the focus on the lower body and trunk and removes any upper-body momentum.
How high should I lift my knees?
Aim for thigh roughly parallel to the floor, but a lower lift is fine if that is where you can keep your torso upright and hips level. Height should never come at the cost of a backward lean.
Is this a good exercise for beginners?
Yes, it is one of the most accessible cardio drills because it requires no equipment, no impact, and no coordination beyond alternating knees. Beginners can start with 30 to 60 seconds at an easy pace.
How long should I perform Marching On Spot (Version 2)?
For a warm-up, 1 to 3 minutes at a moderate cadence is usually enough. As a standalone cardio bout, accumulate 5 to 15 minutes, adjusting the pace to keep your breathing controlled.
Why do my lower back and hip flexors feel this exercise?
The hip flexors lift the thigh against gravity each rep, and they attach near the lumbar spine, so fatigue can be felt in that region. If your lower back arches, reduce the knee height and brace your abs more firmly.
What is the most common mistake with this movement?
Leaning the torso backward as the knee rises and slapping the feet down without control. Both faults reduce the work on the thighs and hips and add unnecessary stress to the lower back and knees.
Can I use Marching On Spot (Version 2) instead of jumping rope or jogging?
It is a solid low-impact substitute when you want to raise your heart rate without jumping or leaving a small space. It will not develop the same calf and foot stiffness as jumping, but it is gentler on the joints.
Should my arms move at all during this version?
Keep them fixed with the fists near your ribs; small adjustments are fine, but deliberate swinging belongs to the standard version. Holding the arms still also challenges your posture and shoulder endurance.
Is it safe for my knees?
For most people, yes, because one foot always returns to the ground and the load stays light. Lift only to a knee height that is pain-free, track the knee straight ahead, and stop if you feel sharp pain rather than muscle fatigue.