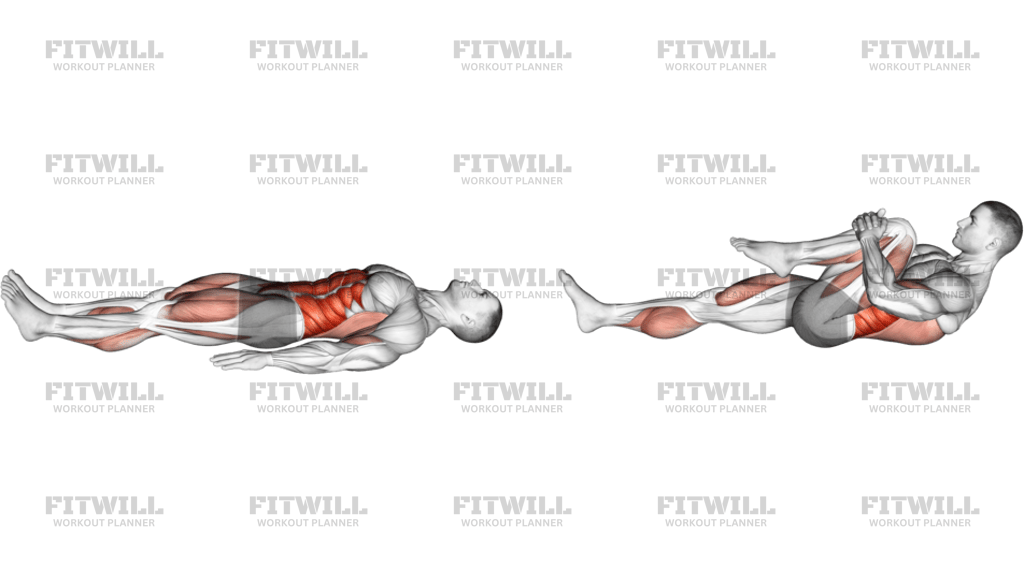
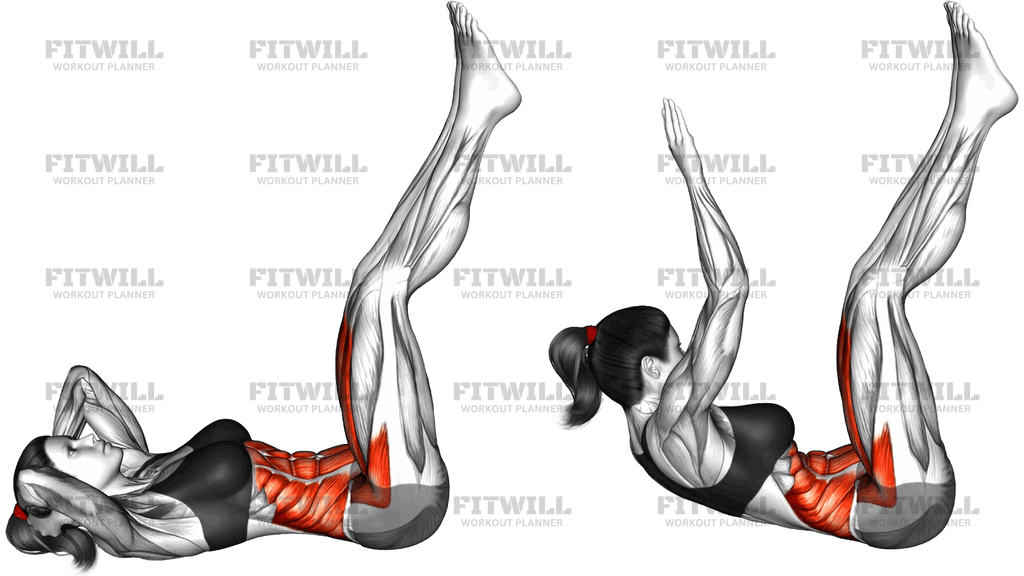
Lying Roll Up Pilates
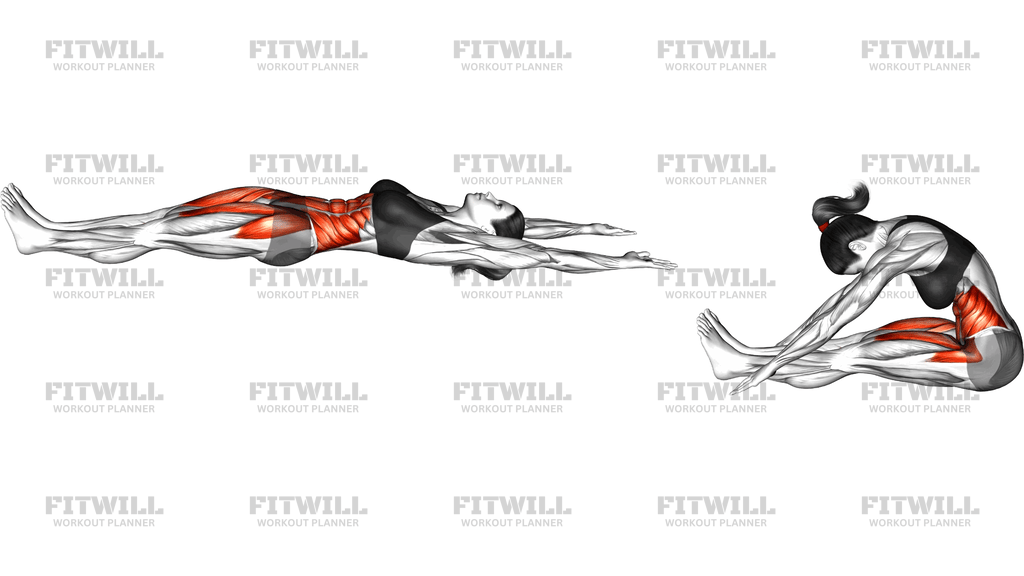
The Lying Roll Up Pilates is a classic mat exercise that takes you from flat on your back, arms stretched overhead, to a seated forward fold and back down again, one vertebra at a time. Unlike a crunch, which only shortens the front of the torso, the roll-up travels through the entire spine, demanding continuous control from the ribcage all the way to the pelvis. It is one of the foundational mat movements in Pilates and a reliable benchmark for how well your trunk articulates.
This movement is useful for almost anyone who spends time sitting, because it trains the deep abdominals to move the spine segment by segment instead of letting the lower back do all the work in one rigid block. It also stretches the hamstrings and calves at the top position and teaches the hip flexors to work without the pelvis tipping forward. Dancers, swimmers, and anyone building a smarter core for lifting benefit from it, and it doubles as a mobility drill for the thoracic spine.
The setup matters more than in most ab exercises. Lying fully lengthened with arms reaching past your ears puts the rectus abdominis and transverse abdominis at their longest working position, which is exactly why the first few inches of the roll-up are so hard. Your legs stay extended and pressed together, hips neutral, and the arms travel a wide arc from overhead to beside your hips as the spine peels off the mat.
Execution is about pacing, not power. You exhale as the head, neck, and shoulders lift, keep a gentle chin tuck, and roll up through the torso, drawing the belly toward the spine. At the top you reach toward your toes with a long, rounded back rather than a forced reach, then you reverse the path on an inhale, lowering with the same control you used going up. The descent is where most of the training value lives; dropping back too fast turns the exercise into a hip-flexor swing.
A practical safety note: if the movement causes your lower back to arch sharply off the mat or your feet to lift, bend your knees slightly or reduce the range until your abdominals are strong enough to control the full pattern. The roll-up should feel like smooth, continuous effort, never a jerk or a heave. Performed slowly, five to eight quality repetitions are usually plenty.
[ Workout Log & Planner ]
Put your next workout in Fitwill
Keep your plan and training log ready when you are.


Instructions
- Lie on your back on an exercise mat with your legs fully extended and pressed together, feet flexed or pointed, and your arms reaching straight overhead just above your ears.
- Lengthen through the back of the neck, let the ribs settle down toward your hips, and take a breath to prepare with your pelvis in neutral.
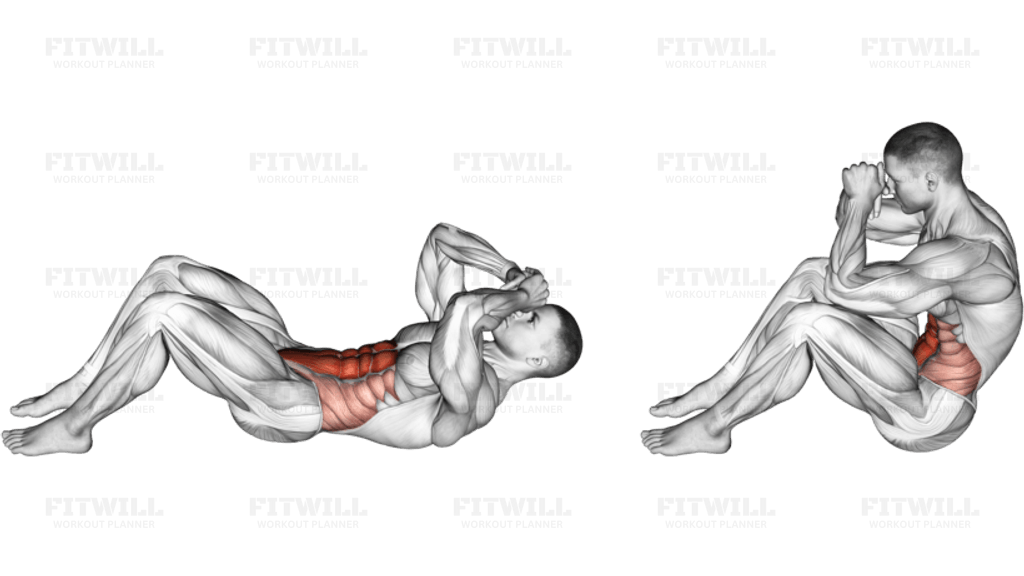
- Exhale and begin the roll-up by nodding your chin toward your chest, then peeling your head, shoulders, and upper back off the mat one section at a time.
- As your torso rises, sweep your arms forward in a wide arc so they end up reaching toward your toes.
- Continue curling up through the waist until you are fully seated with a long, rounded spine, reaching your hands toward or past your feet without letting the shoulders creep up to your ears.
- Inhale at the top to set your position, keeping your belly drawn in and your lower back gently rounded, not hinged flat.
- Exhale (or inhale, depending on your training style) and reverse the path, tucking the tailbone first and lowering your spine back down vertebra by vertebra, resisting gravity the whole way.
- Let your arms travel back overhead as your shoulders and head settle down, returning to the exact starting position.
- Reset your breathing and rib position before starting the next repetition, aiming for smooth, even pacing throughout.
Tips & Tricks
- If your feet lift or your hips pop up during the roll-up, your hip flexors are compensating for tired abdominals; bend your knees slightly or slow the ascent until the trunk can do the work.
- The hardest part is the first few inches off the mat, when your arms are still overhead. Press your lower back gently into the floor and imagine zipping up a jacket from the pubic bone before you start to lift.
- Do not lead with the head. A neck that strains forward is a sign the chin tuck is too aggressive; keep a small apple-sized space between chin and chest.
- Control the descent just as slowly as the ascent. If you thump back down vertebra by vertebra, you are losing roughly half the benefit of the Lying Roll Up Pilates.
- Keep the legs long but not locked. Over-squeezing the knees can tip the pelvis and flatten the natural curve of the lower back.
- At the seated position, aim for a smooth C-curve of the spine reaching toward the toes rather than a flat-backed hamstring stretch; the rounding is what keeps the abdominals loaded.
- Avoid using momentum from an arm swing to launch the torso. The arms travel with the trunk, they do not pull it up.
- If your hamstrings yank you back down at the top, this is a flexibility limit, not a core failure; sit on a small folded towel or reduce the reach until they loosen up.
- Breathe out through pursed lips during the effort phase; the long exhale naturally deepens the abdominal engagement and prevents breath-holding.
Frequently Asked Questions
What muscles does the Lying Roll Up Pilates work?
The primary movers are the rectus abdominis and deep transverse abdominis, which articulate the spine off the mat. The hip flexors assist significantly, and the hamstrings and calves receive a stretch at the seated position.
Is the Lying Roll Up Pilates suitable for beginners?
Yes, but most beginners need a modified version first, such as bending the knees or lifting with the arms already by the hips. Once you can control the full articulation without the feet lifting, progress to the straight-legged version.
Why do my feet lift off the mat during the roll-up?
This usually means the hip flexors are dominating because the abdominals cannot complete the lift. Shorten the range, slow the tempo, or bend the knees slightly until your core strength catches up.
How is the Lying Roll Up Pilates different from a sit-up?
A sit-up moves the torso as one rigid block powered largely by the hip flexors, while the roll-up lifts the spine one vertebra at a time and lowers the same way. The segmental control is what makes it both harder and more beneficial for trunk mobility.
How many repetitions of the Lying Roll Up Pilates should I do?
Because the movement is slow and demanding, five to eight controlled repetitions are typically enough per set. Quality of articulation matters far more than volume.
Should my legs be straight or bent during the Lying Roll Up Pilates?
The classical version keeps the legs long and together, which adds hamstring tension and hip-flexor demand. If your hamstrings pull your torso back down or your lower back strains, bending the knees is a legitimate modification rather than cheating.
Can I substitute the Lying Roll Up Pilates if I have neck discomfort?
You can support your head lightly with one hand behind the skull as you lift, or practice the top half of the movement from a seated curl and lower only. Never push through neck pain to reach the full range.
What is the most common mistake in the Lying Roll Up Pilates?
Rushing the descent and letting gravity drop the torso back down. The return phase trains the abdominals eccentrically, so lowering slowly through each spinal segment is where much of the value is.
Do I need any equipment for the Lying Roll Up Pilates?
Only an exercise mat is needed to cushion the spine during the lowering phase. A folded towel under the hips can help if tight hamstrings limit your seated reach.
When is the best point in a workout to perform the Lying Roll Up Pilates?
It works well early in a core session when you are fresh, since precise articulation degrades quickly under fatigue. It also serves as a movement-quality drill before heavier lifting or as a standalone Pilates mat practice.