Side To Side Hop
The Side To Side Hop is a bodyweight plyometric drill where you jump laterally from one foot to the other, landing on one leg each time while absorbing the impact with a soft knee bend. It looks simple, but it packs a lot into a small space: lateral power, single-leg landing mechanics, ankle stiffness, and the core control needed to keep your torso upright as your center of mass shifts side to side. Because both feet never touch the floor at the same time, every landing is a mini balance challenge.
This movement earns its place in warm-ups, conditioning circuits, and athletic training blocks. Any sport that involves cutting, changing direction, or pushing off sideways — basketball, tennis, soccer, skiing — relies on the exact pattern this hop trains. It also works well as a low-skill cardio interval: thirty to forty seconds of continuous hopping will spike your heart rate faster than most people expect.
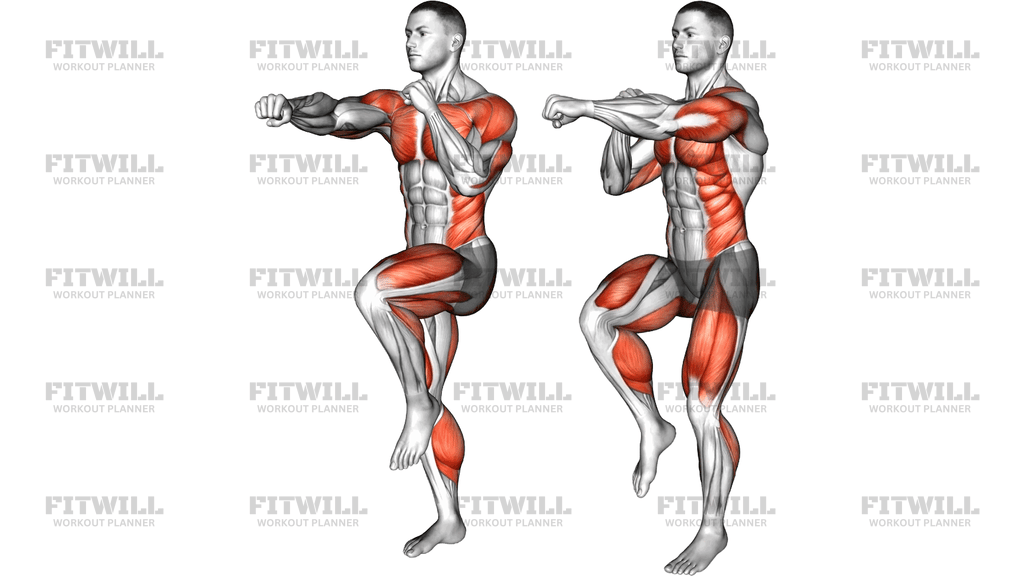
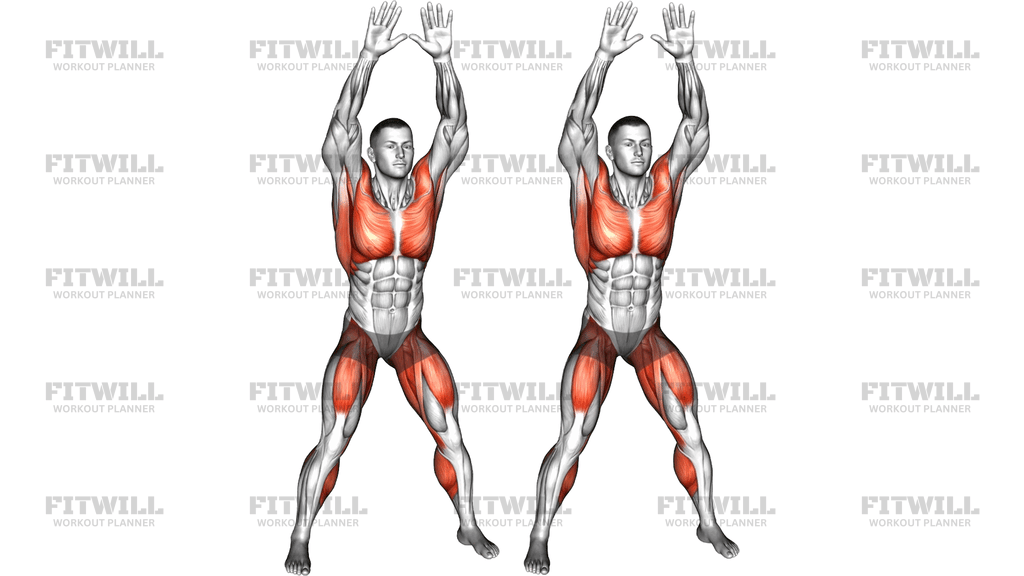
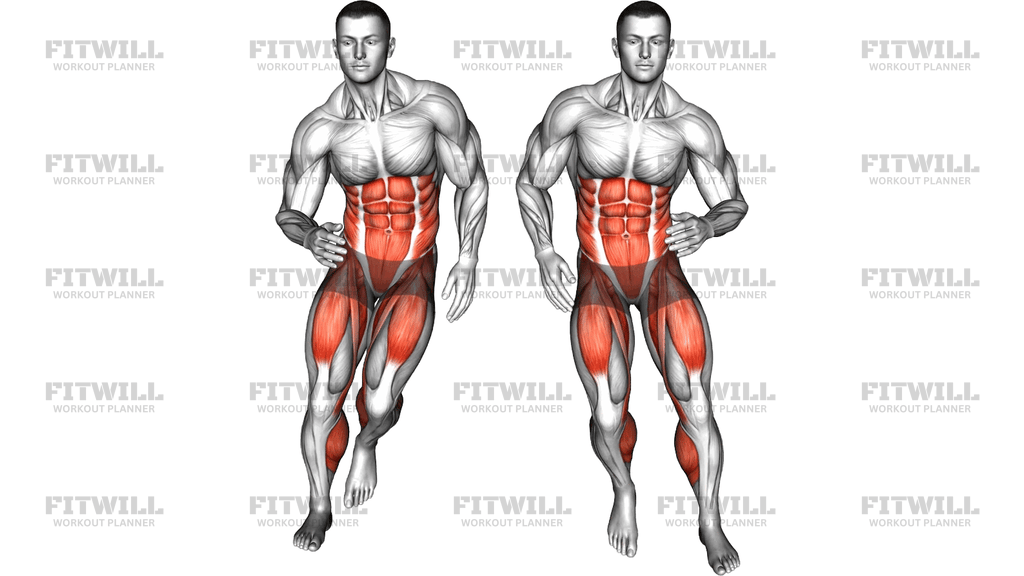
The main work comes from the quads and calves, which drive each push-off and cushion each landing, with the glutes and hip stabilizers controlling the side-to-side shift. Your core, especially the obliques and deep abdominals, works isometrically to stop your upper body from swaying or collapsing over the landing leg. The highlighted areas in the exercise artwork — the abdominal wall, thighs, and lower legs — reflect exactly where the demand sits.
Setup matters more than it seems. You need a flat, non-slippery surface and enough clearance on both sides, roughly a body width or a little more. Feet start together or hip-width apart with a slight knee bend already loaded. The hop itself should travel sideways, not forward, so pick a visual line on the floor and stay parallel to it. Arms swing naturally across the body to counterbalance the leg drive.
To execute well, think about quality of landing rather than height or speed. Push off the full foot, drive the knee up slightly as you travel, and land on the ball of the foot with the knee tracking over the toes and the hip sitting back a touch. Pause contact on the floor only as long as you need, then hop back the other way. Beginners can start with small, slow hops and even let the opposite foot tap down lightly; as control improves, increase distance, speed, and air time.
The most common faults are landing with a stiff straight leg, letting the knee cave inward, and leaning the torso so far sideways that the lower back takes over. All three are fixed the same way: smaller hops, softer knees, and a braced torso. If your ankles or knees are irritated, or you cannot yet control single-leg landings on the spot, build up with static balance holds and small forward hops before adding lateral travel.
[ Workout Log & Planner ]
Put your next workout in Fitwill
Keep your plan and training log ready when you are.


Instructions
- Stand on a flat, non-slip surface with your feet hip-width apart and about a body width of clear space on your left and right.
- Bend your knees slightly and hinge forward a few degrees at the hips so your weight sits over the balls of your feet; let your arms hang relaxed at your sides.
- Brace your core as if bracing for a light nudge, and keep your chest up and eyes forward so your torso stays tall.
- Push off your right foot and hop sideways to the left, lifting your right foot off the floor and letting your arms swing across your body for balance.
- Land on your left foot with the ball of the foot contacting first, then sink into a soft knee bend with the knee stacked over the toes and the hip sitting slightly back.
- Without pausing long, push off the left foot and hop back to the right, mirroring the same landing on the right leg.
- Continue hopping side to side in a smooth rhythm, keeping the hops the same distance in each direction and staying parallel to an imaginary line on the floor.
- Breathe steadily throughout — inhale on the landing, exhale as you push off — rather than holding your breath.
- When you finish the set, stop hopping, plant both feet together, and stand tall for a few seconds to let your balance and heart rate settle before the next set.
Tips & Tricks
- Start with short hops of 20–30 centimeters. Distance only helps if every landing is quiet and controlled; loud, slapping landings mean you are moving too fast for your current control.
- Watch for knee cave on the landing leg. If the knee drifts inward when you land, imagine spreading the floor with your foot and squeeze the glute of the standing leg.
- Keep the hop strictly lateral. If you find yourself drifting forward or backward across the room, place two markers on the floor and hop along the line between them.
- Let the arms work for you — swinging them across the body as you hop and out as you land counterbalances the leg movement. Stiff arms pinned to your sides make balance noticeably harder.
- Land through the ball of the foot with the heel kissing down under control. Landing flat-footed or heel-first transfers impact straight up the shin and knee.
- If your calves burn before your legs feel worked, that is normal at first — the ankle does most of the rebounding. Shorten the sets and build tolerance gradually rather than pushing through sharp soreness.
- Rest your gaze on a fixed point ahead of you instead of looking down at your feet; this makes the side-to-side balance much easier to hold.
- As a progression, hold a light medicine ball at your chest or pause two seconds on each landing. As a regression, tap the trailing toe on the floor before each push-off.
- Do this drill early in a session while you are fresh if the goal is power and landing mechanics, or use it as a conditioning interval with 20–40 second work blocks.
Frequently Asked Questions
What muscles does the Side To Side Hop work?
The quads and calves drive each push-off and absorb each landing, while the glutes and hip stabilizers control the lateral shift. The abs and obliques work continuously to keep your torso from swaying as your center of mass moves side to side.
Is the Side To Side Hop suitable for beginners?
Yes, if you scale it down. Beginners should use small, slow hops and can let the trailing toe tap the floor lightly for support before progressing to full single-leg landings on both sides.
Should I land on my toes or my whole foot?
Aim to contact the floor with the ball of the foot first, then let the heel settle under control while the knee bends. This spreads the impact through the ankle, knee, and hip instead of dumping it into one joint.
Why does my knee cave inward when I land?
Inward knee drift usually means the hip stabilizers are not controlling the landing yet. Reduce your hop distance, think about keeping the knee stacked over the toes, and strengthen the glutes with exercises like lateral band walks and single-leg squats.
How far should I hop on each rep?
Hop only as far as you can land quietly and stably — for most people that is somewhere between a narrow shuffle-hop and roughly shoulder-width of travel. Distance and speed increase only after the landing looks clean on both sides.
Can I use the Side To Side Hop for cardio?
Absolutely. Continuous hopping for 20–40 second blocks, repeated for several rounds with short rests, makes an effective conditioning interval that also trains lateral agility at the same time.
How is the Side To Side Hop different from a jumping jack?
A jumping jack is a two-footed jump in place, while the Side To Side Hop shifts your weight onto a single leg with lateral travel. That makes it far more demanding for balance, ankle stability, and single-leg landing strength.
What can I do instead if hopping hurts my knees or ankles?
Try fast lateral step-overs or side shuffles, which train a similar side-to-side pattern without the impact. Low lateral box step-ups also build the single-leg control you need before returning to hopping.
How many reps or how long should I perform the Side To Side Hop?
For power and mechanics, work in sets of 10–20 hops per side while you are fresh. For conditioning, use timed blocks of 20–40 seconds and stop the set as soon as your landings get sloppy.
Do I need any equipment or a special surface for this exercise?
No equipment is required — just a flat, non-slippery surface and clearance on both sides. Avoid concrete if your shins are sensitive; a gym floor, rubber matting, or grass is kinder to the ankles and knees.