4 Way Single Leg Hop
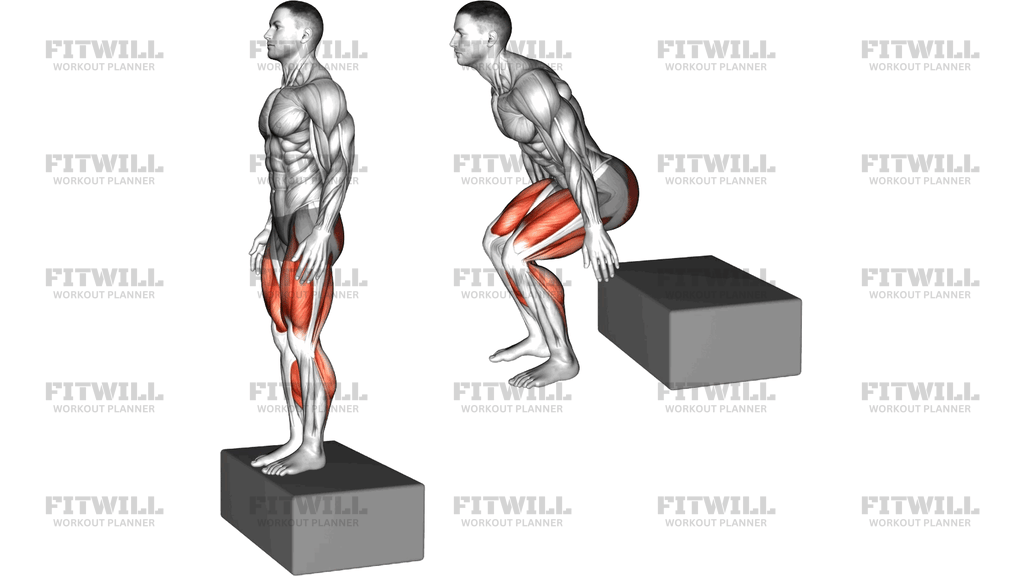
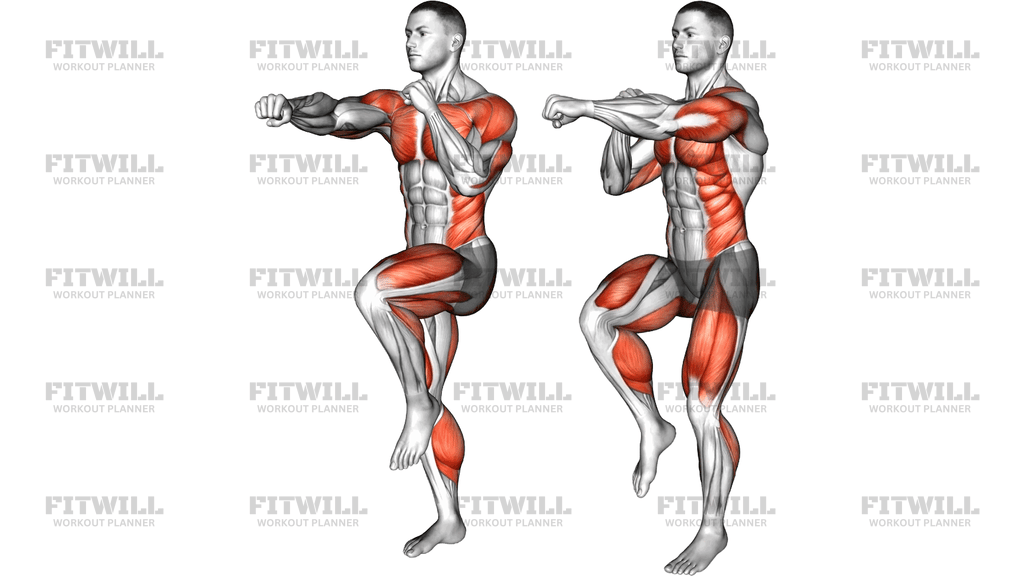
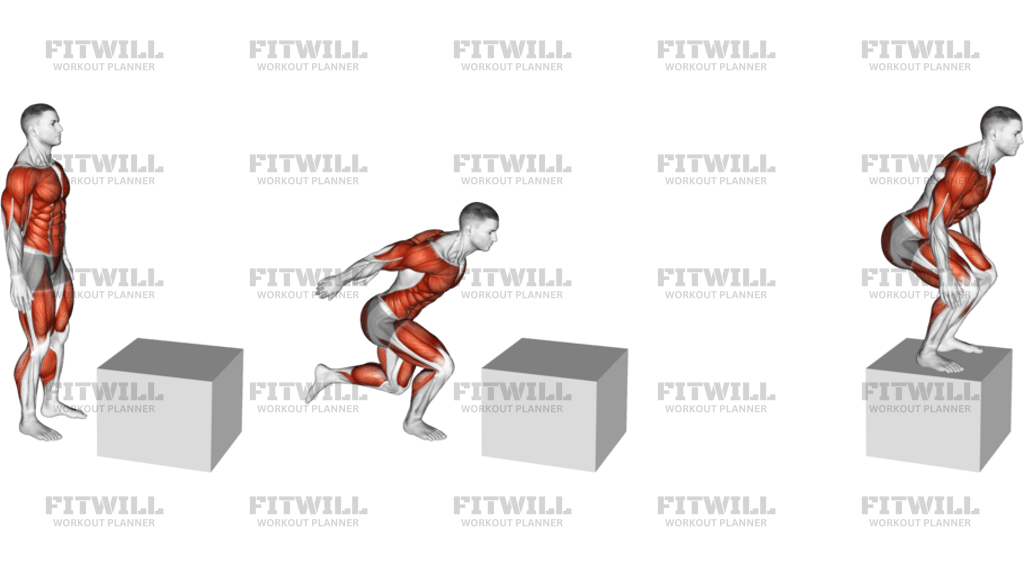
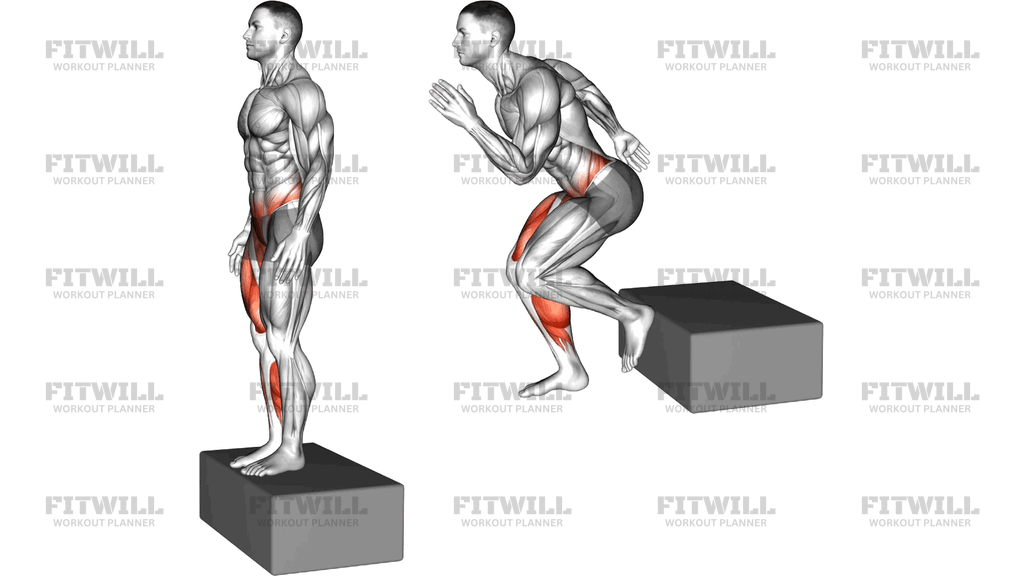
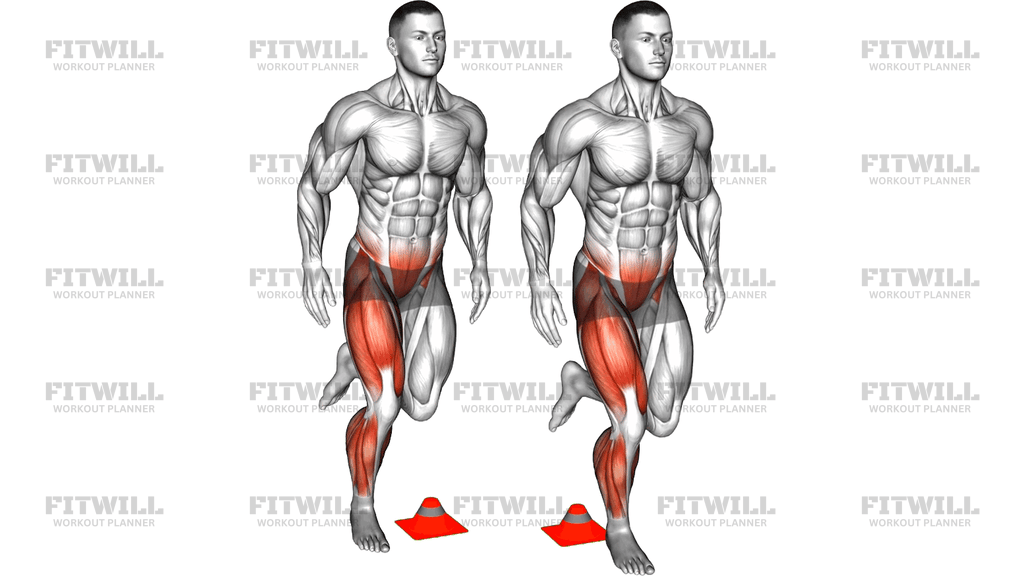
The 4 Way Single Leg Hop is a plyometric drill where you balance on one leg and hop over a small marker or cone in four directions—forward, backward, and side to side—before switching legs. The non-working leg stays bent behind you, and your arms swing naturally to drive each jump. Because every landing lands on a single foot, the exercise demands far more from your balance and ankle control than a standard two-legged hop.
This movement is a staple in lower-body power and return-to-sport training. It develops reactive strength in the quads, glutes, and calves while challenging the ankle stabilizers and hip muscles that keep you from wobbling on every landing. Athletes in running, soccer, basketball, and racket sports use it to prepare the legs for the cutting, decelerating, and one-sided landings their sports demand.
The setup matters more than it looks. A low, soft marker such as a small cone gives you a target to clear without a serious fall risk if you clip it. Start with a marker you can easily step over, and give yourself clear space on all four sides, since you will be traveling forward, backward, and laterally on one leg. Keep the ground underneath you flat and free of debris.
Execution comes down to landing quality, not jump height. Push off the whole foot, stay tall through the torso, and aim to land softly on the ball of the foot with a slight knee bend, absorbing each landing rather than stomping down. The knee should track over the middle of the foot on every contact—if it caves inward or you lose your balance, reduce the distance and speed until you can control it.
Expect your stabilizing muscles to fatigue quickly, and that is the point. Quality reps beat quantity here: a few crisp, controlled hops in each direction with solid landings will do more for you than grinding out sloppy reps once your ankle starts rolling around. Start with two to three rounds per leg and progress the height of the marker or the distance of each hop as your control improves.
[ Workout Log & Planner ]
Put your next workout in Fitwill
Keep your plan and training log ready when you are.


Instructions
- Place a small cone or low marker on a flat, non-slip surface and stand on one leg about a foot behind it, with the opposite foot lifted and bent behind your body.
- Shift your weight onto the ball of the standing foot and let your arms hang relaxed at your sides, ready to swing.
- Brace your core lightly and keep your gaze forward to help with balance before the first hop.
- Hop forward over the cone, driving off the whole foot and swinging both arms to generate momentum.
- Land softly on the same foot on the far side, on the ball of the foot with a slight bend in the knee, and hold your balance for a moment.
- Continue hopping back and forth across the cone, then add lateral hops side to side to cover all four directions.
- Keep the non-working leg lifted and bent behind you throughout the set rather than tapping it down between hops.
- Exhale on each push-off and breathe steadily through the rhythm of the hops; do not hold your breath.
- Complete all four directions on one leg, then step down, shake out the ankle, and switch to the other leg.
- Stop the set as soon as your landings become loud or your balance breaks down—reset and start the rep again rather than pushing through poor contacts.
Tips & Tricks
- If your knee caves inward on landing, shorten the hop distance dramatically and practice landing with the knee stacked over the second toe before adding distance back.
- A common mistake is staring down at the cone; keep your eyes forward and use your peripheral vision, since looking down throws off single-leg balance.
- Quiet landings are the goal—if you hear a slap on every contact, you are stomping instead of absorbing; think of landing like you are stepping onto a scale gently.
- Keep the hops low and quick rather than high and slow; this is a rhythm drill, not a box jump.
- If the non-working leg keeps dropping to touch the floor, rest it lightly against the standing ankle at first and progress to holding it fully suspended.
- Do this drill on a firm surface such as a gym floor rather than a thick mattress-like mat, which makes balance harder and landings less predictable.
- Your arms are your steering wheel—drive them forward for forward hops and out to the sides for lateral hops instead of letting them hang dead.
- Warm up the ankles with calf raises or an easy two-legged hop set first, since cold ankles are the most common failure point in this drill.
- If you are clipped by fatigue after the first two directions, rest 30 to 45 seconds before the last two rather than losing landing quality.
Frequently Asked Questions
What muscles does the 4 Way Single Leg Hop work?
The quads, glutes, and calves produce the push-off power, while the ankle stabilizers and hip muscles work hard to control each single-leg landing. The core stays engaged to keep your torso upright through all four directions.
Is the 4 Way Single Leg Hop suitable for beginners?
Beginners should first be comfortable with two-legged hops and single-leg balance holds. Once those feel solid, start with a very low marker and short hops before progressing to full-distance four-direction hops.
Why hop in four directions instead of just forward?
Sports rarely move in straight lines. Hopping forward, backward, and side to side on one leg prepares the ankle and knee for the varied angles and sudden direction changes that running and court sports produce.
How tall should the cone or marker be?
Start with a low, soft cone you could step over without risk, around 15 centimeters or less. Increase the height only when you can clear it with quiet, balanced landings in every direction.
What is the most common mistake in this exercise?
The most common errors are landing with a stiff leg and a caving knee, and continuing reps after balance breaks down. Both come from going too far or too fast—cut the hop distance in half and rebuild.
Can I do the 4 Way Single Leg Hop every day?
Because it is a high-impact plyometric drill, give your ankles and knees at least a day of recovery between sessions. Two to three quality sessions per week is plenty for most people.
What can I substitute if single-leg hopping is too hard right now?
Progress from two-legged hops over the cone, to alternating single-leg landings, to true single-leg hops. Lateral bounds with a stick landing on both feet are another good intermediate step.
How many hops should I do per leg?
Aim for around four to six hops per direction, covering all four directions, for two to three rounds per leg. Stop the set the moment your landings turn loud or your balance wavers.
Is it safe to do this exercise with a history of ankle sprains?
Single-leg hopping is often used in ankle rehab, but you should only attempt it once you can hop and land without pain and have been cleared to jump by a professional. Use a low marker and a firm, clear surface.