Weighted Sandbag Row
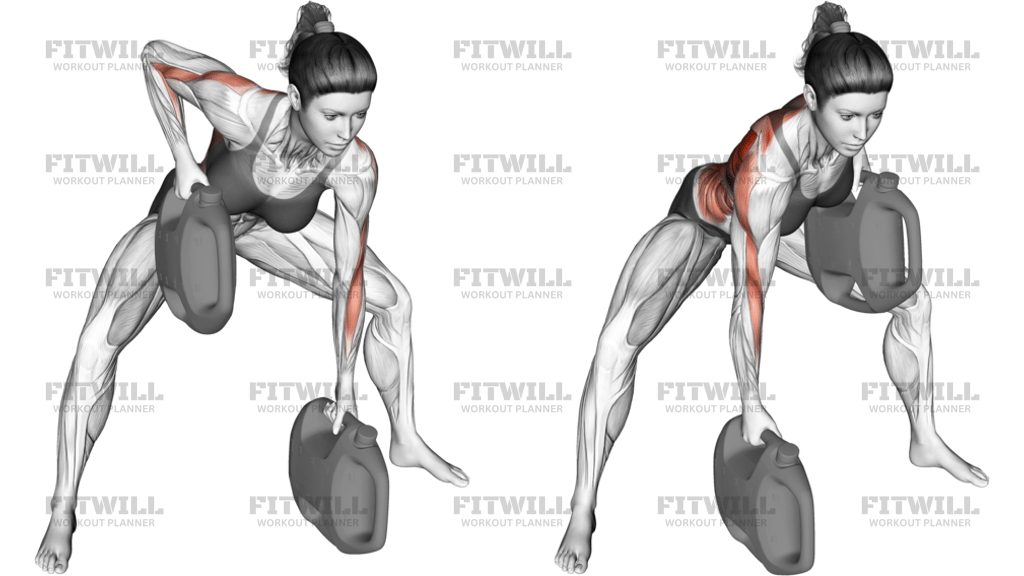
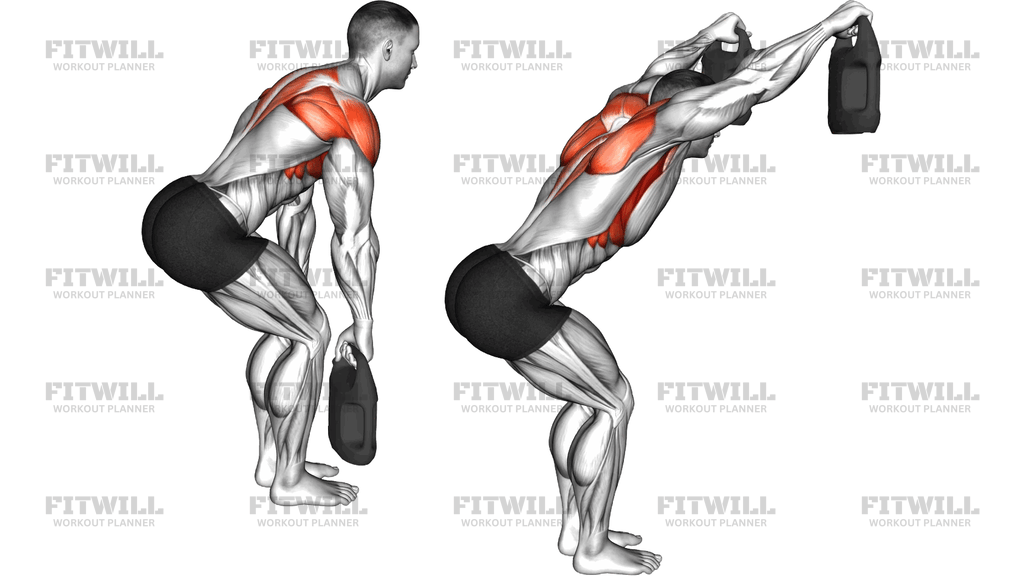
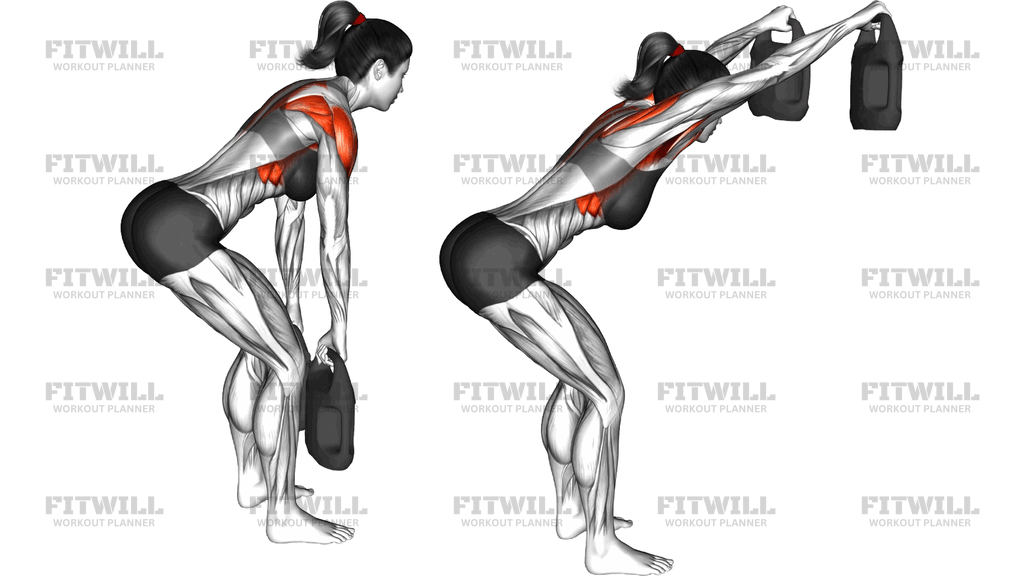
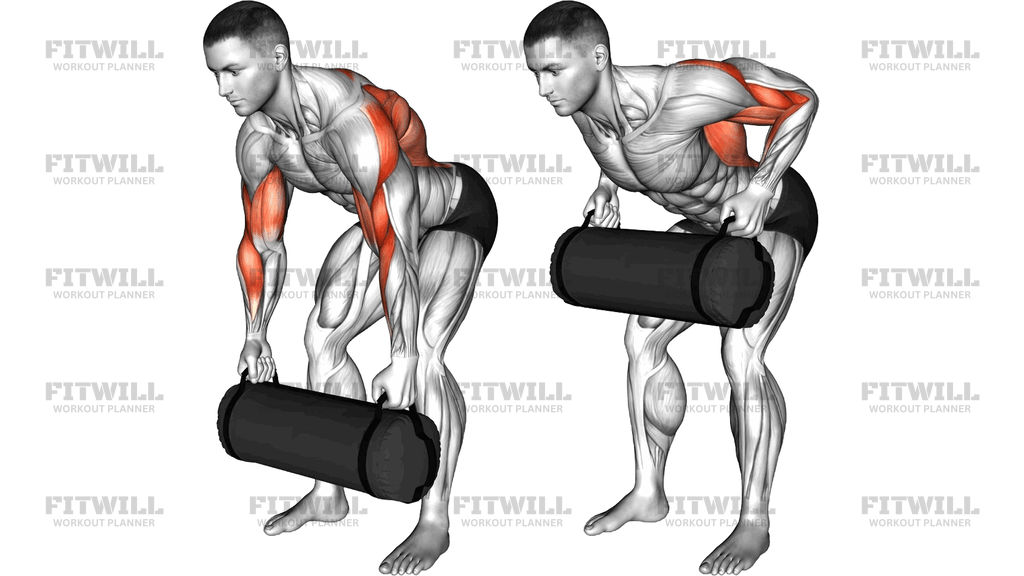
The Weighted Sandbag Row is a bent-over rowing movement performed while gripping the end handles of a loaded sandbag and pulling it up toward your lower ribs. Because the sandbag sits between your legs rather than in front of a bar, the weight hangs lower and slightly closer to your base, which changes the leverage and forces your hips and lower back to work harder to hold the hinge position. It is a simple two-phase lift: set a strong hip hinge, then row the bag from hanging arms to your torso.
This exercise fits well for lifters who train at home or outdoors and want a heavy row without a barbell, bench, or rack. It is also useful for anyone whose rowing progress is limited by grip strength, since the soft handles and shifting filler challenge your forearms in a way a rigid bar does not. Cross-training athletes and general strength trainees get the most out of it, but the movement scales easily by adding or removing filler.
The main work is done by the upper back and lats, which pull the shoulder blades back and down as the bag rises. The biceps assist at the elbow, the rear shoulders help drive the upper arms back, and the lower back plus glutes and hamstrings hold your torso at roughly 45 degrees or lower for the whole set. Your grip and forearms are under constant tension from the first rep to the last.
Setup matters more here than in a machine row because nothing supports your torso. Set your feet about hip width, hinge forward until your chest angles toward the floor, and brace your core before you lift the bag. If your hinge position starts soft, every row will pull you further upright or round your lower back, so take a moment to lock in the posture before the first pull.
To execute it well, pull the bag's handles toward your lower ribcage with your elbows traveling close to your body, squeeze at the top, and lower the bag under control until your arms are fully extended again. Keep your neck neutral and your knees softly bent so the legs can contribute to stability. Common use cases include building back thickness in minimal-equipment programs, adding a horizontal pull to sandbag or odd-object training, and finishing a pull day with a high-grip-demand row.
[ Workout Log & Planner ]
Put your next workout in Fitwill
Keep your plan and training log ready when you are.


Instructions
- Load the sandbag with a filler weight you can row for your target reps, and set it on the floor between or just behind your feet.
- Stand with your feet about hip width apart, toes pointing forward, and grip the two end handles of the sandbag with a neutral palm-facing-in grip.
- Hinge forward at the hips, pushing your hips back and bending your knees slightly, until your torso is angled between 45 degrees and nearly parallel to the floor.
- Let the bag hang at arm's length below your shoulders, then brace your core and flatten your lower back before starting the pull.
- Row the bag up toward your lower ribs by driving your elbows back and up, keeping them close to your torso rather than flared wide.
- At the top, squeeze your shoulder blades together and pause briefly so the upper back does the work instead of momentum.
- Lower the bag slowly along the same path until your arms are fully extended and your shoulder blades have released forward.
- Exhale as you pull the bag up and inhale as you lower it, keeping your breathing steady throughout the set.
- Keep your torso angle fixed for every rep; if you find yourself rising up each time the bag gets heavy, finish the set there rather than turning it into a shrugging, half-standing pull.
- When the set is done, hinge down with a flat back and set the sandbag on the floor under control instead of dropping it from the hip hinge position.
Tips & Tricks
- The most common mistake with a sandbag row is standing up as the bag gets heavy. Film yourself from the side or do your first set lighter and check whether your chest angle stays the same from rep one to the last.
- Grip the handles at the very ends of the bag rather than midway. Holding near the ends keeps the load balanced and stops the bag from swinging into your shins mid-rep.
- Because sandbag handles are soft and the filler shifts, your forearms often fatigue before your back. Chalk or a firmer grip position helps, and if grip is still the limiting factor, use lifting straps for heavier sets.
- Aim the bag toward your lower ribcage, not your chest. Pulling too high turns the movement into a shrug-heavy version and reduces the work on the mid-back.
- Keep a slight knee bend for the entire set. Locking your knees straight puts extra strain on the hamstrings and lower back while you hold the hinge.
- If the bag sways at the bottom of each rep, you are lowering it too fast. Add a one-second pause with straight arms to settle the load before the next pull.
- Rounding your upper back into a hump at the start is another frequent fault. Before rowing, lift your chest slightly and pull your shoulder blades down so the hinge starts from a long, neutral spine.
- On your last rep, avoid dropping the bag while bent over. Stand up first with the bag hanging at your sides, then lower it to the floor with a squat or hinge.
- If balance is shaky at heavier loads, widen your stance slightly. A wider base makes it easier to hold the hinge without rocking forward onto your toes.
Frequently Asked Questions
Which muscles does the Weighted Sandbag Row work the most?
The upper back and lats do the primary pulling, with strong help from the biceps and rear shoulders. Your lower back, glutes, and hamstrings work isometrically the whole time to hold the bent-over position, and the forearms and grip are under continuous tension.
Is the Weighted Sandbag Row good for beginners?
Yes, as long as you start with a light bag and learn the hip hinge first. Beginners should master holding a flat-back bent-over position before adding significant load, since the unsupported torso is the hardest part of the lift.
How heavy should the sandbag be for this row?
Choose a load you can pull to your lower ribs for all planned reps without your torso angle changing or your lower back rounding. Because the sandbag has no fixed increments, test with a lighter fill and add filler gradually.
Why does my lower back fatigue before my upper back in the Weighted Sandbag Row?
That usually means your hinge is too aggressive or your core is not braced, so the erectors are carrying more of the load than they should. Try a slightly higher torso angle, brace harder before the first rep, or reduce the bag weight while you build hinge endurance.
What can I substitute if I do not have a sandbag?
A bent-over barbell row or dumbbell row trains a similar pattern. If you specifically want the odd-object feel, a loaded duffel bag or a kettlebell held by the horns can approximate the awkward grip and shifting load.
Should my elbows stay tucked or flare out during the row?
Keep your elbows tracking close to your body and drive them back toward your hips. This biases the lats and mid-back; wide-flared elbows shift stress toward the rear shoulders and reduce the rowing effect.
How does the sandbag grip differ from a barbell row grip?
The sandbag's soft end handles force a neutral grip and demand more from the forearms because the bag shifts as you pull. A barbell gives you a rigid handle and a fixed balance point, which makes heavier loading easier but removes the stabilizing challenge.
How many sets and reps should I do for the Weighted Sandbag Row?
Three to four sets of 8 to 12 reps works well for strength and back development. If your grip gives out early, shorter sets of 5 to 6 with more rest, or strap-assisted heavier sets, let you keep loading the back.
Is it safe to row a sandbag with a rounded lower back?
No, a rounded lower back under load is the main risk in this lift. Keep the hinge flat and braced, stop the set if you feel your back rounding or your torso rising, and reset your position rather than pushing through a compromised posture.