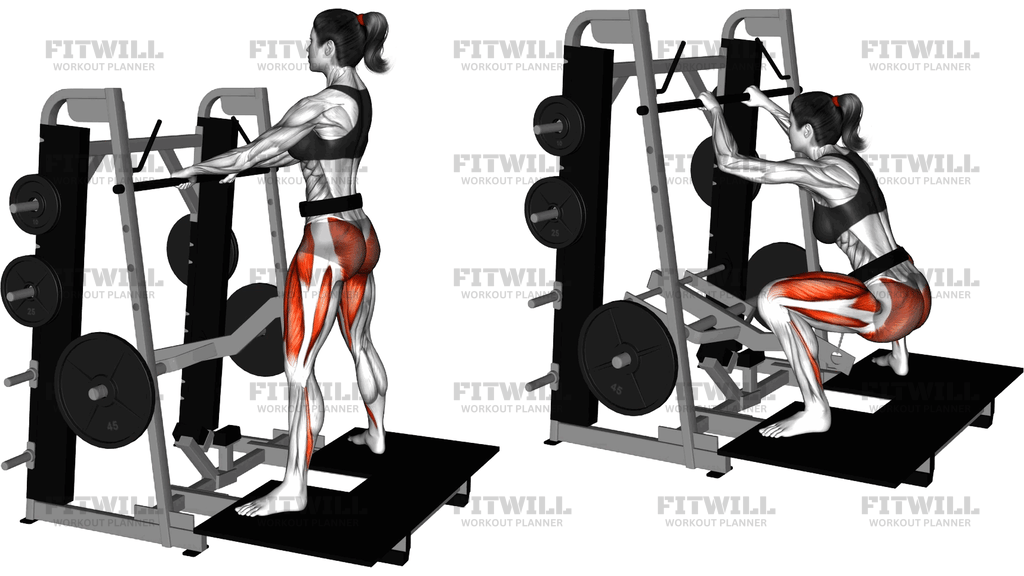
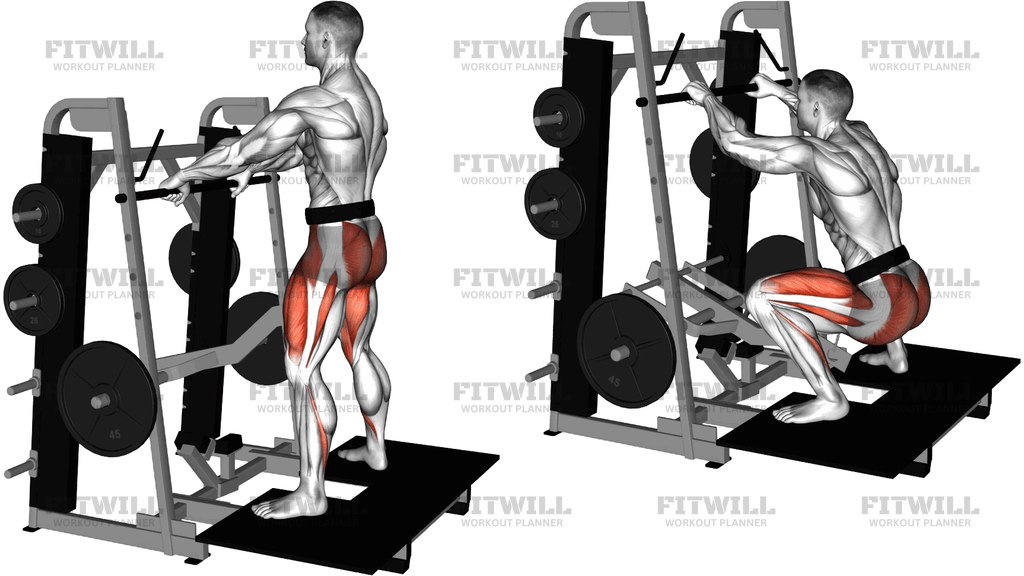
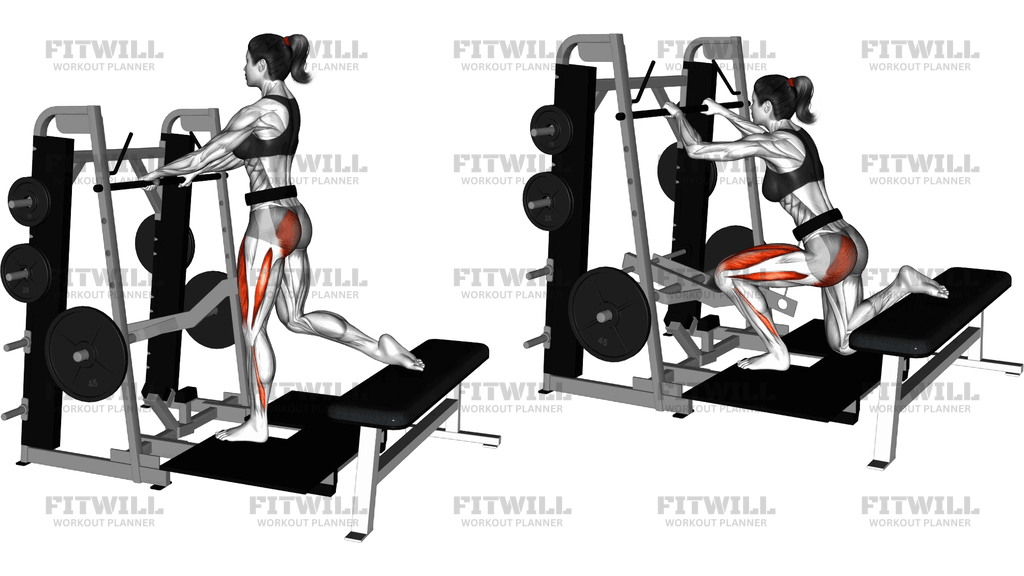
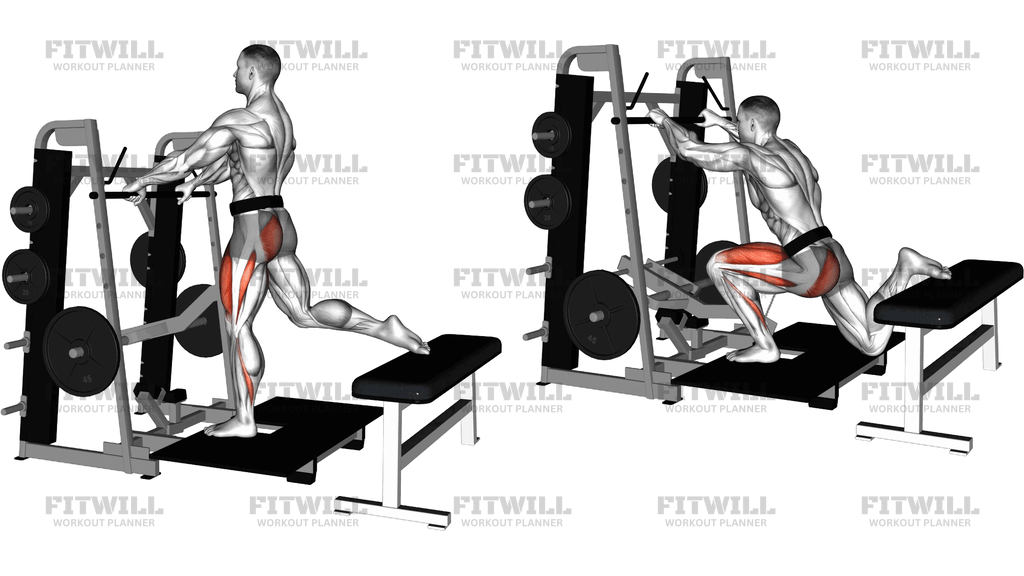
Lever Side Hip Adduction
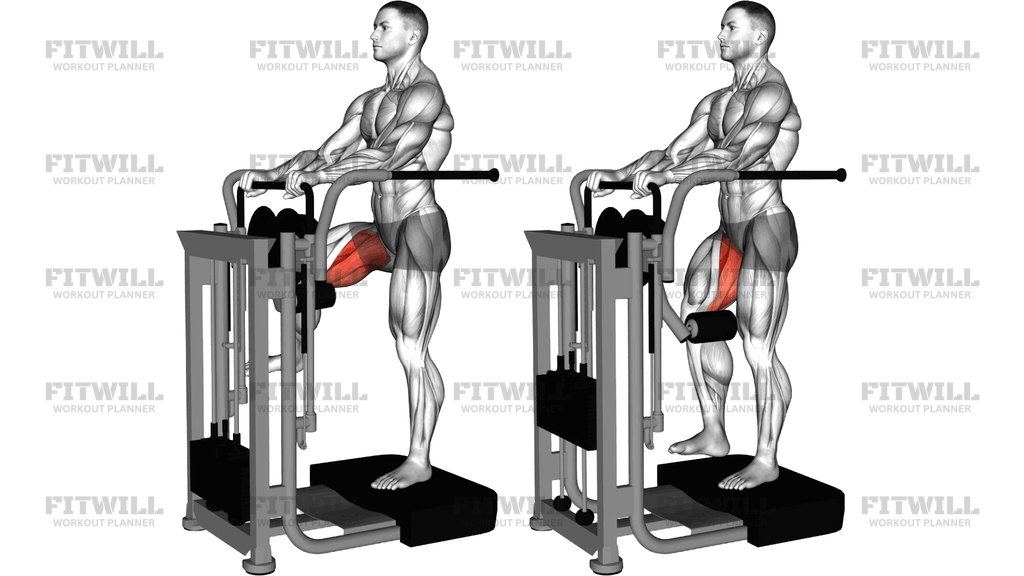
Lever Side Hip Adduction is a standing, single-leg machine exercise that targets the adductors, the group of muscles running along the inner thigh that pull the leg toward the midline of the body. In this version you stand on one foot on the machine's platform while your free leg rests bent over a padded lever. You then drive that leg down and across your body against the lever's resistance, working directly against the weight stack while the standing leg handles balance and support.
This standing setup makes the exercise especially useful for building functional inner-thigh strength rather than just isolated muscle work. Because you are upright and unsupported, the glutes of the standing leg, along with your core, constantly work to keep your pelvis level. That makes it a favorite for athletes recovering adductor strength after time off, for runners and field-sport players who need resilient inner thighs for cutting and changing direction, and for anyone who has progressed beyond seated adduction machines and wants a more demanding variation.
The muscles doing the bulk of the work are the adductors, particularly the adductor longus and adductor magnus along the inner thigh. The adductors of the standing leg also contract to stabilize your pelvis, and the gluteus medius on that side works hard to stop you from tipping sideways. Your grip on the handles and forearm on the arm pad mainly serve to keep your torso still so the effort stays concentrated at the hip.
Setup matters a lot in this exercise. The pad should sit just above your working knee on the lower thigh, and your working knee should be bent so the thigh is roughly level with the floor. If the pad is too high or too low, the lever arm changes and you either lose range of motion or strain the knee joint. Your standing foot should be firmly planted on the platform, close enough to the machine that the working leg's path stays under control but with enough clearance for the leg to sweep through.
To execute the rep, press your leg down and slightly across your body in a smooth arc, exhaling as you bring the pad toward or past your standing leg. Pause briefly at the bottom where the adductors are fully shortened, then resist the pad as it lifts back up, lowering the leg over two to three seconds rather than letting the weight snap it back. The lowering phase is where a lot of the strength benefit lives, so treat it with the same attention as the pull.
Because each leg works on its own, this is also a good tool for spotting and correcting side-to-side differences in hip strength. Start with lighter weight than you think you need until the balance demand feels comfortable, and keep a hand firmly on the handles at all times since you are genuinely single-leg supported for the entire set.
[ Workout Log & Planner ]
Put your next workout in Fitwill
Keep your plan and training log ready when you are.


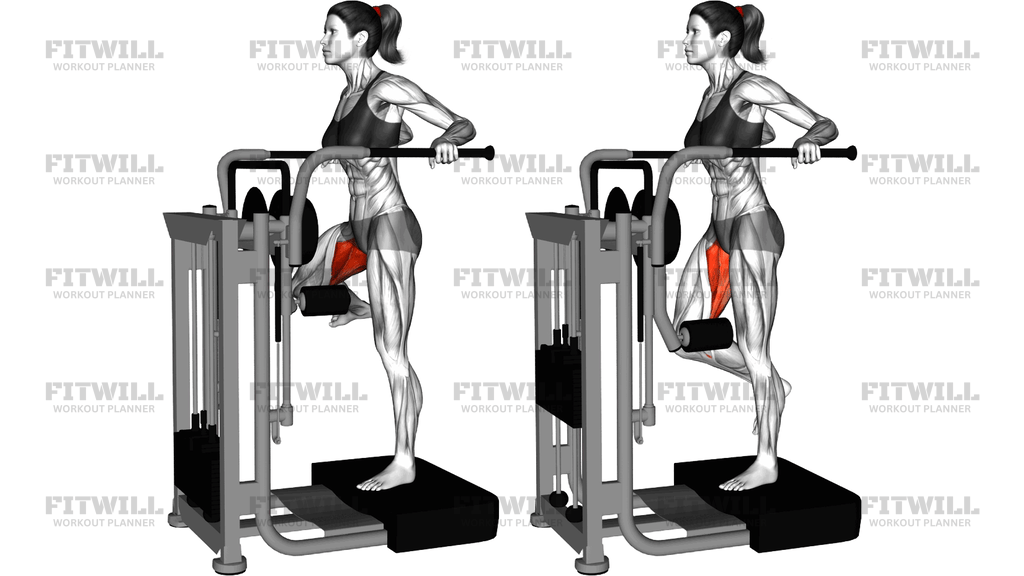
Instructions
- Stand on the machine's platform with your left foot planted, right knee bent at about 90 degrees, and rest the lower part of your right thigh on the padded lever.
- Grip the handles in front of you and place your forearm on the arm pad so your torso leans in comfortably and your shoulders stay relaxed.
- Choose a light starting weight and check that the pad sits just above your knee, not on the kneecap or too high on the thigh.
- Brace your core and press your standing foot evenly into the platform so your pelvis stays level before you move.
- Exhale and press your right leg down and inward in a smooth arc, drawing the pad toward your standing leg through your adductors.
- Squeeze briefly at the bottom of the movement where the inner thigh is fully shortened, keeping your torso from twisting with the pad.
- Inhale and lower the leg back up slowly over two to three seconds, resisting the lever instead of letting it drop.
- Complete all repetitions on the right leg, then reset the lever and repeat the full set on the left leg.
- Step off only when the lever is at rest and the weight stack has fully settled.
Tips & Tricks
- If you feel the work in your knee rather than your inner thigh, the pad is probably sitting too low near the knee joint; move it higher onto the lower thigh.
- A common mistake is dropping the hip of the working side to get extra range; keep both hips square and let the adductors, not gravity, move the leg.
- Do not let the working leg slam back up on the return; the eccentric lowering is where much of the strength stimulus comes from.
- If your standing leg burns out before your inner thigh, grip the handles more firmly and lean your forearm into the pad to take some balance demand off the supporting hip.
- Keep the working knee bent throughout the set; straightening the leg changes the lever length and shifts stress away from the hip.
- Start with a weight you can lower under control for the full range, because the standing position makes a heavy, jerky rep risky for balance.
- Breathe with each rep rather than holding your breath; breath-holding makes the single-leg balance much harder than it needs to be.
- If one side is noticeably stronger, train the weaker leg first and match the repetitions with the stronger side rather than letting it set the pace.
- Avoid swinging your torso sideways with the pad; the movement should happen almost entirely at the hip joint.
Frequently Asked Questions
Which muscles does the Lever Side Hip Adduction work?
The primary muscles are the adductors of the inner thigh, especially the adductor longus and adductor magnus. The gluteus medius of the standing leg and your core work to stabilize you throughout the set.
Is the Lever Side Hip Adduction suitable for beginners?
Yes, as long as you start light, because the balance demand of standing on one leg is the main hurdle. If one-leg stability feels shaky at first, build confidence with a seated adduction machine before moving to this version.
Where exactly should the machine pad sit on my leg?
The pad should rest on the lower thigh just above the working knee. If it sits too low on or near the knee joint, you reduce the effective range and put unnecessary pressure on the knee.
Why does my standing leg fatigue so quickly during this exercise?
The supporting hip and glutes work hard to keep your pelvis level the entire time, so they can tire before the working adductors. Lean more of your weight into the handles and arm pad, and reduce the weight if the balance demand compromises your reps.
How is this different from a seated adduction machine?
The standing lever version loads one leg at a time and removes the seat support, so your stabilizers and standing-side glutes do far more work. It also closely resembles the hip action of cutting and changing direction in sport.
Can I substitute the Lever Side Hip Adduction if my gym has no such machine?
A cable machine with an ankle strap set low, pulling the leg across the body while standing, is the closest substitute. Side-lying adduction raises with a band or weight can work at home, though with less loading.
How many repetitions should I use for this exercise?
Most people do well in the range of 10 to 15 controlled reps per leg. Because the eccentric return is so easy to rush, prioritize a slow two-to-three-second lowering over adding heavy load.
Is it normal to feel this more on one side than the other?
Yes, side-to-side differences are common with single-leg exercises and are one reason the exercise is valuable. Start each set with the weaker leg and match the repetitions with the stronger side to gradually close the gap.
Should my torso move with the pad during the rep?
No, your torso should stay braced against the arm pad and handles. Twisting or leaning sideways with the pad shifts effort away from the hip and reduces the work the adductors receive.
Is it safe to do this exercise every day?
It is a resistance exercise, so treat it like strength training and give the adductors at least a day of recovery between sessions. Training it two to three times per week is enough for most goals.