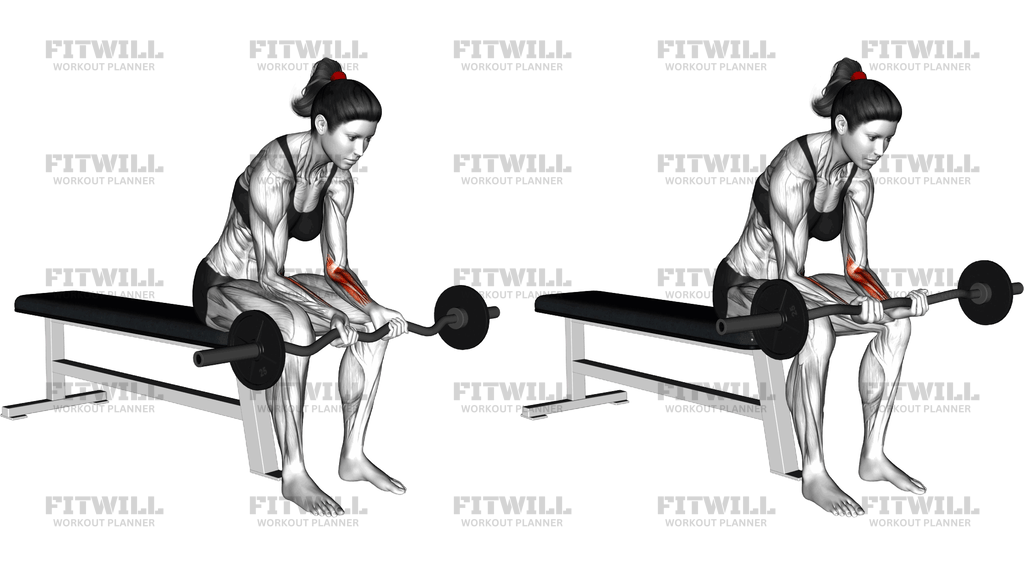
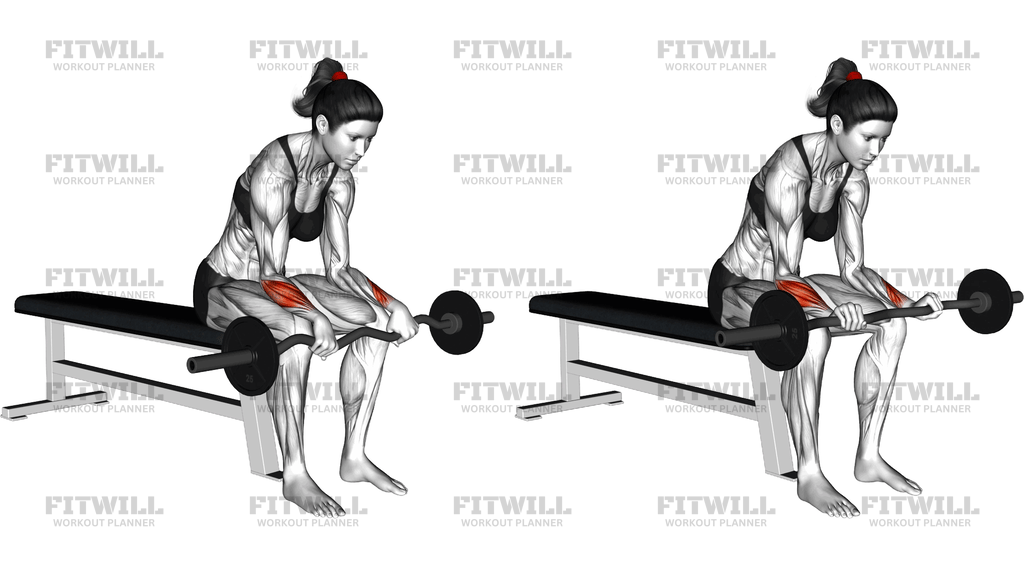
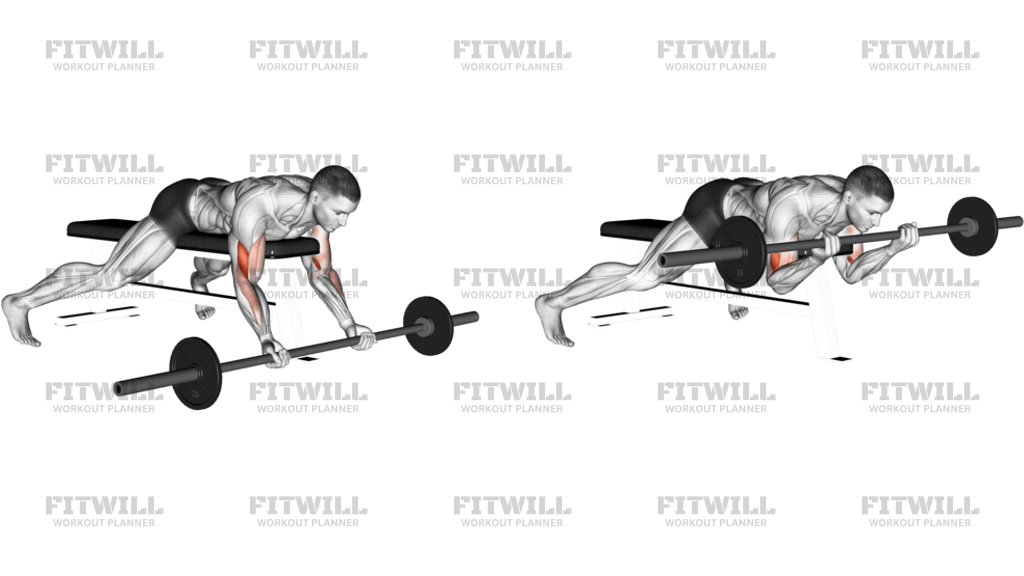
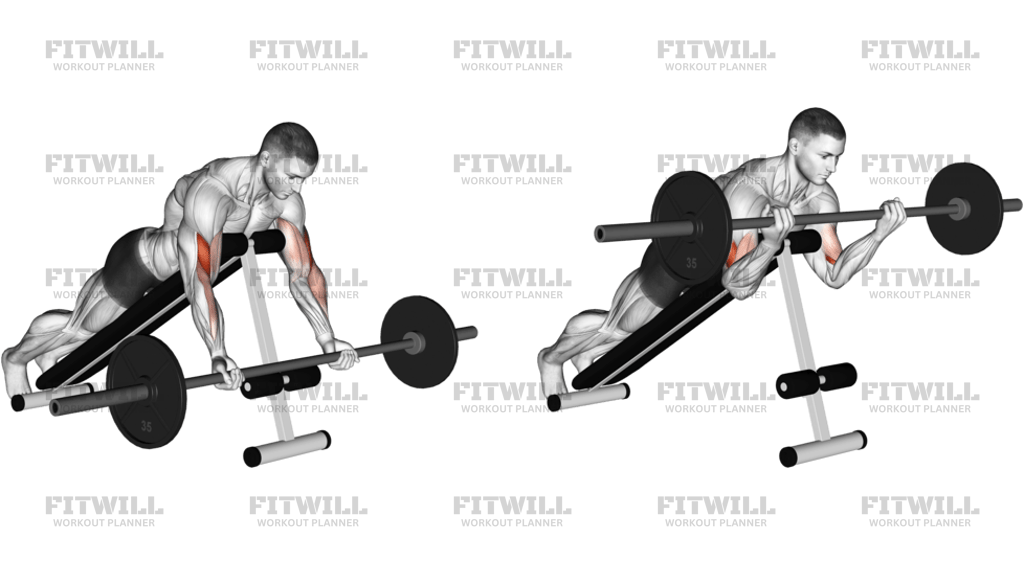
Ez Barbell Standing Wrist Curl
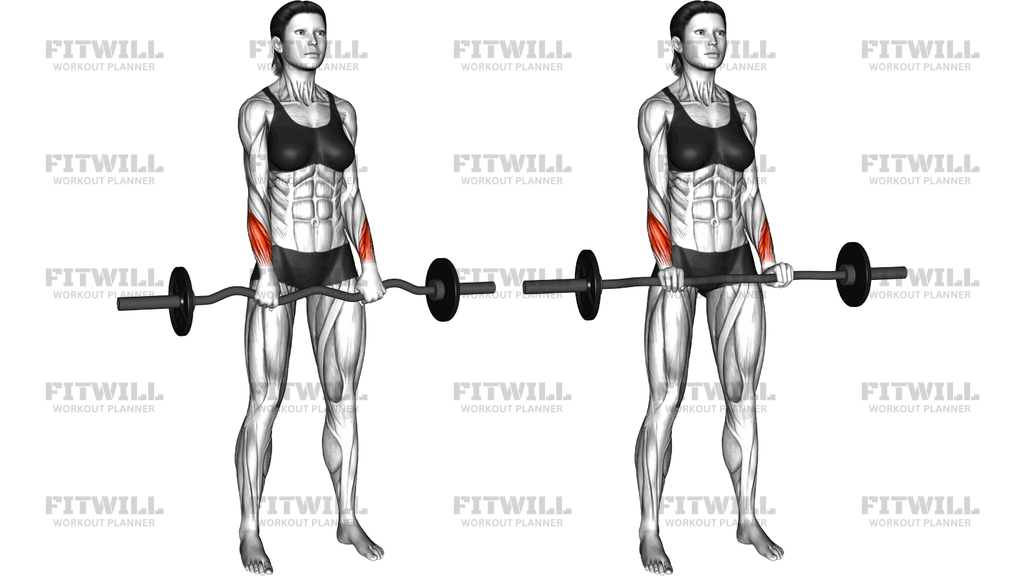
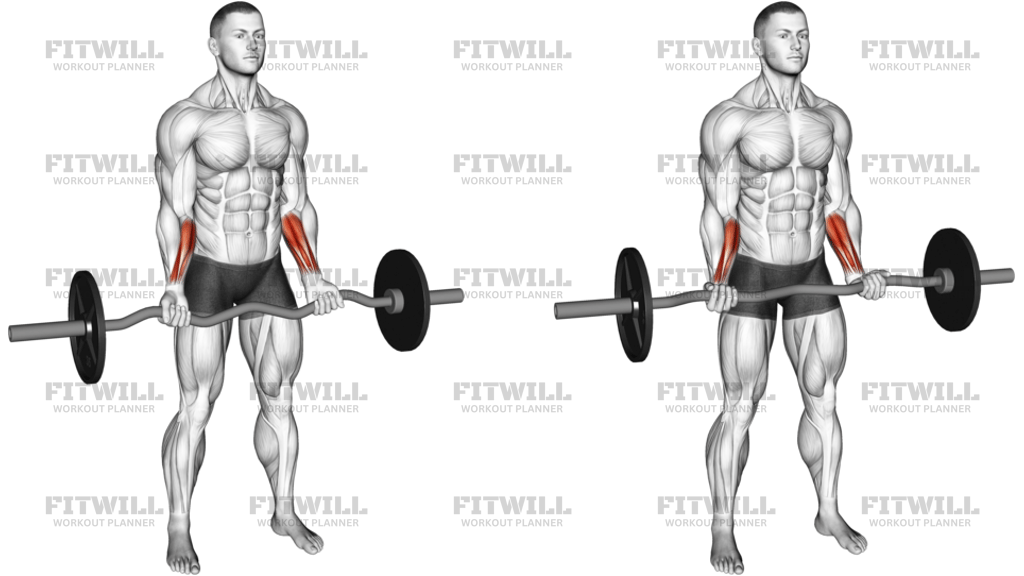
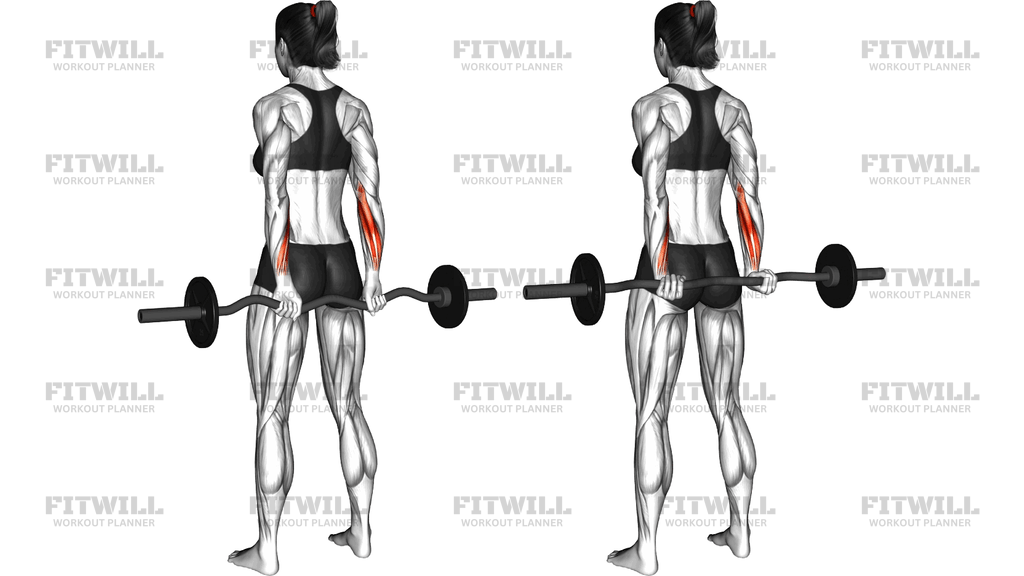
The Ez Barbell Standing Wrist Curl is a dedicated forearm-flexor exercise performed with an EZ bar held behind the body at arm's length. From a tall standing position, you let the bar roll down toward your fingertips as your wrists extend, then curl your wrists upward to lift the bar back up behind you. The movement is deliberately small — it all happens at the wrist joint — which makes it one of the most direct ways to load the muscles on the underside of the forearm.
The primary work comes from the wrist flexors, with the fingers' flexors and grip muscles working hard to control the bar as it rolls through your hands. Because the arms hang relaxed at your sides and the elbows stay still, there is very little opportunity for the shoulders, biceps, or upper back to steal the work. That clean isolation is exactly why this lift shows up in grip-focused programs for climbing, racquet sports, golf, and strongman-style training, as well as for anyone whose pulling progress stalls because their hands give out before their back does.
The EZ bar matters here. The angled grip lets your hands sit in a slightly turned-in position that matches the natural line of the wrists better than a straight bar does, which keeps the joint more comfortable through the full curl. Standing rather than seated or kneeling also means you can let the arms hang fully vertical, so the only joint moving is the wrist.
Setup is simple but worth getting right. Feet about hip-width apart, a light load on the bar, grip at shoulder width on the angled sections of the bar, and the bar resting behind your thighs or glutes with your palms facing backward. Keep your torso upright and your knees soft — if you lean forward or hinge, the bar swings away from your body and the wrist angle changes. Because the bar sits behind you, check that the plates clear your hamstrings and glutes through the whole range before you start your set.
Execution is about tempo more than load. Let the bar sink toward your fingertips under control, then curl the wrists up and squeeze at the top before lowering slowly. Most people go far too heavy on this movement and end up jerking with the elbows and shoulders, which turns a precise forearm exercise into an awkward shrug. A weight you can move for smooth, strict reps in the 12-to-20 range builds the forearms and grip far better than heavy, sloppy sets.
Use this lift as an accessory at the end of upper-body or pulling sessions. It pairs naturally with a reverse wrist curl to train the top of the forearm as well, and it works well as the final grip-burner after rows, deadlifts, or pull-ups.
[ Workout Log & Planner ]
Put your next workout in Fitwill
Keep your plan and training log ready when you are.


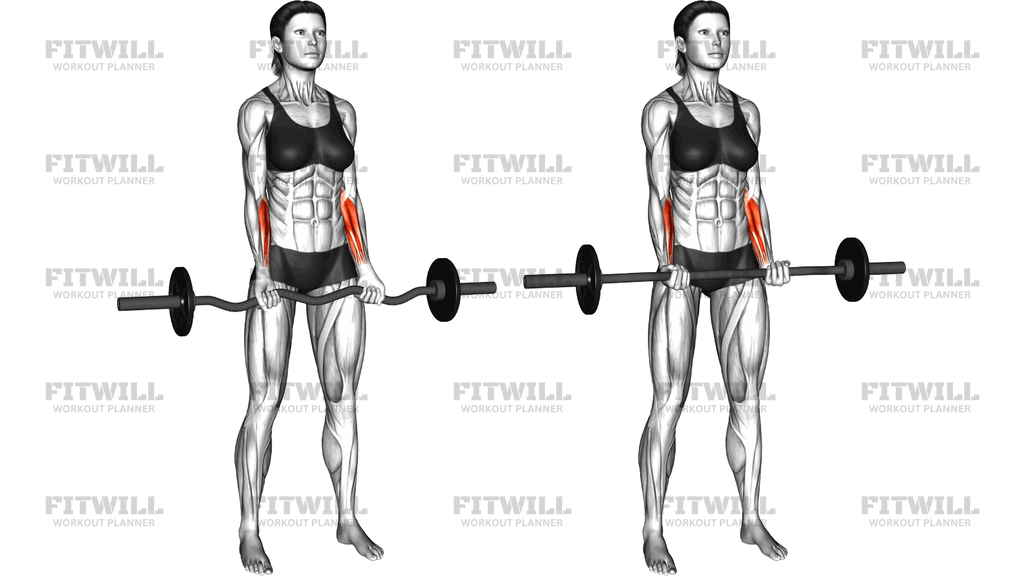
Instructions
- Load a light set of plates onto an EZ bar and set it on a rack or low bench at about hip height so you can pick it up safely.
- Stand with your feet hip-width apart, then reach behind your body and take a shoulder-width grip on the angled sections of the bar, palms facing away from you, so the bar rests behind your glutes or upper thighs.
- Stand tall with your chest up, core braced, and knees slightly bent; let your arms hang straight down and relax your shoulders.
- Inhale and slowly let the bar roll down toward your fingertips, allowing your wrists to extend as far as you can control without the bar slipping.
- Exhale and curl your wrists upward, flexing them fully so the bar rises behind you and your forearms tighten on the underside.
- Squeeze the top position for about one second, keeping your elbows and shoulders completely still.
- Lower the bar under control over two to three seconds, letting it roll back toward your fingertips as the wrists extend.
- Complete your reps, breathing steadily — exhale on the curl up, inhale on the way down.
- When finished, keep hold of the bar and carefully bring it around to your front, then return it to the rack rather than dropping or setting it down behind you.
Tips & Tricks
- The most common mistake is lifting with the elbows and shoulders — if the bar travels up because your arms are moving rather than your wrists curling, the weight is too heavy.
- Let the bar actually roll to your fingertips at the bottom; gripping it tightly the whole time turns this into a crush-grip hold and shortens the range for the wrist flexors.
- Keep the bar close to your body. If it swings away behind you, you are hinging forward or leaning back, which changes the wrist angle and strains the shoulders.
- Check plate clearance before your first rep — the plates should pass freely beside your glutes and hamstrings, not brush against them mid-rep.
- Use a lighter load and higher reps than you think you need; wrist flexors respond well to strict 12-to-20 rep sets with a slow lowering phase.
- A thumbless or loose thumb wrap around the bar makes the roll to the fingertips smoother; a death grip defeats the purpose of the extension phase.
- If your wrists complain on a straight barbell, the EZ bar's angled grip is usually the fix — keep your hands on the cambered sections rather than the straight middle.
- Chalk or a dry towel on your hands helps, since the bar sitting at your fingertips at the bottom of each rep is the slip risk point.
- Stop the set as soon as your grip starts failing noticeably — a bar rolling out of tired fingers behind your back is the failure mode to avoid.
Frequently Asked Questions
Which muscles does the Ez Barbell Standing Wrist Curl work?
It primarily targets the wrist flexors on the underside of the forearm, with the finger flexors and grip muscles working to control the bar as it rolls through the hands. The rest of the body just holds position.
Why is the wrist curl done behind the back instead of in front?
With the bar behind you and the arms hanging vertically, the shoulders and biceps cannot assist, so the load stays on the wrist flexors. It also places the wrists in a comfortable, neutral line for flexion under load.
What is the advantage of using an EZ bar for this exercise?
The angled grip lets your hands sit slightly turned in, which matches the natural resting position of the wrists better than a straight barbell. Most people find it noticeably easier on the wrist joint through the full curl.
Is it safe to let the bar roll down to my fingertips?
Yes, as long as the weight is light enough that your fingers can control it and you lower it deliberately. Never work heavy enough that the bar could slip out of your hands behind your body.
How heavy should I go on the Ez Barbell Standing Wrist Curl?
Start with an unloaded or lightly loaded bar and build up within a 12-to-20 rep range. If your elbows or shoulders start moving to lift the bar, the weight has exceeded what your wrists can handle strictly.
I feel this in my shoulders and elbows instead of my forearms — what am I doing wrong?
Your arms are doing the lifting. Lock the elbows in place, keep the shoulders relaxed, and shrink the movement down until only your wrists are bending; if that is impossible, drop the weight.
Can beginners do this exercise?
Yes — it is actually a good first forearm exercise because the range of motion is small and easy to learn. Beginners should start with an empty EZ bar to groove the wrist movement and the roll-to-fingertips feel before adding plates.
What can I substitute if I do not have an EZ bar?
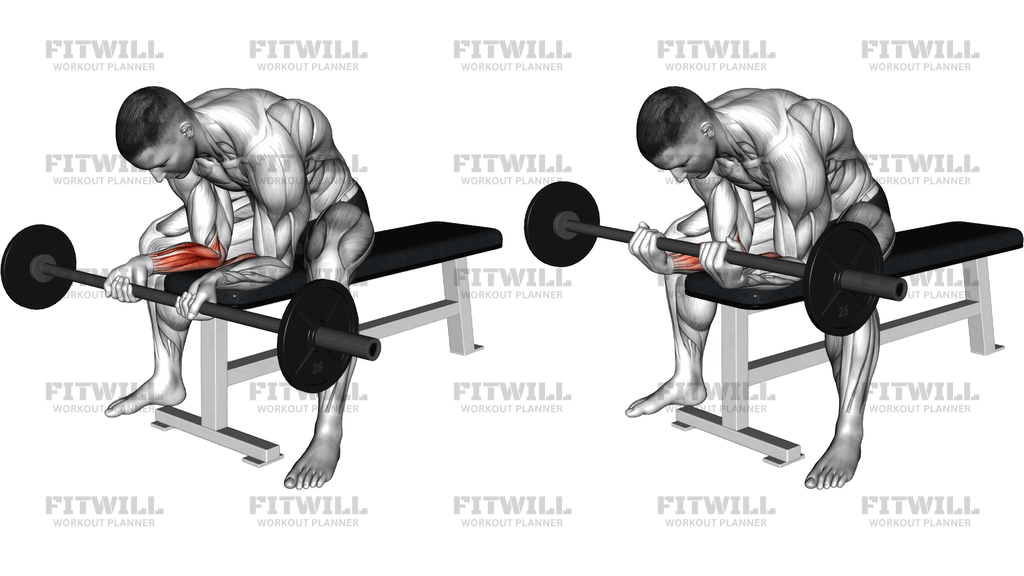
A straight barbell behind the back works the same way, or you can do seated wrist curls with dumbbells resting your forearms on a bench. A wrist roller is a harder but related grip and forearm option.
Where should I put this in my workout?
Treat it as an accessory at the end of an upper-body or pulling session, after rows, pull-ups, or deadlifts. Pair it with a reverse wrist curl so you train both sides of the forearm in the same workout.
How many sets and reps should I do?
Two to four sets of 12 to 20 strict reps works well, with a one-second squeeze at the top and a slow two-to-three-second lowering phase. Forearms generally recover quickly, so you can train them two to three times per week.