Resistance Band Standing Underhand Lat Pulldown
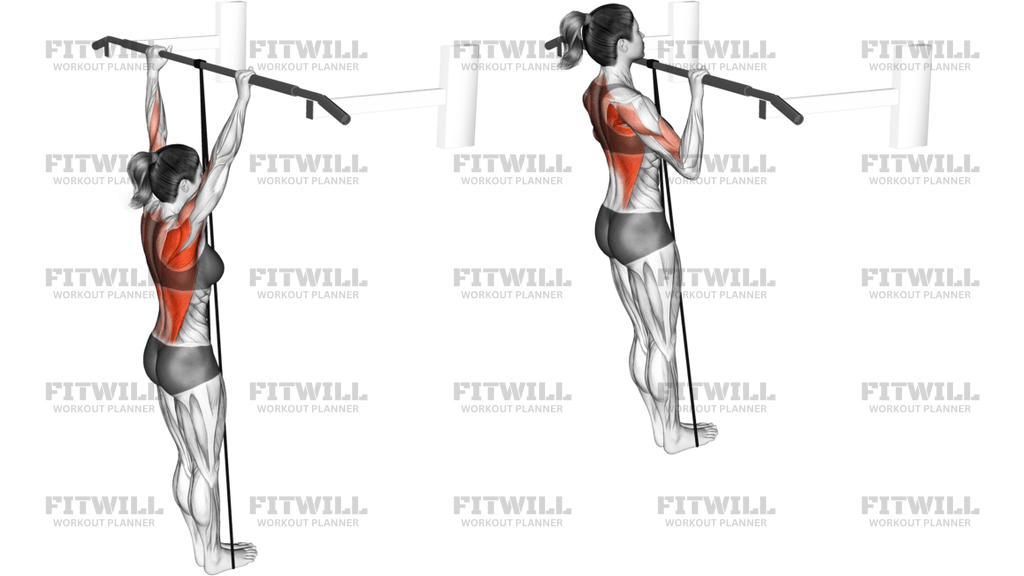
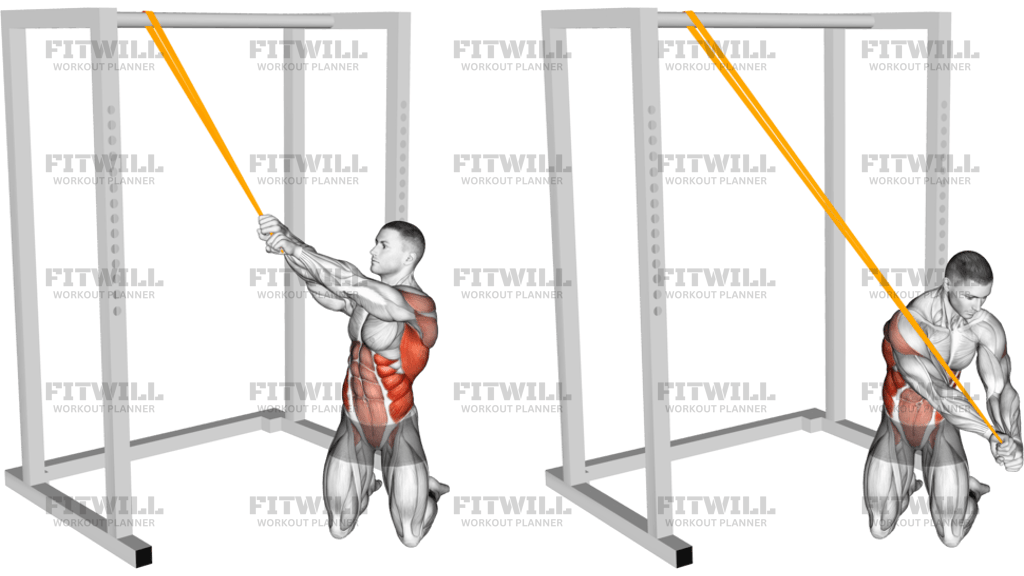
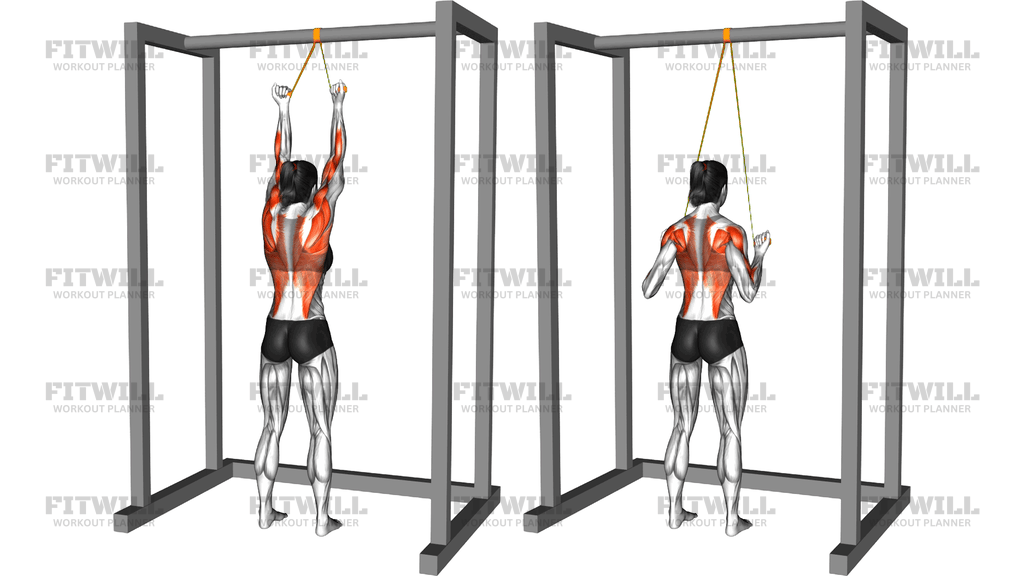
The Resistance Band Standing Underhand Lat Pulldown is a vertical pulling exercise performed by anchoring a resistance band overhead, usually to a pull-up bar or rack crossbar, and pulling the band down toward your shoulders with a supinated, palms-facing-you grip. Because the band is anchored above you rather than in front of you, the resistance travels along the same overhead-to-chest path as a lat pulldown machine, making this one of the most faithful standing substitutes for that movement.
The exercise primarily targets the lats, the broad muscles of the back responsible for pulling the upper arms down and back. Because the palms face toward you, the biceps contribute more than they would in an overhand version, and the muscles of the mid-back — the rhomboids, mid and lower traps, and rear delts — assist as the shoulder blades pull down and together at the bottom of the pull. The standing stance also asks your core and legs to keep you tall and stable while the band pulls upward.
This movement suits people who train at home or travel, anyone without access to a lat pulldown machine, and lifters who want a low-friction way to accumulate vertical pulling volume between pull-up sets. It is also a practical progression tool: if you cannot yet do full pull-ups, this exercise builds the same pulling pattern with adjustable resistance.
Setup matters more than it might seem. The band must be anchored securely at the top, and you should grip it so both sides are under even tension, since an uneven loop or grip will pull you to one side. Stand facing the anchor with feet roughly hip-width apart, and position yourself so the band hangs with slight tension even when your arms are extended overhead. Standing too far back lets you cheat with bodyweight shifts; standing directly under the anchor keeps the pull honest.
To execute it well, start with arms fully extended, ribs stacked over hips, and a light brace through the trunk. Drive your elbows down and slightly back, letting your hands travel toward shoulder height, and think about pulling your shoulder blades into your back pockets rather than simply bending the elbows. Pause briefly at the bottom, then let the hands rise under control until the arms are long again. The lowering half is where most people rush, and slowing it down is the fastest way to make a light band feel meaningful.
A few practical points keep this safe and productive: check the anchor and band for wear before every session, keep tension in the band throughout so it never snaps forward, and choose a band that lets you reach full overhead extension without the band yanking you upward at the top.
[ Workout Log & Planner ]
Put your next workout in Fitwill
Keep your plan and training log ready when you are.


Instructions
- Anchor a resistance band securely over a pull-up bar or rack crossbar so it hangs at the center, and pull the loop to confirm it will not slip.
- Stand facing the anchor with feet hip-width apart, and take an underhand grip on the band with hands about shoulder-width apart, palms facing you.
- Position yourself so the band already has light tension with your arms extended straight overhead.
- Stand tall, brace your trunk lightly, and keep your ribs stacked over your pelvis without leaning backward.
- Pull the band down by driving your elbows toward your hips, letting your hands travel until they reach about shoulder height beside you.
- At the bottom, squeeze your shoulder blades down and together and pause for a moment with the band taut against your shoulders.
- Release slowly, allowing your hands and elbows to travel back up until your arms are fully extended overhead under the band's tension.
- Exhale as you pull down and inhale as you return to the overhead position.
- Complete your reps at a steady tempo, then step out of the band one hand at a time rather than letting go with both hands while it is stretched.
Tips & Tricks
- If the band pulls you up onto your toes at the top, the band is too strong or you are standing too far from the anchor — switch bands or step slightly forward until tension is manageable with arms fully extended.
- An underhand grip encourages the biceps to take over; lead with the elbows and picture your hands as hooks so the lats stay the driver.
- Leaning back and dropping the hips turns this into a row; if you cannot stay upright, the band is too heavy for strict form.
- Keep both sides of the band even in length and tension — if one hand sits lower, you will twist toward that side and load the shoulder unevenly.
- Let the shoulder blades elevate naturally at the top of each rep so every pull starts from a full stretch instead of staying short and shrugging.
- Control the upward half for two to three seconds; the band accelerates your hands as it recoils, which is the most common source of sloppy reps.
- If your grip fatigues before your back, wrap the band ends around your palms one extra turn or use a thicker band for a better hold.
- Fight the urge to bend the wrists at the bottom; keep them neutral so force transfers through the forearms instead of straining them.
- Start each set with a single test pull to check the anchor point — a band coming loose overhead is the main safety risk in this setup.
Frequently Asked Questions
What muscles does the Resistance Band Standing Underhand Lat Pulldown work?
The lats are the primary mover, with strong assistance from the biceps because of the underhand grip. The mid-back muscles, rear delts, and grip also work throughout each rep.
Why use an underhand grip instead of an overhand grip for this exercise?
The supinated grip puts the biceps in a stronger pulling position and slightly changes the shoulder path, which many lifters feel more directly in the lower lats. It is a useful variation to rotate alongside overhand pulls.
Is the Resistance Band Standing Underhand Lat Pulldown good for beginners?
Yes. It is one of the easiest vertical pulls to learn because band resistance is smooth and easy to scale, and the standing position gives instant feedback if you start cheating with body lean.
Can this exercise replace pull-ups?
It trains the same overhead pulling pattern and can fill that role when pull-ups are not available, though it does not load the body weight the way hanging from a bar does. It works well as a stepping stone toward your first pull-up.
How do I set the correct distance from the anchor point?
Stand close enough that the band has light tension with your arms fully overhead, but not so close that the band goes slack mid-rep. If you feel pulled forward or backward during the pull, adjust your foot position first.
How far should I pull the band down?
Pull until your hands reach roughly shoulder height and your elbows are near your ribs, with shoulder blades pulled down and together. Pulling past that point usually means the elbows have drifted behind the body and the shoulders take over.
Why do I feel this more in my arms than my back?
That usually means the elbows are bending without the shoulder blades moving. Slow the tempo down, focus on driving the elbows toward your hips first, and use a lighter band until you can feel the back working.
What kind of band should I use for this movement?
A continuous loop band rated for bodyweight-style training works best because it anchors cleanly over a bar without clips. Choose a resistance that leaves your last two or three reps challenging but still controlled.
Is it safe to anchor the band to a pull-up bar?
It is safe when the loop is centered over the bar and checked before each set, since a slipping band is the main hazard. Inspect the band for small tears or worn spots and retire it once the material shows damage.
How many reps and sets should I do?
Two to four sets of 10 to 15 reps works well for most goals, adjusting band thickness rather than rep range to change the difficulty. Keep the tempo controlled so the back, not momentum, does the work.