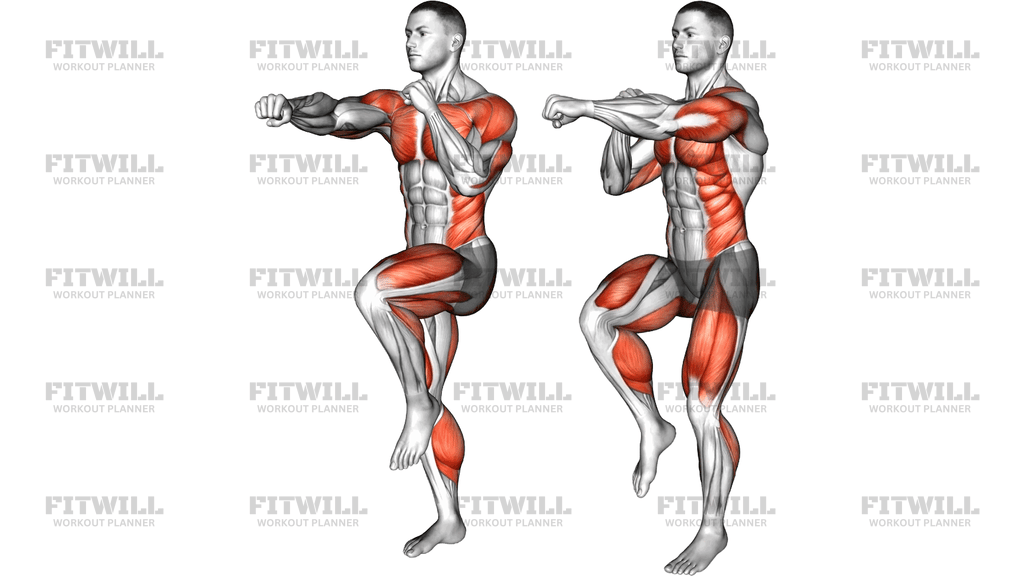
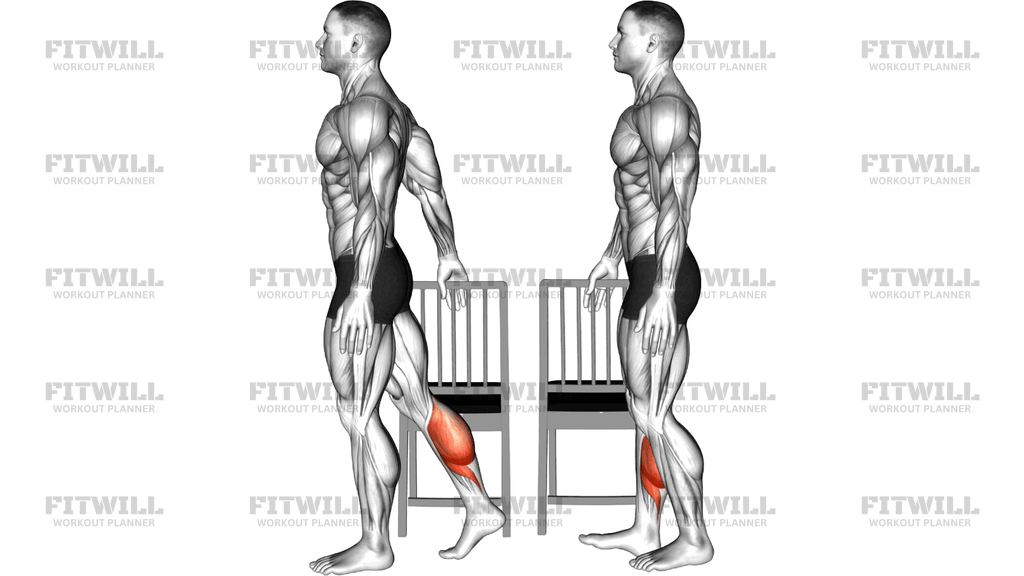
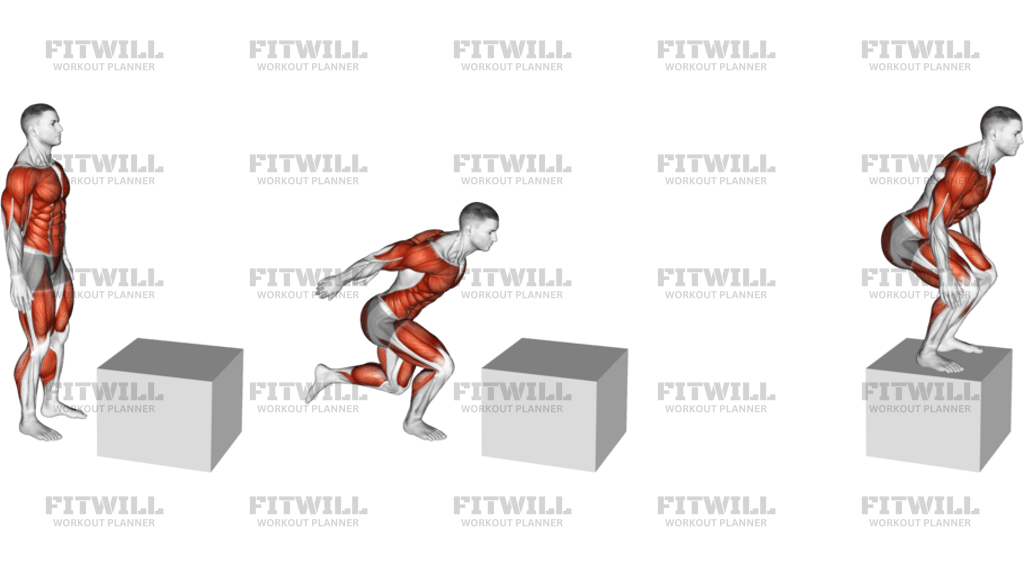
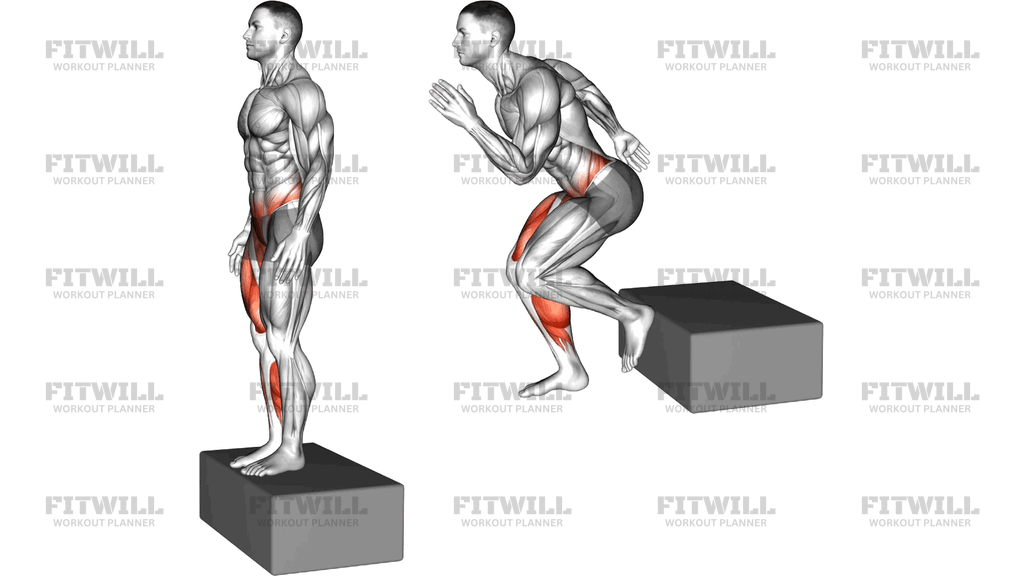
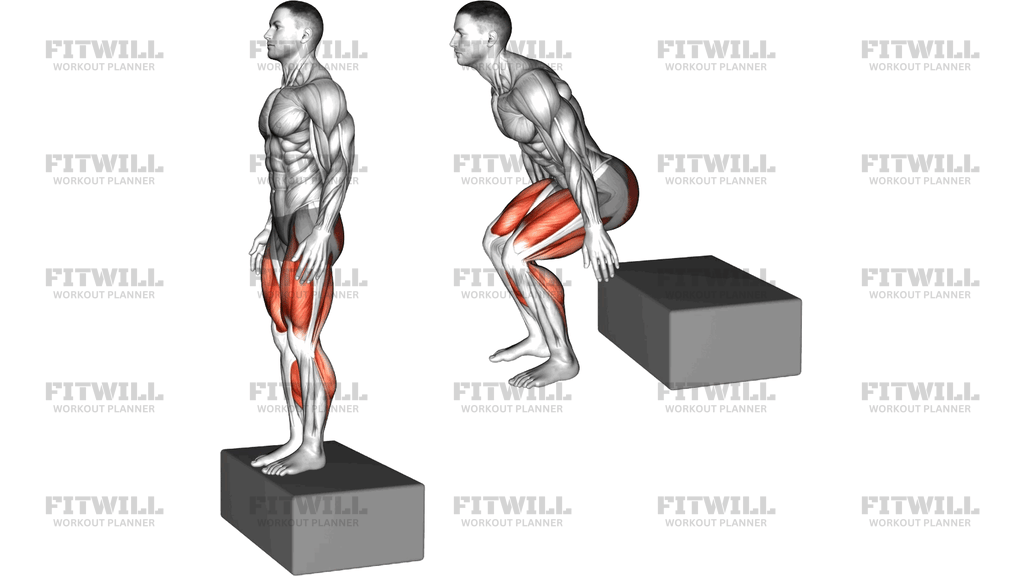
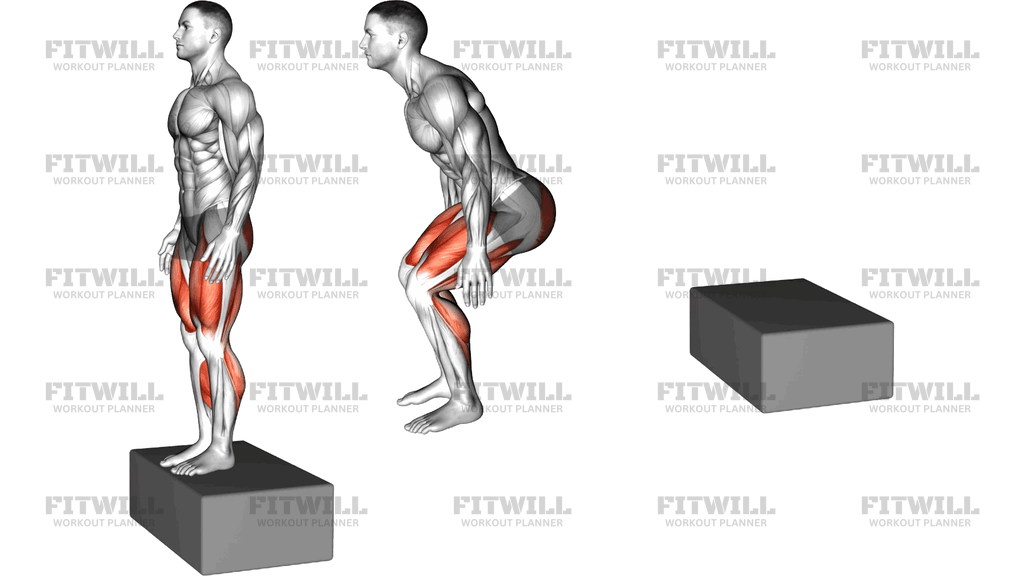
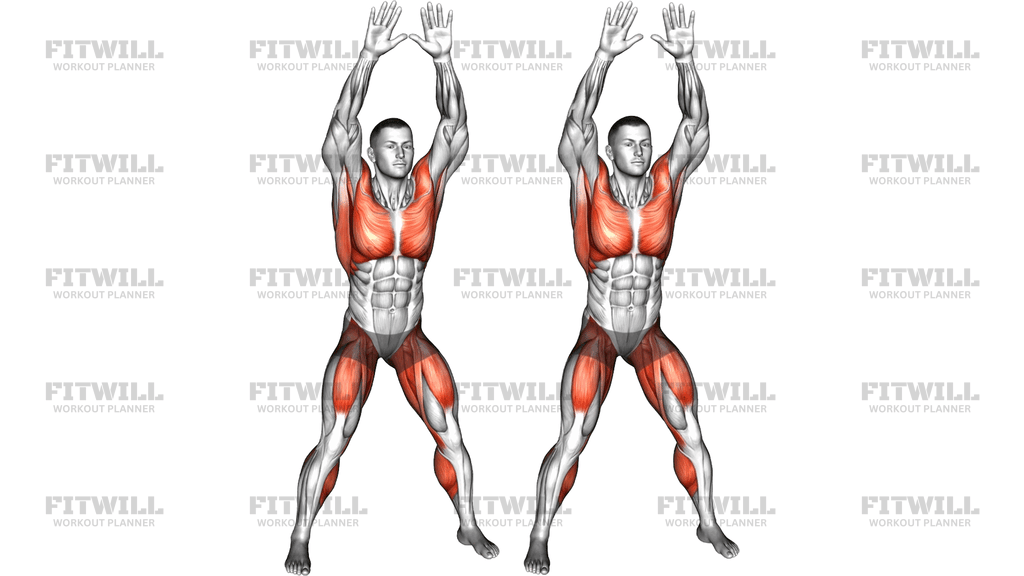
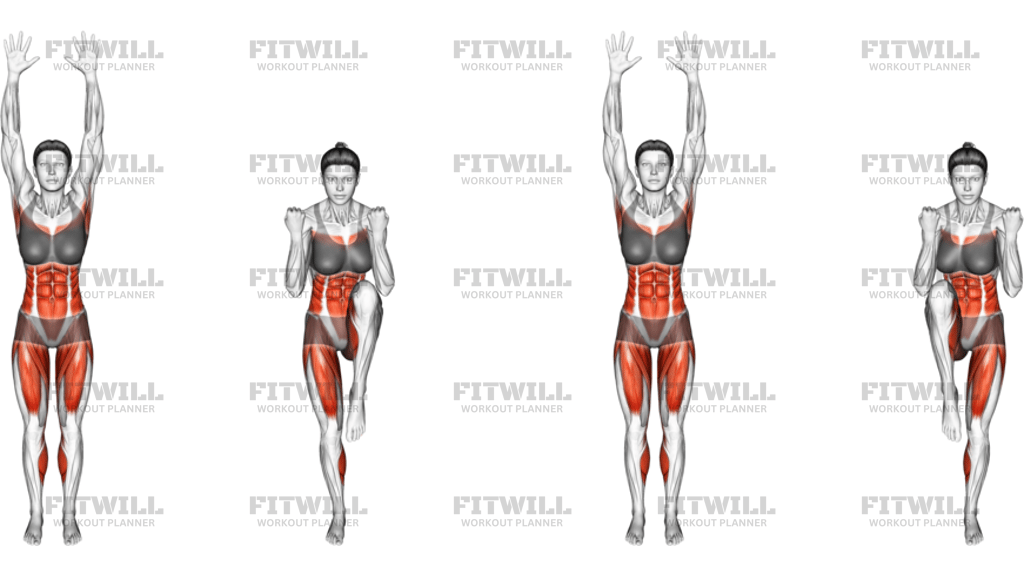
3 Point Standing Hops
3 Point Standing Hops are a single-leg plyometric drill where you hop between three imaginary or marked points arranged in a triangle, staying on the same foot the whole time. Think of the three points as a small triangle on the floor a few feet wide: you start on one point, hop diagonally forward to the second, cut laterally to the third, and hop back to close the loop. The drill is done in place, so you need nothing more than a clear patch of floor and enough space to land without hitting anything.
This movement is a staple in athletic conditioning and return-to-play programs because it trains the exact qualities single-leg sports demand: reactive ankle strength, balance under fatigue, and the ability to absorb force and immediately reuse it. Basketball, soccer, tennis, and volleyball players all cut, pivot, and land on one leg, and this drill rehearses that pattern in a controlled setting. It is equally useful for runners, since single-leg hopping exposes left-right differences in stability that two-legged jumping hides.
The main work comes from the calf complex and the quadriceps, which drive each hop and cushion each landing, but the real coaching point is what happens around them. The glutes and hamstrings control your hip position on every landing, and the deep core keeps your torso from swaying as you change direction. Your ankle stabilizers get constant feedback because every landing arrives at a slightly different angle, forcing the smaller muscles around the ankle and foot to make rapid corrections.
Setup matters more than it looks. The three points should be close enough that you never have to lunge or overreach to hit them, roughly forming a triangle with sides of two to three feet. If the triangle is too big, landings get sloppy and the knees drift inward; if it is too small, the drill turns into a stiff ankle bounce with little directional challenge. Start on the smaller side and expand only when every landing is quiet and controlled.
To execute well, keep the stance knee softly bent and the arms loose at your sides for balance. Push from the ball of the foot, keep the hop low and quick rather than high and slow, and stick each landing for a split second before the next push. Your torso stays tall with a slight forward lean, and your eyes stay off your feet as much as possible.
As for safety, this is a higher-impact drill, so treat it like one. Do it early in a session while your ankles are fresh, on a surface with some give rather than concrete, and stop if the stance knee rolls inward or your landings start sounding heavy. Quality of landings, not the number of hops, is the measure of a good set.
[ Workout Log & Planner ]
Put your next workout in Fitwill
Keep your plan and training log ready when you are.


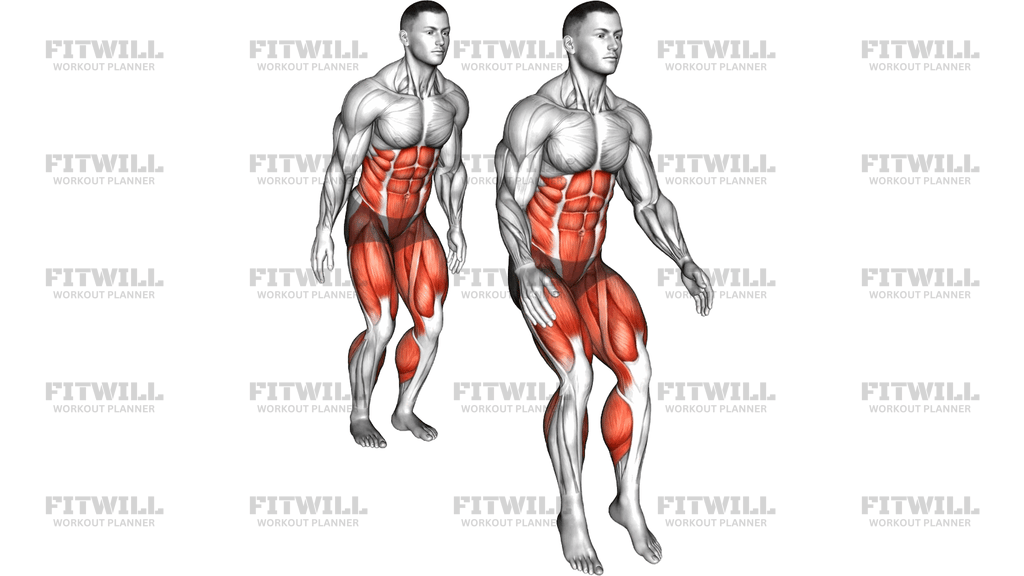
Instructions
- Mark or visualize three points on the floor forming a small triangle with sides of about two to three feet, and stand on one foot at the first point with the other foot lifted slightly off the ground.
- Bend the standing knee to roughly a quarter squat, shift your weight onto the ball of the foot, and let your arms hang loosely at your sides ready to counterbalance.
- Brace your core lightly and keep your chest up with a small forward lean so your torso stays stacked over the hopping leg.
- Hop diagonally forward from the first point to the second point, pushing through the ball of the foot and keeping the hop low and quick.
- Land softly on the same foot at the second point, letting the knee and hip bend together to absorb the impact before the next push.
- Immediately hop sideways to the third point, using a small arm swing in the direction of the hop to help you change direction.
- From the third point, hop back to the starting point to complete the triangle, then repeat the loop for the desired number of reps or time.
- Breathe steadily throughout, exhaling on each push-off rather than holding your breath.
- When finished, step down to both feet, shake out the ankles, and reset your balance before switching to the other leg.
- Switch legs and complete the same number of loops on the other foot, starting from the same first point.
Tips & Tricks
- Keep the hops low. High, slow jumps turn a reactive agility drill into a strength jump and make it much harder to hold your landing spot.
- A common mistake is letting the knee cave inward on landing. Cue yourself to land with the knee tracking over the second and third toes on every hop.
- If you keep losing balance at the lateral hop, shrink the triangle by a few inches on each side before adding distance back.
- Land quietly. A loud slapping sound means you are landing flat-footed instead of rolling from the ball of the foot through the heel.
- Stop looking at your feet after the first few loops. Fixing your eyes on a spot ahead of you builds the proprioception this drill is meant to develop.
- Do this drill before heavy lifting or long runs, not after. Bouncing on a fatigued ankle is when landings get sloppy and form breaks down.
- Your lifted leg is not decoration. Holding it slightly forward and bent acts as a counterweight and makes sticking each landing noticeably easier.
- If your calf cramps or your ankle wobbles badly on the first sets, cut the reps in half and build volume gradually over a few weeks.
- Compare sides. If one leg feels unstable or uncoordinated, give it an extra set rather than letting the dominant leg set the standard.
Frequently Asked Questions
What muscles do 3 Point Standing Hops work?
The calves and quadriceps produce and absorb each hop, while the glutes and hamstrings control the hip on every landing. The ankle stabilizers and deep core work continuously to keep you balanced through each direction change.
How big should the triangle be for 3 Point Standing Hops?
Start with sides of roughly two to three feet so you can hit each point without lunging or overreaching. Shrink it if your landings get sloppy, and expand it only once every landing is quiet and controlled.
Are 3 Point Standing Hops suitable for beginners?
Yes, if you scale them down. Begin with a small triangle, short sets of ten to fifteen seconds, and hold each landing briefly before the next hop. If single-leg balance is a struggle, master two-foot hopping between the same three points first.
Why should I stay on one foot instead of hopping with both?
Single-leg hopping exposes and corrects side-to-side imbalances that two-foot jumping hides, and it mirrors how most sports actually load the body. It also places a much greater balance demand on the ankle stabilizers.
How many sets of 3 Point Standing Hops should I do?
Two to four sets of ten to twenty seconds per leg is plenty for most people. This is a quality drill, so stop the set as soon as your landings become loud, slow, or wobbly rather than grinding out more reps.
What is the most common mistake in this drill?
The most frequent error is hopping too high and landing with a stiff, flat foot and a caving knee. Keep the hops low, land through the ball of the foot with a bent knee, and let the hip and knee absorb force together.
What can I use instead of imaginary points for the triangle?
Two cones, chalk marks, tape, or even three floor tiles work well as visible targets. A ladder or agility dots are also common, but three clearly spaced markers are all the drill requires.
Is it safe to do 3 Point Standing Hops on concrete?
Occasional work on a hard surface is fine, but repeated high-impact hopping is easier on the ankles and knees on a gym floor, rubber matting, or grass. Choose the most forgiving surface available and keep volumes modest when starting out.
Should my foot touch down between hops?
No, the goal is to stay on the same foot through the entire loop, sticking each landing for only a split second. If you need to tap the other foot down to regain balance, shorten the triangle or slow the rhythm until you no longer need the tap.