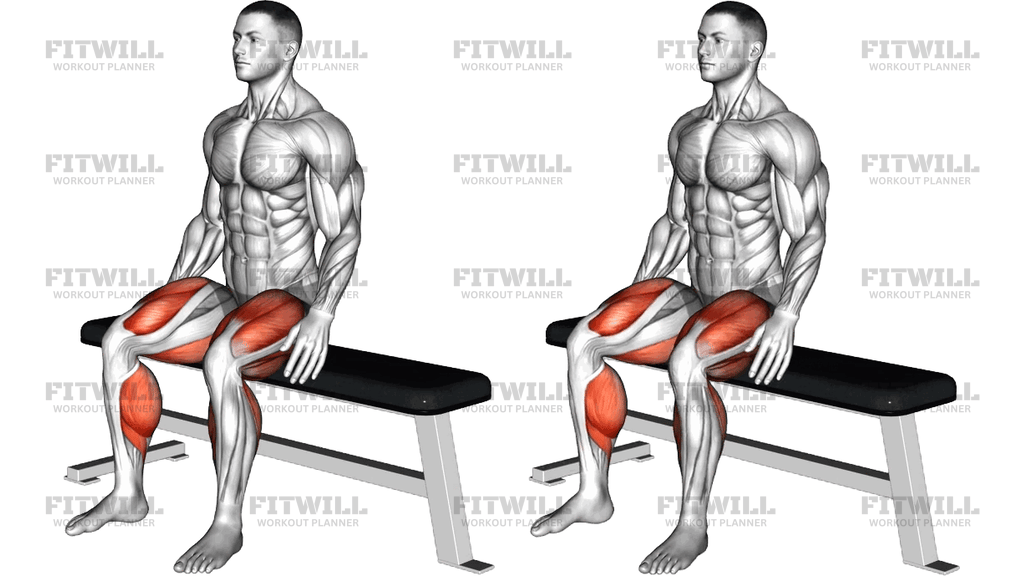
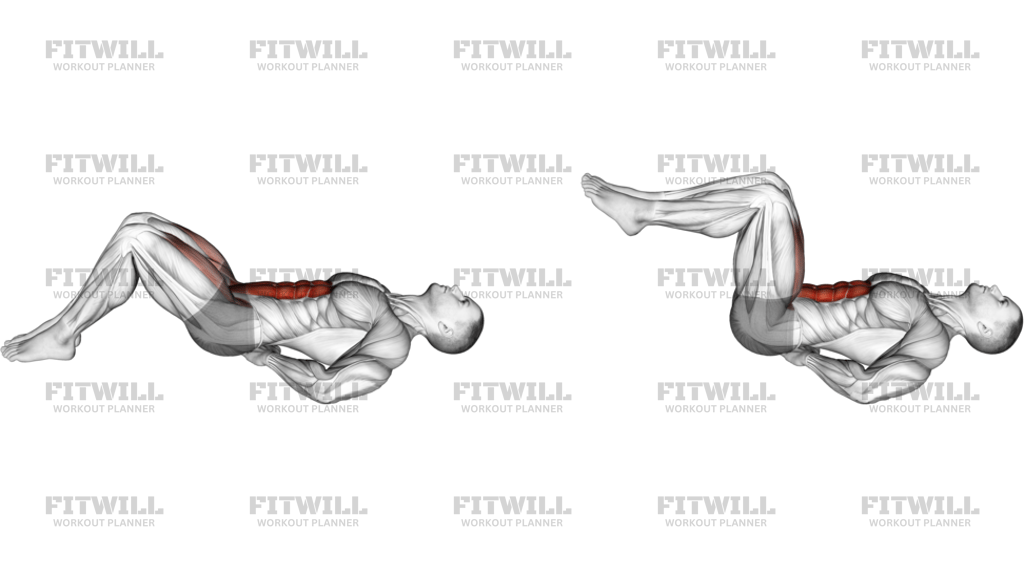
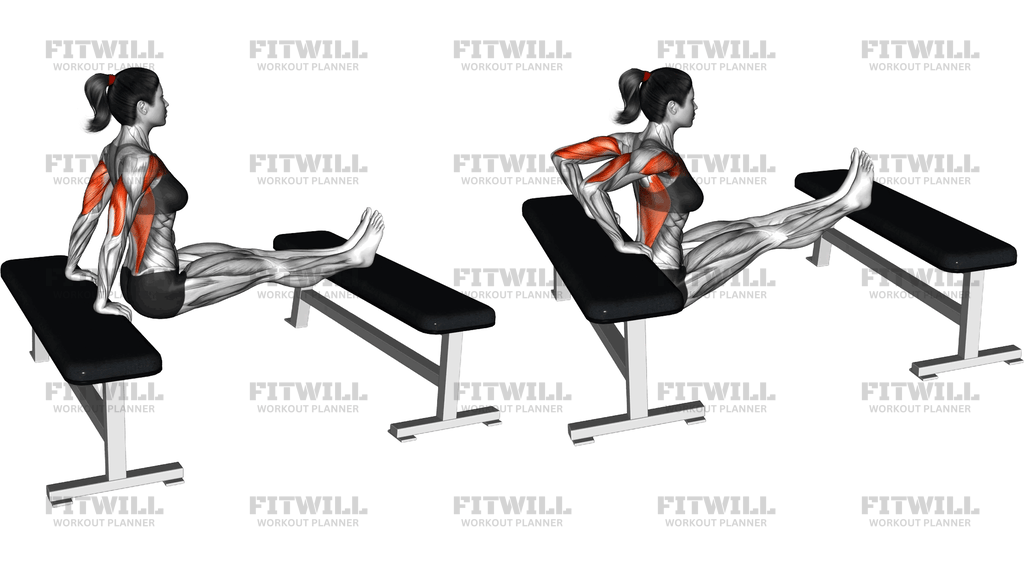
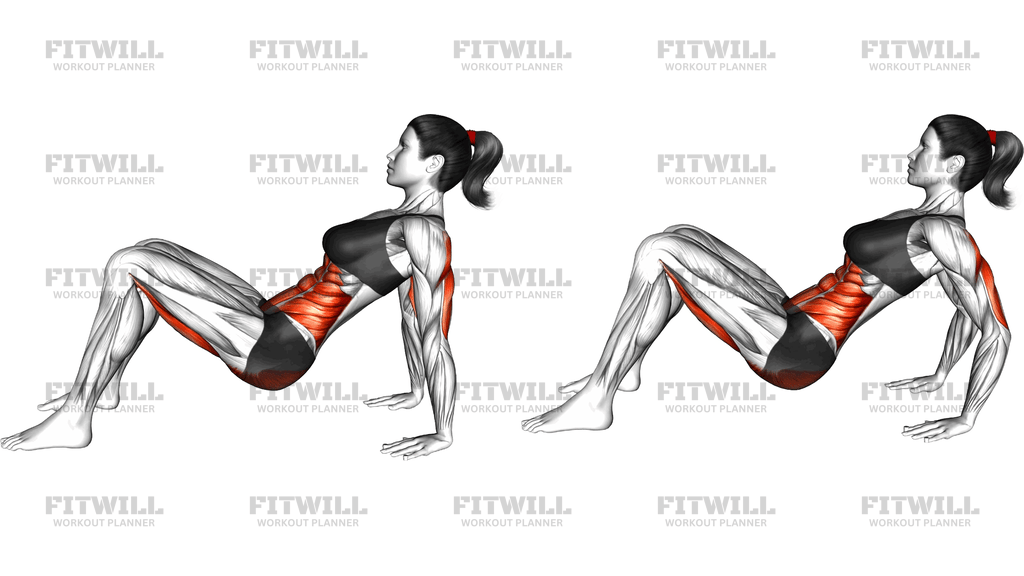
Seated Legs Circle Over Bench
Seated Legs Circle Over Bench is a bodyweight core and hip flexor drill where you sit on the floor in front of a flat bench, support yourself on your hands, and sweep your straight legs up, over the bench, and back down in a controlled arc. The bench acts as a fixed obstacle, which forces your legs to travel high and gives the movement a clear target to clear on every rep. Because the legs stay extended the whole way, the lever length is long and the demand on the hip flexors and lower abdominals is far greater than in a standard seated knee tuck.
The main work comes from the hip flexors, especially the iliopsoas and rectus femoris, which lift and steer the legs through the arc. The lower abs work hard to hold your pelvis and trunk steady while your hands carry a share of your bodyweight, and the quadriceps keep the knees locked straight so the legs behave like one solid lever. The shoulders, triceps, and upper back also stay engaged isometrically to keep you propped up throughout the set.
This is a useful drill for anyone who wants stronger, more coordinated hip flexion: sprinters and martial artists who need powerful knee drive, desk workers whose hip flexors have become lazy from long sitting, and intermediate trainees progressing toward hanging leg raises or L-sits. Clearing the bench gives you an honest feedback loop — if your legs clip the bench or your hips sag, the rep tells you immediately.
The setup matters more than it looks. Sitting too close to the bench squeezes the arc and makes your feet hit the pad, while sitting too far away turns the drill into a grinding hold with poor clearance. Position yourself so your extended legs can pass just over the near edge of the bench, and place your hands about shoulder-width behind your hips with fingers pointing toward the bench so your wrists stay comfortable as you lean back.
To execute it well, think of the legs as a single unit moving on rails. Keep the knees straight and the feet together, initiate each circle by tilting the pelvis slightly backward rather than yanking with the thighs, and move the legs at a speed you could pause at any point. Lower with control on the far side, then reverse the same arc back over the bench for the next rep.
Keep the reps moderate and the quality high. If your lower back starts arching and your heels drop toward the floor, end the set — this drill rewards tension, not grinding sloppy reps.
[ Workout Log & Planner ]
Put your next workout in Fitwill
Keep your plan and training log ready when you are.


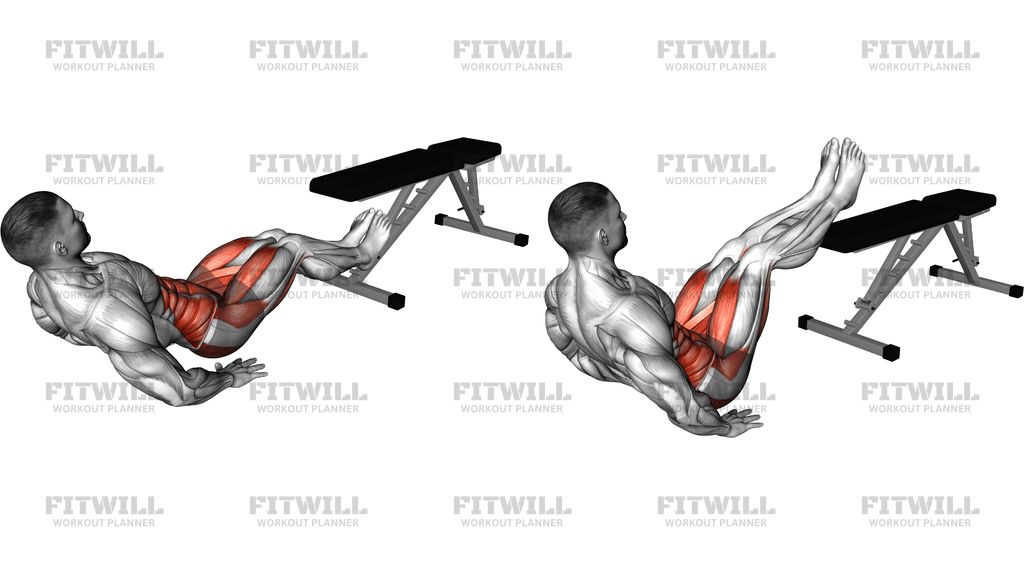
Instructions
- Place a flat bench on the floor and sit on the ground facing it, far enough back that your extended legs can clear the near edge of the pad by a few inches.
- Set your hands on the floor about shoulder-width behind your hips, fingers pointing toward the bench, and lean your torso back until your arms take a comfortable share of your weight.
- Straighten both legs fully, squeeze the knees together, and point or flex your feet consistently so your legs form one rigid lever.
- Brace your abdominals and pull your ribs down slightly so your lower back stays flat against the tendency to arch as the legs rise.
- Inhale, then lift both legs together and sweep them up and forward in an arc over the bench, keeping the knees locked and the feet at pad height or above.
- Continue the circle until your legs come down on the far side of the bench, exhaling through the highest part of the arc.
- Reverse the path smoothly, lifting the legs back over the bench toward the starting side without letting the heels touch the floor.
- Keep your shoulders down and your elbows mostly soft rather than locking them hard, letting the arms support you instead of shrugging into your ears.
- Pause briefly with the legs hovering just above the floor, reset your brace, then begin the next circle.
- Complete all reps leading with the same direction, or alternate the circling direction each set for balanced control.
Tips & Tricks
- If your feet keep clipping the bench, you are either sitting too close to it or bending the knees mid-arc — move back a hand-width and re-lock the knees before each circle.
- Watch for the hips sliding forward rep after rep; this shortens the lever and turns the drill into a much easier shuffle. Mark your hand position with tape or a chalk mark and return to it every set.
- Arching the lower back as the legs lift is the most common fault here. Fix it by exaggerating the backward pelvic tilt at the start of each circle, not by lifting the legs higher.
- Bending the elbows and sinking into the shoulders is a sign your arms are doing too much. Push the floor away slightly and keep the shoulder blades engaged so the trunk stays tall in the lean-back position.
- If two straight legs are too heavy, start with the same arc using one leg at a time, or shorten the range by circling over a lower obstacle before returning to the bench.
- Speed kills this movement. A circle that takes one second is momentum doing the work; aim for two to three seconds per direction so the hip flexors stay loaded the whole way.
- Keep the neck neutral by looking at a spot on the ceiling or wall ahead of you rather than craning to watch your feet clear the bench.
- Ground the backs of your hands and heels of the palms firmly — fingertips-only contact makes the shoulders compensate and usually causes a wobbly mid-arc wobble over the bench.
- Stop the set the moment your heels start dropping toward the floor between reps; that drop means the hip flexors have fatigued and the lower back is about to take over.
Frequently Asked Questions
What muscles does the Seated Legs Circle Over Bench work?
The primary movers are the hip flexors, particularly the iliopsoas and rectus femoris. The lower abdominals stabilize the pelvis, the quads keep the knees straight, and the shoulders and triceps support your torso while you lean back on your hands.
How far from the bench should I sit?
Sit far enough back that your fully extended legs clear the near edge of the bench by a few inches at the top of the arc. Too close and your feet hit the pad, too far and the movement becomes an overloaded hold with poor clearance.
Is the Seated Legs Circle Over Bench suitable for beginners?
It is demanding because both legs stay straight, which creates a long lever. Beginners should start with single-leg circles over the bench or a lower obstacle, or bend the knees slightly, before progressing to the full two-leg version.
Why do my lower back and hips feel this more than my abs?
That usually means your pelvis is tipping forward as the legs rise, letting the lower back arch and take over. Exaggerate the backward pelvic tilt at the start of each circle and reduce the range until you can keep the trunk locked.
Should my feet touch the floor between reps?
A brief hover just above the floor is fine for resetting, but do not rest the heels down between circles. Keeping constant tension on the hip flexors is what makes this drill effective.
Can I do this exercise without a bench?
Yes. Any stable object of similar height works as the obstacle, such as a plyo box or a sturdy chair, as long as it will not tip if your legs graze it. You can also perform the same seated circle pattern with no obstacle to learn the path first.
How does this drill carry over to hanging leg raises?
It trains the same hip flexion and pelvic control in a supported position, making it a good stepping stone. Because your arms bear part of your weight here, it also builds the bracing you need once you hang from a bar.
How many reps and sets should I do?
Two to four sets of 6 to 10 controlled circles works well, with each direction of the arc taking two to three seconds. Stop the set when your form breaks rather than pushing to failure.
Is it safe for my wrists and shoulders?
The lean-back support puts a moderate extension load on the wrists and shoulders. If either feels strained, turn your fingers slightly outward, keep your elbows soft, or shorten your sets — and avoid this drill if you have an active wrist or shoulder injury.