Standing Hip Circle
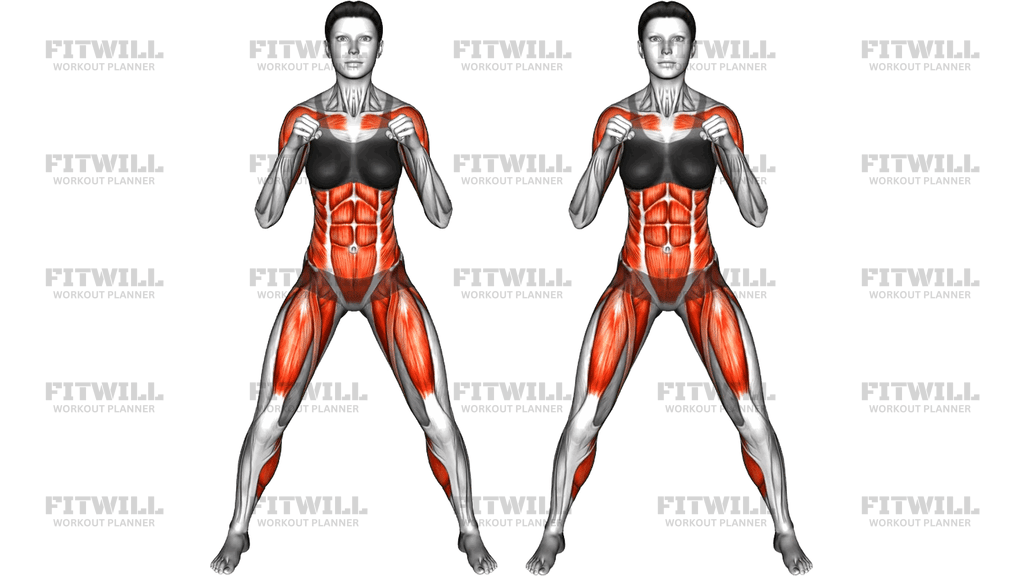
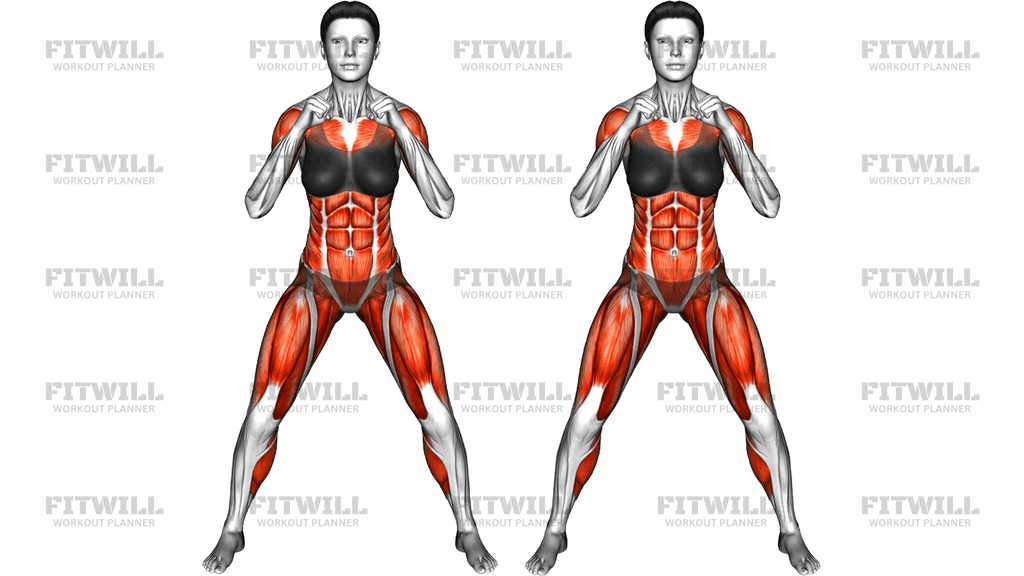
The Standing Hip Circle is a bodyweight mobility drill in which you stand with your feet wider than hip width, place your hands on your hips, and sweep your pelvis in a large, smooth circular path. Because you move the whole pelvis rather than just one leg, the rotation travels through the hip joints, the lower back, and the muscles of the waist, making it a genuinely full-trunk warm-up rather than a single-joint stretch.
This movement is a staple in general warm-ups, dance and martial arts preparation, and pre-workout routines for squats, lunges, and running. It is equally useful for people who sit for long hours, since prolonged sitting tends to leave the hip flexors short and the mid-spine stiff. A few slow circles in each direction restore movement to those areas before you load them.
As you circle, the hip flexors at the front of the pelvis, the glutes on the back side, and the small muscles around the outer hips all take turns shortening and lengthening. The obliques and deep core muscles control the rotational component, while the legs work isometrically to keep you stable over your base. Nothing is loaded heavily, so the drill trains range of motion and coordination, not strength in the traditional sense.
Setup matters more than most people expect. Feet planted firmly and roughly shoulder-width to slightly wider, knees soft but not bending deeply, hands resting on the hips with elbows out. If your stance is too narrow the circle collapses into a side bend; too wide and the pelvis cannot travel freely. Keep the upper body relatively quiet and let the pelvis do the drawing.
Execution should feel like tracing a barrel with the crown of your pelvis: push the hips forward, sweep to one side, roll them back, and around to the other side, then continue without pausing. The common errors are rushing, shrinking the circle, and bending the knees excessively to fake the range. Slow the tempo down until the path stays large and smooth, and expect one direction to feel looser than the other.
Use Standing Hip Circles early in a session, roughly five to ten rotations each way, or on their own during a workday break. Since the drill is low impact and needs no equipment, it also suits older adults and beginners who want gentle motion through the midsection without strain. If any position produces sharp pain rather than a stretch-and-release sensation, reduce the circle size and, if it persists, skip the movement that day.
[ Workout Log & Planner ]
Put your next workout in Fitwill
Keep your plan and training log ready when you are.


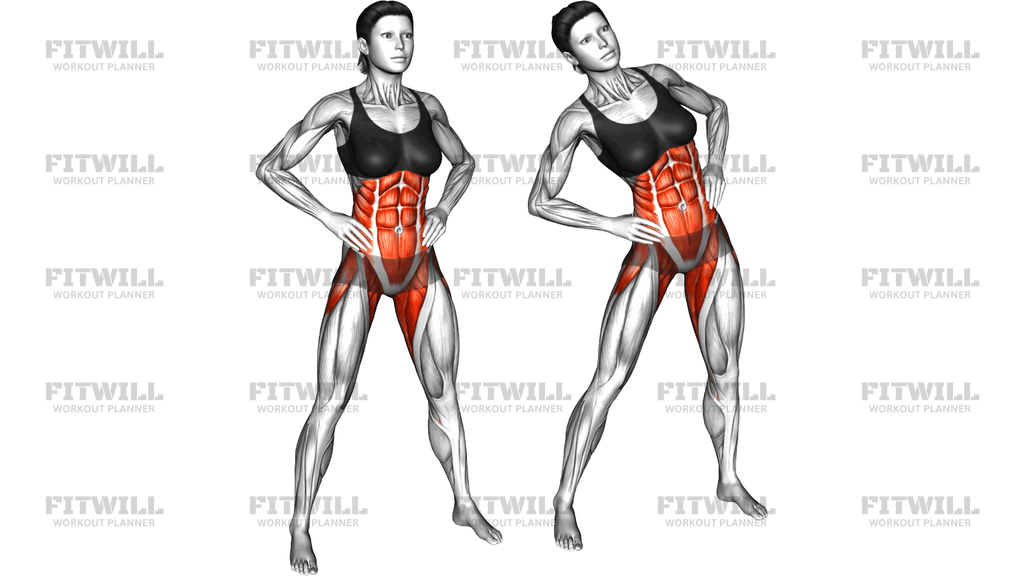
Instructions
- Stand with your feet about shoulder-width apart or slightly wider, toes turned out a few degrees, and your weight spread evenly across both feet.
- Place both hands on your hips with your thumbs pointing back and fingers forward, and let your elbows open out to the sides.
- Soften your knees slightly and brace your core lightly so your trunk moves as one controlled piece instead of flopping.
- Begin the circle by pushing your hips straight forward, so your pelvis tucks under and your weight shifts toward the balls of your feet.
- Sweep the hips out to one side, letting that leg lengthen as your torso leans gently away from the direction of travel.
- Continue rolling the hips to the back, shifting your weight toward your heels, then around to the opposite side to close the circle.
- Keep the circle as large and round as you can manage without bending the knees deeply or twisting the feet off the floor.
- Breathe steadily throughout, inhaling on the back half of the circle and exhaling on the front half, rather than holding your breath.
- Complete your reps in one direction, then reverse the circle and perform the same number in the other direction.
- Finish by bringing the pelvis back to neutral, standing tall, and shaking out the legs before moving to the next drill.
Tips & Tricks
- Picture tracing the outline of a large barrel with your belt buckle; this keeps the path round instead of letting the circle flatten into a side-to-side sway.
- If your knees keep bending with every rotation, your circle is probably too big for your current hip range — shrink it until the legs can stay almost still.
- Avoid letting the shoulders and head swing in big arcs; excessive upper-body lean usually means the pelvis is not actually leading the movement.
- One direction will typically feel tighter, often the direction that rolls the hips backward; spend an extra rotation or two on the stiff side rather than skipping it.
- Keep the feet glued to the floor. If your heels or toes peel up as you circle, the movement has turned into a weight shift instead of a pelvic rotation.
- Slow is the goal for warm-up purposes: a circle that takes two to three seconds gives the hip capsule and lower back time to lengthen, while fast circling mostly builds momentum.
- If standing balance feels shaky, hold onto the back of a chair with one hand and circle with the other hand on the hip until control improves.
- Do not force the backward tuck at the top of the circle; pressing the hips forward aggressively can pinch the front of the hip in some people — stay within a comfortable arc.
Frequently Asked Questions
What muscles does the Standing Hip Circle work?
It is primarily a mobility drill, so no muscle works against heavy load, but the hip flexors, glutes, and outer hip muscles move through their ranges while the obliques and lower back control the rotation. The legs also work statically to keep you balanced.
Is the Standing Hip Circle a strength exercise or a stretch?
It is best treated as a dynamic stretch or warm-up drill. It raises temperature and range in the hips and trunk, which makes it a good precursor to squats, deadlifts, running, or any activity that demands hip rotation.
How many Standing Hip Circles should I do per direction?
Five to ten slow circles in each direction is enough for most warm-ups. If one side feels noticeably stiffer, add two or three extra rotations that way.
Why do my knees keep bending during the circles?
This usually happens when the circle is too large for your hip range, so the knees compensate to let the pelvis travel. Reduce the circle size, keep a slight consistent knee bend, and focus on moving from the pelvis itself.
Can beginners do the Standing Hip Circle?
Yes, it is one of the most beginner-friendly hip drills because it needs no equipment and the range is self-selected. Beginners should simply start with smaller, slower circles and let the range grow naturally over a few sessions.
My lower back clicks or feels stiff when I roll the hips backward. Is that a problem?
Mild clicking without pain is common as the spine moves through rotation. If you feel sharp pain or the clicking is accompanied by discomfort, make the circle smaller, slow down, and avoid forcing the backward tuck of the pelvis.
What can I use instead of the Standing Hip Circle?
Leg swings, hip flexor stretches, and the cat-cow stretch cover similar territory. If you need a seated option, seated pelvic tilts and gentle seated torso circles work in a smaller range.
Should I circle clockwise first or counterclockwise first?
It makes little difference physiologically, but starting in the direction that feels smoother helps you find the rhythm before attacking the stiffer side. Just make sure you always finish with an equal amount of work in both directions.
Can I do the Standing Hip Circle every day?
Yes. Because it is low load and low impact, daily practice is fine and often helpful for people with stiff hips from prolonged sitting. Keep the intensity gentle on days when the hips already feel fatigued from training.