Quadruped To Down Dog
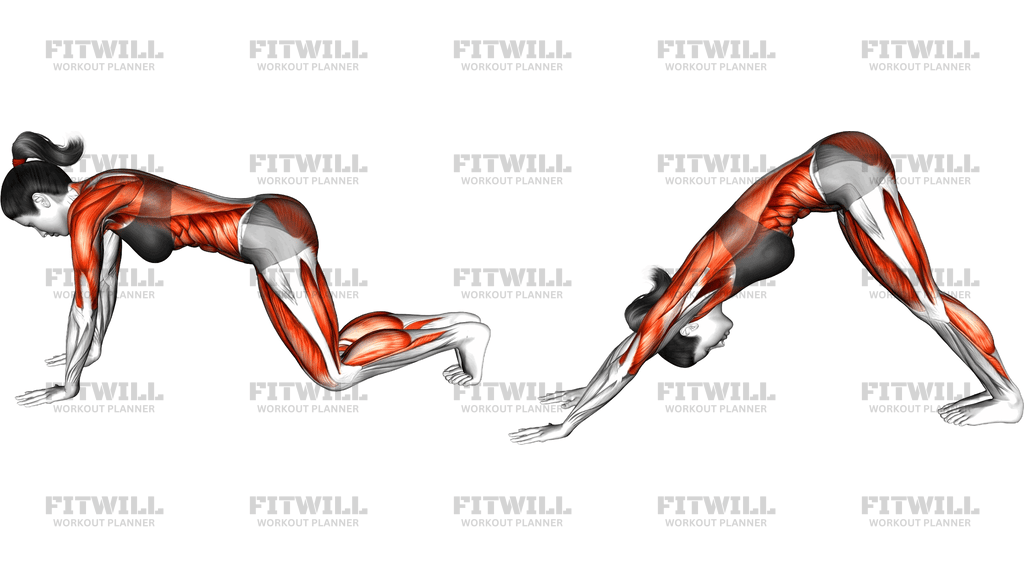
The Quadruped To Down Dog is a flowing bodyweight transition that takes you from an all-fours position into an inverted V shape, then back again. It blends elements of yoga's downward-facing dog with the neutral, hands-and-knees quadruped setup, making it one of the simplest ways to lengthen the entire back side of the body in a single controlled motion. Because it requires no equipment beyond a mat or comfortable floor, it slots easily into warm-ups, cooldowns, and desk-break mobility routines.
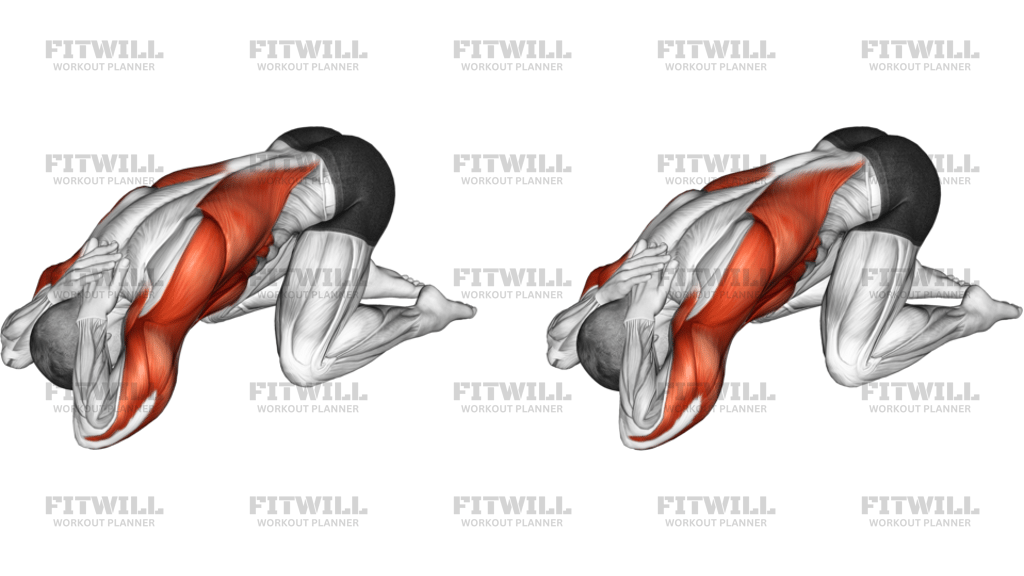
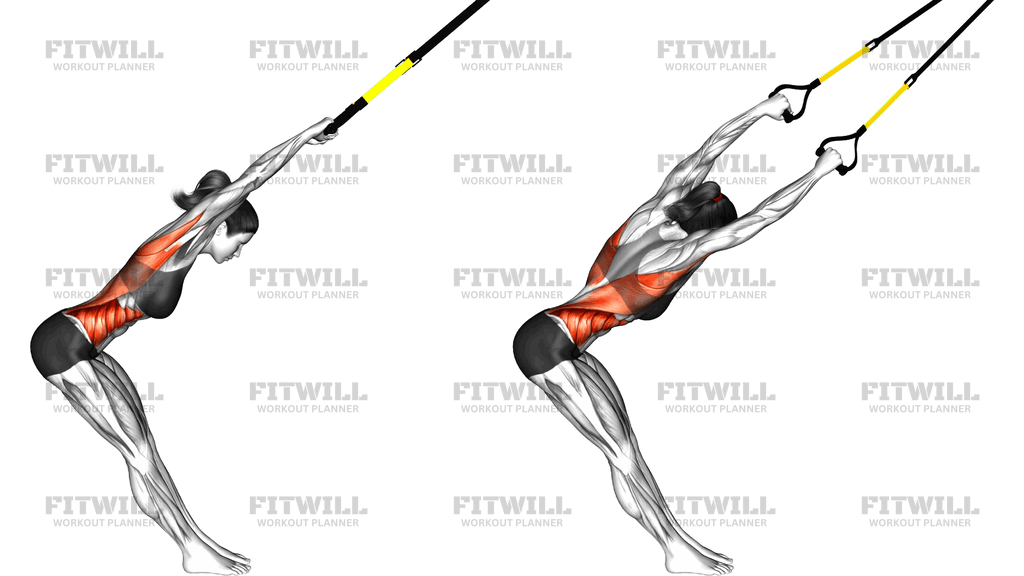
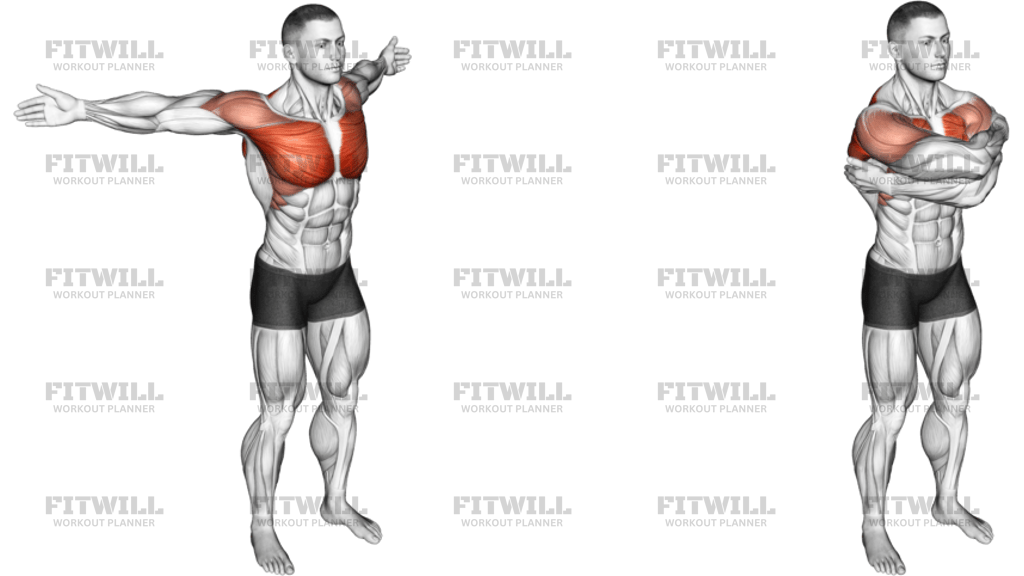
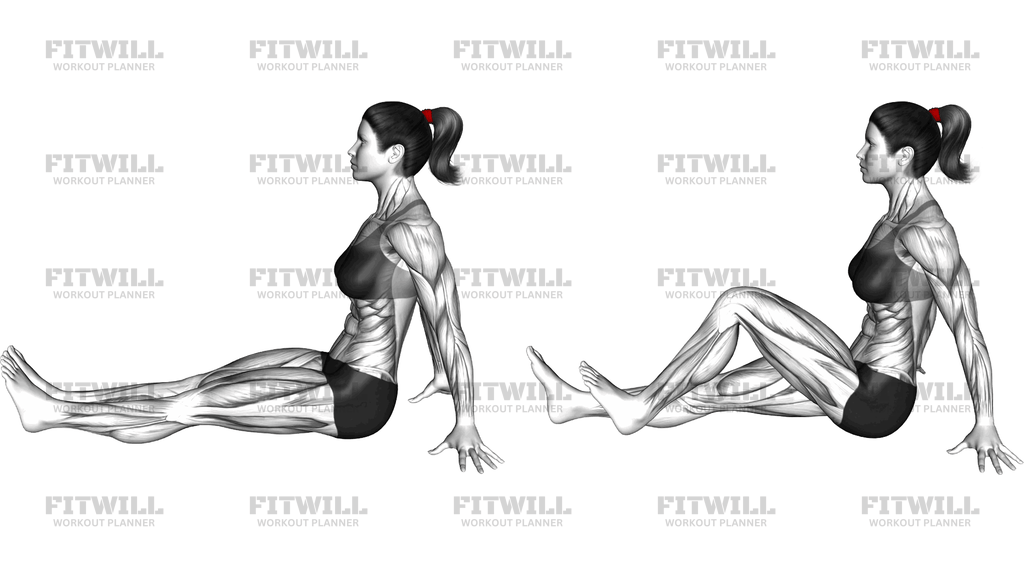
The movement primarily stretches the lats, hamstrings, and calves while loading the shoulders, arms, and trunk in a supporting role. As you press your hips up and back, the shoulders are taken into flexion overhead, the spine lengthens, and the posterior chain from heels to hands gets a long, even pull. Returning to the quadruped position reverses that stretch under control, which trains a useful blend of mobility and body awareness rather than passive flexibility alone.
Setup matters more than most people expect. Hand placement, knee position, and how you tuck the toes all determine whether the transition feels smooth or awkward. Hands should be set slightly wider than shoulder width with fingers spread, and knees under the hips before you lift. From there, the hips do the driving: they travel up and back while the chest sinks toward the thighs, letting the spine decompress instead of forcing the heels down prematurely.
Executed well, the flow looks like one continuous arc. You press through the palms, tuck the toes, straighten the knees as the hips rise, and pause briefly at the top with a long, open back line. Then you bend the knees, lower them softly to the mat, and settle back into the starting quadruped posture. The pace should be slow enough that you can feel each joint move through its range.
This drill suits a wide range of people. Beginners use it to learn spinal and shoulder positioning before attempting full yoga flows, lifters use it to open the lats and hamstrings between pressing or hinging sessions, and anyone with a desk-bound day benefits from the shoulder flexion and hamstring length it provides. It is also a gentle way to reintroduce weight-bearing through the wrists and shoulders after long periods of sitting.
Keep expectations realistic: this is a mobility and stretching exercise, not a strength builder or a calf-flexibility fix in one session. Move within a range where your wrists, shoulders, and lower back stay comfortable, keep the neck relaxed so the head hangs between the arms, and let flexibility improve gradually over weeks of consistent practice rather than forcing depth on day one.
[ Workout Log & Planner ]
Put your next workout in Fitwill
Keep your plan and training log ready when you are.


Instructions
- Place an exercise mat on the floor and kneel on all fours with your hands directly under your shoulders, fingers spread wide, and your knees under your hips in a quadruped position.
- Neutralize your spine so your head, upper back, and pelvis form one long line, and gaze down at the mat between your hands.
- Tuck your toes under so the balls of your feet contact the mat, keeping your knees resting on the floor for now.
- Brace your trunk lightly, then press firmly through your palms and lift your knees a few inches off the mat while keeping the back flat.
- Drive your hips up and back, gradually straightening your knees until your body forms an inverted V, with your chest sinking toward your thighs and your head relaxed between your arms.
- Hold the top position for one to three slow breaths, pressing the floor away with your hands and letting the heels drift toward the mat only as far as your calves comfortably allow.
- Exhale as you bend your knees and lower them gently back to the mat, softening the landing through the shins.
- Re-settle into the starting quadruped position, reset your hand and knee alignment, then repeat for the desired number of slow, flowing repetitions.
Tips & Tricks
- If your heels hover far above the mat at the top, do not force them down; a slight knee bend keeps the stretch in the hamstrings and calves instead of rounding the lower back.
- Wrist discomfort usually comes from collapsing weight into the heel of the hand; grip the mat lightly with your fingertips so the load spreads across the whole palm.
- Common mistake: pushing the hips up but leaving the chest collapsed toward the thumbs. Focus on pressing the floor away and rotating the upper arms slightly outward to open the shoulders.
- Avoid locking the knees violently at the top; straighten them to a comfortable stretch, not to a hard joint end-range.
- Let the head hang heavy between the arms. Craning the neck to look forward shortens the back of the neck and defeats the spinal lengthening this drill is meant to create.
- If tight hamstrings dominate the stretch and pull your back into a round, shorten the range by keeping the knees slightly bent and prioritizing a long, neutral spine over depth.
- Move with the breath rather than a stopwatch: exhale as the hips rise, inhale or exhale as the knees return. This keeps the tempo controlled and prevents rushing.
- On a slippery surface, skip the exercise or use a mat with grip; sliding hands or feet forward mid-transition is the most common way people land awkwardly.
- If your shoulders feel pinched at the top, reduce the angle by bending the knees more and shifting slightly less weight over the arms.
Frequently Asked Questions
What muscles does the Quadruped To Down Dog work?
It primarily stretches the lats, hamstrings, and calves while the shoulders, arms, and trunk muscles work to support and control the transition. Think of it as a mobility drill for the whole posterior chain rather than a strength exercise for any single muscle.
Is the Quadruped To Down Dog suitable for beginners?
Yes, and the quadruped start actually makes it more beginner-friendly than dropping straight into a full downward dog from standing. Beginners can keep the knees slightly bent at the top and use a shorter hold until flexibility improves.
Why do my heels never touch the floor in the down dog position?
Tight calves and hamstrings are the usual reason, and heel height often decreases with consistent practice. Keep the knees softly bent rather than sacrificing a long spine just to push the heels lower.
Should my knees stay bent or straight during the transition?
Start with the knees on the mat, then straighten them only as far as feels like a comfortable hamstring and calf stretch. A slight bend at the top is perfectly acceptable and often produces a better back position than forcing full extension.
Can I use the Quadruped To Down Dog as a warm-up?
Yes, it works well early in a session because it takes the shoulders, spine, and posterior chain through a large range without load. Two to five slow repetitions are usually enough before lifting or running.
My wrists ache during this exercise. What should I change?
Spread your fingers, shift some weight toward the fingertips, and check that your hands are truly under your shoulders rather than too far forward. If discomfort persists, try performing the drill on fists or forearms.
How is this different from a standard downward dog in yoga?
The difference is the entry and exit: instead of flowing from a plank or standing forward fold, you begin and finish on hands and knees, which makes the position easier to set up precisely and easier on the shoulders.
How long should I hold the top position?
One to three slow breaths per repetition is a good default. For a deeper stretch session, you can extend the hold toward 20 to 30 seconds while continuing to press the floor away.
Is it safe for my lower back?
When performed with a long spine and controlled tempo, it is generally gentle on the lower back because the hips-high position decompresses the spine. Stop if you feel sharp pain, and reduce the range so the movement stays comfortable.