Lying Figure 8 With Nose
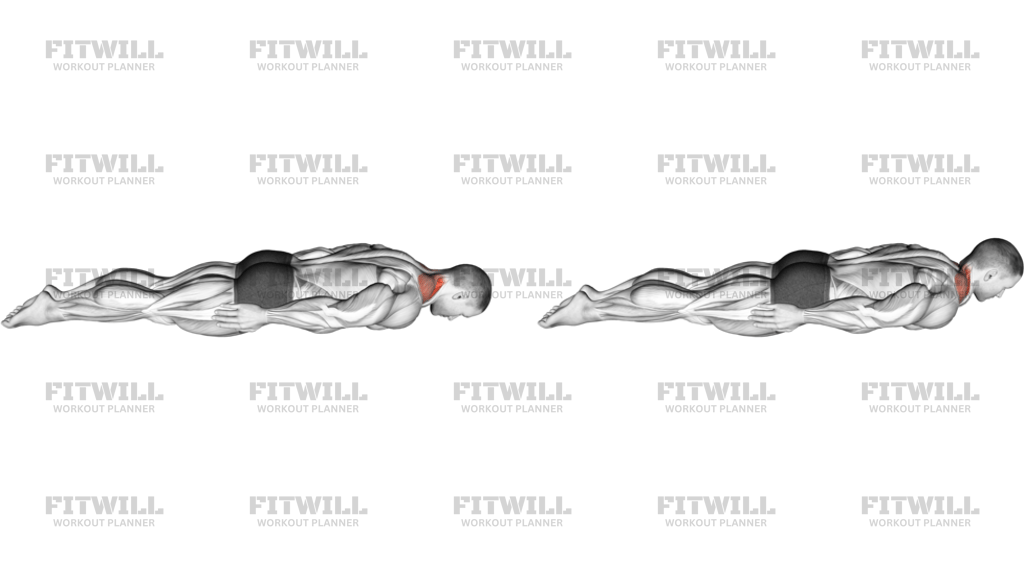
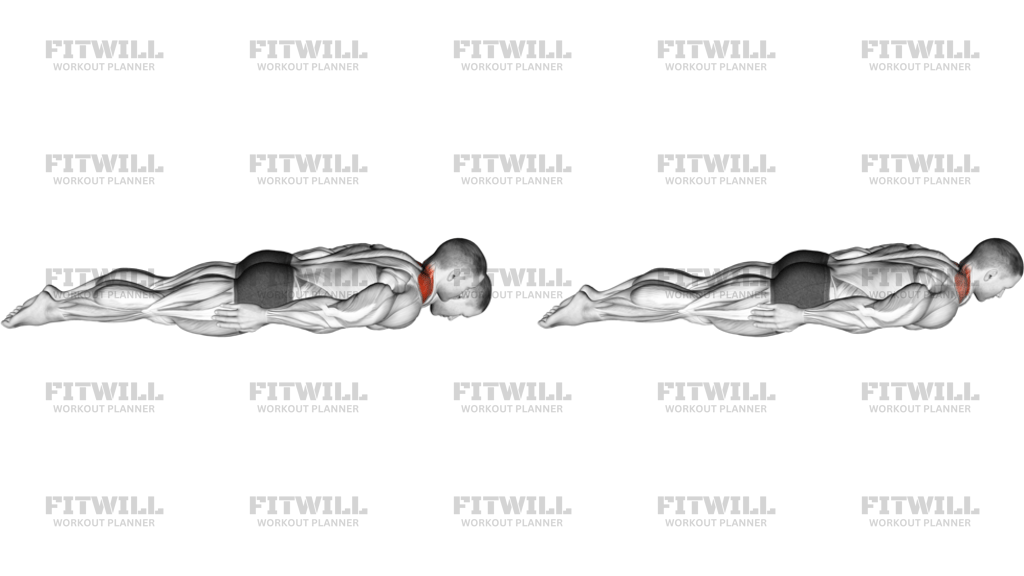
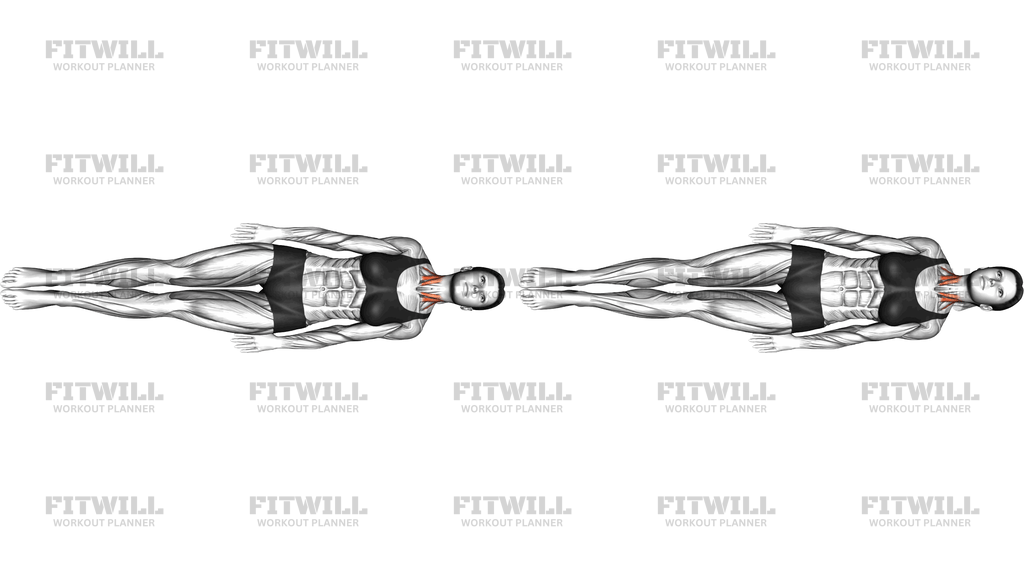
Lying Figure 8 With Nose is a gentle neck control exercise performed on your back, where you trace a figure 8 pattern in the air using the tip of your nose as the 'pen.' Because you are lying down, gravity is largely removed from the equation and the head does not have to be held upright, which lets the small muscles at the front and sides of the neck work through their range without compressing the cervical spine the way upright head circles can. It is a low-load, high-control drill rather than a heavy strength movement.
This exercise is useful for anyone whose neck feels stiff or poorly coordinated after long hours at a desk, and it is a common choice in warm-ups before upper body training, in posture-focused routines, and in early-stage neck conditioning. The smooth, continuously changing direction of the figure 8 asks the deep neck flexors, the sternocleidomastoid muscles, and the small rotator muscles between the cervical vertebrae to switch on and off in sequence, which is exactly the kind of coordinated control everyday head movement requires.
The lying setup matters more than it might seem. With your head fully supported on the floor, your shoulders pinned gently downward and your body relaxed, the only moving joint is the neck itself. If you tried this standing, it is very easy to cheat by rotating the chest, tilting the shoulders, or moving the eyes instead of the head. Lying down removes those escape routes and makes the exercise honest.
To execute it well, keep the movement small at first. Imagine your nose is drawing a narrow figure 8 lying on the ceiling above your face, roughly the size of an open book. The head rolls slightly side to side and the chin dips and lifts a little, but nothing should feel forced, jerked, or pulled to its end range. Move at the pace of slow handwriting, and let your breathing stay relaxed throughout.
Common use cases include desk-worker mobility routines, warm-ups before pressing or pulling days, and cooldown work after training sessions that leave the neck tight. Because the load is just the weight of the head moving across the floor, this is one of the safest ways to reintroduce smooth rotational movement to a stiff neck.
A few practical points: keep the shoulders in contact with the floor the entire time, stop if you feel any sharp pain, dizziness, or tingling, and favor smaller, smoother loops over bigger ones. Consistency with gentle range beats forcing size, and this drill rewards patience far more than effort.
Fitwill
Log Workouts, Track Progress & Build Strength.
Achieve more with Fitwill: explore over 9600 exercises with images and videos, access built-in and custom workouts, perfect for both gym and home sessions, and see real results.
Start your journey. Download today!




Instructions
- Lie flat on your back on an exercise mat or carpeted floor with your legs extended and your arms resting at your sides, palms down.
- Let the back of your head rest comfortably on the floor and relax your jaw, tongue, and facial muscles before you begin.
- Gently draw your shoulder blades down and keep both shoulders in contact with the floor for the entire set so only your neck moves.
- Take a relaxed breath in through your nose and exhale slowly as you start the first loop.
- Using the tip of your nose as the pointer, begin tracing a figure 8 on the ceiling: roll your head a few degrees to one side, curve down and across the midline, then loop around the other side.
- Keep the pattern narrow and continuous, moving slowly enough that each crossing of the figure 8 takes a full breath cycle or longer.
- At the end of each figure 8, pause briefly with your head returned to a neutral, face-straight-up position before starting the next loop.
- After completing the planned number of loops in one direction, reverse the pattern and trace the same number of figure 8s in the opposite direction.
- Breathe steadily and quietly throughout; if you catch yourself holding your breath, slow the loop down.
- To finish, rest your head back to neutral, take two or three relaxed breaths, and gently turn your head side to side once before sitting up.
Tips & Tricks
- Start with loops no bigger than a playing card; most people make figure 8s far too large and end up pulling the neck into end-range rotation.
- If your chin juts forward as you cross the middle of the pattern, you are leading with the head instead of the nose — soften the movement and make the crossing point shallower.
- Watch for shoulders creeping off the floor, especially on the side your head is rolling toward; press the shoulder blades lightly down to keep the work in the neck.
- Do not press the back of the head down hard; a light contact is enough, and pushing creates tension in the upper traps that defeats the purpose.
- If one side of the figure 8 feels tighter or bumpier than the other, make the loops smaller rather than trying to force symmetry on the first session.
- Keep your eyes closed or gaze soft and unfocused; tracking your nose with your eyes usually stalls the smoothness of the pattern.
- Count loops in breaths rather than reps — one loop per two full breaths keeps the pace appropriately slow.
- If the floor feels too hard on the back of your head, place a small folded towel under it, but keep it thin enough that the head can still roll slightly.
- Stop immediately if you feel dizziness, nausea, or tingling into the arms, and reduce range or consult a professional before continuing.
Frequently Asked Questions
Which muscles does the Lying Figure 8 With Nose work?
It mainly trains the deep neck flexors and the sternocleidomastoid muscles at the front of the neck, along with the small rotational muscles between the cervical vertebrae. The upper traps help only in a supporting role, and keeping them relaxed is part of the challenge.
Is the Lying Figure 8 With Nose suitable for beginners?
Yes, it is one of the most beginner-friendly neck drills because you are lying down and the head is fully supported. Beginners should simply start with smaller loops and fewer repetitions in each direction.
Why is this exercise done lying down instead of standing?
Lying down supports the head and removes the demand of holding it upright, so the neck muscles can focus on smooth, coordinated movement. It also makes it much harder to cheat by rotating the chest or shoulders.
How big should the figure 8 be?
Start with a pattern about the width of your face or slightly narrower, drawn on the ceiling above you. Increase the size only when the movement feels completely smooth at the current range.
How many figure 8s should I do per session?
Three to five slow loops in each direction is a sensible starting dose, once or twice a day. Because the load is very light, consistency matters far more than volume.
What is the most common mistake with this exercise?
Moving too fast and too big, which turns smooth muscle control into a jerky, end-range stretch. Another frequent error is letting the shoulders lift off the floor as the head rolls from side to side.
Can I do the Lying Figure 8 With Nose as a warm-up?
Yes, it works well as a neck warm-up before pressing, pulling, or overhead work. Do it gently for a couple of minutes rather than fatiguing the neck before lifting.
What can I use instead if lying on the floor is uncomfortable?
You can perform the same nose-drawn figure 8 seated with your head supported against a wall or a high backrest. The key is keeping the head supported and the shoulders still, so choose whichever surface lets you do that.
When should I avoid this exercise?
Skip it if you feel sharp pain, dizziness, or tingling during the movement, or if you have a recent neck injury that has not been cleared for movement. In that case, get guidance from a qualified professional before adding any neck work back in.
Should my eyes follow my nose during the figure 8?
No, let your gaze stay soft or close your eyes entirely. Actively tracking the nose tends to freeze the head and makes the pattern stiff and uneven.