Suspender Plank
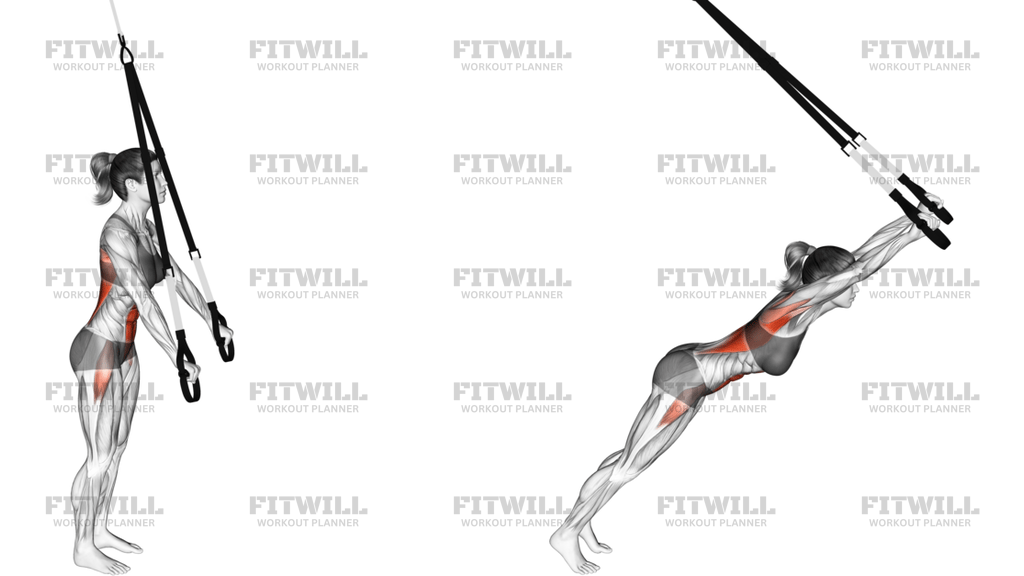
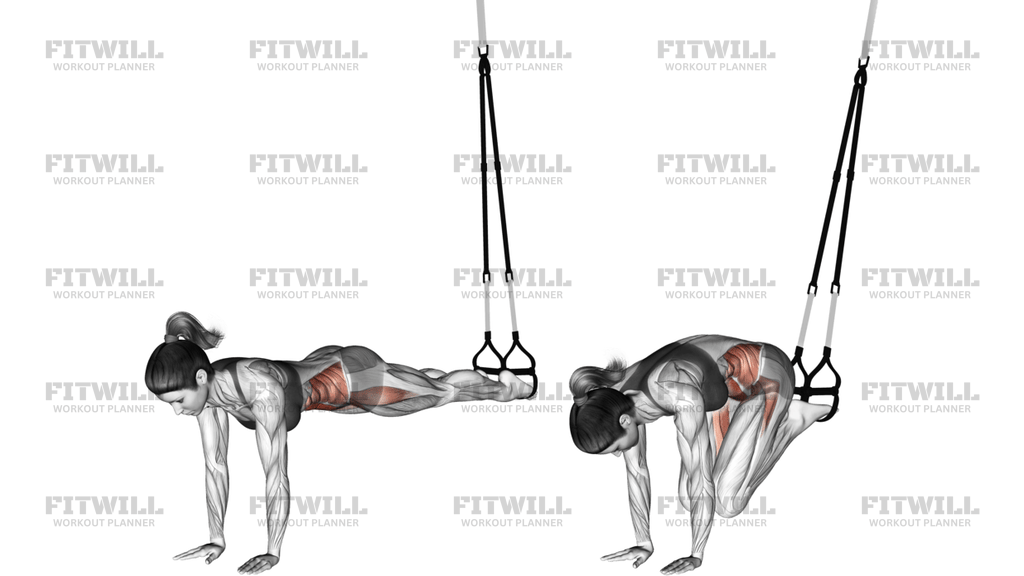
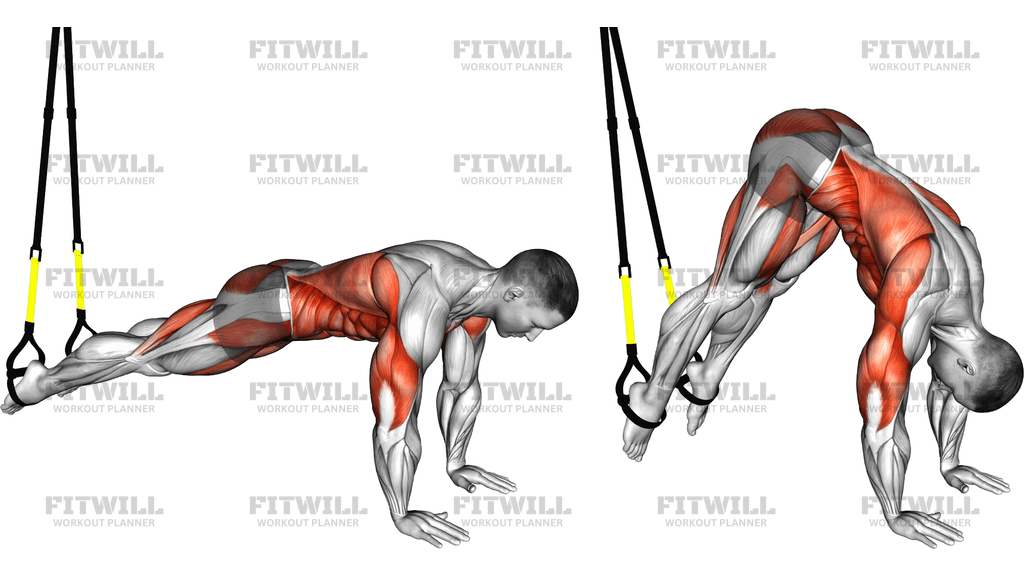
The Suspender Plank is an anti-extension hold performed with your hands gripping suspension straps or handles that hang from an anchor point above you. Instead of bracing your forearms on the floor as in a standard plank, you support your upper body through the unstable straps, which forces your trunk musculature to work overtime simply to keep your spine from sagging or twisting. The result is a plank variation that feels considerably harder than it looks, even at the same body position.
This movement trains the deep core, the rectus abdominis, and the obliques as the primary stabilizers, while the glutes, lower back, shoulders, and triceps handle the rest of the body's position. Because the straps can shift in any direction, your nervous system has to make constant small corrections, which is exactly the kind of control that carries over to running, lifting, and change-of-direction sports.
The Suspender Plank suits intermediate trainees who already own a solid floor plank, as well as anyone who wants more core challenge without adding external load. It is a staple in suspension-training circuits and works well as a finishing hold or as a strength piece in its own right.
Setup matters more here than in a floor plank. The anchor should be directly overhead or slightly in front of you, the straps set to roughly mid-length, and the handles adjusted so your shoulders sit over your wrists at the start. If the anchor point is off to one side or the straps are slack, the exercise turns into an awkward sway instead of a clean brace.
To execute it well, walk your feet back until your body forms one straight line from head to heels, squeeze your glutes, and press down through the handles to keep the straps taut. Hold that rigid line while breathing steadily, and resist every wobble the straps throw at you.
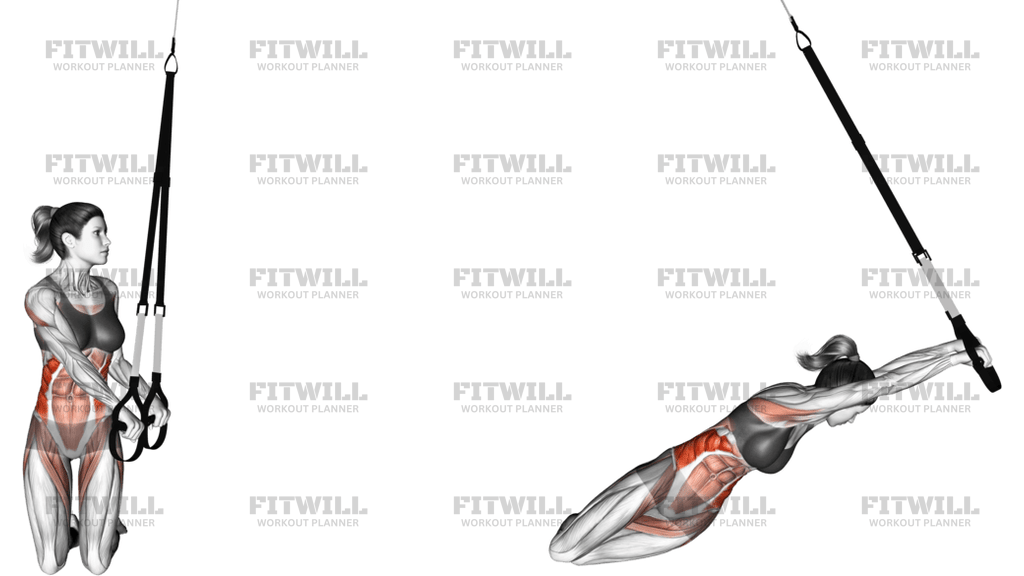
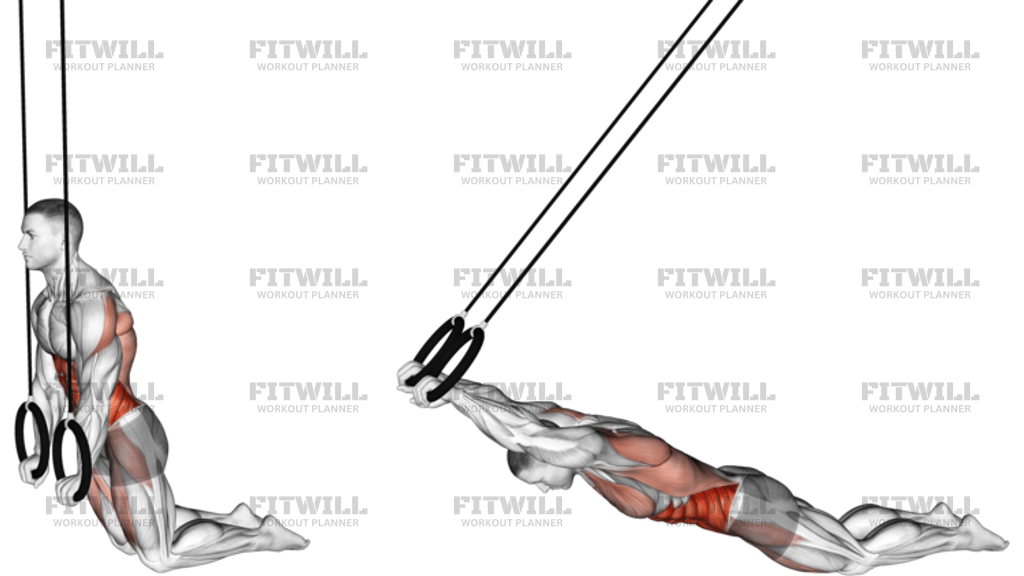
Beginners can regress the position by dropping to the knees, as shown in the easier variation, which shortens the lever and reduces the load on the trunk while keeping the strap instability. More advanced lifters can lengthen the hold, narrow the feet, or add slow alternating shoulder taps once the base hold is rock solid. Stop the set as soon as your hips begin to sag or rise; a sloppy hold teaches sloppy positioning.
Fitwill
Log Workouts, Track Progress & Build Strength.
Achieve more with Fitwill: explore over 9600 exercises with images and videos, access built-in and custom workouts, perfect for both gym and home sessions, and see real results.
Start your journey. Download today!




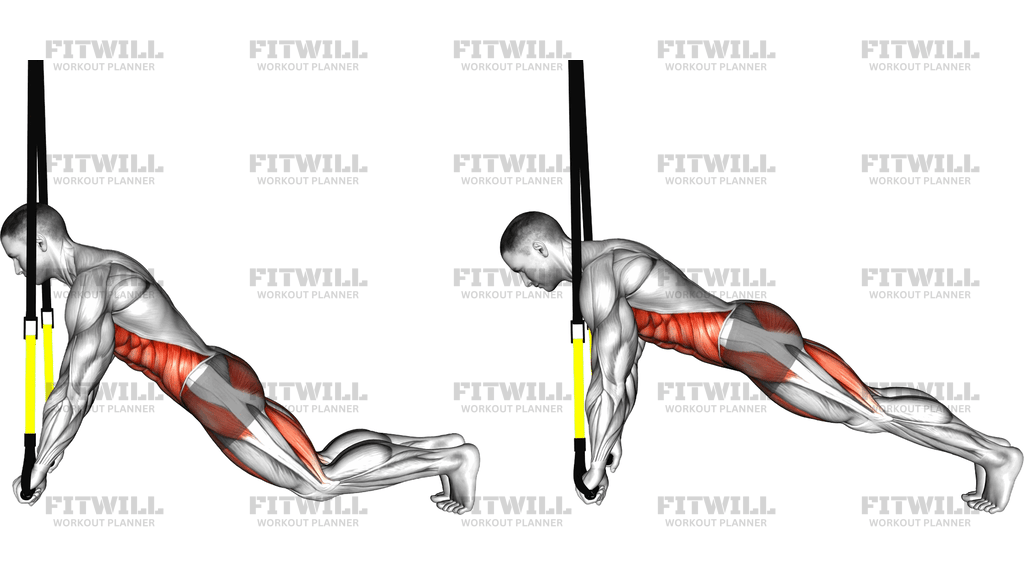
Instructions
- Anchor the suspension trainer securely overhead and adjust both straps to equal length so the handles hang at roughly knee to hip height.
- Grip the handles firmly with straight arms and position your shoulders directly over your wrists, then walk your feet back until your body lengthens into a straight line.
- Set your feet about hip-width apart with the balls of your feet on the floor, and check that the straps are taut with no slack before loading the hold.
- Exhale and brace your abdominals as if bracing for a light punch, then squeeze your glutes to lock your pelvis in a neutral position.
- Press down through the handles to keep the straps under tension and keep your elbows soft but essentially straight without locking them hard.
- Form one rigid line from the crown of your head through your heels; your ears, shoulders, hips, knees, and ankles should stack in a single plane.
- Hold that line while breathing smoothly through your nose and mouth, refusing to let the straps pull your shoulders forward or let your hips drift side to side.
- When your brace begins to fade or your hips drop, lower your knees to the floor and release the handles with control rather than collapsing out of the hold.
- Rest briefly, reset your brace, and repeat for the desired number of sets, adjusting strap length only between sets, not mid-hold.
Tips & Tricks
- The most common failure is a sagging lower back, which usually means the glutes have gone quiet; squeeze them hard and tuck the pelvis slightly before the hold begins.
- If the handles drift forward and your shoulders end up behind your wrists, the leverage multiplies and the shoulders take over; reset so the shoulder joints stack directly over the wrists.
- Holding your breath is a frequent mistake once the straps start shaking; practice exhaling in a slow, steady stream so the brace stays active instead of rigid.
- Stopping every set at the point where your form breaks beats grinding out extra seconds with a sagging trunk; log your clean-hold time and try to beat it next session.
- Beginners should earn the full version from the knees first; if the kneeling hold feels easy for 30 seconds, you are ready to extend the legs.
- Shaking is normal and is a sign the stabilizers are working, but violent swinging means your feet are too narrow; widen your stance to create a more stable base.
- Keep your neck in line with your spine by looking at a spot on the floor slightly ahead of your hands rather than craning up or letting the head drop.
- Check the anchor point before every session; a mount that is off-center loads one strap harder and twists your torso without you noticing.
- If your wrists complain, grip with the handles resting across the base of your palm and keep the knuckles stacked, rather than bending the wrists back under load.
Frequently Asked Questions
Which muscles does the Suspender Plank work?
It primarily trains the core, especially the rectus abdominis and deep stabilizers like the transverse abdominis, with strong contributions from the obliques. The glutes, lower back, shoulders, and triceps work isometrically to hold the rest of the body in place.
Why is the Suspender Plank harder than a regular floor plank?
The hanging handles are unstable, so your trunk has to fight movement in every direction, not just gravity. Even with identical body position, the strap instability demands far more continuous muscle control.
Can beginners do the Suspender Plank?
Yes, provided they start from the knees, which shortens the lever and reduces trunk load while keeping the unstable strap challenge. Once a kneeling hold feels controlled for 20 to 30 seconds, progress to the full version.
How long should I hold the Suspender Plank?
Aim for quality sets of 15 to 40 seconds with a rigid body line rather than chasing minute-long holds. When your hips start to sag or rise, the set is over.
How far apart should my feet be?
Hip-width is a good default because it gives you a stable base without making the hold too easy. Narrowing the feet is a progression; widening them is an easy fix if you sway excessively.
What is the most common mistake in this exercise?
Letting the hips sag so the lower back arches, usually because the glutes stop working. Reset with a strong glute squeeze and a slight posterior pelvic tilt before continuing the hold.
What can I use if I do not have a suspension trainer?
A plank with hands on a stability ball offers a similar instability challenge, and a weighted floor plank or a long-lever plank with hands further forward are reasonable substitutions. Each option stresses the anti-extension role of the core in a slightly different way.
Is it safe for people with lower back issues?
Because it is a low-load isometric hold, many people tolerate it well, but form is critical and a sagging lumbar position should never be held through. If you have a history of back problems, get clearance from a qualified professional and start with the kneeling variation.
Where should my shoulders be relative to my hands?
Your shoulders should sit directly over your wrists with the straps taut. If the shoulders drift behind the wrists, the hold becomes much harder on the shoulders and the brace quality usually drops.