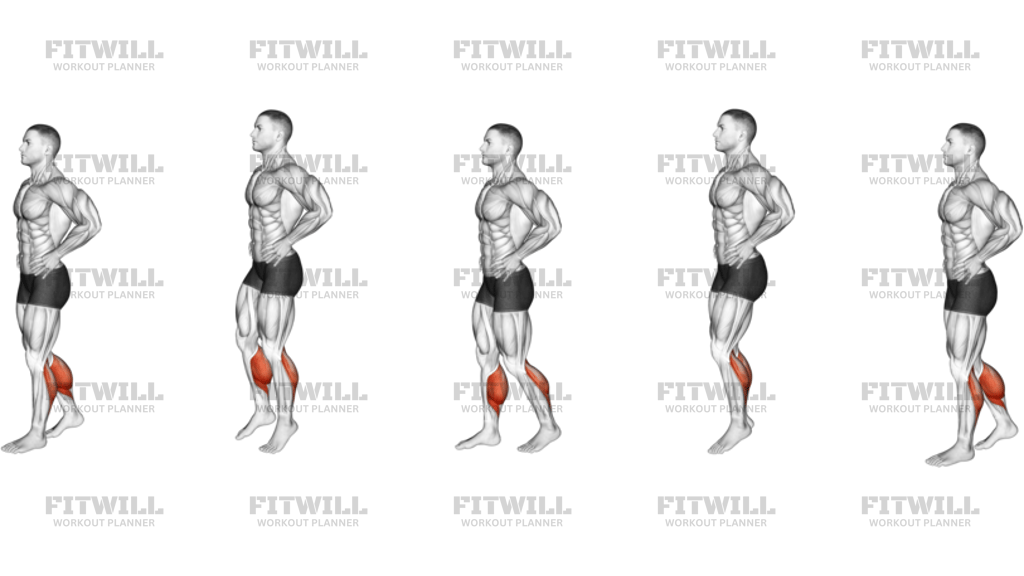
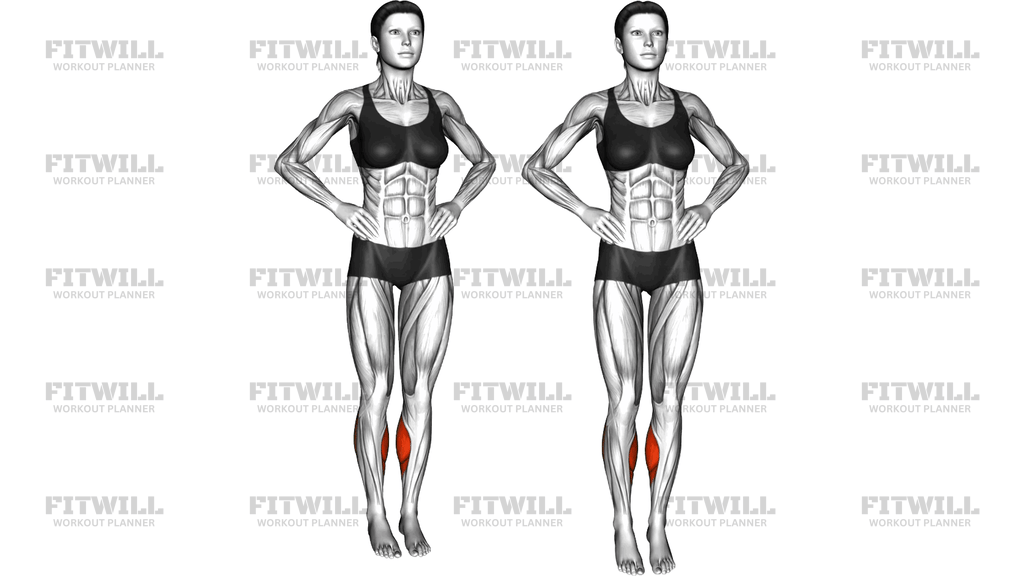
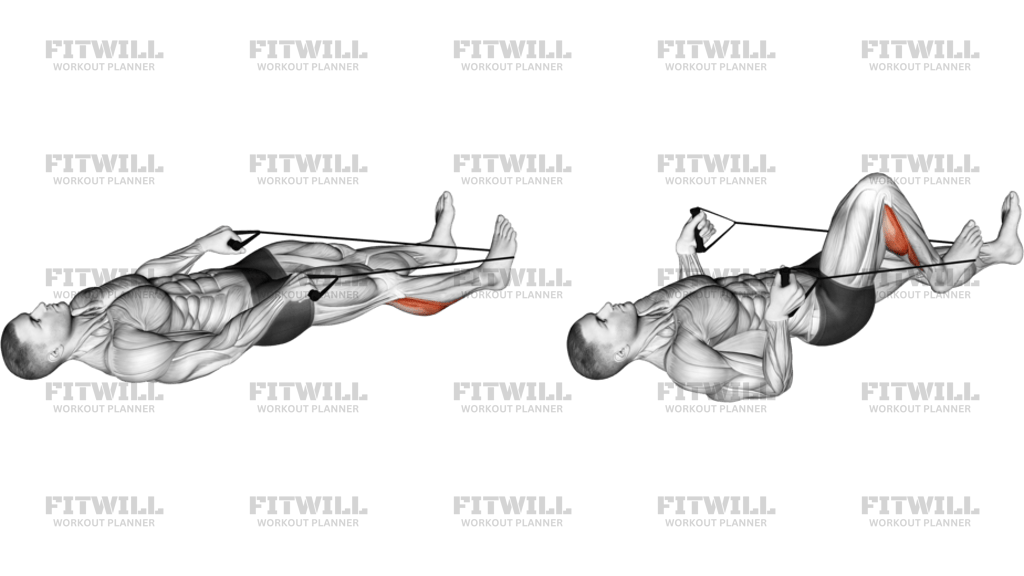
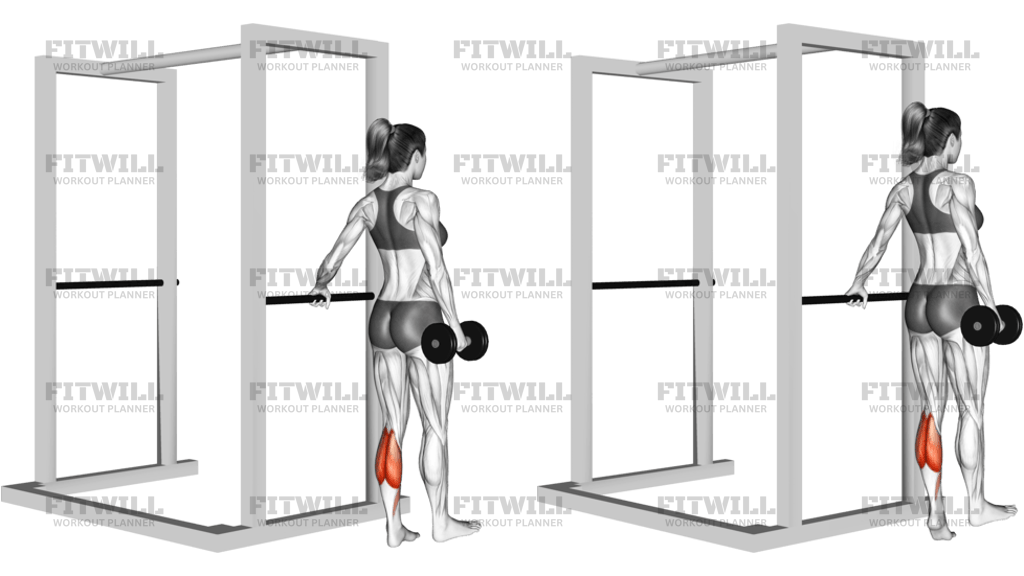
Pilates Machine Lying Calf Raise
The Pilates Machine Lying Calf Raise is performed on a Pilates reformer with the body lying face up along the carriage and the balls of the feet placed on the footbar. Because the legs stay fully extended and the hips stay supported on the sliding carriage, the calves work in complete isolation — there is no balance demand and no loading through the spine, which is what separates this version from standing calf raises on the floor or on machines.
The movement targets the gastrocnemius, the two-headed muscle that forms the visible curve of the calf, along with the soleus that sits beneath it. As you press the balls of the feet into the footbar and lift the heels, the carriage slides away from the footbar; as you lower the heels slowly, the carriage returns and the calves lengthen under spring tension. The ankle stabilizers work continuously to keep the foot aligned as the carriage moves.
This version suits people who want focused calf work without standing load — including those rebuilding after lower-leg fatigue, Pilates practitioners adding foot strength to a reformer session, and anyone who finds standing calf raises limited by balance or tight shoulders holding a barbell. The supine position also lets the hamstring and back stay completely relaxed, which makes it easier to feel the ankle doing the work.
Setup matters more than it looks. The balls of the feet must sit squarely on the footbar with the heels hanging free off the lower edge, and the legs should be extended but not locked. If the feet are too high on the bar, the heels cannot drop below the toes; if the knees stay bent, the gastrocnemius is shortened and the emphasis shifts toward the soleus. Choose a light-to-moderate spring setting at first — the carriage should glide smoothly in both directions rather than snap back.
To execute well, keep the whole leg still and move only at the ankle. Press the toes into the bar to slide the carriage out until the ankles are fully pointed, then control the return so the heels travel just past the level of the toes before the next repetition. The tempo is the point: fast, bouncy reps let the springs do the work, while a slow lowering phase builds the lengthened strength that most people are missing.
Use this exercise near the end of a reformer session, after larger leg work, or as a dedicated foot-and-ankle block of two to three sets. Stop short of the point where the ankle starts to wobble or the feet cramp — cramping is common in this position and is a signal to reduce the spring load or the range rather than push through.
[ Workout Log & Planner ]
Put your next workout in Fitwill
Keep your plan and training log ready when you are.


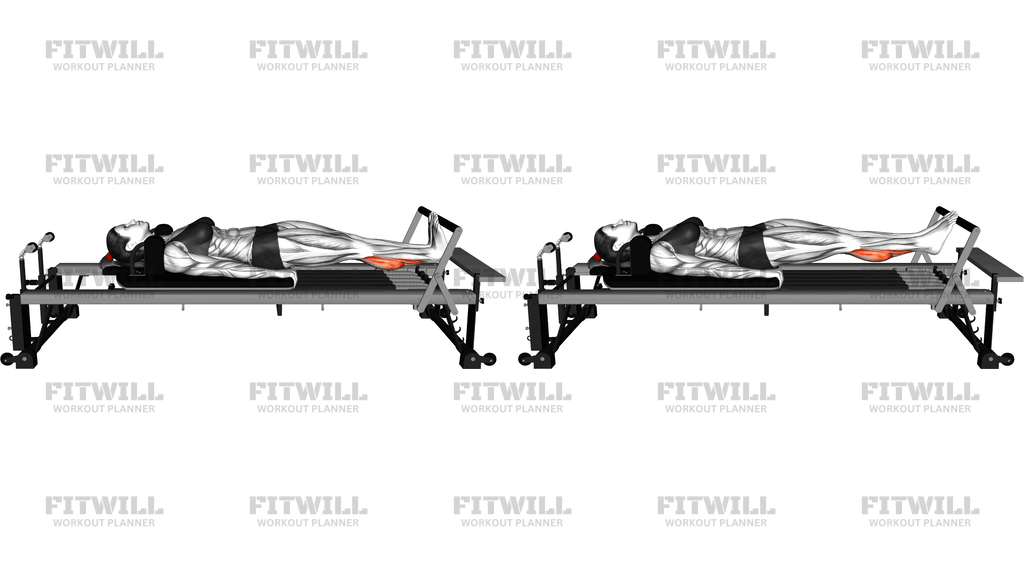
Instructions
- Lie face up on the reformer carriage with your head resting on the headrest, arms relaxed alongside your body, and both legs fully extended toward the footbar.
- Place the balls of both feet on the footbar about hip-width apart, with the heels hanging off the bottom edge of the bar and the toes pointing straight up or slightly outward.
- Keep the knees soft but essentially straight, and set a light-to-moderate spring load so the carriage glides smoothly when you press away.
- Brace the core lightly to keep the pelvis neutral and the lower back resting on the carriage — the torso should not lift or shift during the set.
- Press the balls of the feet into the footbar and extend the ankles fully, letting the carriage slide away until the toes are strongly pointed and the calves are fully shortened.
- Pause briefly at the top with even pressure across all the toes, avoiding any rolling of the feet inward or outward.
- Slowly bend the ankles and let the carriage return, lowering the heels just past the level of the toes to feel the calves lengthen, then begin the next rep without bouncing.
- Exhale as you press the heels up and the carriage out, inhale as you control the heels back down.
- Complete the set, bring the carriage fully home, and step the feet off the footbar one at a time before sitting up.
Tips & Tricks
- The most common mistake in this position is bouncing the heels at the bottom and letting the carriage's return spring slingshot you into the next rep — control the last few centimeters of the lowering phase or the calves stop working.
- If your calves cramp at the top of the raise, reduce the spring load and stop the rep just short of a full point; cramping in this lying position usually means the muscle is working harder than it is trained to, not that you need more load.
- Check that your heels hang far enough off the footbar before starting — if the heels rest on the bar, they cannot drop below the toes and the range gets cut in half.
- Keep the knees straight but not jammed back; letting the knees flex even slightly as you press shifts work away from the gastrocnemius, which crosses the knee joint.
- Do not let the toes grip or curl over the footbar — keep even pressure across the balls of the feet so the ankle flexors do not take over from the calves.
- The carriage should travel the same short distance on every rep; if it starts moving farther one way than the other, one leg is pressing harder than the other, so slow down and even out the pressure.
- Because you are lying down, it is tempting to let the pelvis tilt as the carriage moves — keep the tailbone heavy on the carriage and imagine the legs are cast in place from hip to knee.
- Turn the toes out slightly only if your ankles feel pinched when the feet face forward; a small external rotation is fine, but the heel and second toe should stay roughly in one line.
- If you feel the front of the ankle pinching at full toe point, back off the range slightly rather than forcing the end position — the top of the movement can be trained progressively.
Frequently Asked Questions
What muscles does the Pilates Machine Lying Calf Raise work?
The primary muscles are the gastrocnemius and soleus of the calf, with the smaller ankle-stabilizing muscles working to keep the foot aligned on the footbar. Because the knee stays straight, the gastrocnemius does most of the visible work.
Why perform calf raises lying on a reformer instead of standing?
Lying removes the balance demand and all spinal or joint loading, so you can focus entirely on moving the ankle through a full range. The reformer springs also provide smooth resistance in both the lifting and lowering phases.
How much spring resistance should I use for the Pilates Machine Lying Calf Raise?
Start lighter than you expect — one or two springs is usually enough. The calves often cramp in this position when the load or range is pushed too early, so build up gradually.
Should my knees be bent or straight during the Pilates Machine Lying Calf Raise?
Keep them essentially straight. A straight knee keeps the gastrocnemius under tension across both the knee and ankle, while a bent knee shifts the emphasis toward the soleus and reduces the range available at the ankle.
How far should my heels drop at the bottom of the movement?
Lower the heels just past the level of the toes so you feel a comfortable stretch along the back of the calf, then reverse without bouncing. Forcing a deeper drop than your ankle allows is where most strain happens in this exercise.
My feet cramp when I point my toes on the footbar. What should I change?
Reduce the spring load, stop the rep slightly short of full toe point, and build the range up over several sessions. Light stretching of the calves and the top of the foot between sets also helps.
How many reps and sets should I do?
Two to three sets of 12 to 20 slow repetitions works well, since the calves respond to both load and time under tension. Prioritize a controlled lowering phase over adding springs.
Can beginners do the Pilates Machine Lying Calf Raise?
Yes — it is actually one of the friendliest calf exercises for beginners because there is no balance requirement and the body is fully supported. Begin with a light spring and a modest range, focusing on smooth carriage travel.
What can I use if I don't have access to a reformer?
A standing calf raise with body weight on a step or a seated calf raise on a machine covers the same muscles. You will lose the supported lying position and spring resistance, but the ankle movement is the same.
Is it safe to do this exercise after an ankle or calf injury?
The supported, low-load nature of the movement makes it gentler than standing versions, but you should still clear it with a physical therapist or doctor first. Keep the range pain-free and increase spring tension only when the full range feels comfortable.