Kneeling Plyo Push Up
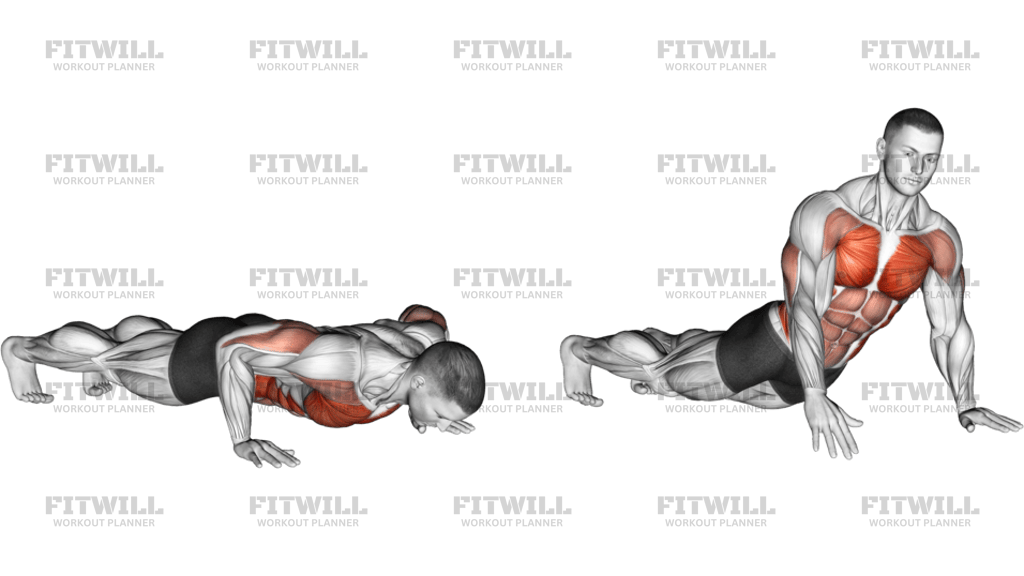
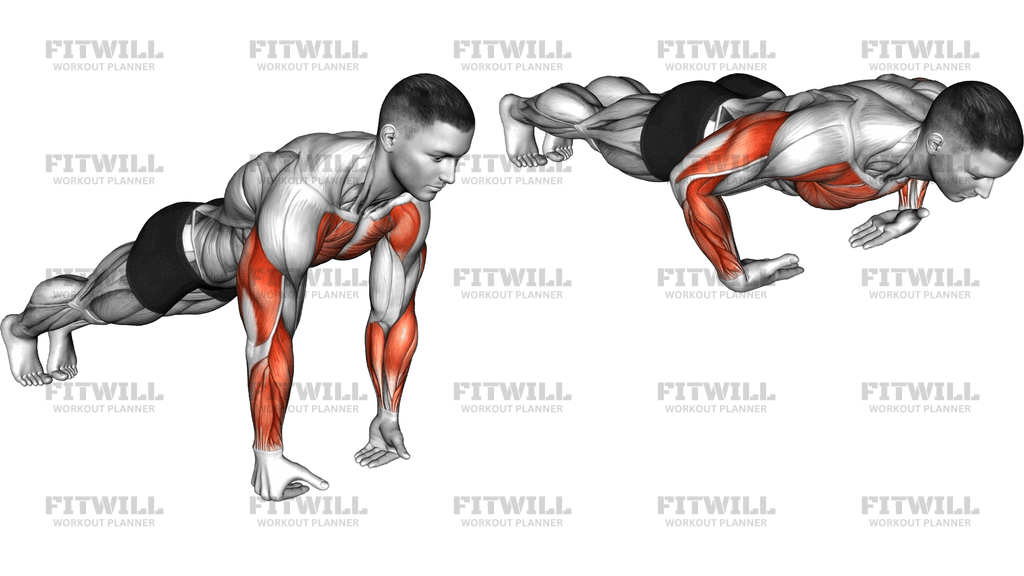
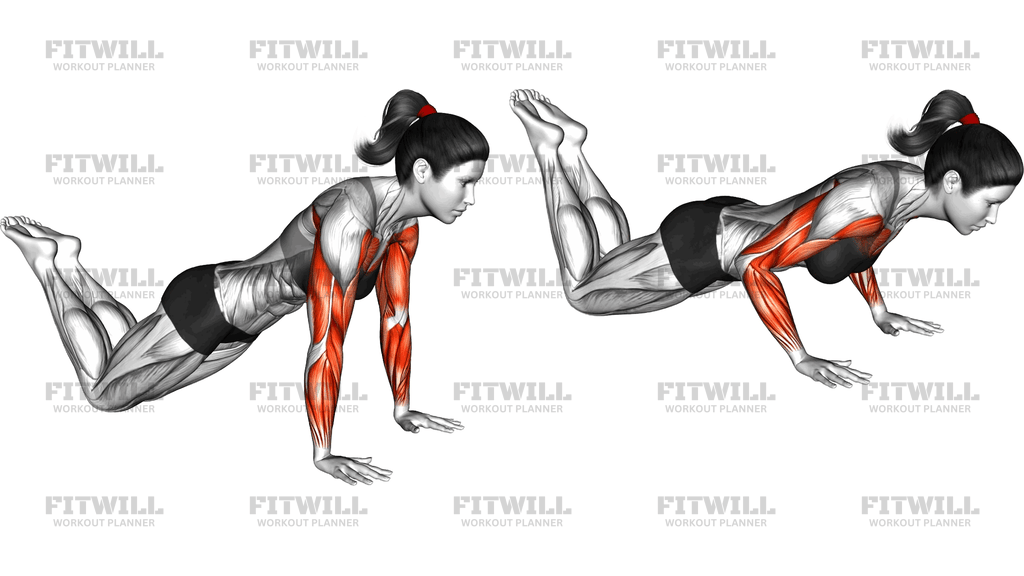
The Kneeling Plyo Push Up is an explosive upper-body exercise performed from a kneeling push-up position, with the knees resting on the floor and the feet lifted behind you. From the bottom of a push-up, you drive upward hard enough that your hands leave the ground, then absorb the landing by lowering straight back into the next repetition. The image shows the two phases clearly: the loaded position with the chest just above the floor, and the airborne moment where the arms have extended powerfully and the hands are off the ground.
Because the knees stay down, this movement removes a large share of the bodyweight a full plyometric push-up requires, which makes it one of the most accessible ways to train explosive pushing power. It is especially useful for people building toward their first full plyo push-up, for lifters who want a power stimulus without heavy loading, and for anyone whose upper body can handle fast, springy work but not yet the full demands of a clapping push-up.
The main work is done by the chest and triceps, with the front of the shoulders assisting the press and the core working to keep the torso from sagging or piking. The rate of force development — how quickly you can produce force — is the real target here. Slow grinding strength is not what this exercise trains; the goal is a short, violent push so the upper body briefly becomes airborne.
Setup matters more than it might seem. Hand placement roughly shoulder-width or slightly wider, elbows tracking back at about 45 degrees, and a straight line from head to knees all determine whether the force you generate travels into the floor or leaks into a sagging hips or flared elbows. Kneeling too far back or letting the hips drop turns the movement into something sloppy and much harder on the shoulders and lower back.
To execute it well, lower under control until your chest is close to the floor, then reverse direction without pausing. The switch from lowering to pushing should be immediate — that stretch-shortening rebound is what makes the exercise work. Push the floor away as fast as possible, let the hands leave the ground, and land with soft elbows that immediately give way to the next controlled descent.
In practice, this exercise fits well early in an upper-body session when you are fresh, in small sets of three to six reps, rather than pushed to fatigue. Treat every rep as a quality rep: if the height of your push drops noticeably, end the set. Landings are the risk point, so keep the wrists healthy, use a forgiving surface if your knees need it, and stop the set the moment your form gets loose.
Fitwill
Log Workouts, Track Progress & Build Strength.
Achieve more with Fitwill: explore over 9600 exercises with images and videos, access built-in and custom workouts, perfect for both gym and home sessions, and see real results.
Start your journey. Download today!




Instructions
- Kneel on the floor and walk your hands out until your body forms one straight line from your head to your knees, with your knees resting on the ground and your feet lifted behind you.
- Place your hands on the floor slightly wider than shoulder-width, fingers spread, with your wrists positioned roughly under your shoulders.
- Brace your core and squeeze your glutes so your hips do not sag toward the floor or hike up toward the ceiling.
- Bend your elbows at about 45 degrees to your torso and lower your chest toward the floor under control.
- When your chest is just above the ground, immediately reverse direction and push the floor away as explosively as you can.
- Let your hands leave the floor at the top of the push, keeping your torso rigid so your whole upper body lifts as one piece.
- Land with soft elbows and absorb the impact by flowing directly into the next controlled lowering, without pausing at the top.
- Exhale forcefully as you explode up, and inhale during the lowering phase.
- Complete your target reps, then sit back on your heels and shake out your wrists before starting the next set.
Tips & Tricks
- Think 'push the floor away', not 'push yourself up' — trying to drive the ground down is what gets your hands airborne.
- The most common failure is pausing at the bottom. If you rest with your chest near the floor, you kill the stretch reflex that powers the explosive portion.
- If your hips sag when you land, shorten the range slightly for a few sessions and focus on keeping a rigid line from head to knees.
- Keep your elbows at roughly 45 degrees to your torso; elbows flared straight out to the sides put unnecessary stress on the shoulders during landing.
- Land with your hands in the same spot they left, not forward of your shoulders — drifting forward shifts load onto the wrists.
- Quality beats quantity here: stop the set when your push height drops, because grinding out slow reps turns a power exercise into an ordinary push-up.
- If your knees are uncomfortable on a hard floor, use a folded mat or pad under them; avoid changes to your hand position to compensate.
- Warm up your wrists with a few slow kneeling push-ups first — the landing impact is the part most people underestimate.
- Progress by increasing air time or adding a small hand tap, not by adding reps indefinitely; once you can control six crisp reps, start working toward a full plyo push-up from the toes.
Frequently Asked Questions
Which muscles does the Kneeling Plyo Push Up work?
The chest and triceps do most of the work, with the front shoulders assisting the press. Your core stays active the whole time to keep the straight head-to-knee line during the push and landing.
Is the Kneeling Plyo Push Up good for beginners?
Yes, it is one of the best entry points to explosive push-up work, since kneeling removes much of the load a full plyo push-up demands. Beginners should first be comfortable with 10-15 solid kneeling push-ups before adding the explosive element.
Why do my hands need to leave the floor in the Kneeling Plyo Push Up?
Hand lift-off is what makes it plyometric — it forces you to produce force very quickly rather than just grinding through a push-up. If your hands never leave the ground, you are doing a fast kneeling push-up, which is still useful but a different stimulus.
How is the Kneeling Plyo Push Up different from a regular push-up on the knees?
A regular kneeling push-up emphasizes continuous tension and muscle work over the whole rep. The Kneeling Plyo Push Up emphasizes speed and power — a short, explosive drive, a brief airborne phase, and a controlled, cushioned landing.
How many reps should I do of the Kneeling Plyo Push Up?
Keep sets in the 3-6 rep range and stop when your push height noticeably drops. Because it is a power exercise, doing many fatigued reps reduces the training effect and increases landing risk.
My hips sag when I land — what should I fix?
Sagging hips usually mean the core let go at the moment of impact. Brace your abs and squeeze your glutes before every rep, and if it persists, reduce the explosiveness slightly until you can land with a straight head-to-knee line.
What can I use instead of the Kneeling Plyo Push Up?
Fast incline plyo push-ups with hands on a bench, or explosive kneeling push-ups where the hands only slightly lift, are both good regressions. When kneeling feels easy, progress to a full plyo push-up from the toes.
Should my feet be crossed or lifted behind me?
Keeping the feet lifted and relaxed behind you is standard, since it prevents you from using your legs to assist. Crossing the ankles is a comfort choice and does not change the exercise as long as the knees and hips stay square.
Is the Kneeling Plyo Push Up safe for the wrists?
It is generally fine for healthy wrists, but the landing creates a short impact spike. Warm up with slow kneeling push-ups, spread your fingers to distribute pressure, and avoid the exercise if you currently have wrist pain.