Back Lever Tuck
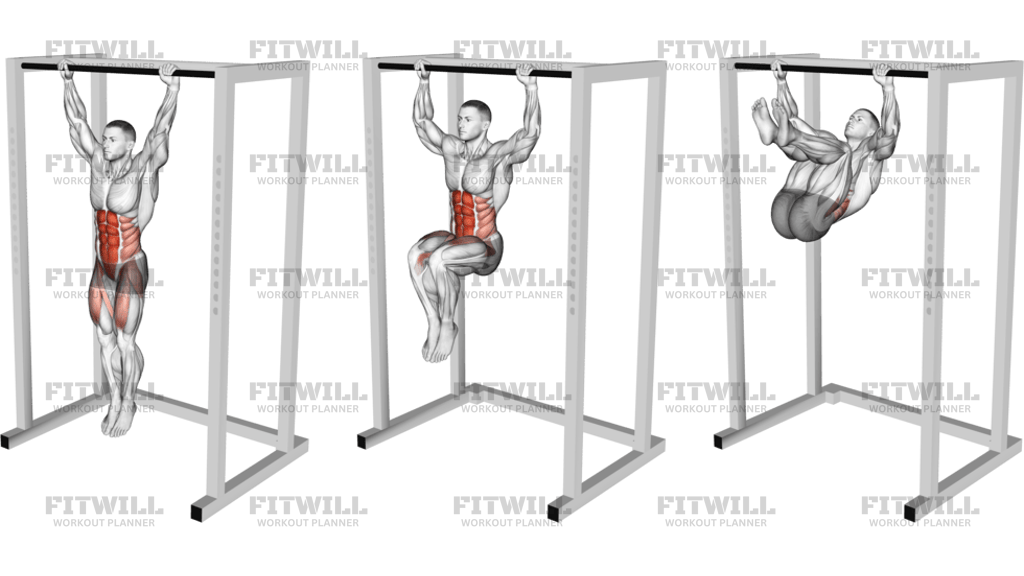
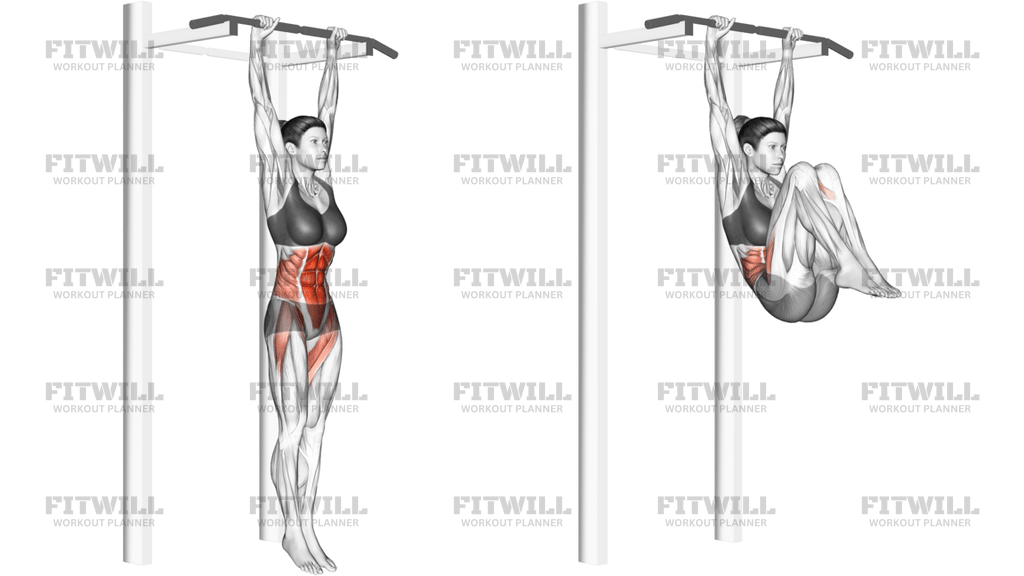
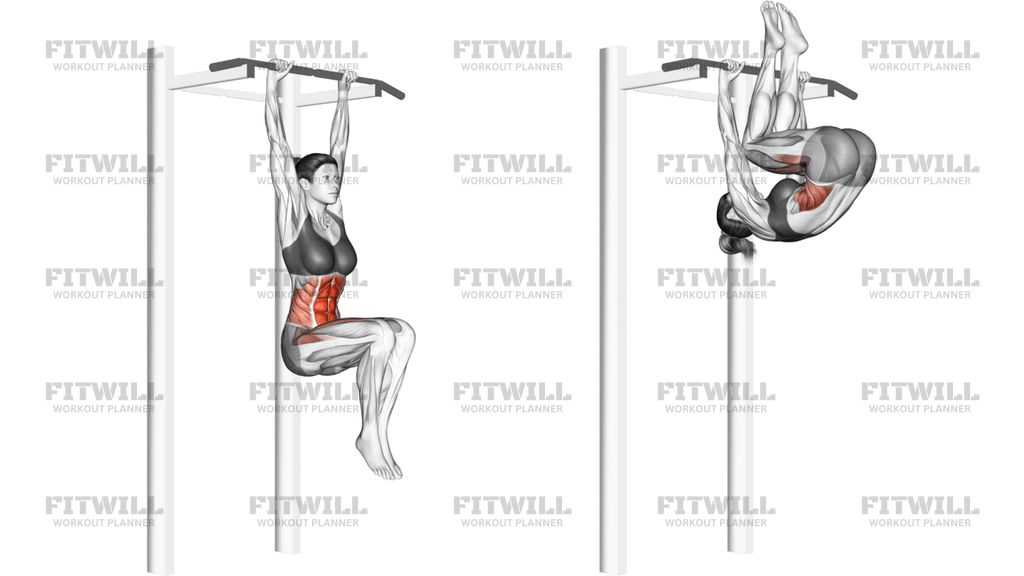
The Back Lever Tuck is a straight-arm calisthenics hold and the first real progression toward the full back lever. You hang from a pull-up bar, tuck your knees tightly to your chest, and rotate your body backward until your back faces the floor and your torso sits horizontally beneath the bar. From there, you hold that position for time before rotating back through the same path. It looks deceptively simple in its tucked form, but the leverage demands serious pulling and stabilizing strength through the shoulders, lats, and midsection.
This exercise is best suited to intermediates who already own a solid dead hang, a few strict pull-ups, and some experience with skin the cat or German hang work. If you train calisthenics, gymnastics strength, or bar-based skills, the Back Lever Tuck is the entry point for the back lever family, which is one of the most reliable indicators of straight-arm pulling strength. It also makes an excellent accessory for athletes who want stronger shoulders that tolerate unusual loading angles.
The main load falls on the lats and anterior shoulders, which work isometrically to keep the body pinned in place against a very long lever arm. The deep core and hip flexors hold the tuck together, the biceps and elbow structures brace under tension, and the grip handles your entire bodyweight for the duration of the hold. Because every hold is isometric, the quality of tension matters more than movement volume.
Setup is everything here. Grip the bar roughly shoulder-width or slightly narrower with a false grip or full grip you can sustain, and make sure the bar is stable and rated for dynamic hanging work. A sloppy tuck or a loose grip changes the rotation and can drop you out of position, so treat the entry as a deliberate skill, not a swing. Start short: five to ten seconds per hold is plenty while your connective tissue adapts to straight-arm loading.
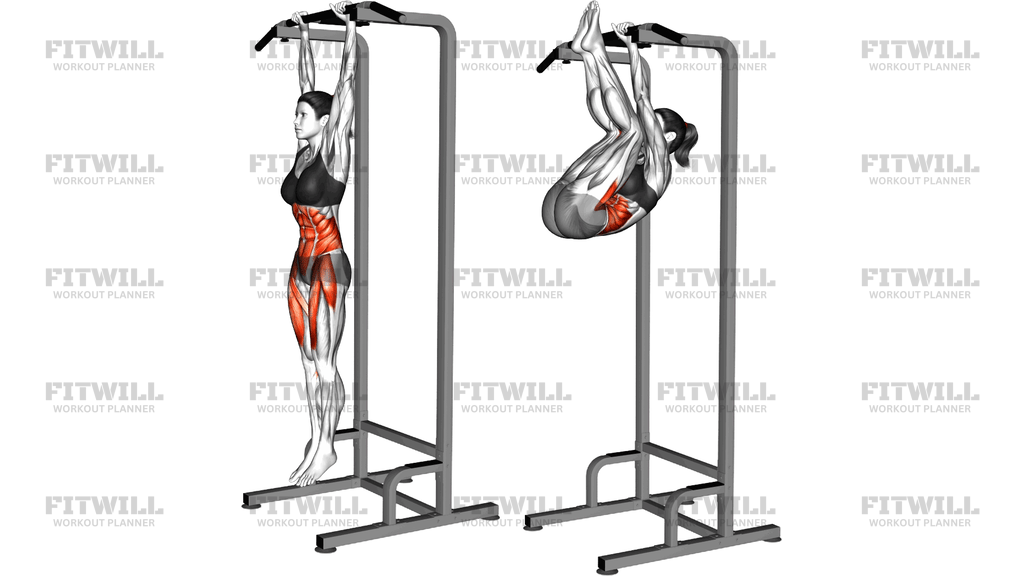
To execute well, hang from the bar, pull your knees up and press them toward your chest so the tuck is as compact as possible, then lean back and rotate around the bar until your hips pass behind you and your back faces the floor. Aim for a roughly horizontal torso, chin tucked, elbows locked, and heels pulled toward your hips. Return by rotating forward, easing back through the inverted position, and lowering under control rather than dumping out of the hold.
Common use cases include back lever progressions, straight-arm strength blocks, warm-up holds for more advanced ring or bar work, and as a standalone core-and-shoulder challenge. Never skip the controlled exit, and stop immediately if you feel pinching at the shoulders or strain in the elbows or biceps. Consistent, brief, high-quality holds beat long, sagging attempts every time.
[ Workout Log & Planner ]
Put your next workout in Fitwill
Keep your plan and training log ready when you are.


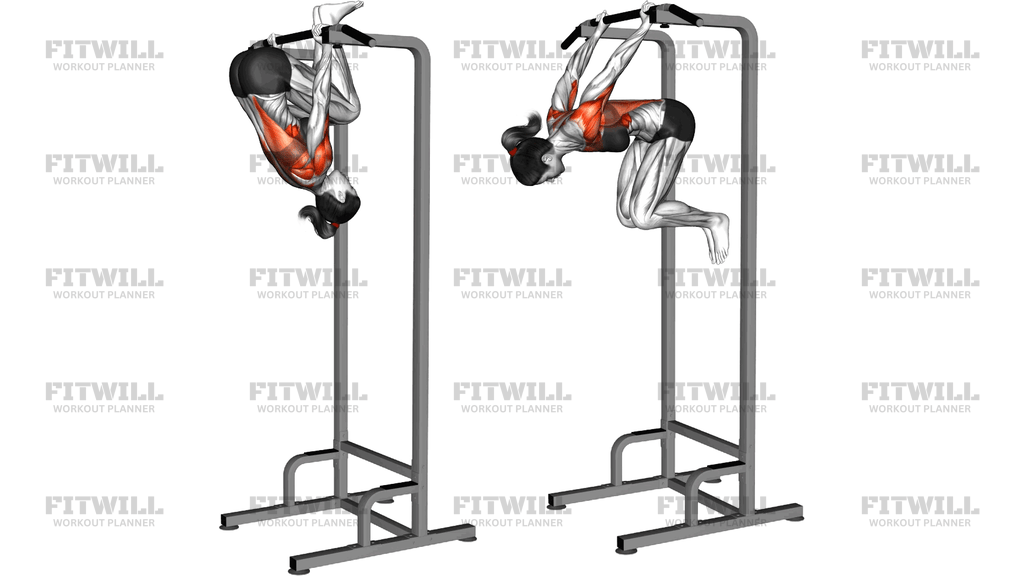
Instructions
- Set up on a stable pull-up bar or power tower, gripping the bar slightly narrower than shoulder-width with your knuckles facing you or in a false grip if that helps you rotate.
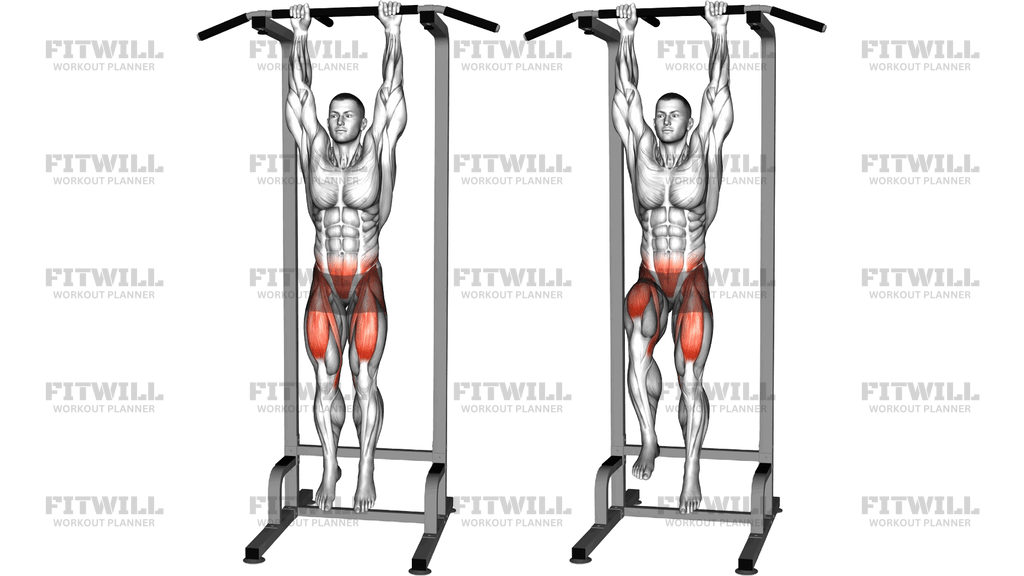
- Start from a dead hang with arms fully extended and shoulders engaged, feet clear of the ground.
- Pull your knees up and tuck them tightly to your chest, heels pulled toward your glutes, so your body is as compact as possible.
- Brace your midsection and squeeze the tuck hard before you begin rotating, keeping your elbows locked.
- Lean back and rotate around the bar, letting your hips travel behind you while your chest passes through between your arms.
- Continue rotating until your back faces the floor and your torso is roughly horizontal under the bar, head neutral, chin tucked.
- Hold that tucked horizontal position for five to ten seconds, breathing shallowly but steadily without losing the tuck.
- Rotate forward through the same path to exit, passing back through the inverted position before lowering your legs.
- Release into a brief dead hang to reset your shoulders, shake out your grip, and rest fully before the next hold.
Tips & Tricks
- Keep the tuck as tight as you can the entire time; a loose tuck lengthens your body and makes the hold far harder and less stable.
- Lock your elbows out deliberately. A soft elbow under a straight-arm hold shifts stress onto the biceps and tendons instead of the shoulders and lats.
- If you keep stalling at the inverted position instead of reaching horizontal, your tuck is probably not compressed enough or you are rotating too fast to finish the turn.
- Use a false grip or rotate your wrists at the top so your arms can stay straight without fighting the bar's position at your chest.
- Do not swing into the position. Enter with a slow, controlled rotation; swinging makes the exit unpredictable and usually ends with a rough dismount.
- Keep your shoulders pulled down and away from your ears rather than letting them ride up into your neck during the hold.
- If your lower back feels loaded rather than your core, squeeze your glutes slightly and pull the tuck higher toward your ribs.
- Beginner-friendly alternatives: practice the entry and exit in parts, or use low rings so one foot can spot the floor while you learn the rotation.
- Stop the set the moment your tuck starts opening or your hips sag below horizontal; holding a broken position teaches poor mechanics and stresses the elbows.
Frequently Asked Questions
What muscles does the Back Lever Tuck work?
The lats and front shoulders work isometrically to hold your body under the bar, while the deep core and hip flexors keep the tuck compressed. The biceps, grip, and upper back stabilize the straight-arm position throughout the hold.
Is the Back Lever Tuck suitable for beginners?
It is better as an early intermediate skill. You should first be comfortable hanging from a bar and ideally have experience with knee raises and skin the cat. Beginners can still drill the tuck and the rotation in parts with low rings or a low bar.
How long should I hold the Back Lever Tuck?
Start with five to ten seconds per hold and total around twenty to thirty seconds of quality work per session. Once you can hold a clean tuck for twenty to thirty seconds, you are ready to open the tuck toward an advanced tuck back lever.
Why can't I rotate all the way to horizontal?
Stalling mid-rotation usually means an open tuck, bent elbows, or a grip that blocks the turn. Compress the knees to your chest harder, lock the arms out, and consider a false grip so your wrists do not stop the rotation.
Can I train the Back Lever Tuck on rings instead of a pull-up bar?
Yes, and rings are often gentler on the shoulders because you can turn the rings outward and adjust during rotation. The bar version is more stable for learning the hold, so many people start on the bar and add ring versions later.
Is it safe to keep my elbows locked in this hold?
A straight arm is the intended position, but you should build up gradually so the tendons adapt to the loading. If you feel elbow or biceps strain rather than muscular effort, come out of the hold and shorten your hold times.
What is the most common mistake in the Back Lever Tuck?
The most common mistake is a lazy tuck, where the knees drift away from the chest and the hips drop. This makes the hold feel dramatically harder and shifts stress toward the lower back and elbows instead of the core and shoulders.
How is the Back Lever Tuck different from a skin the cat?
Skin the cat is a movement where you rotate fully through and back out, while the Back Lever Tuck stops at a horizontal tucked hold underneath the bar. Skin the cat can actually serve as your way in and out of the tuck lever position.
How do I exit the Back Lever Tuck safely?
Rotate forward through the same path you entered, keeping the tuck tight and arms straight until your body returns under the bar. Dropping out of the rotation with a loose tuck is the usual cause of awkward landings and shoulder tweaks.