Standing Posterior Pelvic Tilt
The Standing Posterior Pelvic Tilt is a small, deliberate movement performed from an upright standing position with nothing more than your own body weight. Instead of bending your knees or hinging at the hips, the entire action happens at the pelvis: you draw the front of your pelvis upward and tuck your tailbone underneath you, flattening the natural arch in your lower back, then return to neutral. It looks minimal from the outside, but it is one of the most direct ways to learn conscious control of pelvic position.
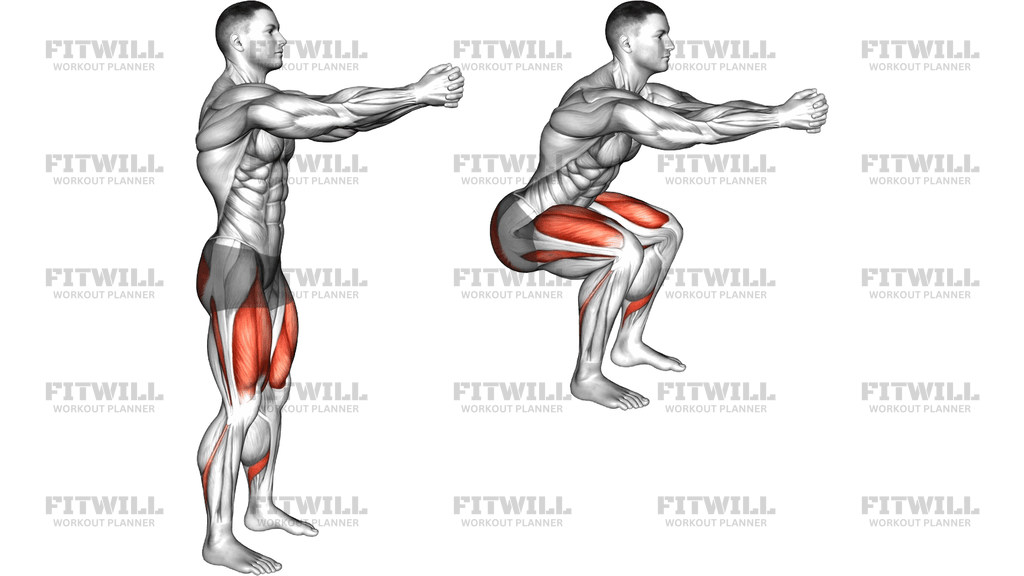
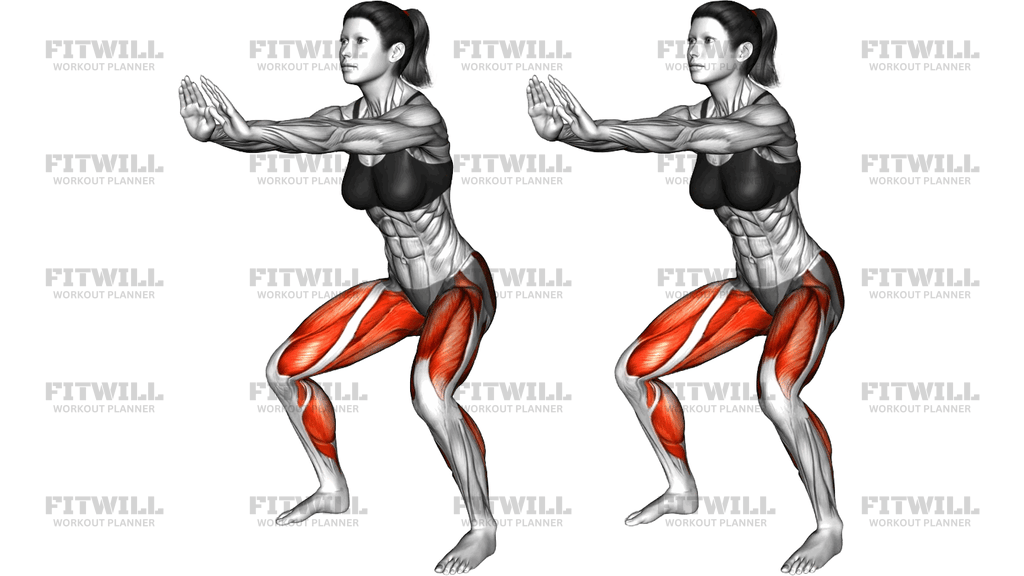
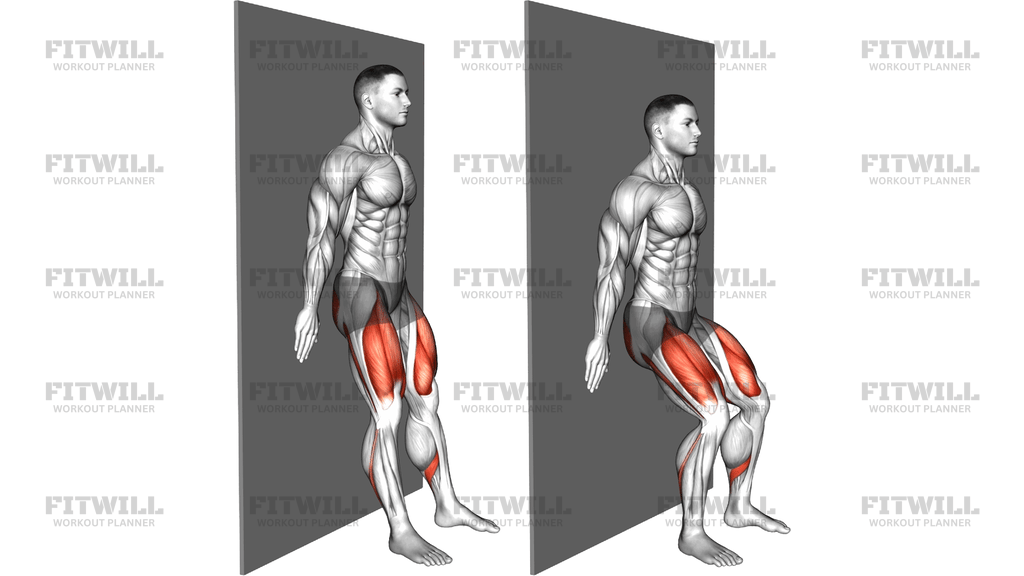
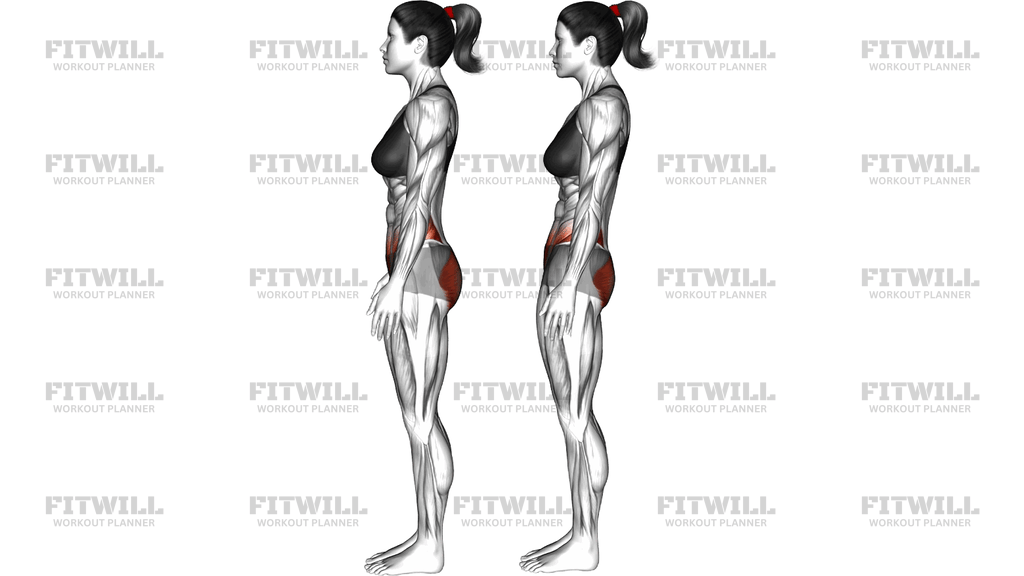
This movement is especially useful for people who spend long hours sitting and have developed an exaggerated anterior tilt, where the pelvis tips forward and the lower back arches deeply. It is also a foundational drill for anyone learning squats, deadlifts, or hip thrusts, since knowing how to find and hold a neutral or slightly tucked pelvis makes those bigger lifts safer and more effective. The highlighted areas in the movement are the glutes and the deep abdominal wall, which work together to rotate the pelvis backward.
Because the feet stay planted and the legs remain still, the exercise isolates the coordination between the glutes and lower abdominals. The glutes initiate the tuck, while the deep core helps control the lumbar spine as the arch flattens. That makes it a motor-control exercise as much as a strength one — the goal is not load or speed, but precision and awareness.
Setup matters more than it appears to. Stand tall with feet about hip-width apart, knees soft but not bent, and weight balanced evenly across both feet. If your stance is too wide or your knees lock back, the pelvis has less freedom to move and you will end up compensating with your thighs or lower back instead. Keep your shoulders relaxed and your ribcage stacked over your pelvis so the tilt comes from the hips, not from leaning the torso.
To execute it well, exhale gently and squeeze the glutes while imagining the belt line of your pants rotating upward toward your navel. The tailbone tucks under, the lower back lengthens, and the front of the hips opens slightly. Hold the tucked position for a moment, then release slowly back to a neutral pelvis rather than letting everything snap back at once. Moving through the full range with control teaches far more than rushing repetitions.
You will see this drill used in warm-ups, rehabilitation-style core programming, posture work, and as a teaching tool before posterior-chain lifting. It is gentle on the joints and requires no equipment, which makes it easy to practice anywhere — but keep the movement small and pain-free, and stop if you feel pinching in the hips or strain in the lower back.
[ Workout Log & Planner ]
Put your next workout in Fitwill
Keep your plan and training log ready when you are.


Instructions
- Stand upright with your feet hip-width apart and your weight spread evenly across both feet, arms hanging relaxed at your sides.
- Soften your knees slightly so they are not locked back, and stack your ribcage directly over your pelvis without leaning forward or backward.
- Take a normal breath in, then exhale slowly as you prepare to move.
- Squeeze your glutes and draw the front of your pelvis upward, tucking your tailbone underneath you as if rolling a bowl of water forward.
- Continue the tuck until the natural arch in your lower back flattens and you feel your glutes and lower abdominals working together.
- Hold the tucked position for two to three seconds, keeping your shoulders, head, and legs still throughout.
- Inhale as you slowly release the tilt, allowing the pelvis to return to a neutral position rather than swinging into a deep arch.
- Pause briefly at neutral to feel the difference between the two positions, then repeat for the desired number of repetitions.
- Keep each repetition slow and deliberate; if you lose the feeling of your glutes working, reset your stance and start again.
Tips & Tricks
- A common mistake is bending the knees to fake the tuck — if your hips flex and your torso dips, your thighs are doing the work your glutes should be doing. Straighten back up and make the movement smaller.
- Many people push the ribcage down and round the upper back instead of moving the pelvis. Keep your chest open and let the change happen only at the belt line.
- If you cannot feel your glutes, place your fingertips on the sides of your hips or on your glutes themselves to confirm they are contracting during the tuck.
- Avoid forcing the tailbone as far under as possible. The end range matters less than being able to stop and hold exactly where you choose.
- Exaggerating the arch on the return is another frequent error. Come back only to neutral, where the lower back keeps its slight natural curve.
- Try the drill in front of a mirror from the side. Seeing the pelvis rotate helps you separate the tilt from trunk leaning or knee bending.
- Practicing before squats or deadlifts works well: a few slow Standing Posterior Pelvic Tilts in your warm-up reminds you where neutral is before you load the spine.
- If you feel pinching at the front of the hips, ease off the end of the tuck and work within a shorter range while your hip flexors adapt.
- Match the movement to your breath — exhale into the tuck, inhale on the release. This keeps the ribs from flaring as your abs engage.
Frequently Asked Questions
What muscles does the Standing Posterior Pelvic Tilt work?
The glutes drive the tuck, while the lower abdominals and deep core control the lumbar spine as the arch flattens. The lower back muscles work gently to manage the return to neutral.
Is the Standing Posterior Pelvic Tilt good for beginners?
Yes, it is one of the best starting points for learning pelvic control because it requires no equipment and the range of motion is small. Beginners should focus on feeling the glutes contract rather than achieving a big tilt.
How does the Standing Posterior Pelvic Tilt differ from doing a pelvic tilt lying on the floor?
Standing, your body must stabilize itself without the floor supporting your back, so the drill builds usable control that transfers to squats, deadlifts, and everyday posture. The floor version is easier to feel but less specific to how you actually stand and move.
Can the Standing Posterior Pelvic Tilt help with an anterior pelvic tilt from sitting all day?
It can be a useful part of that work because it teaches you to actively flatten a forward-tilted, over-arched pelvis. Pair it with hip flexor stretching and glute strengthening for a more complete approach.
Why do my knees keep bending when I tuck my pelvis?
Bending the knees lets the hips flex, which mimics the tilt without using the glutes properly. Keep your legs nearly straight with soft knees and make the movement smaller until only the pelvis moves.
How many repetitions of the Standing Posterior Pelvic Tilt should I do?
Around 8 to 12 slow repetitions with a short hold at the top works well, either as a warm-up or as part of core and posture work. Quality of control matters far more than volume.
Should I hold the tucked position or move continuously?
A two to three second hold at the tucked position helps you own the end range, while slow continuous repetitions build coordination. Alternating between the two styles is a simple way to progress.
Is it safe to do the Standing Posterior Pelvic Tilt with lower back discomfort?
The movement is gentle and low-load, but any discomfort in the lower back is a signal to reduce the range or check your technique. If pain persists or sharpens, stop and consult a qualified professional.
Can I use the Standing Posterior Pelvic Tilt before heavy lifting?
Yes, it is an effective primer because it reminds you where a neutral pelvis sits before you add load to the spine. A few controlled repetitions in your warm-up can improve bracing in squats and deadlifts.