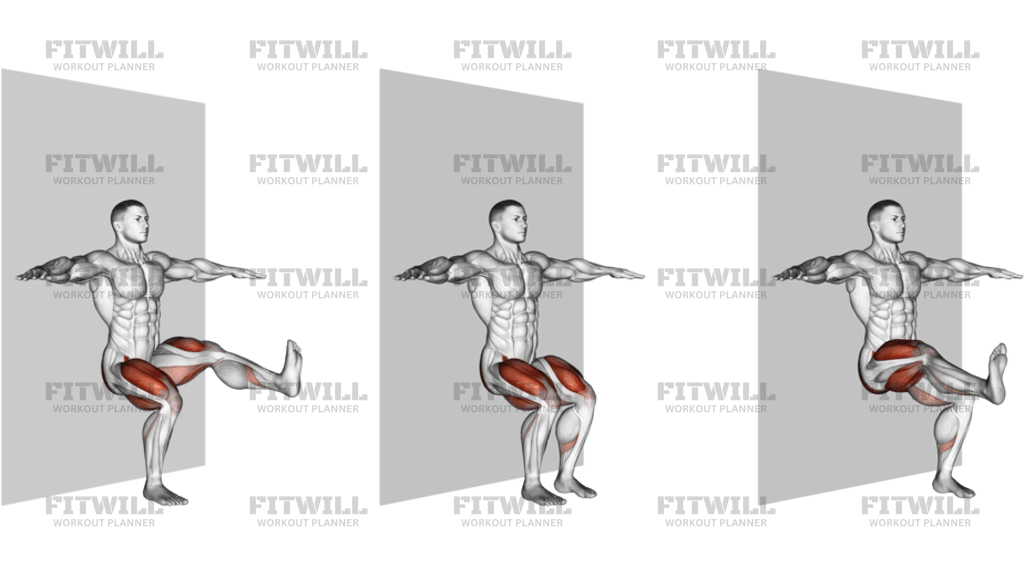
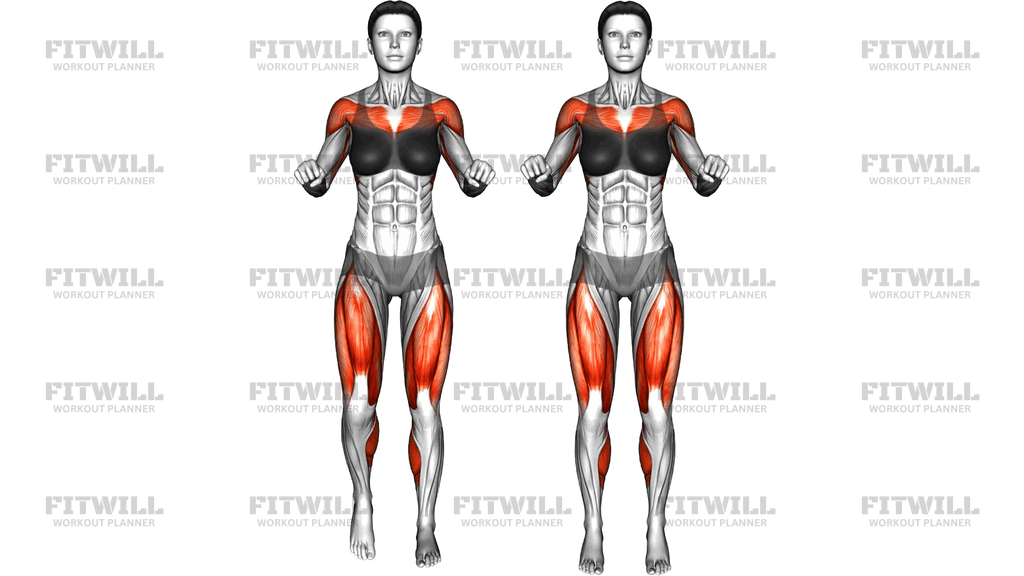
Standing Lateral Leg Circle With A Chair
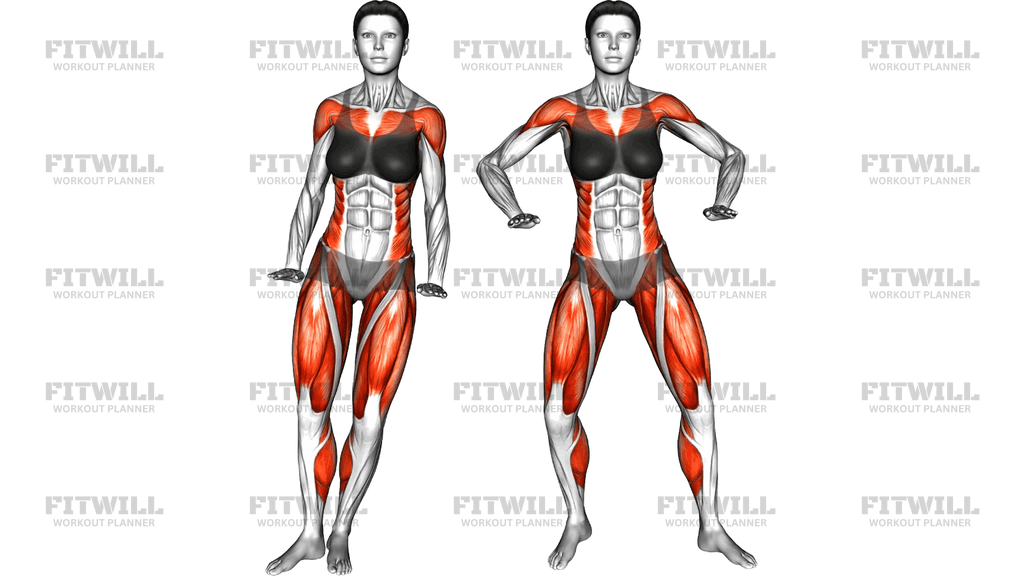
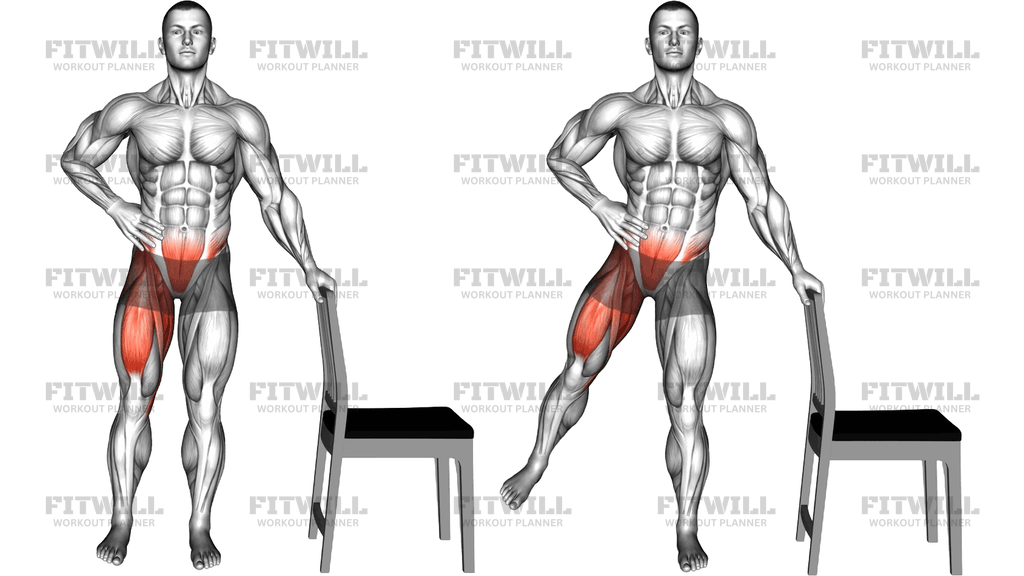
The Standing Lateral Leg Circle With A Chair is a controlled mobility and activation drill where you stand beside a sturdy chair, hold the chair back for light support, and sweep one leg through a wide circular path out to the side. The chair takes just enough weight off your working leg that you can focus on smooth hip motion instead of fighting for balance, which makes this a practical warm-up or rehab-style movement for anyone who struggles with standing single-leg work.
This exercise is useful for runners, cyclists, older adults rebuilding hip confidence, and lifters who want to wake up their hips before squats, lunges, or deadlifts. Because the leg draws a full circle, the hip goes through flexion, abduction, and extension in one continuous arc, so you train the hip flexors at the front, the gluteus medius and outer hip at the side, and the adductors as the leg crosses back toward the middle. The front of the thigh and lower abdominal area also stay engaged to keep the leg lifted and the torso still.
The setup matters more than it looks. Standing too far from the chair turns the exercise into a leaning, swinging mess; standing too close limits the circle and makes you bump the furniture. Position yourself so your fingertips rest lightly on the chair back with a soft elbow, your free hand on your hip, and your working leg hanging directly under your shoulder. That alignment gives the leg a clean track and keeps your spine honest.
To execute it well, keep your standing knee slightly bent, your ribs stacked over your pelvis, and your core braced. Lift the leg a few inches off the floor and draw slow circles out to the side, roughly the size of a dinner plate to start. The tempo should feel almost too slow; if your torso rocks or you have to grip the chair hard, shrink the circle. Complete your repetitions in one direction, then reverse, and switch sides.
A common use case is as the first movement in a lower-body warm-up, done for eight to twelve circles per direction on each leg. It also works well as a standalone balance drill on days you are short on time.
For safety, choose a chair that will not slide, ideally against a wall, and never push down on it to hold yourself up. Move within a range where your pelvis stays level, and stop if you feel pinching at the front of the hip rather than muscular effort.
[ Workout Log & Planner ]
Put your next workout in Fitwill
Keep your plan and training log ready when you are.


Instructions
- Place a sturdy, non-slip chair on a flat surface, ideally with its back near a wall so it cannot tip or slide.
- Stand to the side of the chair with the chair back on one side of your body; rest your nearest hand lightly on top of the chair back with a soft elbow, and place your free hand on your hip.
- Set your feet hip-width apart with your weight even, then shift your weight onto the leg farther from the chair so the leg closest to the chair becomes your working leg.
- Brace your core, keep your ribs stacked over your pelvis, and bend the knee of your standing leg slightly to soften the joints.
- Lift the working leg a few inches off the floor with the knee mostly straight and the toes relaxed.
- Sweep the leg forward and out to the side in a smooth circular arc, drawing the circle away from your body at a height you can control without your torso leaning.
- Continue the circle around and back across the midline to the starting point, keeping the pelvis level the entire time.
- Breathe steadily throughout, inhaling on the way out of the circle and exhaling as the leg returns, and avoid holding your breath.
- Complete your repetitions in one direction, then reverse the circle for the same count before switching to the other leg.
- Between sides, reset your stance, shake out the hips, and recheck that your hand is resting, not pushing, on the chair back.
Tips & Tricks
- If your torso tips toward or away from the chair each revolution, your circle is too big; cut the diameter in half until the pelvis stays level.
- Gripping the chair back with a locked elbow is a sign you are loading the arm instead of the hip; aim for a feather-light touch, as if the chair could be pulled away at any moment.
- Keep the toes of the working leg facing forward or slightly relaxed rather than twisting the foot outward, which changes the hip rotation mid-circle.
- A common fault is hiking the hip of the working leg to gain height; think about lengthening the leg instead of lifting it higher.
- Watch that the standing knee does not lock or hyperextend as the leg crosses the midline; keep a slight bend for the entire set.
- Do the circles slowly enough that you could stop the leg at any point in the arc; momentum turns this into a swing and steals the work from the hip muscles.
- If you feel a pinch at the front of the hip when the leg comes up, make the circle shallower on that forward portion rather than pushing through the discomfort.
- Practice in front of a mirror occasionally; most people are surprised how much their shoulders rotate without noticing.
- A sliding chair is the biggest practical risk with this drill, so test it with light pressure before every set or place it against a wall.
Frequently Asked Questions
What muscles does the Standing Lateral Leg Circle With A Chair work?
The main work comes from the hip musculature that moves the leg through the circle, especially the hip flexors, quads at the front of the thigh, and the gluteus medius on the outer hip. The lower abs and adductors contribute to keep the leg lifted and control the return across the midline.
Is the Standing Lateral Leg Circle With A Chair good for beginners?
Yes, it is one of the most beginner-friendly standing hip drills because the chair provides just enough balance support. Start with small circles and a light hand on the chair back, and progress to bigger circles or a lighter touch as control improves.
How big should the circles be?
Begin with a circle roughly the size of a dinner plate, a few inches off the floor. Only increase the size when you can complete every revolution without your torso rocking or your pelvis tilting.
Should I circle the leg forward-to-back or back-to-forward?
Do both. Complete all repetitions in one direction, then reverse the circle for the same number, since each direction slightly biases different portions of the hip range.
Can I do this exercise without a chair?
Yes, once your balance allows it, place your hand on your hip or let both arms hang and perform the same circles. Removing the support increases the balance and core demand, so shrink the circle first when you make the switch.
Why does my torso keep swinging during the Standing Lateral Leg Circle With A Chair?
That usually means the circle is too large, the tempo is too fast, or you are pushing into the chair instead of lightly touching it. Reduce the range, slow down, and reset your hand to a feather-light contact point.
How many reps and sets should I do?
A practical dose is 8 to 12 circles per direction on each leg, for 1 to 2 rounds. It fits best as a warm-up before lower-body training or as a daily mobility habit.
Is it normal to feel a pinch at the front of the hip?
A shallow pinch at the very top of the arc is a signal to reduce the range, not to push through it. Keep the forward portion of the circle smaller and only build height as the movement feels smooth and muscular rather than pinched.
What kind of chair works best for this exercise?
Use a stable, armless chair with a solid backrest that will not slide, ideally positioned against a wall. Avoid rolling office chairs or lightweight chairs that could tip when you rest your hand on them.
Should the working knee stay straight?
Keep it mostly straight but not locked, with the toes relaxed. Bending the knee deeply turns this into a different drill and shortens the lever, which reduces the work on the hip.