Elevated Plank Walkout With A Chair
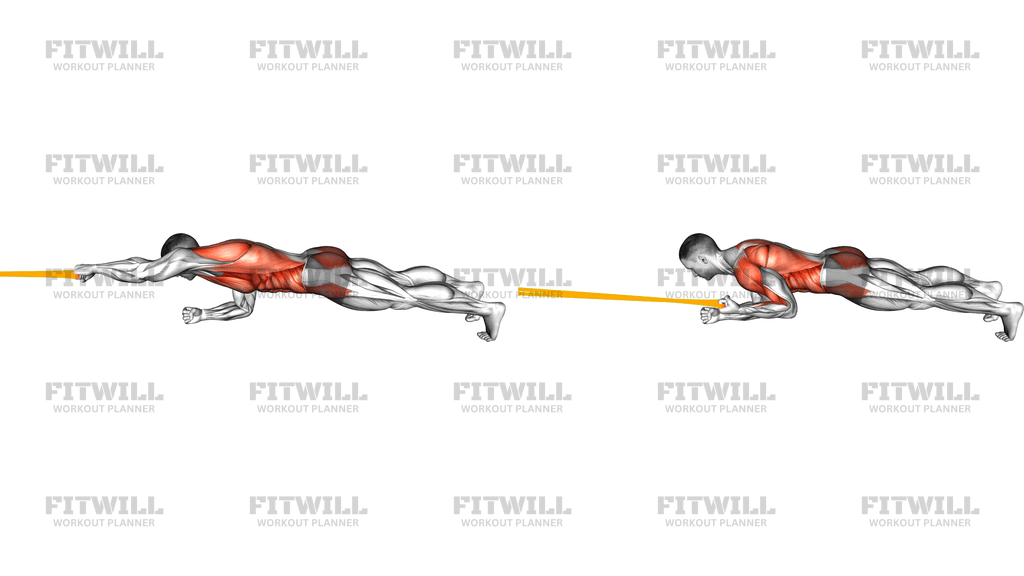
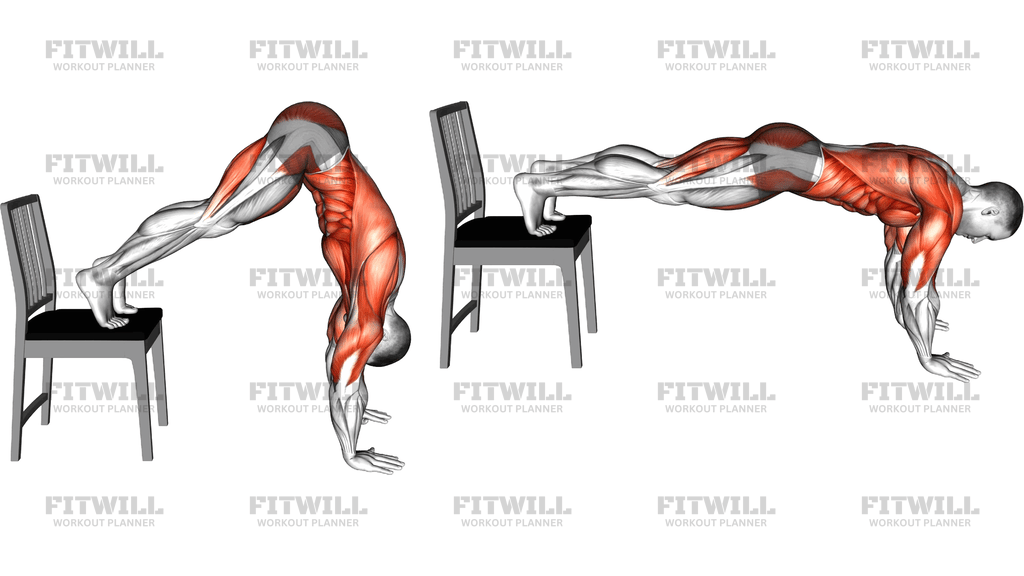
The Elevated Plank Walkout With A Chair is a bodyweight core exercise that uses a sturdy chair as an elevated platform for your feet. You begin with your toes on the chair seat and your hands on the floor in a pike position, hips lifted high, then walk your hands forward in small steps until your body forms a straight, elevated plank. From there you reverse the walk back to the starting pike. The chair raises your feet well above the floor, which increases the load on your trunk compared to a standard walkout.
This movement trains the entire anterior core, with the rectus abdominis and deep transverse abdominis working to keep your ribs down and your spine from sagging as your hands travel away from your feet. Your shoulders take on significant work as well, since they support your body weight through a long lever and must stabilize through an increasing angle as you walk out. The glutes and legs hold the plank line, and the forearms and hands handle the constant ground contact.
The elevated setup is what makes this version distinct. Because your feet stay on the chair seat, the walkout covers a longer effective range and finishes in a position closer to an incline push-up top, which is demanding on both the core and the shoulder stabilizers. A stable, non-swiveling chair is essential; test it against a wall or in a doorway before you commit your full weight to it.
Execution comes down to controlled stepping and a rigid trunk. Walk one hand forward at a time in short, even increments, and stop before your hips drop or your lower back starts to arch. The end position should look like a straight plank viewed from the side, with your head in line with your spine rather than craning upward. Pause briefly at the far point, then walk your hands back with the same discipline until your hips return to the tall pike.
This exercise suits intermediate trainees who already own a solid floor plank and want more range and load without equipment beyond a chair. It is a useful progression for home training, a shoulder-and-core finisher after pressing days, and a conditioning choice in circuit work. Because it loads the spine in extension under fatigue, treat it as a skill movement: fewer, cleaner reps beat a long set where the hips sag on every step.
Start with three or four walkouts per set and build gradually. If you feel strain in your lower back instead of work in your abs, shorten the distance you walk out or lower your hips slightly on the way out. Keep your fingers spread and press the floor away throughout so your shoulders stay active rather than sinking into the joints.
[ Workout Log & Planner ]
Put your next workout in Fitwill
Keep your plan and training log ready when you are.


Instructions
- Place a sturdy, non-swiveling chair on a non-slip floor and set your toes on the center of the seat so your heels hang slightly off the back edge.
- Position your hands on the floor roughly shoulder-width apart, fingers spread, directly under your shoulders, so your body forms a tall inverted V with hips pointing at the ceiling.
- Brace your abs, squeeze your glutes lightly, and press the floor away so your shoulders are active before you take your first step.
- Walk your right hand forward a few inches, then bring your left hand forward the same distance, keeping your hips level as you alternate.
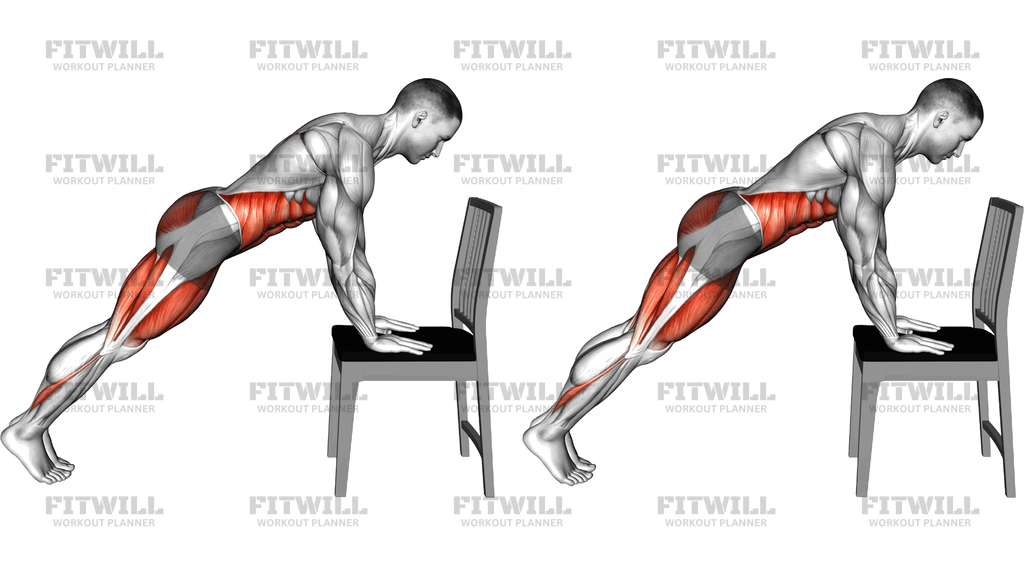
- Continue stepping forward in short, even increments until your arms extend past your head and your body forms one straight line from head to heels, as in an elevated plank.
- Hold the extended plank for one breath, checking that your lower back is not arching and your neck stays in line with your spine.
- Walk your hands back toward the chair in the same small steps until your hips lift back into the tall pike and your shoulders stack over your hands.
- Exhale as you walk out and inhale as you walk back, keeping the breath steady instead of holding it.
- Reset your brace at the pike position before starting the next rep, and step one foot off the chair to stand when the set is finished.
Tips & Tricks
- Test the chair before your first rep by pushing sideways on the seat with one hand; any wobble means you should brace the chair against a wall or pick a heavier one.
- The most common failure is letting the hips sag as the hands move past the head. Film yourself from the side once, because from inside the movement a sagging pelvis feels level.
- Keep your steps short. Long hand strides pitch your weight forward and dump the load into your lower back and shoulder capsules instead of your abs.
- If your heels drift toward the edge of the seat as you walk out, reposition your toes fully on the seat at the pike so your feet cannot slide off mid-set.
- Press your fingertips into the floor during the walkout. This counteracts the wrist extension fatigue that usually ends the set before your core is challenged.
- Stop the walkout one step earlier than your max for your first few sessions. The last step before the hips drop is where form typically breaks.
- Warm up your wrists and shoulders with a few standard plank walkouts on the floor first, since the elevated version is a long lever you should build up to.
- Keep your gaze down at the floor between your hands. Looking forward shortens the back of your neck and encourages the ribs to flare during the extended position.
- Slow the return walk deliberately. Most people rush the walk back, and that is where the shoulders get pitched backward into a loose position.
Frequently Asked Questions
Which muscles does the Elevated Plank Walkout With A Chair work the most?
The abdominals, especially the rectus abdominis and deep transverse abdominis, do the main work of holding your trunk rigid. Your shoulders, triceps, and lower back support the long lever throughout the walkout.
Why are my feet elevated on a chair instead of on the floor?
The chair raises your hips and lengthens the distance your hands must travel, which increases the load on your core and finishes the walkout near an incline push-up top position. It is a harder variation of the standard floor walkout.
Is the Elevated Plank Walkout With A Chair suitable for beginners?
Beginners should first master a standard plank walkout on the floor. If you can hold a rigid plank for 45 to 60 seconds and walk out comfortably, the chair version is a reasonable next step with a shortened range.
What kind of chair should I use?
Use a stable, heavy chair with a flat seat and no wheels or swivel. Push it against a wall so it cannot slide backward when your weight shifts toward your hands.
How far should I walk my hands out?
Walk out only as far as you can keep a straight line from head to heels. For most people that ends with the arms past the head and slightly wider than shoulder-width, but stop one step earlier if your hips start to sag.
My lower back hurts during this exercise. What should I change?
Lower back discomfort usually means your pelvis is tipping forward and your abs have stopped bracing. Shorten the walkout distance, squeeze your glutes harder, and move in smaller steps so your ribs stay down throughout.
What can I use instead of a chair?
A bench, a low box, or a stair step works the same way as long as it is stable and roughly knee height or lower. A lower surface makes the movement easier, so start low and progress up.
How many reps should I do of the Elevated Plank Walkout With A Chair?
Start with three to four walkouts per set for two or three sets, resting fully between sets. Since quality collapses quickly in this movement, end the set when your hips sag on any step rather than pushing to a fixed number.
Should I do this exercise before or after my main workout?
Use it after your main strength work or as part of a circuit, because the shoulder stabilization demand can interfere with heavy pressing if done first. It also works well as a finisher on days you train push-ups or overhead pressing.
Is it normal for my wrists to feel tired?
Some forearm and wrist fatigue is expected since your hands bear your weight through the whole set. Spread your fingers, grip the floor actively, and if discomfort persists, warm up your wrists first or shorten the sets.