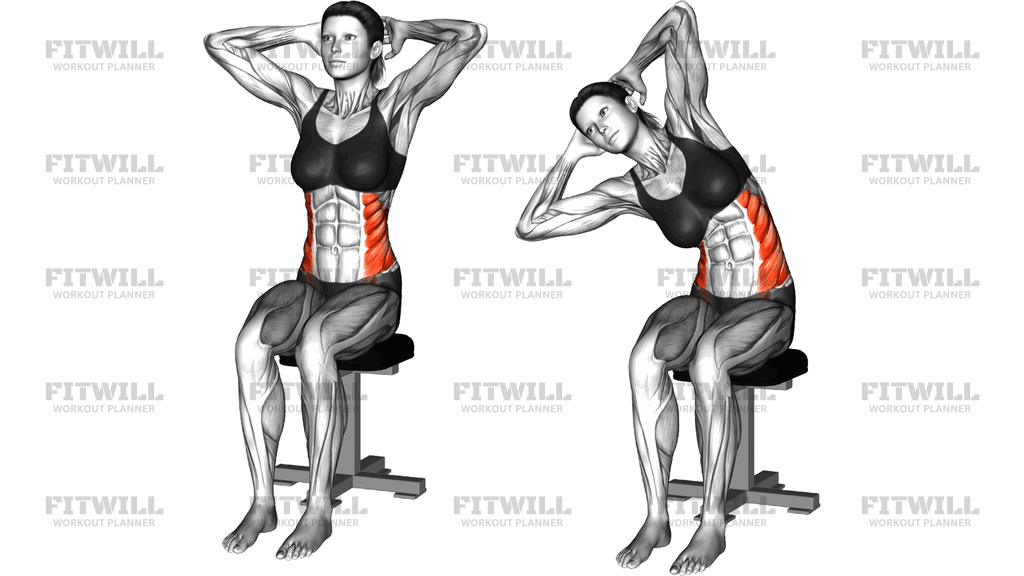
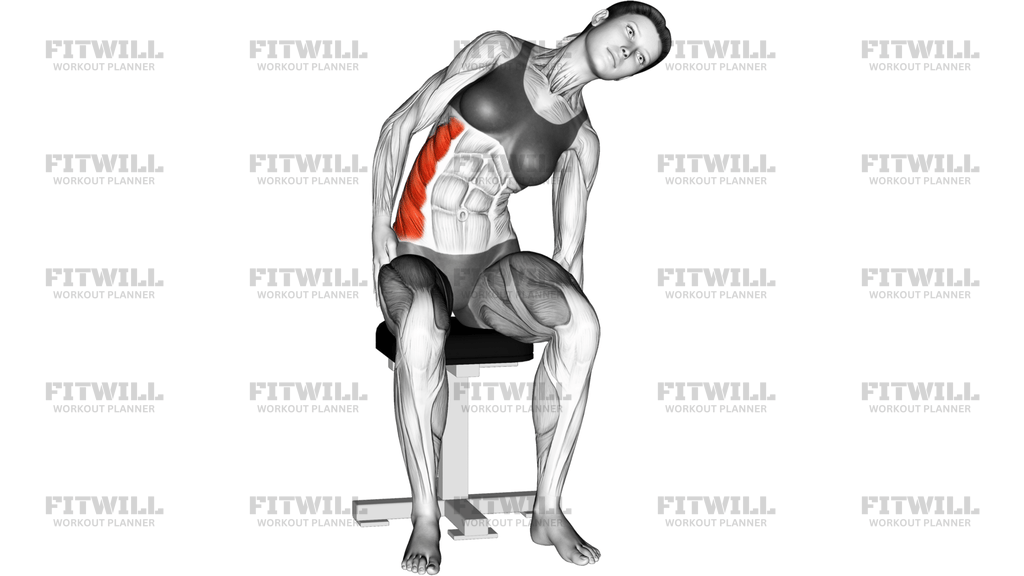
Side Plank Lift On A Padded Stool
The Side Plank Lift On A Padded Stool is a lateral core exercise where you hold a side plank with your bottom hand supported on an elevated, padded surface instead of the floor, then repeatedly lift and lower your hips through a controlled arc. The raised hand position lengthens the lever arm and gives you a slightly taller working angle, which lets you load the obliques through a larger range of motion than a floor-based side plank dip while keeping the wrist and shoulder in a comfortable position.
The main work comes from the obliques on the underside of your trunk, which contract to pull the hip upward and then control the descent. The deep core musculature braces the spine throughout, the glute on the low side helps hold the pelvis level, and the supporting shoulder and arm stabilize as you pivot over the hand. Because the feet stay stacked and the body moves as one long line, the adductors and hips also work isometrically to keep the legs from sagging.
This setup is especially useful for people who find floor side plank dips too cramped at the bottom or who feel wrist discomfort with the hand flat on the ground. Elevating the hand on a padded stool or box shortens the distance to the floor, gives a cleaner margin at the bottom of the dip, and the padding spares the heel of the hand during longer sets. It is a common choice in core circuits, postural programs targeting lateral trunk strength, and training for sports that demand strong side-to-side bracing like tennis, golf, and throwing sports.
To execute it well, think of your body as a rigid plank pivoting at the hand and the side of the foot. The lift should come from the side of your waist pulling the hip toward the ceiling, not from pushing the shoulder around or cranking the neck. Keep the top hand resting on your hip or reaching along your side so it does not sneak in to help rotate the torso.
The most common faults are letting the hips sag toward the floor at the bottom, rolling the chest toward the ground so the plank stops being a true side position, and rushing the reps so momentum does the lifting instead of the obliques. Slower reps with a clear pause at the top produce far more lateral core work than fast, bouncy repetitions. Start with a moderate range and full sets on each side before adding difficulty.
[ Workout Log & Planner ]
Put your next workout in Fitwill
Keep your plan and training log ready when you are.


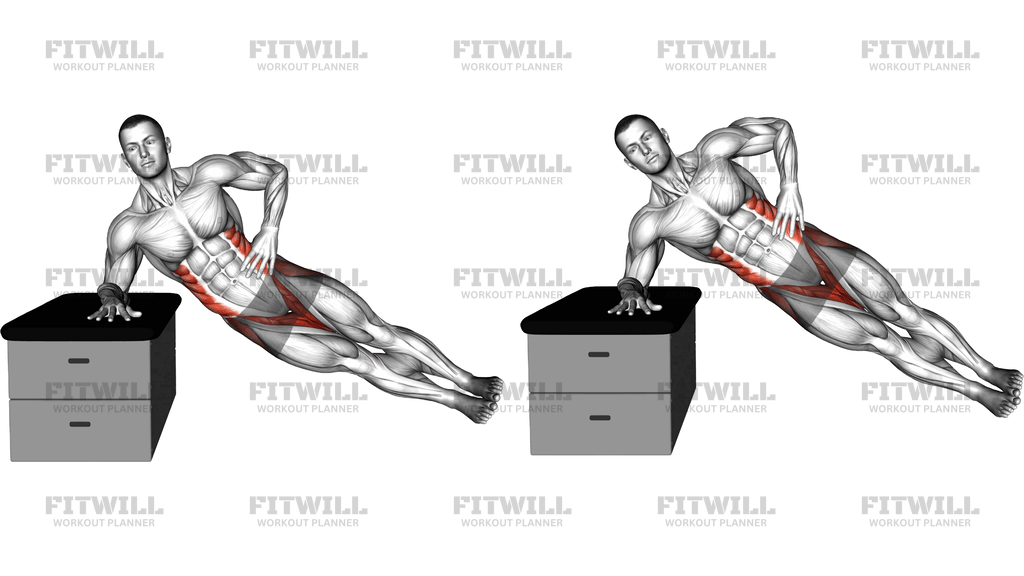
Instructions
- Place a padded stool or box next to you and lie on your side with your legs fully extended and one foot stacked on the other.
- Position your bottom hand flat on the padded surface directly under your shoulder, arm straight, and rest your top hand on your hip.
- Lift your hips off the floor so your body forms one straight line from head to heels, supported only by your hand and the side of your bottom foot.
- Brace your core and squeeze your glutes before starting the movement, keeping your chest facing sideways rather than toward the floor.
- Lower your hips down toward the floor in a slow, controlled arc until you feel the side of your waist lengthen.
- Pull the underside of your waist upward to lift your hips as high as you can, squeezing the obliques at the top for a moment.
- Keep your legs straight and stacked the entire time; do not bend the knees or let the top hip rotate forward.
- Breathe steadily throughout, exhaling as you lift the hips and inhaling as you lower them.
- Complete all repetitions on one side, then lower down carefully, reset your position, and switch to the other side.
Tips & Tricks
- If your hips barely clear the floor at the start, the stool is too high for your current strength; use a lower surface until you can lift cleanly.
- Press the floor away with your supporting hand rather than letting your shoulder sink toward your ear — a shrugged supporting shoulder is a common reason the plank feels unstable.
- Check your hand position each set: if it creeps forward of your shoulder line, the torso will angle and the obliques lose tension.
- The bottom of the dip, not the top, is where most people lose form. If your hips sag and your lower back feels strained at the bottom, shorten the range slightly.
- Imagine pushing the floor down through the stool to lift the hip, rather than thinking of hauling the hip up — this cue keeps the lat and oblique working together.
- Keep your head in line with your spine; looking up at the ceiling or dropping the chin to the chest both rotate the neck and disrupt the plank line.
- If your top hip drifts backward, your glutes have disengaged. Squeeze them deliberately before each rep to lock the pelvis in place.
- Count tempo instead of reps when learning — two seconds down, one second up — so momentum cannot mask weak spots on one side.
- Wear smooth-soled shoes or bare feet mindfully: the stacked feet carry part of your weight and slipping outward at the top of the lift is a real risk on hard floors.
Frequently Asked Questions
Which muscles does the Side Plank Lift On A Padded Stool work?
The obliques on the underside of your trunk are the primary movers, with strong support from the deep core and the glute on the low side. The supporting shoulder, arm, and stacked legs work statically to hold the plank position.
Why use a padded stool instead of doing the lift on the floor?
Elevating the hand raises your starting angle, which reduces wrist extension and gives you room to dip the hips lower without the floor cutting the range short. The padding also makes longer sets more comfortable on the heel of the hand.
Is this exercise suitable for beginners?
Yes, provided you can first hold a basic side plank for around 20 seconds on each side. Beginners should use a slightly higher stool and a shorter dip range, since the bottom position is the hardest part to control.
How high should the padded stool be?
Choose a height where you can hold a straight side plank with a fairly vertical supporting arm. If your torso angles sharply toward the stool or you cannot lift your hips cleanly, the surface is too high.
How many repetitions should I do per side?
Eight to fifteen controlled lifts per side works well for most people, focusing on a smooth arc and a brief squeeze at the top. When you can no longer keep the hips from sagging at the bottom, end the set even if reps remain.
Why do my hips sag at the bottom of each rep?
This usually means the obliques and glutes are fatiguing or the range exceeds what you can control. Reduce the depth of the dip, squeeze the glutes harder before each rep, or move to a higher stool temporarily.
Can I substitute another exercise for the Side Plank Lift On A Padded Stool?
Floor side plank dips train the same lateral core pattern with a shorter range, and a standard side plank hold builds the same isometric base. If wrist or shoulder discomfort is the issue, a forearm side plank on the floor is the closest alternative.
Should my feet stay stacked during the lift?
Yes, keep the feet stacked and legs straight so the body pivots as one rigid line. Splitting the feet or bending the knees reduces the demand on the obliques and lets the torso rotate out of the side position.
Is it safe for my shoulder and wrist?
The elevated, padded hand position is generally friendlier to both joints than a flat floor setup, but keep the hand directly under the shoulder and avoid letting the shoulder collapse toward the ear. Stop if you feel sharp pain in the wrist, shoulder, or lower back.