Kneeling Push Up To Hovering Table Top
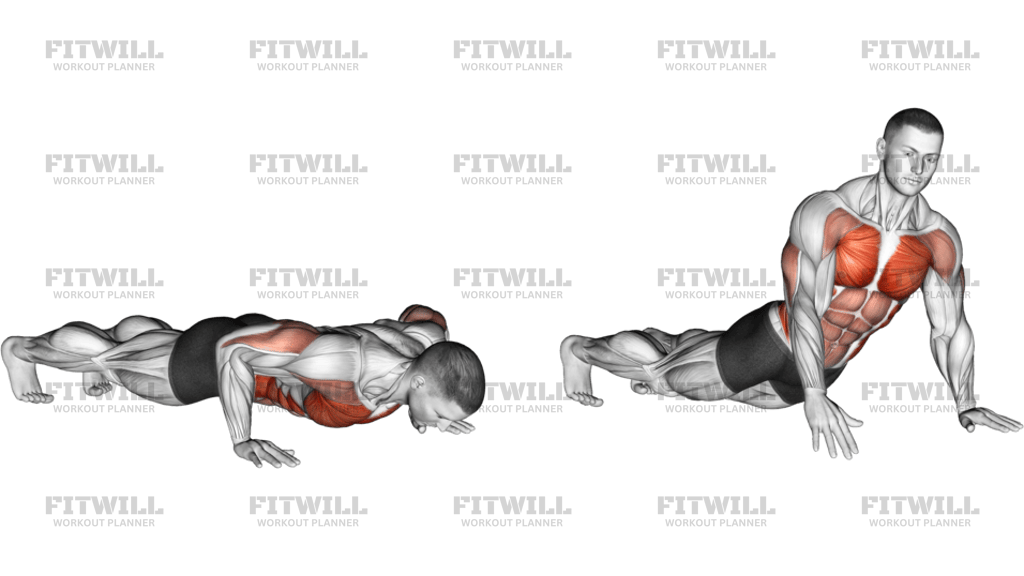
The Kneeling Push Up To Hovering Table Top is a body weight pressing exercise that combines two demanding elements: a push up performed from a shortened kneeling position, and an isometric hold in which both knees hover just off the floor. Instead of resting your knees on the ground between or during reps, you keep them lifted for the entire set, which turns a beginner-friendly push up variation into a serious core and quadriceps challenge.
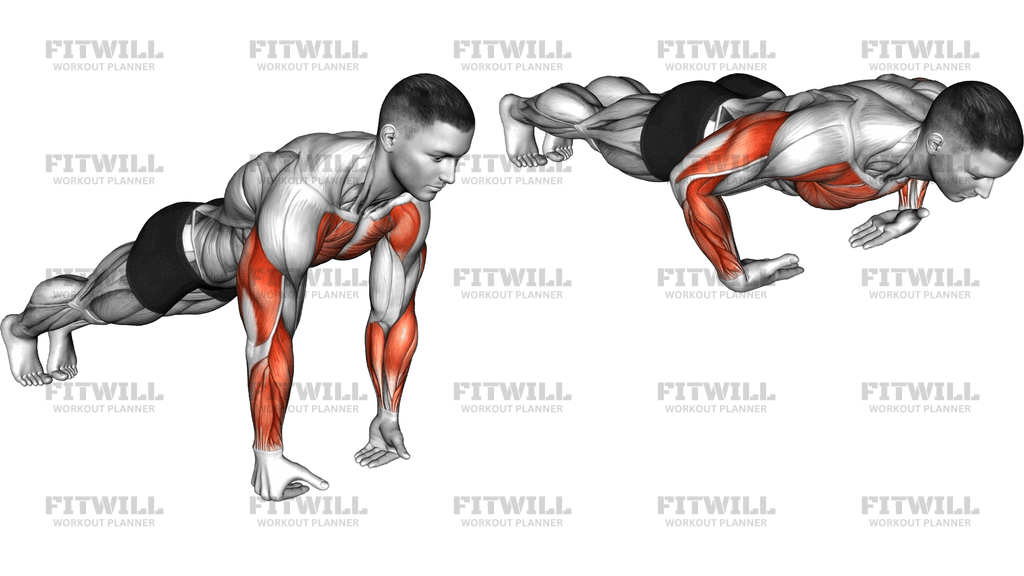
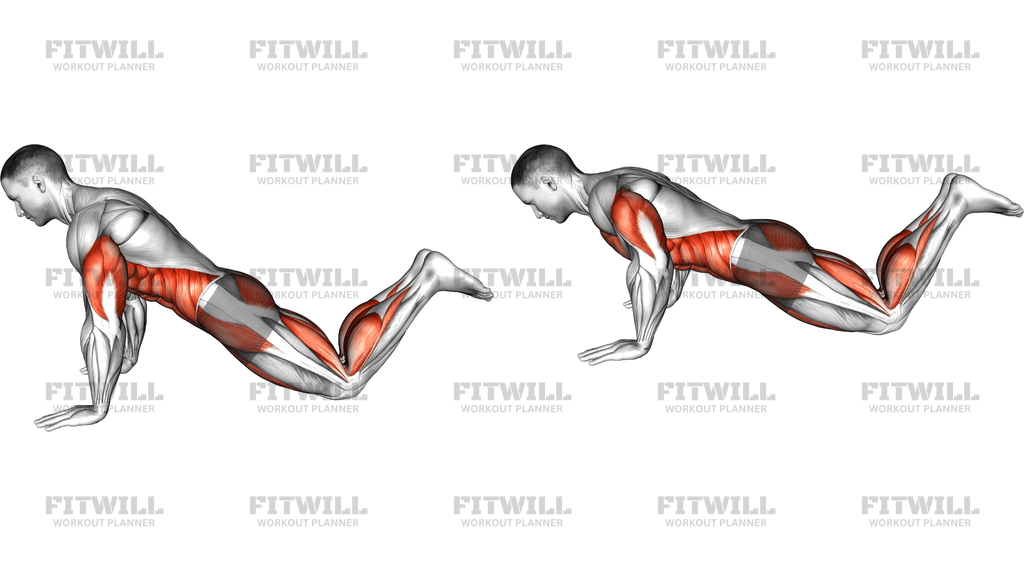
The setup starts on your hands and knees with your hands under your shoulders and your knees stacked under your hips. From there you lift the knees an inch or two off the floor so your thighs point straight down and your torso stays fairly upright. In this hovering table top position you bend your elbows to lower your chest toward the floor, then press back up without ever letting the knees touch down.
This movement is useful for two groups in particular. First, it suits intermediate lifters who have outgrown standard knee-on-floor push ups but are not yet ready for full push ups with a straight body line, because the shortened lever reduces the load on the chest and triceps while the hovering knees add core demand. Second, it works well for anyone training core stability, since holding the knees off the floor forces the deep abdominal muscles, hip flexors, and quads to stay engaged continuously.
The hovering knees are what make this exercise unique, so they deserve your attention. Because your knees sit under your hips rather than behind them, your torso angle is more vertical than in a full push up, which shifts some emphasis toward the shoulders and triceps while the chest still works through the press. The moment your knees drift back toward your heels or sag toward the floor, both the pressing angle and the core challenge change, so consistency of position matters more than rep speed.
To execute it well, think of pushing the floor away to keep your shoulder blades spread, and think of tucking your pelvis slightly so your lower back does not arch while the knees hover. Keep the elbow bend at roughly forty-five degrees to your torso rather than flaring the arms straight out. Lower with control until your chest is a few inches from the floor, press up to full elbow extension, and only then decide whether to begin the next rep or set the knees down to rest.
Because the knees never rest, fatigue accumulates quickly in the thighs and abs, often before the chest gives out. That is normal. Sets of five to ten quality reps with the knees honestly hovering will do more for you than longer sets where the knees sneak down between reps. Place a mat under your hands and knees for comfort, and treat any loss of the hover as the natural end of the set.
[ Workout Log & Planner ]
Put your next workout in Fitwill
Keep your plan and training log ready when you are.


Instructions
- Kneel on a mat and place your hands flat on the floor directly under your shoulders, fingers spread, arms fully extended.
- Position your knees directly under your hips so your thighs are vertical and your shins point back behind you, then lift both knees one to two inches off the floor so only your hands and the tops of your feet lightly touch down.
- Brace your abs and tuck your pelvis slightly so your lower back stays neutral and your torso forms a stable line from head to knees.
- Inhale, then bend your elbows at about a forty-five degree angle to your torso and lower your chest toward the floor, keeping your shoulders pulled down away from your ears.
- Stop when your chest is a few inches from the floor with your elbows bent near ninety degrees, and do not let your knees drop or your hips sag during the descent.
- Exhale and press the floor away to straighten your arms until your elbows are fully extended, returning to the hovering table top position.
- Keep both knees at the same hover height throughout the rep, holding them frozen in place rather than bouncing or drifting back toward your heels.
- Breathe in on the way down and out on the press, keeping the breath steady instead of holding it through the whole set.
- At the end of your set, lower your knees gently to the floor to rest rather than collapsing out of the hover.
- Reset your hand and knee positions before the next set so every rep starts from the same aligned hovering table top.
Tips & Tricks
- The most common failure is the knees creeping backward toward the heels as fatigue sets in, which turns the exercise into a leaning push up. Check after every rep that your thighs are still pointing straight down under your hips.
- If your lower back arches while the knees hover, squeeze your glutes lightly and tuck the tailbone under before lowering into the push up portion.
- Let the tops of your feet take some weight on the floor; trying to hold the feet up too removes your anchoring point and makes the press unnecessarily unstable.
- Keep the elbow angle at roughly forty-five degrees to your torso. Flaring the elbows straight out to ninety degrees strains the shoulders and reduces pressing strength.
- Your quads and hip flexors will often burn out before your chest in this movement. If the hover breaks down, end the set honestly instead of letting the knees rest between reps.
- Push the floor away at the top of each rep to spread your shoulder blades; letting them collapse inward at the top is a common fault that shortens the working range.
- Start with short sets of five to eight reps. Because the knees never rest, this exercise fatigues the core far faster than a normal kneeling push up, and sloppy hovering reps carry little benefit.
- If the full hover is too difficult, hold the hovering table top position statically for time first, then add single push up reps as your core strength improves.
- Record yourself from the side for one set. The side view makes it obvious whether your knees actually hover or subtly touch down between reps.
Frequently Asked Questions
What muscles does the Kneeling Push Up To Hovering Table Top work?
The chest, triceps, and front shoulders handle the press, while the deep core, quadriceps, and hip flexors work continuously to hold the knees off the floor. The hovering position makes it as much a core stability exercise as a pressing one.
How is this different from a regular kneeling push up?
In a regular kneeling push up your knees rest on the floor, which supports your lower body and removes most core demand. In the Kneeling Push Up To Hovering Table Top the knees stay lifted the entire time, so your thighs and abs must hold you up while your upper body presses.
Is the Kneeling Push Up To Hovering Table Top good for beginners?
It can be, but most beginners should start with knee-on-floor push ups or a static hovering table top hold first. Once you can hover for twenty to thirty seconds and do ten standard kneeling push ups, this combination becomes a sensible next step.
Why do my thighs burn more than my chest during this exercise?
Your quadriceps and hip flexors are holding your knees in a hover against gravity for the whole set, which is an unusual and demanding isometric job. That burn is expected; if it forces you to drop the hover, end the set and rest.
Should my knees be under my hips or behind me during the hover?
Keep them directly under your hips with your thighs pointing straight down. Letting the knees drift backward changes your torso angle, reduces the core demand, and turns the movement into a different, easier exercise.
How high should my knees hover off the floor?
One to two inches is enough. Lifting them higher only arches your lower back and wastes energy, while letting them touch down between reps removes the core challenge that defines the exercise.
What can I use instead of the Kneeling Push Up To Hovering Table Top if it is too hard?
Do a static hovering table top hold to build the core endurance, or perform standard knee-on-floor push ups to build pressing strength. Progress by adding reps to the hold and the press separately before combining them.
Do I need a mat for this exercise?
A mat is not required but is recommended, since your hands and the tops of your feet bear weight on a hard floor. Because your knees only hover, a thin mat is sufficient.
Is it safe for my wrists and shoulders?
With hands stacked under shoulders and elbows kept near a forty-five degree angle, the positions are joint-friendly for most people. If you have a history of wrist or shoulder discomfort, warm up thoroughly and stop if you feel sharp pain during the press.
How many reps and sets should I do?
Start with three sets of five to eight reps, resting about a minute between sets. As your ability to hold the hover improves, build toward three sets of ten to twelve reps with the knees never touching down.