Standing Hands Up Knee Tap
The Standing Hands Up Knee Tap is a simple bodyweight drill where you stand tall, raise your hands to a fixed height in front of your body, and drive one knee up at a time to tap them. It looks almost too easy, but that fixed hand position is what makes it work: your knee has to travel to the same target every rep, which keeps your hip flexion consistent and forces your abdominal muscles to control your torso instead of letting it collapse backward.
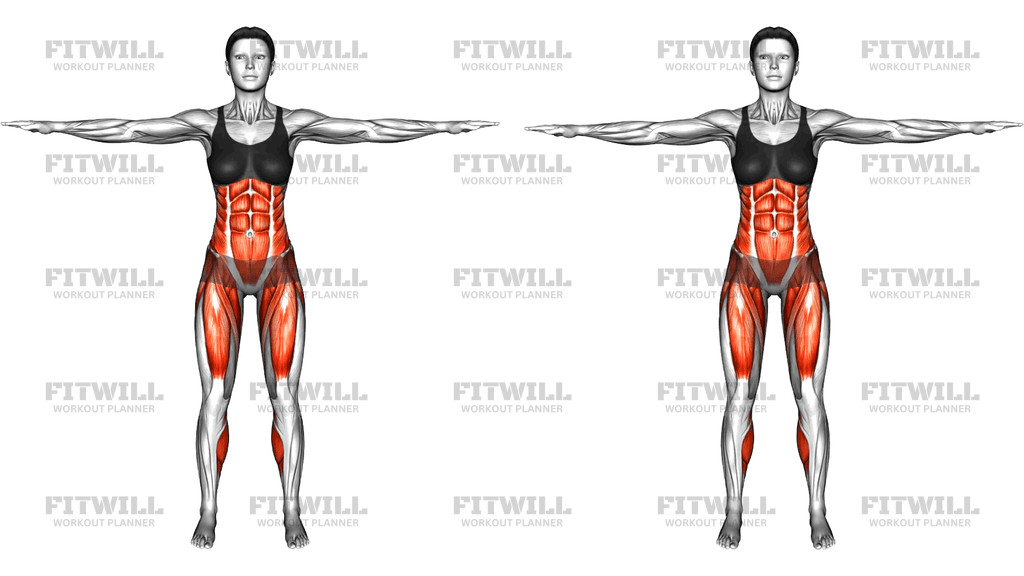
This movement trains the lower portion of the abs along with the hip flexors, which lift the thigh toward your torso. The quadriceps assist as you extend the knee drive, and the standing leg does quiet but important work — the glutes and deep hip stabilizers keep your pelvis level and your balance steady every time one foot leaves the floor. Because both sides work in an alternating rhythm, you also get a mild coordination and conditioning effect when the pace picks up.
It suits a wide range of people. Beginners use it to learn how to brace the trunk while a limb moves, which carries over to squats, lunges, and running. More advanced lifters use it as a warm-up primer before leg days or as a high-rep core finisher that does not load the spine. It is also a practical substitute when hanging leg raises or floor work are not options — no bar, no mat, no getting down and up, which makes it useful for home training, hotel rooms, or older trainees who want core work without floor transfers.
Setup matters more than it appears. If your hands drift upward as the knee comes up, you are quietly lowering the standard rep by rep and shortening the range. Set your hand height once — roughly where your mid-thigh meets your torso at the top of a strong knee lift — and hold it there for the whole set. Keep your ribs stacked over your pelvis rather than leaning back, because leaning back turns an abdominal exercise into a lower back arching exercise.
To execute well, brace your trunk, then lift one knee with intent until it touches or nearly touches your hands, pause for a beat, and lower the foot under control rather than letting it drop. Alternate legs at a steady rhythm. The tap should be light and precise, not a slap — a hard impact usually means you are flinging the leg with momentum instead of lifting it with the hip flexors and abs.
A few practical points keep the exercise honest and safe. Move at a speed you can fully control, especially on the way down. If you cannot reach your hands without rounding or leaning, bring the hands slightly closer or slightly lower rather than straining toward them. And because this drill is done entirely on one leg at a time, stay near a wall or sturdy surface until you are confident in your balance.
Fitwill
Log Workouts, Track Progress & Build Strength.
Achieve more with Fitwill: explore over 9600 exercises with images and videos, access built-in and custom workouts, perfect for both gym and home sessions, and see real results.
Start your journey. Download today!




Instructions
- Stand with your feet roughly hip-width apart, weight evenly spread across both feet, and your arms relaxed at your sides.
- Raise both arms straight out in front of your body to about hip height, palms facing the floor, and lock that height in as your target for the whole set.
- Stand tall and brace your trunk lightly, as if bracing for a light push, so your ribs stay stacked over your pelvis.
- Shift your weight slightly onto one leg while keeping the standing knee soft, not locked.
- Drive your other knee up and forward until it taps or nearly touches your hands, keeping your torso upright.
- Pause for a moment at the top so the tap is deliberate rather than bounced.
- Lower the foot back to the floor under control, feeling your abs slow the leg down instead of letting it fall.
- Exhale as the knee drives up, and inhale as the foot returns to the floor.
- Repeat on the opposite leg and continue alternating for the planned number of reps per side.
- Between sets, shake out your legs and reset your stance and hand height before starting again.
Tips & Tricks
- If your hands creep upward each rep, set them against a wall point or doorframe edge so the target height physically cannot rise.
- A common mistake is leaning the torso back as the knee lifts — this turns the drill into a lower back stretch instead of an ab exercise; cue yourself to stay tall and think of pulling the knee to the ribs, not the chest to the knee.
- Avoid slapping the hands hard at the top; a controlled touch means the hip flexors and abs are doing the lifting, while a loud slap usually signals momentum doing the work.
- Keep the standing knee slightly bent the entire time. Locking it out makes balance harder and shifts tension away from the hip stabilizers.
- If your low back feels it instead of your abs, reduce the knee height slightly and focus on exhaling forcefully as the knee rises — this helps keep the pelvis from tilting forward.
- Do not let the lifting foot touch down fully between reps if you want continuous core tension; hover it just above the floor before the next knee drive.
- Slow the lowering phase to a two-count if the movement feels too easy — the descent is where most of the abdominal control happens.
- Hold a wall with one hand if balance is the limiting factor early on, and progress to hands-free once you can complete a set without wobbling.
- Keep your gaze fixed on a spot at eye level rather than looking down at your knee; this makes staying upright noticeably easier.
Frequently Asked Questions
What muscles does the Standing Hands Up Knee Tap work?
The primary work comes from the lower abs and hip flexors, which lift the thigh to your hands. The quads assist the knee drive, and the glutes and standing-leg stabilizers keep your pelvis level and your balance steady.
How high should I set my hands for the Standing Hands Up Knee Tap?
Set them at roughly the height your knee reaches at the top of a strong, controlled knee lift — usually around hip height. The key is to pick one height and hold it fixed for the entire set so every rep travels the same distance.
Is the Standing Hands Up Knee Tap good for beginners?
Yes, it is one of the friendliest ways to learn bracing the trunk while a limb moves. Beginners can reduce the knee height, slow the tempo, or hold a wall for balance until coordination improves.
Why do I lean backward when I lift my knee, and how do I fix it?
Leaning back happens when the hip flexors are weak or the abs are not braced, so the body compensates by arching the low back. Cue yourself to stay tall, exhale as the knee rises, and if needed lower the target height until you can lift without leaning.
Can I use the Standing Hands Up Knee Tap in a warm-up?
It works well as a warm-up because it raises the heart rate slightly, mobilizes the hips, and activates the core before squats, lunges, or running. Keep the pace moderate and the reps low in that context.
What can I substitute if I cannot keep my balance?
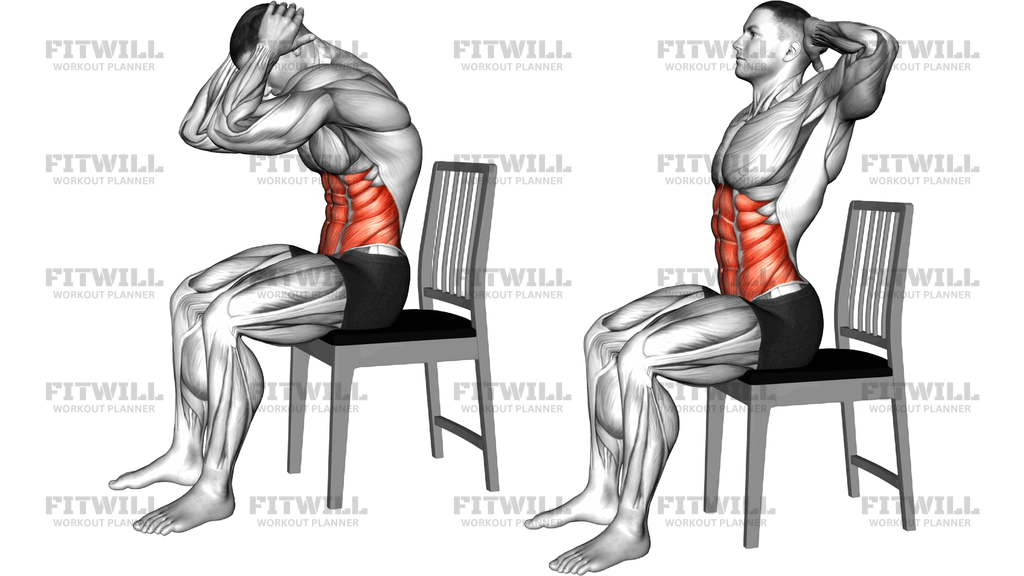
Stand beside a wall and place one hand on it, or perform the same knee tap seated on a sturdy bench or chair. Both keep the hip flexion and core work while removing most of the balance demand.
Should I tap my knee to my hands or my hands down to my knee?
Always bring the knee up to fixed hands. Dropping your hands toward the knee lets the target move every rep, which shortens the range and hides when fatigue is changing your form.
How many reps should I do of the Standing Hands Up Knee Tap?
For core strength and control, aim for 8 to 12 controlled taps per leg. For a conditioning effect in a circuit, 20 to 30 total alternating reps at a steady rhythm works well.
Is it safe for people with lower back sensitivity?
The movement is generally low stress on the spine because it is done standing with no external load, but form still matters. Keep the torso upright, avoid arching back as the knee lifts, and stop if you feel any discomfort rather than pushing through it.
Does the speed of the Standing Hands Up Knee Tap matter?
Yes. A controlled lift and a slow lower build more abdominal control, while fast flinging reps rely on momentum and reduce the core demand. Speed up only when every rep still reaches the hands cleanly without leaning.