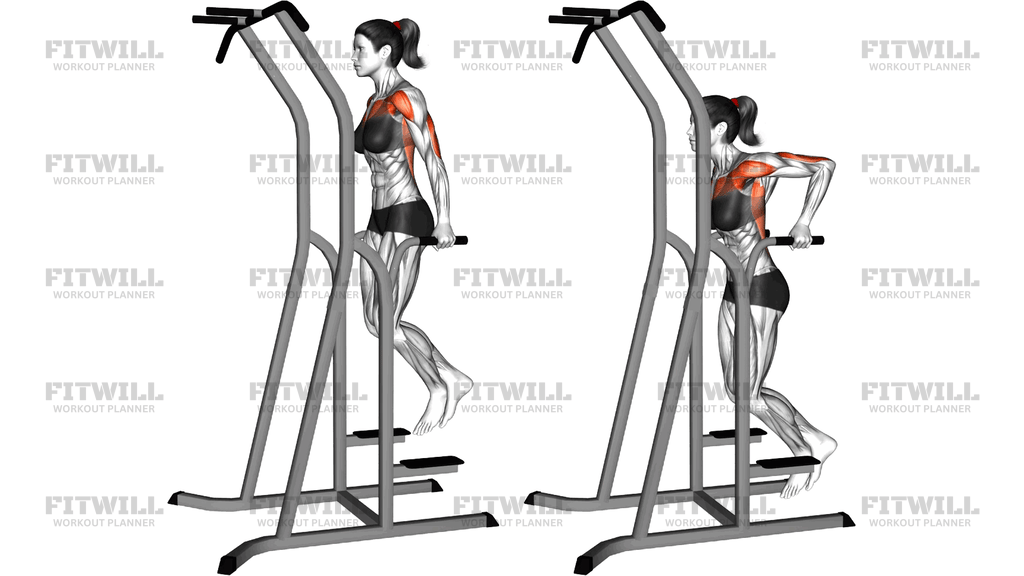
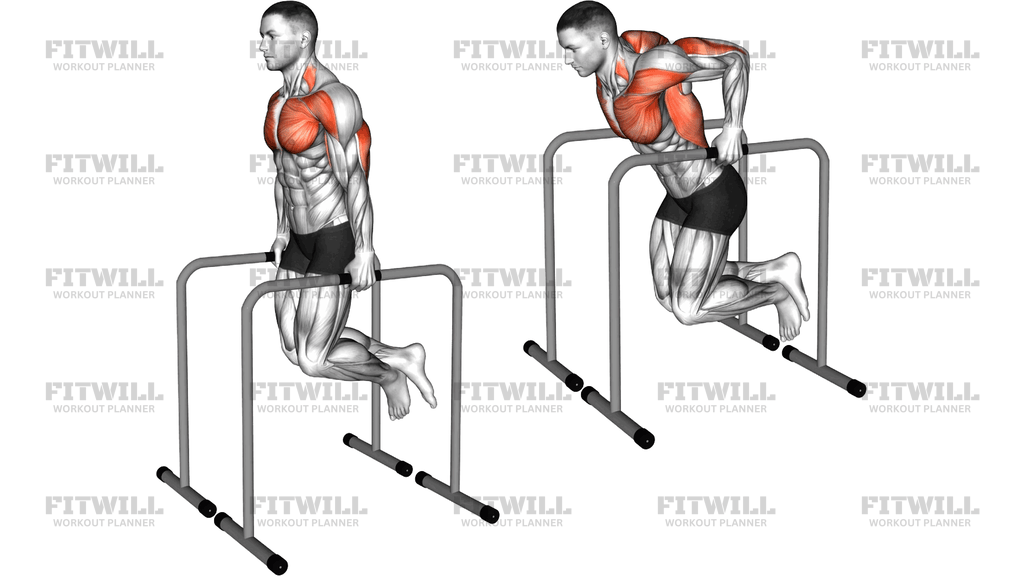
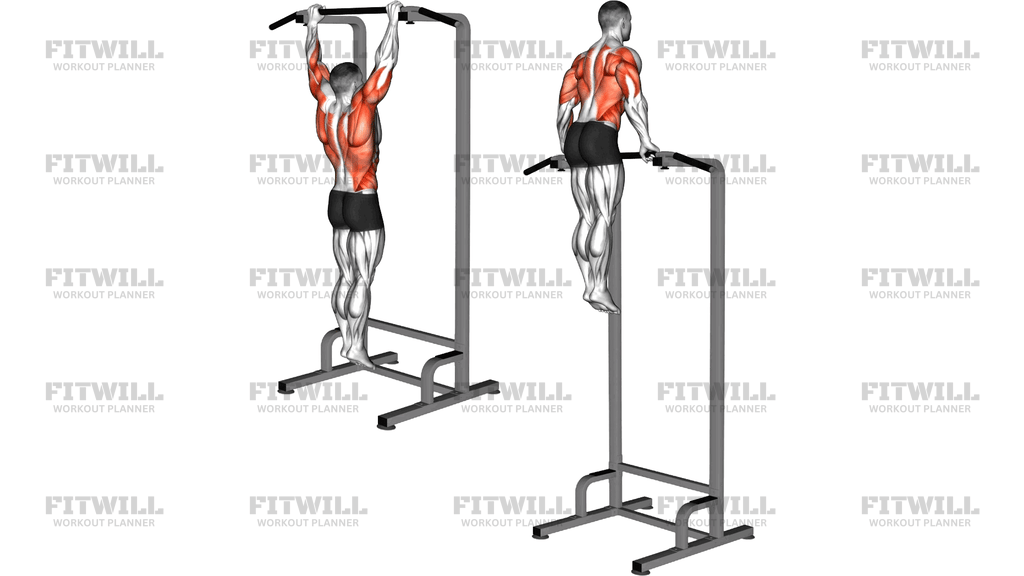
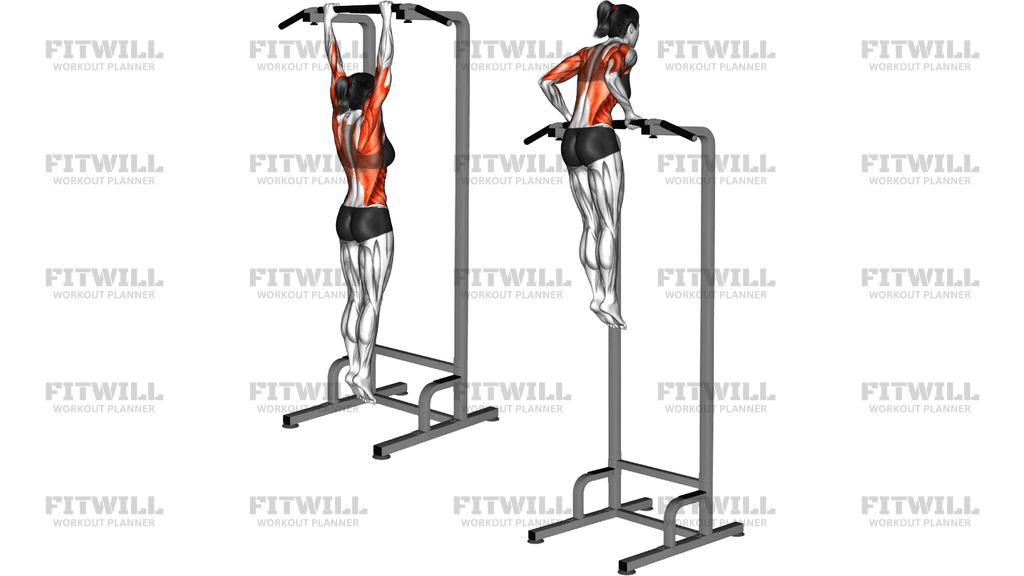
High Bar Incline Push Up
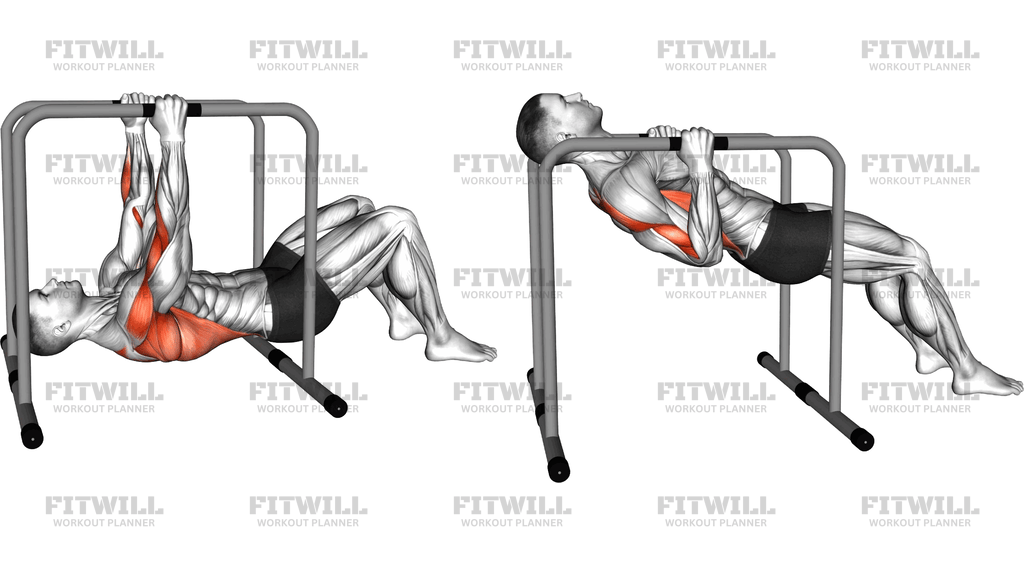
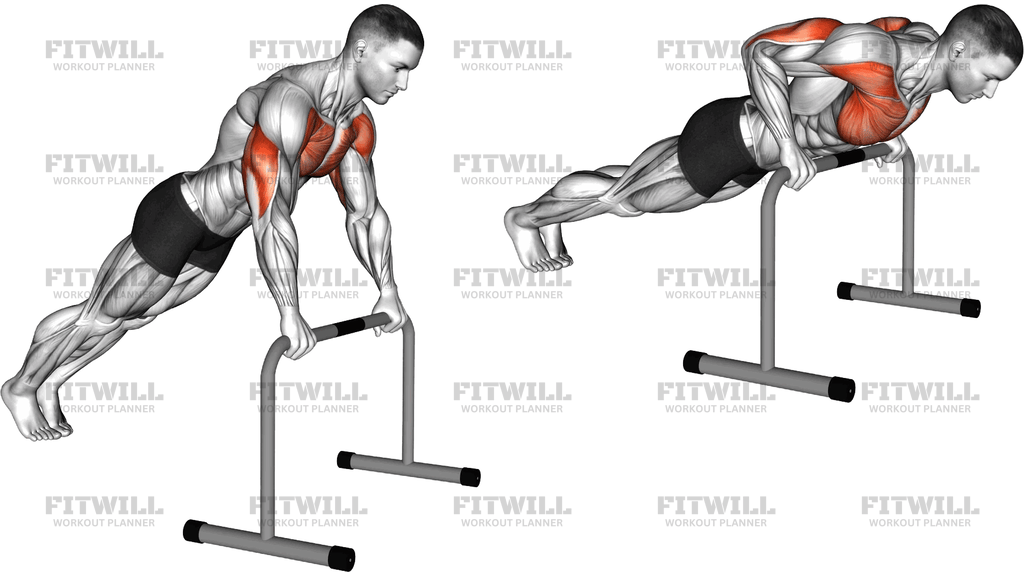
The High Bar Incline Push Up is a body weight pressing exercise performed with your hands elevated on a pair of sturdy push-up bars or parallettes set at roughly waist height or lower. Because your upper body is raised above your feet, the angle shifts load away from the full-body push-up position and lets you build pressing strength with less total resistance. The raised handles also put your wrists in a neutral, stacked position, which many people find far more comfortable than flattening their palms against the floor.
This movement suits beginners who are working toward their first full push-up, as well as more experienced lifters who want higher-volume chest and triceps work without extra load. It is also a smart choice for anyone recovering upper-body pressing capacity, or for home training with minimal equipment, since a stable pair of push-up bars is all you need. The main muscles worked are the pectorals across the chest, with strong support from the triceps and the front of the shoulders. Your core, glutes, and legs work isometrically to hold a straight line from head to heels.
Setup matters more than it might seem. The bars need to be on a non-slip surface, spaced about shoulder-width apart, and stable enough that they will not tip or slide as you press. Your hand position on the handles, your body angle, and your foot placement all determine how the rep feels. Hands too wide turns it into a flare-heavy press that stresses the shoulders; feet too close under you turns it into a pike position and changes the exercise entirely.
To perform it well, grip the handles firmly, walk your feet back until your body forms one straight, rigid line, and brace your midsection before the first rep. Lower yourself by bending the elbows at roughly a 45-degree angle to your torso until your chest approaches the bar height, then press back to a full lockout without letting the hips sag or pike. The descent should take two to three seconds; the press should be deliberate, not a bounce.
Because the incline reduces the load, this exercise is ideal for high-rep sets, slow-tempo work, or finishers after heavier pressing. It also pairs naturally with floor push-ups: use the incline version when form on the floor breaks down, or progress to a lower bar height over time as your strength improves. Keep the reps honest—if your lower back starts arching or your head drops toward the bars, end the set and reset.
[ Workout Log & Planner ]
Put your next workout in Fitwill
Keep your plan and training log ready when you are.


Instructions
- Place two stable push-up bars or parallettes on a flat, non-slip surface, about shoulder-width apart with the handles parallel to each other.
- Grip each handle with a neutral grip, wrists stacked directly over the bars, and position yourself behind them on the balls of your feet.
- Walk your feet back until your arms are extended and your body forms a straight line from head through hips to heels; your hands should be under your shoulders, slightly wider than shoulder-width.
- Brace your core, squeeze your glutes, and pull your shoulder blades gently down and back so you are not shrugging into the bars.
- Inhale and lower your chest toward the bar height by bending your elbows, keeping them at roughly a 45-degree angle to your torso rather than flaring straight out.
- Descend until your chest is level with or just above the handles, maintaining the straight body line the whole way down.
- Exhale and press through the handles to full elbow extension, pushing the bars slightly apart as if trying to widen your hand print for extra chest engagement.
- Pause briefly at the top with arms extended and shoulder blades protracted, then begin the next rep with a controlled two-to-three-second lowering phase.
- Keep breathing in a steady rhythm—inhale on the way down, exhale on the press—and reset your brace any time your hips or head drift out of position.
Tips & Tricks
- If the bars slide on a smooth floor, place them against a wall or on a rubber mat—a rolling bar mid-rep is the most common hazard with this exact setup.
- Hips sagging toward the floor is the classic failure point here; film one set from the side and check that your shoulder, hip, and ankle stay in one line.
- Piking the hips up usually means the set is too hard or you are fatigued—bend the knees and drop to an even higher surface rather than letting the angle collapse.
- The neutral grip on the bars should keep your wrists stacked; if you feel wrist discomfort, you are likely letting the hands drift forward over the bar.
- Do not chase depth by collapsing your shoulders between the bars—stop when your chest reaches handle height and keep tension in the chest and triceps.
- Keep your neck long and eyes slightly forward and down; craning the head up to 'watch' the bars is a common habit that shortens the press and strains the neck.
- To make the exercise easier, raise the bar height or bring your feet closer to the bars; to make it harder, lower the bars, elevate your feet slightly, or slow the lowering phase to four seconds.
- Squeeze the handles hard throughout the set—grip tension carries up the arms and steadies the shoulders, which is especially useful near the end of a high-rep set.
- Because the incline hides fatigue, stop two reps before form breaks; sloppy high-rep incline push-ups build the habit of a sagging hip position you will carry into floor push-ups.
Frequently Asked Questions
Which muscles does the High Bar Incline Push Up work?
The primary muscles are the pectorals of the chest, with the triceps and front shoulders assisting on every press. Your core, glutes, and legs work statically to hold the straight incline position.
Is the High Bar Incline Push Up good for beginners?
Yes—it is one of the best progressions toward a full floor push-up because the elevated bar height reduces the percentage of body weight you press. As you get stronger, use lower bars to gradually increase the load.
Why use push-up bars instead of putting my hands on a bench?
The neutral grip on bars keeps your wrists stacked and straight, which removes the backward wrist extension you get from a flat bench edge. The raised handles also give you a little extra room to achieve chest depth.
How high should the bars be for the High Bar Incline Push Up?
Start with the handles at roughly knee to waist height—the higher the bars, the easier the rep. Once you can complete controlled sets of 15 to 20 reps, move to a lower height to keep progressing.
My hips sag when I do the High Bar Incline Push Up—what am I doing wrong?
A sagging hip usually means the core is not braced or the set has gone on too long. Squeeze your glutes and brace your abs before every rep, and end the set as soon as the line from head to heels breaks.
Should my elbows stay tucked or flare out?
Aim for elbows at about a 45-degree angle to your torso—not pressed tight to the ribs and not flared parallel to the floor. Full flaring shifts stress to the shoulder joints and reduces chest drive.
What can I substitute if I do not have push-up bars?
Any stable elevated surface works—a sturdy bench, table edge, or countertop lets you do the same incline pressing pattern, though your wrists will extend more than with a neutral bar grip.
How many reps and sets should I do?
For strength progression toward floor push-ups, aim for 3 to 4 sets of 8 to 15 reps with solid form. For conditioning or a finisher, higher rep sets of 15 to 25 with a controlled tempo work well.
Is the High Bar Incline Push Up safe for the wrists and shoulders?
The neutral handle grip is generally easier on the wrists than floor push-ups, but stability is essential. Check that the bars cannot tip or slide, keep the elbows at a moderate angle, and stop if you feel sharp shoulder or wrist pain.