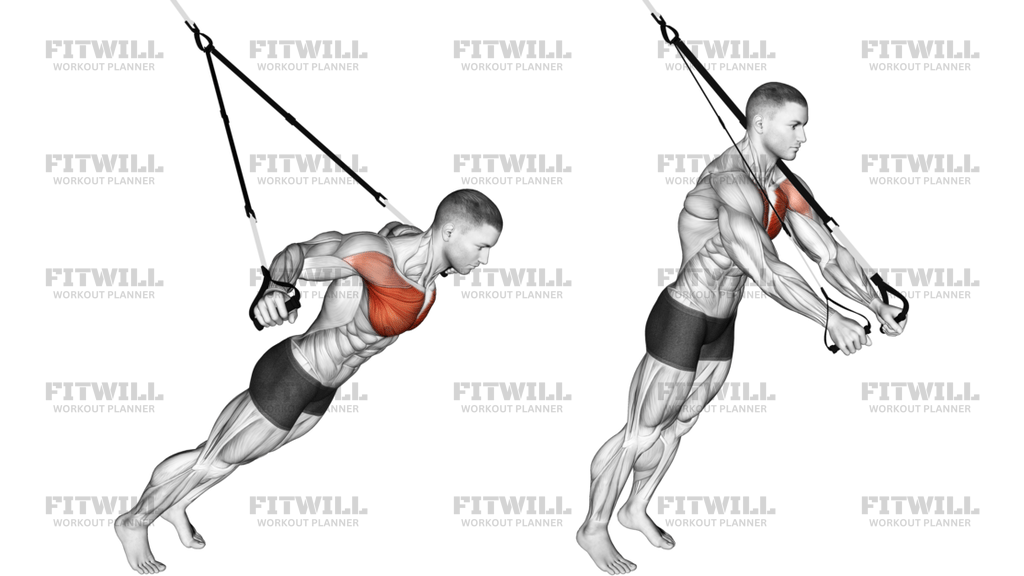
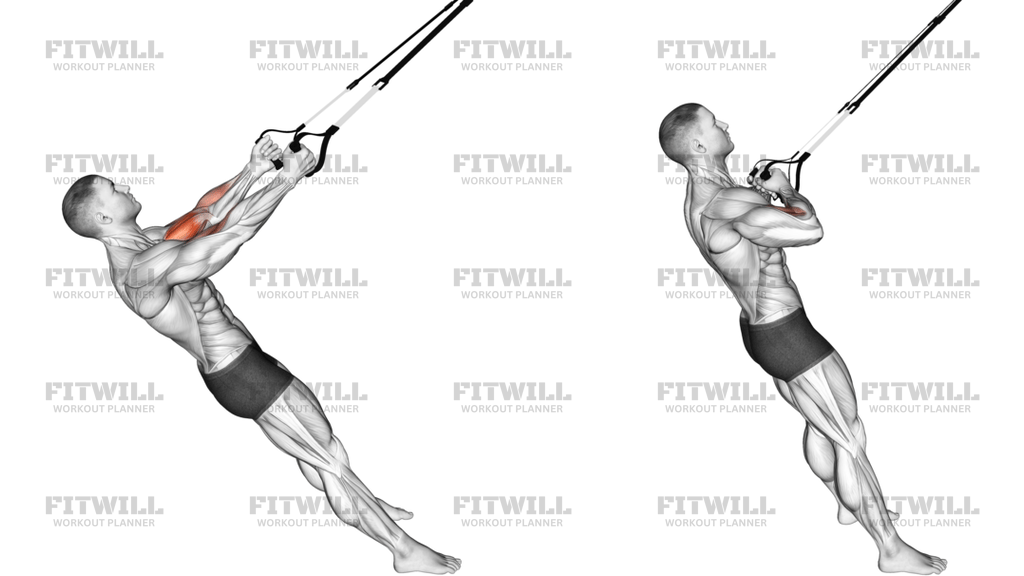
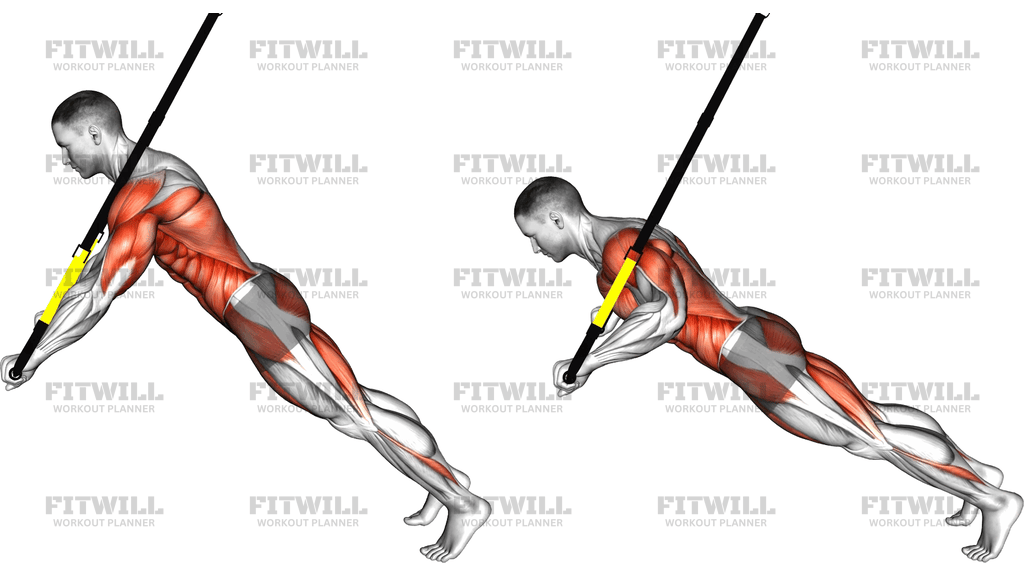
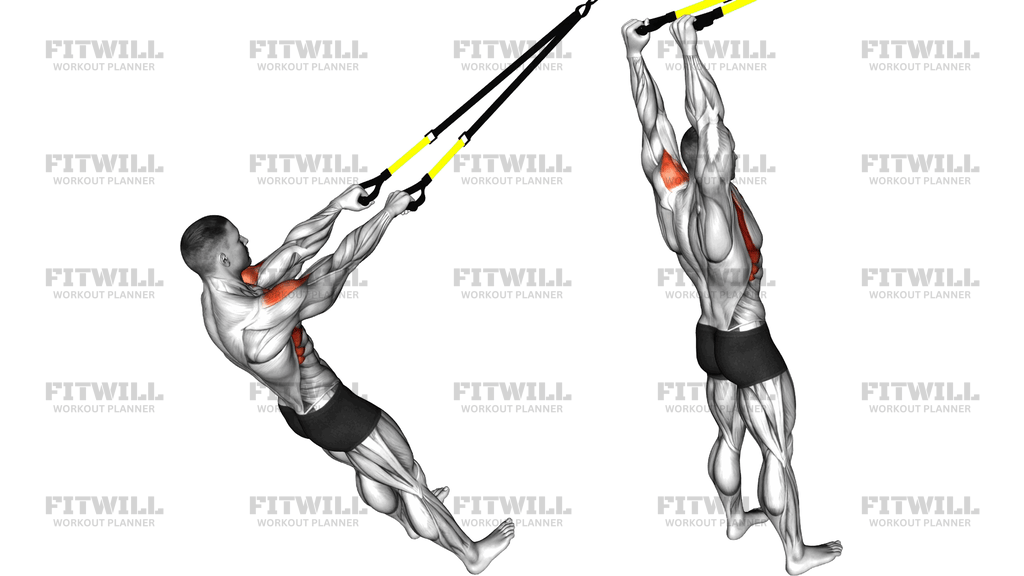
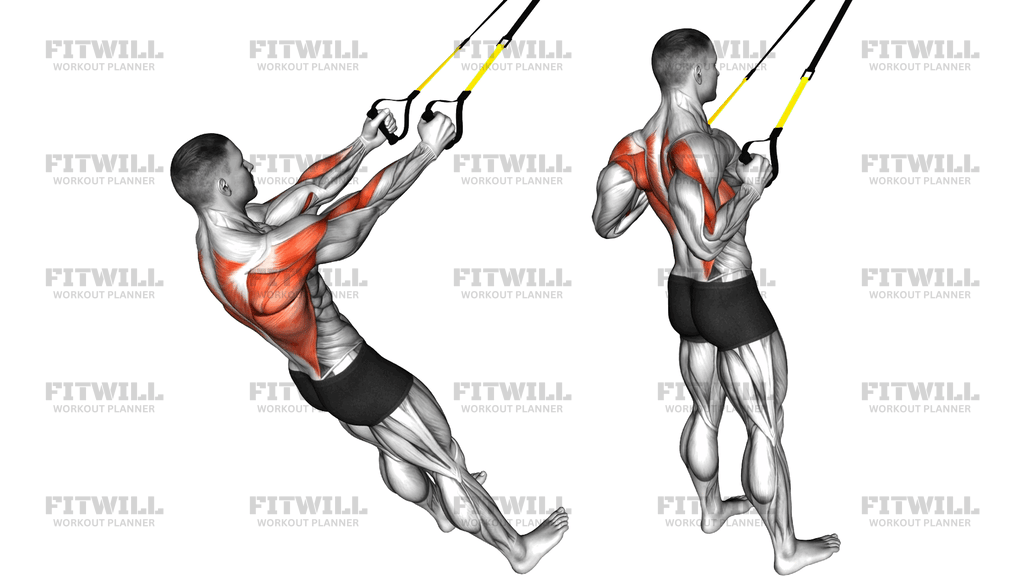
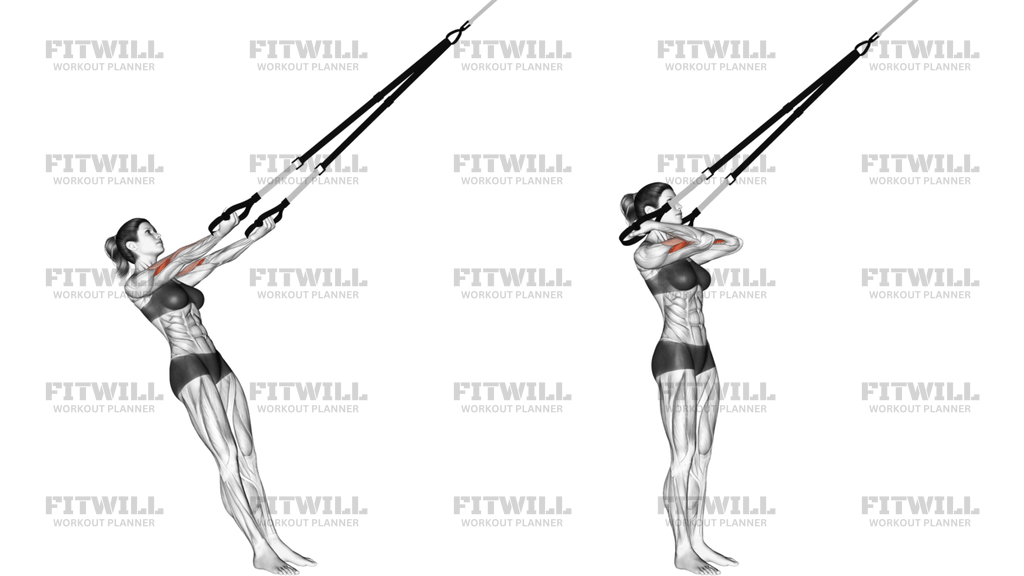
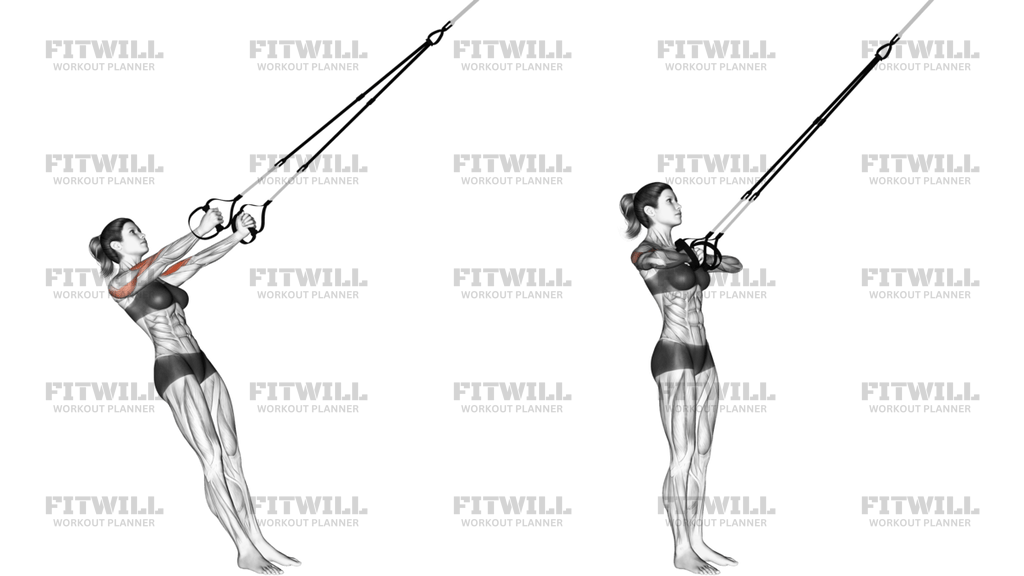
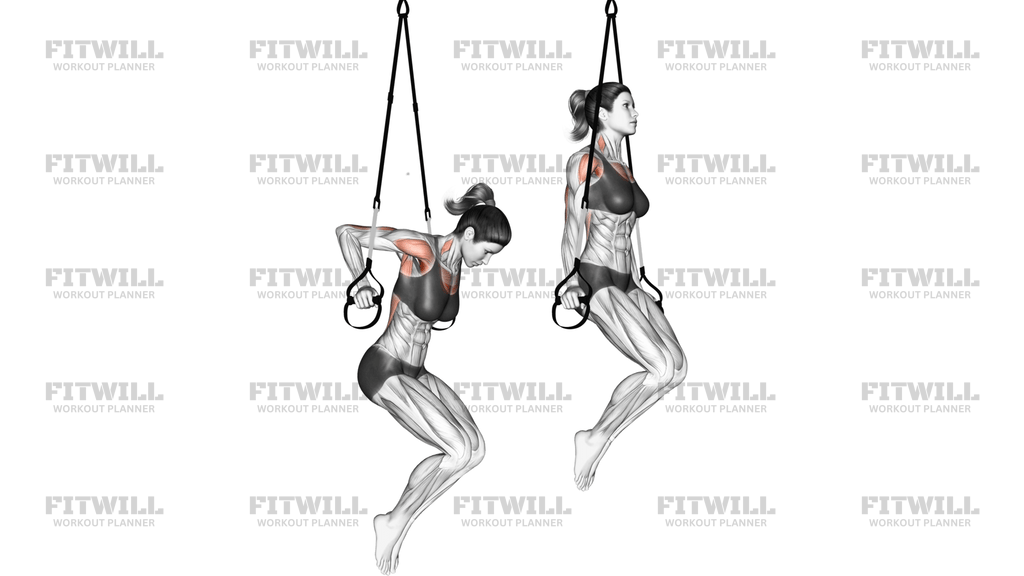
Suspender Weighted Vest Decline Push Up
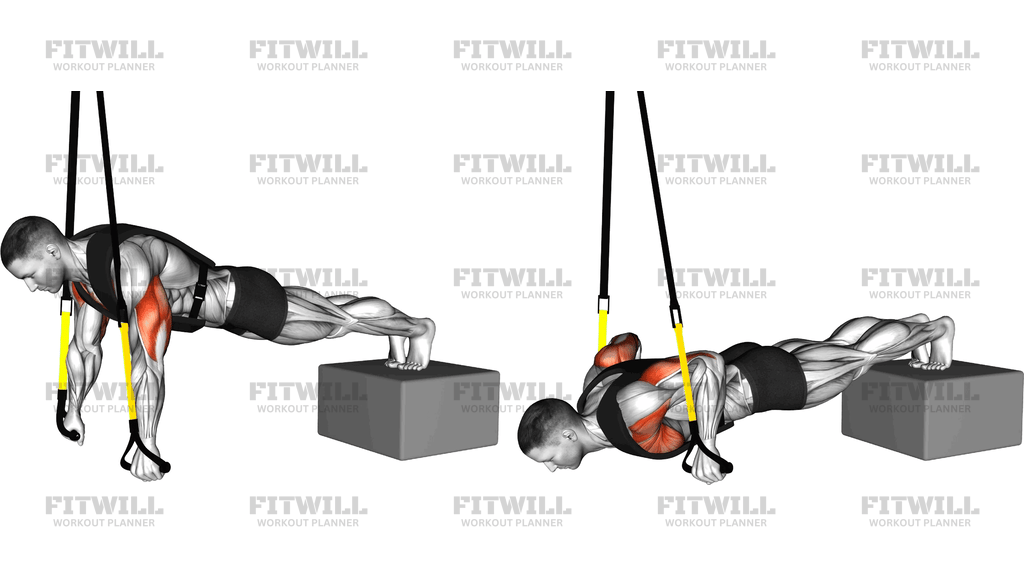
The Suspender Weighted Vest Decline Push Up combines three progression tools into one demanding pressing movement. Your feet are elevated on a stable platform, your hands grip the handles of a suspension trainer rather than resting on the floor, and a weighted vest adds external load across your torso. Because your hands sit on freely moving straps, every rep forces your chest, shoulders, and arms to press while your whole body fights to stay on a straight line.
Elevating the feet shifts more of the workload toward the upper chest and front shoulders compared with a standard push up, and it increases the total load on the pressing muscles because you are pushing a steeper share of your bodyweight. The suspension handles add a second challenge: they can drift outward, inward, or backward at any moment, so your chest, shoulder stabilizers, and core have to control the path instead of simply moving through it. The weighted vest then raises the demand on all of that at once.
This variation suits lifters who already own solid, repeatable push ups on the floor and want a harder horizontal press without a barbell or dumbbells. It is a common choice in home and travel training because a suspension anchor, a plyo box or sturdy step, and a vest cover everything you need. It also works well as an accessory press for athletes who want stable, joint-friendly pressing volume with a strong core stability component.
Setup quality decides whether this exercise trains your chest or just frustrates your shoulders. Anchor the suspension trainer so the handles hang at roughly knee height or slightly lower, place your feet together on top of the platform, and walk back until your body forms one straight line from head to heels with your arms under your shoulders. The straps should hang close to vertical, not angled sharply toward the anchor, so they support the press instead of dragging you sideways.
To perform it well, squeeze your glutes and brace your midsection before the first rep, then lower with control until your chest approaches hand level while your elbows track at about 45 degrees from your torso. Press the handles away and slightly together as you rise, exhaling through the hardest part of the drive. Keep the movement slow enough that the straps never swing; if they rattle or sway, the load has exceeded what you can currently stabilize, and that is the signal to remove weight or drop the vest.
Treat this as an advanced push up variation rather than a starting point. Master the suspension decline push up with no vest first, then add load in small increments. Stop the set when your hips begin to sag or your head starts leading the descent ahead of your chest, because those are the first signs that your trunk is losing the fight against the straps.
[ Workout Log & Planner ]
Put your next workout in Fitwill
Keep your plan and training log ready when you are.


Instructions
- Anchor the suspension trainer to a secure overhead point and adjust the straps so the handles hang around knee height.
- Put on a weighted vest, then place the balls of your feet on a stable platform such as a plyo box or sturdy step, walking your hands back until your wrists sit roughly under your shoulders.
- Grip the handles with a neutral grip, thumbs wrapped, and check that the straps hang nearly vertical beneath the anchor.
- Squeeze your glutes, brace your abs, and pull your shoulders slightly down and back so your body forms one straight line from head to heels.
- Inhale and lower your chest toward the floor by bending your elbows, letting them track at about 45 degrees from your torso while the straps stay taut and quiet.
- Descend until your chest is level with or just above your hands, keeping your neck long and your eyes on the floor slightly ahead of you.
- Exhale and press the handles away, driving slightly outward and down through the grips to keep the straps from bowing inward.
- Lock out the press with your arms extended and shoulders still packed, without letting your hips pop up or your lower back arch.
- Repeat for the target reps, breathing in on the way down and out on every press, then step your feet off the platform one at a time to reset.
- Between sets, unclip or set down the vest before readjusting strap length so you are never fumbling with load while supporting yourself on the handles.
Tips & Tricks
- If the handles drift outward as you fatigue, your elbows are flaring past 45 degrees; consciously press down and slightly in through the grips on each rep.
- Hip sag is the most common failure in this setup because the vest adds load your core must carry through unstable straps. Shorten the set or lighten the vest before your lower back takes over.
- Wobbling straps usually mean you are descending too fast. Take three seconds on the lowering phase and the handles will settle.
- Do not let your head drop toward the floor ahead of your chest; the decline angle already biases the upper chest, and leading with the head turns it into a neck-dominant grind.
- If the platform height makes your wrists ache, use a slightly lower box rather than bending at the hips to compensate.
- Keep your feet together and your toes actively gripping the platform edge; splayed feet make the trunk twist under the vest.
- Chalk or a light towel on the handles helps if sweaty palms let the grips slide, which is common once a vest loads the straps heavily.
- Progress by adding vest weight in small jumps, not by raising the box higher; the stabilization demand grows faster than the load when you elevate the feet further.
- Film one set from the side occasionally. The straight head-to-heel line is hard to feel with a vest on, and the camera will show sag or pike immediately.
Frequently Asked Questions
Which muscles does the Suspender Weighted Vest Decline Push Up work hardest?
The upper chest and front shoulders do most of the pressing, with the triceps extending the elbows on every drive. The core, glutes, and deep shoulder stabilizers work continuously to keep your body straight on the moving straps.
Why elevate the feet for this push up instead of doing it on the floor?
The decline angle loads the clavicular fibers of the chest more directly and increases the proportion of bodyweight you press. Combined with the vest, it turns a standard push up into a substantially heavier horizontal press.
Can beginners try the Suspender Weighted Vest Decline Push Up?
It is not a good starting point. Build up through floor push ups, then suspension push ups with feet on the ground, then a decline version with no vest before adding load.
How much vest weight should I use on the Suspender Weighted Vest Decline Push Up?
Start light, around 5 to 10 percent of your bodyweight, and only add load when you can keep the straps still and your hips level for all reps. The instability of the handles makes the vest feel heavier than it would on solid ground.
How high should the platform be under my feet?
A box around knee height or a bit lower works for most people. Higher boxes increase upper chest and shoulder demand quickly, so raise the height only after the current setup feels controlled.
My handles swing during the Suspender Weighted Vest Decline Push Up. What am I doing wrong?
Swinging usually comes from descending too quickly or pressing unevenly through one handle. Slow the lowering phase to two or three seconds and make sure both arms press at the same rate.
What can I substitute if I do not have suspension straps?
A weighted decline push up with hands on the floor or on push up handles keeps most of the training effect, minus the stabilization demand. Stability ball push ups with feet elevated are a closer match for the instability component.
Is it safe to wear a weighted vest while my hands are on unstable straps?
It is safe when you have earned it with bodyweight versions and keep the load modest. The main risks are hip sag straining the lower back and shoulders losing the strap path, so stop the set as soon as your line breaks.
How does the Suspender Weighted Vest Decline Push Up differ from a weighted decline push up on the floor?
The fixed floor version lets you focus purely on load, while the suspension handles force your stabilizers and core to control the pressing path. Expect to use less vest weight on the suspension version for the same effort.
Where should this exercise sit in my workout?
Place it early in a push or upper body session while you are fresh, since it is technically demanding. Two to four sets of 6 to 12 controlled reps covers most strength and hypertrophy goals.