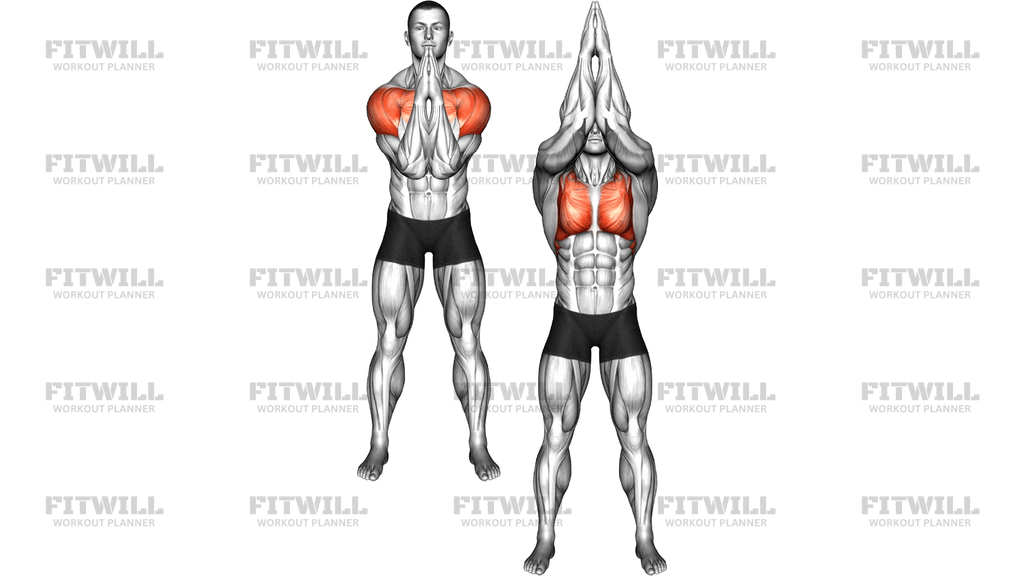
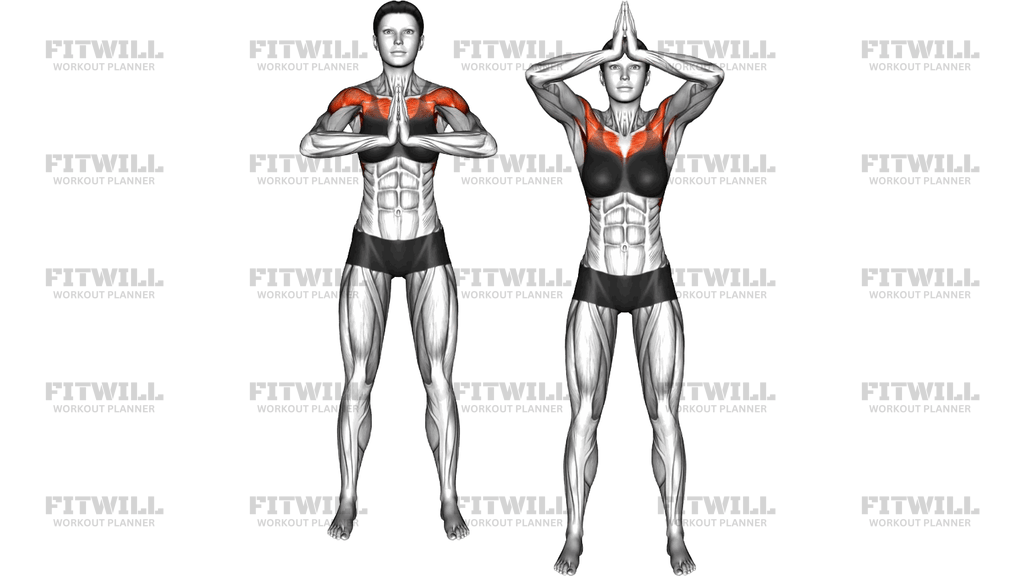
Standing Yin Yang Circles
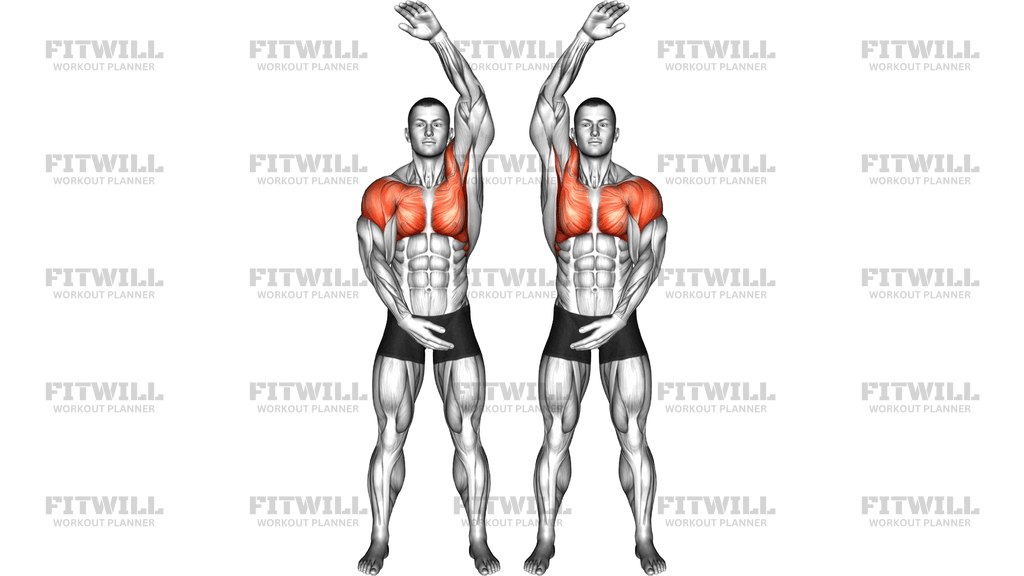
Standing Yin Yang Circles is a standing, body-weight mobility drill where both arms travel through continuous, opposite circles at the same time. As one arm sweeps up the front of your body to full reach overhead, the other sweeps down the front to meet your lower body, then the two trade places. The overlapping arcs the arms trace resemble the two halves of a yin yang symbol, which is where the exercise gets its name. The front of the shoulders and chest do most of the visible work, but the whole shoulder girdle, upper back, and trunk rotate gently to keep the circles smooth.
This movement is especially useful as a warm-up before pressing, pulling, throwing, or racquet sports, because it takes the shoulders through a large, loaded-free range under continuous motion. It is also a good standalone drill for anyone who spends long hours sitting, since it opens the chest, wakes up the shoulder blades, and encourages tall posture without any equipment. Because there is no external load, it suits beginners, older trainees, and people returning from time away from training who want to restore easy overhead movement first.
The setup matters more than it looks. A stable stance with soft knees lets your arms move freely without your trunk swaying to fake the range. Your feet stay planted, your spine stays tall, and all the motion comes from the shoulders. If you let the torso lean or the hips twist, the circles shrink and the chest and shoulders stop doing the work. Keep the arms long but not locked, and let the hands stay relaxed rather than rigid.
To perform it well, think of the two arms as always being on opposite sides of the same clock face. When one hand passes overhead, the other passes your hip, and they swap roles fluidly. The pace should be slow enough that you can keep both circles round and equal in size — usually two to three seconds per half revolution. Breathe steadily and let the movement feel rhythmic rather than forceful.
A practical set is ten to twenty full cycles in one direction, then the same number reversing the direction of both arms so each side experiences the pattern from the other angle. If one circle is bigger or faster than the other, slow down and match them. Stop or shorten the range if you feel pinching at the front of the shoulder, and build up the arc gradually over repeated sessions.
[ Workout Log & Planner ]
Put your next workout in Fitwill
Keep your plan and training log ready when you are.


Instructions
- Stand with your feet about shoulder-width apart, toes pointing forward, and let your knees stay soft rather than locked.
- Lengthen your spine, relax your neck, and let both arms hang long at your sides with your hands loose.
- Begin moving both arms at the same time in opposite directions: sweep one arm up the front of your body until it reaches overhead while the other arm sweeps down the front to finish near your hip.
- As the top arm completes its circle downward, the bottom arm completes its circle upward, so the two continuously trade positions without pausing.
- Keep both circles round and equal in size, with the upper hand passing as close to your midline as comfortable at the top and the lower hand finishing near your thigh or hip at the bottom.
- Hold your torso tall and still — avoid leaning back, hunching forward, or letting the hips rotate to chase extra range.
- Breathe naturally and evenly throughout, inhaling and exhaling at a steady rhythm instead of holding your breath.
- Perform ten to twenty continuous cycles at a slow, controlled pace of roughly two to three seconds per half revolution.
- Reverse the direction of both arms and complete the same number of cycles so each side moves through the opposite pattern.
- To finish, gradually shrink both circles until your arms settle back to your sides, then stand still for a breath before moving on.
Tips & Tricks
- The most common mistake is letting one arm lag, turning two circles into one big alternating swing. Count each revolution and check that both hands pass overhead and past the hip at the same moment.
- If you feel a pinch at the front of the shoulder when the arm reaches overhead, slightly angle the reach a little out to the side of midline instead of forcing a straight vertical line.
- Keep the elbows soft. Fully locked elbows make the arc feel jerky and can irritate the joint during long sets.
- Watch for trunk sway — if your upper body rocks with each circle, brace your abdominals lightly and imagine your ribcage stacked over your pelvis.
- Start with smaller circles for the first few revolutions and let them grow to full size as the shoulders warm up; jumping straight to the biggest arc is where stiffness shows up.
- Moving too fast is a frequent error. The drill loses its mobility benefit when momentum takes over, so keep each half revolution around two to three seconds.
- Your hands should stay open and relaxed. Tense fingers and rigid wrists transfer tension up into the neck and shoulders.
- If one side circles noticeably better than the other, do a few extra slow cycles with attention on the restricted side rather than letting the smooth side set the pace.
- Practice in front of a mirror occasionally to confirm both arms travel through matching arcs and that your shoulders stay level instead of hiking on the reaching side.
Frequently Asked Questions
What muscles do Standing Yin Yang Circles work?
The front of the shoulders and the chest drive most of the arm path, with the upper back and shoulder blade muscles controlling the circular motion. The core works lightly to keep your torso upright and still.
Is Standing Yin Yang Circles a strength exercise or a stretch?
It is best treated as a dynamic mobility exercise. There is no external load, so its main value is moving the shoulders and chest through a full arc with control, not building strength in the traditional sense.
When should I do Standing Yin Yang Circles?
They work well as a warm-up before bench pressing, overhead pressing, pull-ups, throwing, or racquet sports. They are also a good standalone movement break during long periods of sitting.
How many reps of Standing Yin Yang Circles should I do?
A practical dose is ten to twenty continuous cycles in one direction, then the same number in the reverse direction. Adjust the number based on how the shoulders feel rather than forcing a fixed count.
Why do my arms have trouble staying in opposite circles?
The opposite-arm pattern is a coordination challenge as much as a mobility one. Slow the tempo way down and rehearse a few revolutions with smaller circles until the timing feels automatic, then expand the arc.
Can beginners do Standing Yin Yang Circles?
Yes. Since it uses only body weight and no equipment, beginners can start with a shorter range and a slower pace and gradually build to full overhead circles as the shoulders allow.
My shoulder pinches when my arm reaches the top of the circle. What should I change?
Slightly angle the reach away from a straight vertical line, keep the elbow soft, and shrink the circle until the pinch disappears. If discomfort persists, stop the movement and have it assessed before continuing.
Can I do Standing Yin Yang Circles with a shoulder injury?
Only with clearance from a qualified professional. If you have been cleared, use a pain-free partial circle and rebuild range gradually rather than pushing to the full overhead reach.
Do I need any equipment for Standing Yin Yang Circles?
No equipment is needed — just enough standing room to raise both arms fully overhead without obstruction. Bare feet, flat shoes, or trainers all work fine.
Should I circle in both directions?
Yes. Completing equal cycles in each direction gives both shoulders a balanced experience of the pattern and helps expose side-to-side differences in mobility.