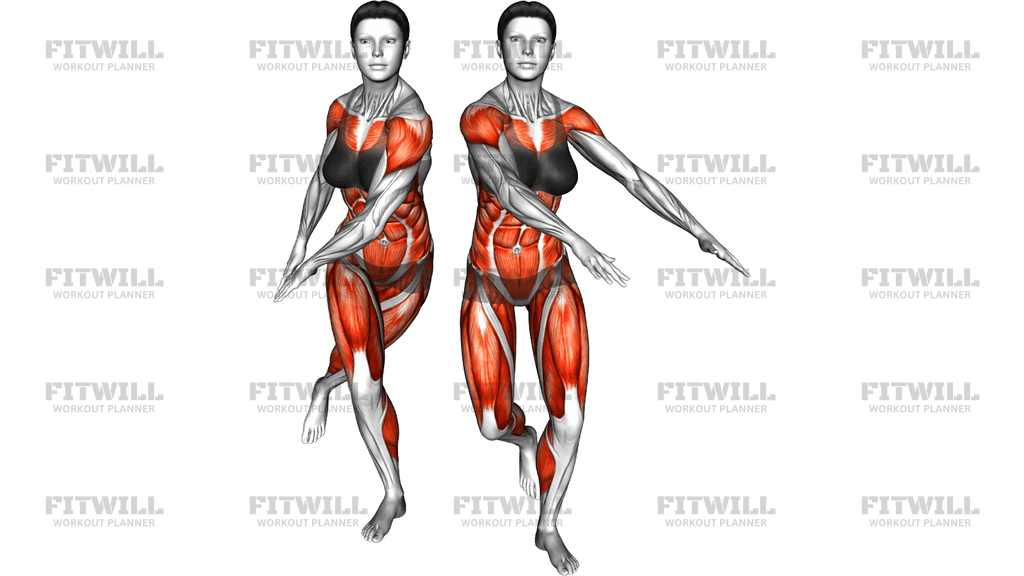
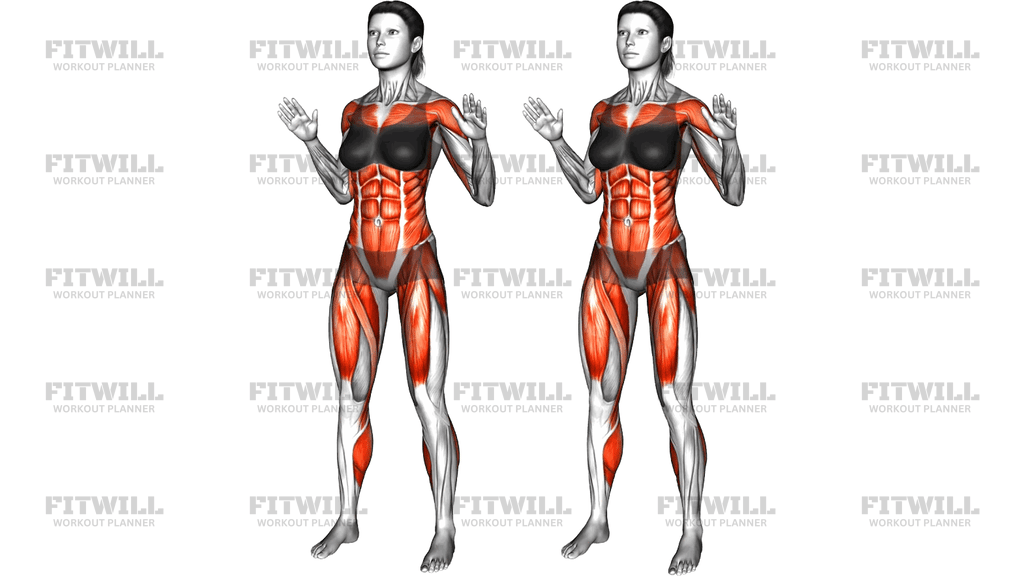
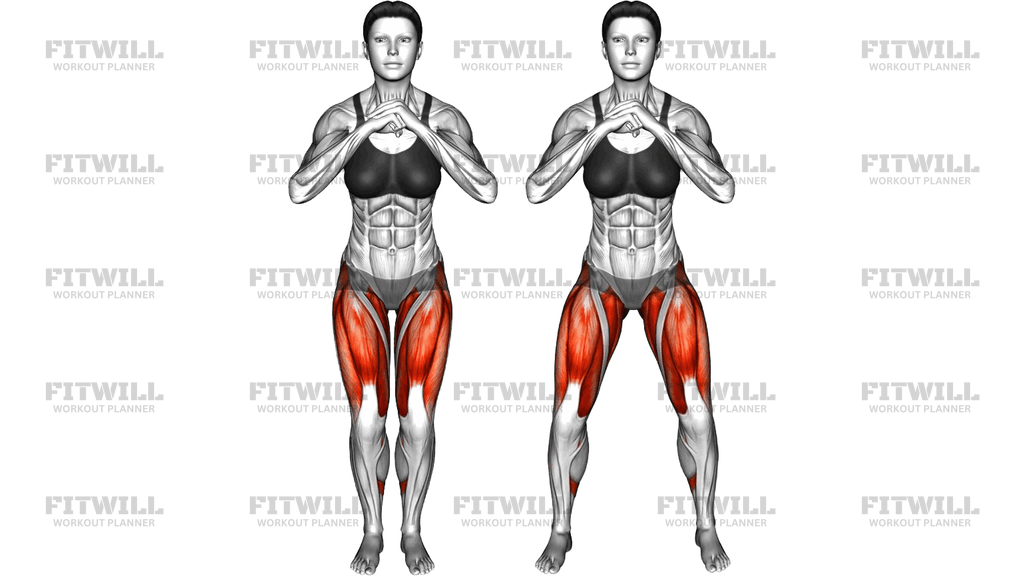
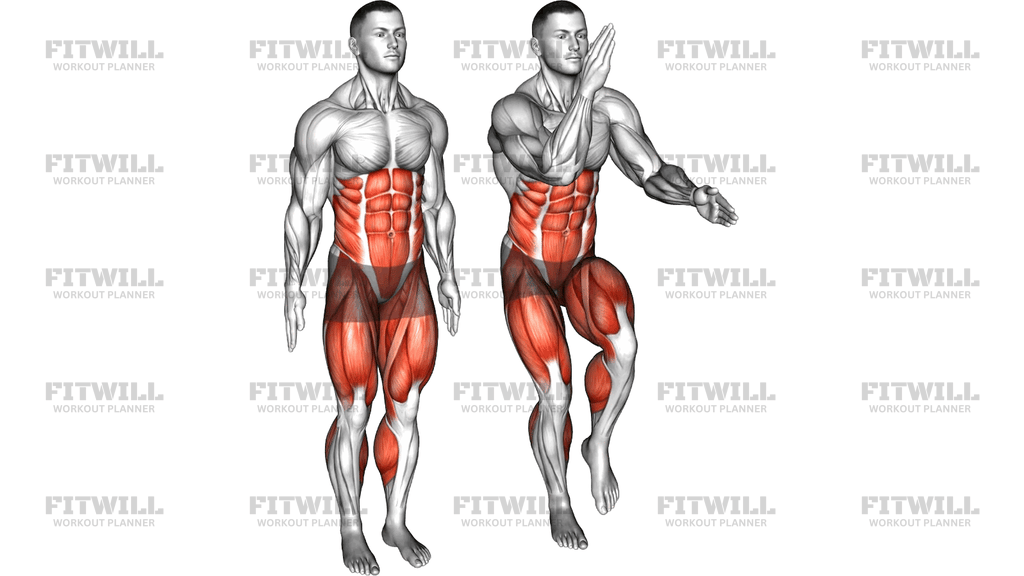
Alternating Kneeling To Half Kneeling
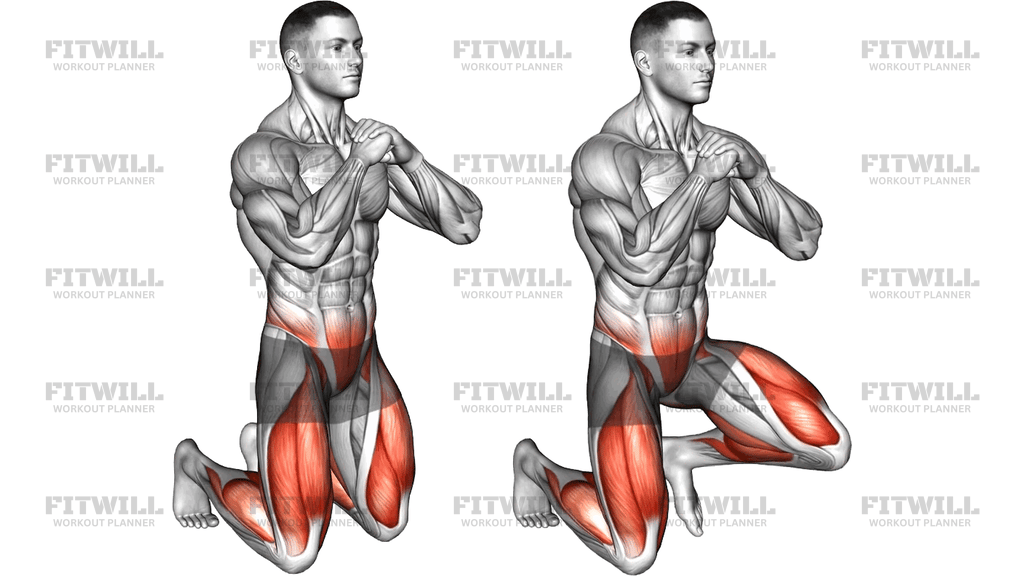
Alternating Kneeling To Half Kneeling is a bodyweight movement that takes you from a tall kneeling position, where both knees are on the floor, up into a half kneeling position, where one foot is planted forward with the knee bent to roughly ninety degrees. You then lower back down and repeat on the other side, alternating legs for the duration of the set. The hands stay clasped at the chest throughout, which removes any arm drive and forces your trunk and legs to do all of the work.
This exercise is a favorite of strength coaches for two reasons. First, it builds strength and control in the quadriceps and glutes through a kneeling-to-standing transition that many people have never deliberately trained. Second, the narrow base of support makes it an excellent core stability drill: your abdominals and hip stabilizers have to keep your torso upright and level every time you shift weight from both knees to a single foot.
The setup matters more than most people expect. Because you start from the floor, there is no momentum to hide behind. Your front shin should stay close to vertical, your back hip should stay extended rather than twisting outward, and your ribs should stay stacked over your pelvis. If any of those positions break down, the movement stops training what it is meant to train and starts feeding sloppy habits into your squats and lunges.
To execute it well, think of driving the floor away with your front foot rather than lurching your chest forward. The torso should rise as one rigid column, staying square to the direction you are facing. Lower back down under control, letting the front knee track over the middle of the foot, then switch legs. Slow, deliberate reps beat fast ones here, especially while you are learning the hip shift.
This drill is useful for lifters who struggle to stay upright in split squats and lunges, for older adults rebuilding the ability to get up and down from the floor, and for athletes who need single-leg strength without loading a barbell. It requires no equipment and very little space, so it works well as a warm-up, a standalone leg finisher, or a low-impact option on recovery days.
A practical safety note: place a mat or soft surface under your knees, since the kneecaps take direct pressure in the bottom position. If you feel pinching at the front of the back hip, reduce your range or widen your stance slightly rather than pushing through discomfort.
[ Workout Log & Planner ]
Put your next workout in Fitwill
Keep your plan and training log ready when you are.


Instructions
- Kneel on a mat with both knees on the floor, shins roughly hip-width apart, and clasp your hands together in front of your chest with elbows tucked.
- Squeeze your glutes to tuck your pelvis slightly, pull your ribs down, and brace your abdominal wall so your torso forms a straight line from head to knees.
- Shift your weight over one leg and plant that foot flat on the floor in front of you, placing it far enough forward that your shin will be close to vertical at the top.
- Exhale and drive through the whole front foot, extending the front knee and hip to rise out of the kneel while keeping your chest tall and your torso square.
- Finish in half kneeling with the front knee bent about ninety degrees, the back knee resting on the mat, and your shoulders stacked directly over your hips.
- Pause briefly at the top, then inhale and lower back down with control, letting the back knee and then the front knee return to the floor without collapsing.
- Reset your brace, then repeat the rise using the opposite leg, bringing the other foot forward.
- Continue alternating legs for your target number of repetitions per side, keeping the hands at the chest for every rep.
- When the set is finished, step one foot back to tall kneeling, then sit your hips back beside your heels to come off the knees safely.
Tips & Tricks
- If your chest falls forward as you rise, your front foot is probably too close to your knees. Move it a few inches farther forward so the shin can stay vertical.
- Watch for the back hip twisting outward at the top of each rep. Point the back kneecap straight down and squeeze the back glute to keep the hips square.
- Do not push off the floor with your hands. If you catch yourself reaching forward to help, lighten the difficulty by slowing down instead of using arm drive.
- Common mistake: bouncing off the kneecaps at the bottom. Instead, lower until both knees are softly on the mat, re-brace, and rise with intent.
- If the front knee caves inward as you stand, think about spreading the floor with your big toe and aligning the knee over the second and third toes.
- Tall kneeling with a big arch in the lower back usually means the glutes are switched off. Reset the pelvic tuck before every rep rather than mid-rep.
- Place the front foot so it carries most of your weight; if the back knee feels heavy on the mat during the rise, shift pressure into the front heel and midfoot.
- For a harder version, pause for two to three seconds in the half kneeling position at the top of each rep, or hold a light weight at your chest.
- Kneel on a folded mat or pad if kneecap pressure is uncomfortable, but keep the pad thin enough that you can still feel and control your base.
Frequently Asked Questions
What muscles does Alternating Kneeling To Half Kneeling work?
The quadriceps and glutes do most of the lifting as you rise from both knees to one foot. Your core, especially the deep abdominals, works hard to keep the torso upright, and the hip flexors help control the trailing leg.
Is Alternating Kneeling To Half Kneeling suitable for beginners?
Yes, it is one of the most accessible single-leg drills because it uses only bodyweight and a short range. Beginners should start with a mat under the knees and prioritize slow, controlled reps over volume.
Why do my hands stay clasped at my chest during this exercise?
Keeping the hands at the chest removes arm drive and counterbalance, so your legs and trunk have to generate the movement. It also makes any twisting or leaning easy to spot and correct.
How far forward should my front foot be placed?
Far enough that your shin is close to vertical and your knee stays behind or over your toes at the top. If your chest pitches forward when rising, your stance is too narrow and the foot needs to move farther out.
What is the most common mistake in Alternating Kneeling To Half Kneeling?
Lurching the torso forward and using momentum to stand up instead of driving through the front foot. This usually shows up alongside a falling arch in the lower back, both of which are fixed by bracing and slowing the tempo.
Can I do this exercise if kneeling hurts my knees?
Try a thicker pad first, and make sure you are lowering with control rather than dropping onto the kneecaps. If direct knee pressure still causes pain, switch to reverse lunges or split squats, which train similar muscles without loading the kneecap.
How does this exercise compare to a regular lunge?
Both build single-leg strength, but starting from the floor eliminates momentum and forces a strict, upright torso position. It is often used as a progression or corrective drill before adding loaded lunges and split squats.
How many repetitions should I perform per side?
Two to three sets of six to ten controlled reps per leg is a solid working range. If you are using it as a warm-up, drop to five or six reps per side and focus purely on position quality.
Should I exhale on the way up or on the way down?
Exhale as you drive up into the half kneeling position, which helps maintain abdominal bracing, then inhale at the top and control your breath on the way down. Avoid holding your breath for multiple reps in a row.