Bear Plank Floating March
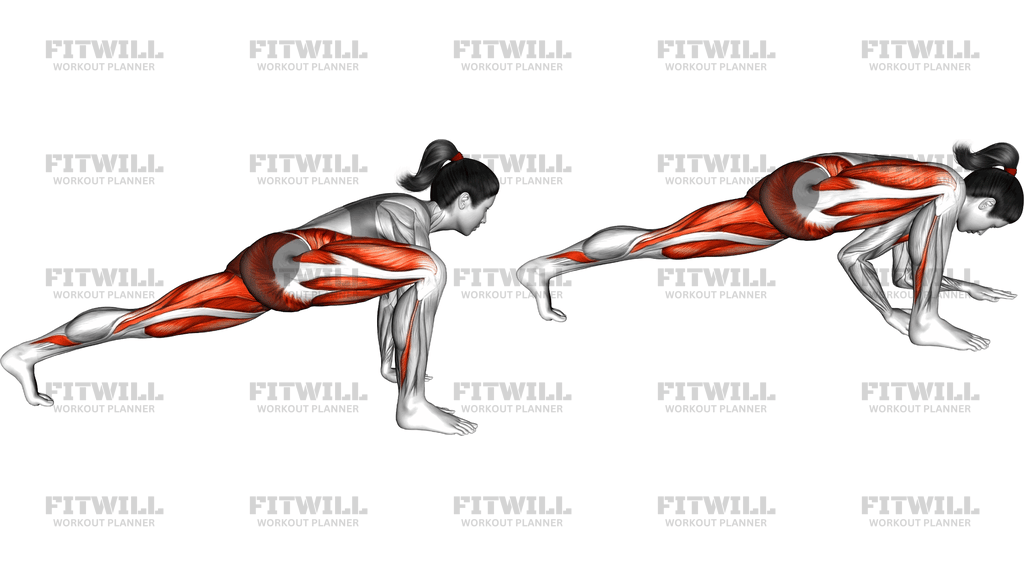
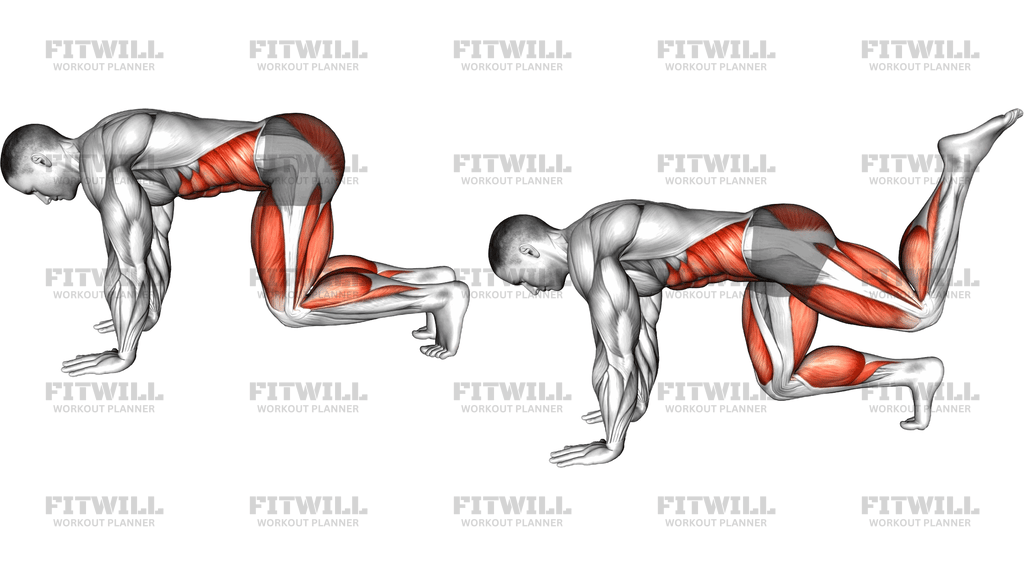
Bear Plank Floating March is a hovering core drill built on the bear crawl position. You start in a quadruped setup with hands under the shoulders and knees bent about ninety degrees, then lift the knees a few inches off the floor so your shins and hips float above the ground. From that hovering bear hold, you alternately lift one knee slightly higher and set it back down, marching in place without letting the opposite hip twist or the lower back sag. Because both knees stay off the floor the entire time, your trunk never gets a chance to unload.
This movement is a step up from a standard plank or a static bear hold. The moment one knee floats up, the load shifts to a single support point on that side of the pelvis, and your deep core, obliques, and hip stabilizers have to work overtime to keep your hips level. The hovering supporting leg also stays switched on the whole set, which makes the thighs and glutes burn faster than most people expect.
It is especially useful for people who find front planks easy but still struggle to control their pelvis under movement. Lifters preparing for crawls, mountain climbers, or single-leg work benefit from it, as do anyone rebuilding core control after long hours of sitting, where the hip flexors and deep abdominals tend to be dormant. Because there is no equipment beyond a mat, it fits warm-ups, circuit training, and short home sessions equally well.
Setup matters more than speed here. Hands should be stacked directly under the shoulders, toes tucked, and knees set under the hips before anything lifts. The most common breakdown is letting the hips rise into a pike as fatigue builds or letting the lifted knee drift out to the side. Keep the torso a straight, slightly inclined line from head to hips, and think about pulling your elbows toward your toes to lock the ribcage down.
Execute the march slowly. Lift one knee an inch or two higher, pause briefly, lower it back to the floating hover, then switch. Breathe steadily throughout rather than holding your breath, and stop the set as soon as your hips start to sag, rotate, or climb. Quality reps with a quiet, level pelvis will do far more for your core than grinding out extra reps with a wobbling trunk.
[ Workout Log & Planner ]
Put your next workout in Fitwill
Keep your plan and training log ready when you are.


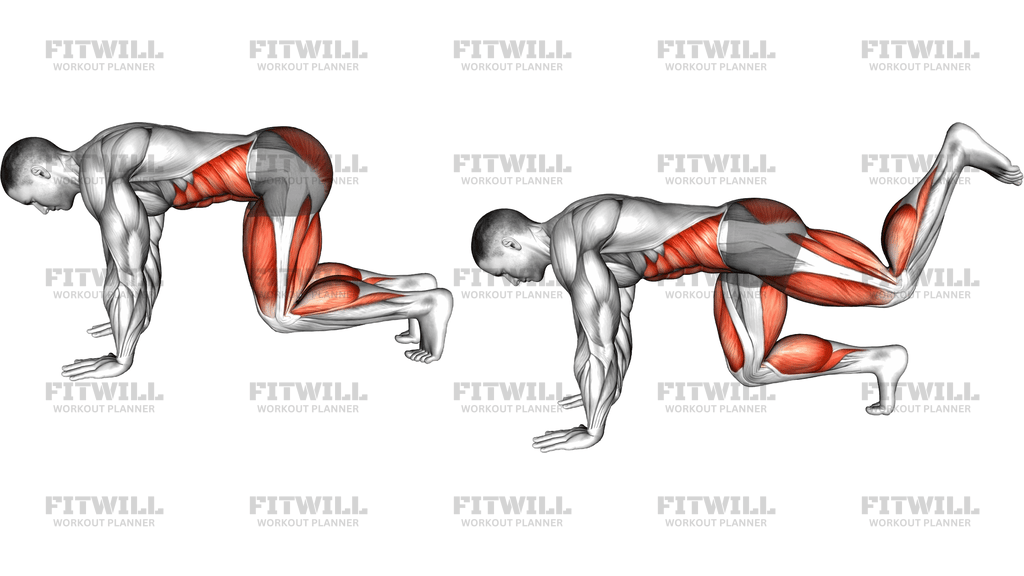
Instructions
- Place an exercise mat on the floor and kneel on all fours with your hands directly under your shoulders and your knees under your hips.
- Tuck your toes under and press the floor away with your palms so your upper back is active, not rounded.
- Exhale and lift both knees two to three inches off the mat, keeping them bent at roughly ninety degrees so only your hands and the balls of your feet touch the floor.
- Brace your abs as if bracing for a light push, and check that your hips are neither piked up nor sagging, forming one straight line from head to knees.
- Keeping your torso still, float one knee an inch or two higher toward your chest without letting the hips rotate or drop.
- Lower that knee back to the hovering bear position with control, then immediately float the opposite knee the same way.
- Continue alternating in a slow, even rhythm, keeping both knees off the floor for the entire set.
- Breathe in through your nose and out through your mouth in a steady cycle; do not hold your breath as the reps get harder.
- When you finish, lower both knees gently to the mat, sit back briefly to release the hip flexors, and shake out your wrists before the next set.
Tips & Tricks
- The hips rising into a pike is the number one fault in this drill; if you see your hips climbing, lower your knees closer to the floor and shorten the march range instead of pushing through.
- A lifted knee that swings outward means the hip is rotating; aim the knee slightly forward toward your chest and picture a glass of water balanced on your lower back.
- If your wrists ache, spread your fingers wide and grip the mat, or make fists and rest on your knuckles as long as the shoulder stays stacked over the elbow.
- Count time under tension rather than reps; forty seconds of smooth floating with level hips beats ninety seconds of wobbly marching.
- Do not let the supporting knee drift toward the floor between switches; the hover is the entire point of the exercise.
- Press the floor away the whole time instead of hanging in your shoulder joints; this keeps the serratus and shoulder stabilizers engaged and protects the joints.
- If one side drops or rotates more than the other, slow down and spend extra reps on that side before returning to even alternation.
- For an easier version, hold the static bear hover without marching until you can keep the hips level for thirty seconds, then add the knee floats.
Frequently Asked Questions
What muscles does the Bear Plank Floating March work?
The deep core, especially the transverse abdominis, does most of the stabilizing, while the hip flexors lift each knee and the glutes and shoulders hold the hovering position steady. The thighs and forearms also work isometrically throughout the set.
Why do my knees never touch the floor during the Bear Plank Floating March?
The hover is what makes the exercise effective. As soon as a knee rests on the floor, the core unloads and the anti-rotation and anti-extension demands largely disappear.
Is the Bear Plank Floating March good for beginners?
Yes, but most beginners should start with a static bear hover or a slow knee hover without the march. Once you can hold a level hovering position for about thirty seconds, add the alternating knee floats.
How high should I lift the floating knee?
Only an inch or two above the hover height is enough. A small, controlled float with level hips trains the deep core far better than a big knee drive that twists the pelvis.
My hips keep rising into a pike as the set goes on. What should I change?
That is a fatigue signal, not a technique choice. End the set, rest, and next time use shorter work periods or reduce the float height so the hips stay in the straight head-to-knee line.
Can I do the Bear Plank Floating March instead of mountain climbers?
They train overlapping qualities, but this drill is slower and more stability-focused while mountain climbers are faster and more cardiovascular. Use this one when your goal is pelvic control and deep core endurance.
How long should a set last?
Twenty to forty seconds of continuous floating with clean hips is a solid working set. Rest and repeat for two to four rounds, progressing the duration only when your hips stay perfectly level.
Is it safe for my wrists and lower back?
Generally yes when the hands stay stacked under the shoulders and the spine stays neutral. Spread your fingers and press the floor away to ease wrist pressure, and stop if your lower back starts to arch or ache rather than work.