Weighted Sandbag Carry (Shoulders)
The Weighted Sandbag Carry (Shoulders) is a loaded carry in which a sandbag rests across the back of both shoulders, behind your neck, while you walk under control. Unlike a barbell held on the traps, the sandbag is soft and shifts as you move, so your hands have to grip the ends of the bag and your upper back, shoulders, and trunk have to constantly adjust to keep it balanced. It is essentially a yoke carry with unstable equipment, which makes it harder than it looks.
This movement is useful for almost anyone who wants carrying strength that transfers to real life. Strongman athletes use shoulder-loaded sandbag carries as a staple conditioning and stability tool. General lifters benefit because it builds the traps, upper back, and grip without the spinal compression pattern of a heavy barbell, and the soft bag is friendlier to the shoulders than a straight bar. It also works well as a finisher after squats or deadlifts, or as a standalone interval block where you walk for distance or time.
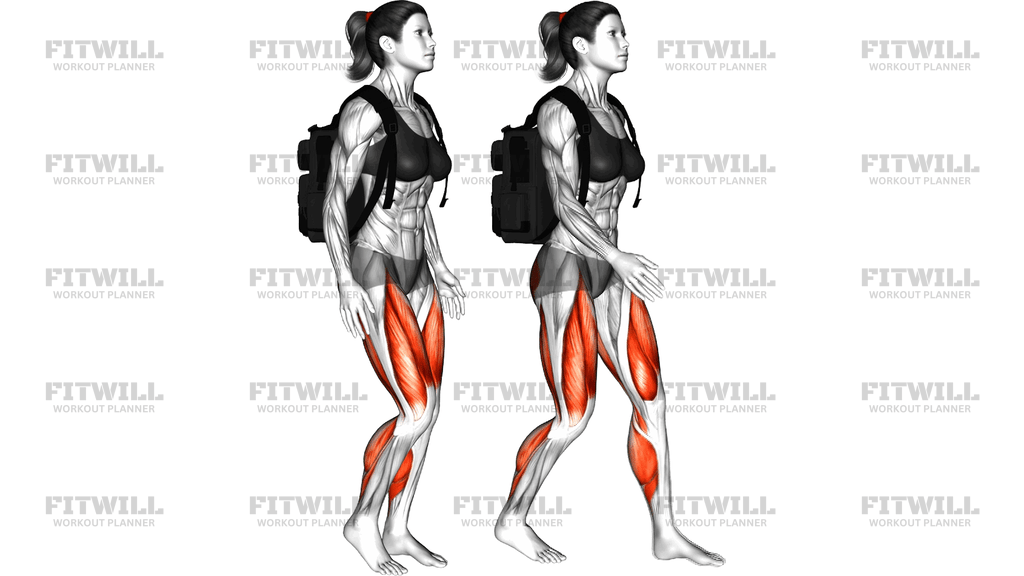
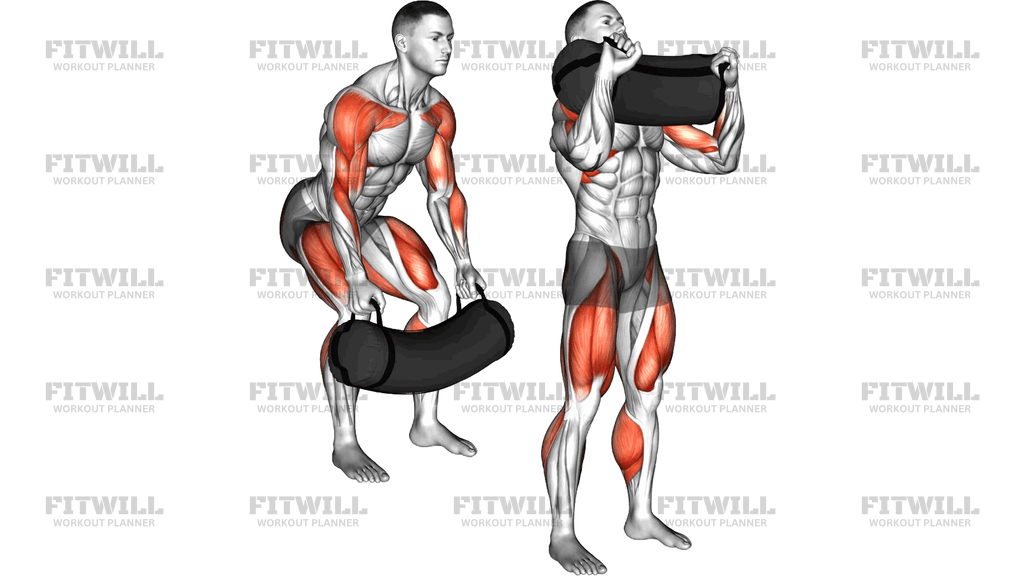
Muscularly, the carry loads the trapezius and deltoids through sustained isometric work, challenges the forearm flexors and grip, and demands continuous bracing from the abdominals, obliques, and lower back. Because the bag sits behind the neck, your upper spine naturally wants to round forward; keeping it tall is where much of the postural training happens. The highlighted leg work reflects what your quads, glutes, hamstrings, and calves do on every step: they absorb and redirect the shifting load while you stay upright.
Setup matters a lot with this exercise. If the bag is draped sloppily across one shoulder or sits too low on your back, it will drag you into a lean and turn the carry into a compensatory grind. Take the time to center the bag across the rear of both shoulders, similar to a back squat position, and grip the ends of the bag firmly so it cannot roll off.
To execute it well, stand tall, brace your trunk as if preparing for a light squat, and walk with short, deliberate steps. Your breathing should be shallow and rhythmic under the brace rather than deep belly breaths that collapse your rib position. Keep your eyes ahead, shoulders pulled slightly back, and ribs stacked over your pelvis.
The most common issues are hunching forward under the bag, letting the hips sway side to side, and rushing the walk, which turns a stability exercise into sloppy cardio. Choose a bag weight you can hold for at least 30 to 40 seconds of quality walking, and stop the set when your posture starts to break rather than when your grip finally fails.
[ Workout Log & Planner ]
Put your next workout in Fitwill
Keep your plan and training log ready when you are.


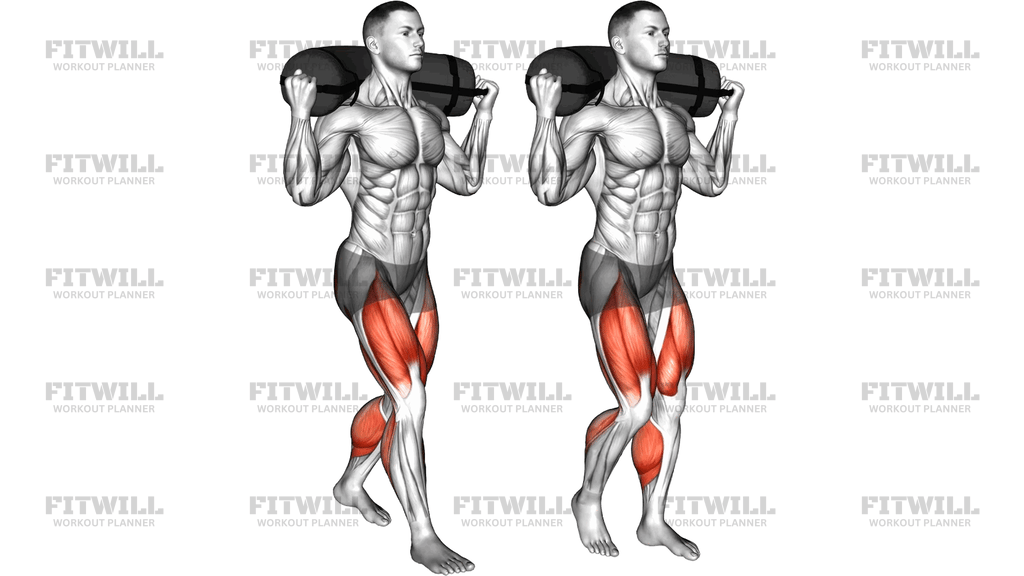
Instructions
- Place a filled sandbag on a bench, box, or sturdy chair at roughly hip height so you can load it without rounding over.
- Stand facing away from the bag, reach back with both hands, and center it across the back of your shoulders and upper traps, as you would position a barbell for a back squat.
- Grip the ends of the bag firmly with a closed fist on each side and pull it slightly down into your shoulders so it cannot slide or roll.
- Take a breath into your belly, brace your abs and lower back, and lift the bag off the support by standing tall through your hips.
- Set your feet hip-width apart, squeeze your glutes lightly, and pull your shoulders back so your upper spine stays stacked over your pelvis.
- Begin walking forward with short, controlled steps, placing each foot flat and keeping your torso vertical; the bag may shift slightly, but your posture should not.
- Keep your gaze straight ahead and your ribs down, breathing in short, shallow breaths through your nose while maintaining the brace.
- Continue for your target distance or time, then stop with your feet planted, carefully lower the bag back onto the bench or box by hinging at the hips, not by rounding your back.
- Rest, shake out your grip and shoulders, and reset the bag's position before starting the next carry.
Tips & Tricks
- If the bag keeps drifting to one side, check that it is centered behind your neck before you lift it; most leaning problems start with a crooked setup, not weak legs.
- Hunching forward under the bag is the most common fault. Cue yourself to drive the back of your head up toward the ceiling and pull the bag down into your traps.
- Keep your steps short. Long strides with the bag behind your neck cause your hips to sway and dump stress into your lower back.
- Do not fight big shifts with your arms; if the bag slides significantly, stop, reset it, and continue rather than twisting your spine to correct it mid-walk.
- If your grip gives out long before your posture does, chalk your hands or wrap the bag ends with a towel layer to increase friction.
- Turn-around points matter: make a wide, slow turn instead of pivoting sharply, since a quick pivot under load twists the knees and lower back.
- Start lighter than you think you need. The unstable fill makes the bag feel heavier on your shoulders than an equivalent barbell load.
- Barefoot or flat-soled shoes work well here because the highlighted calf and foot work requires stable ground contact, not cushioned rocker soles.
- Stop the set when your trunk starts to round, not when the bag falls off. A collapsing carry trains bad positions under fatigue.
Frequently Asked Questions
Which muscles does the Weighted Sandbag Carry (Shoulders) work the most?
The trapezius and shoulders take the main static load since they support the bag, while the forearms and grip work to hold the bag ends. Your core, quads, glutes, and calves stabilize and drive every step.
Is the Weighted Sandbag Carry (Shoulders) suitable for beginners?
Yes, as long as the sandbag is light enough to hold for 30 to 40 seconds without hunching. Beginners should master the setup and a straight-back walk with a light bag before adding distance or weight.
How is the Weighted Sandbag Carry (Shoulders) different from a barbell yoke carry?
The sandbag is soft and shifts as you walk, so your shoulders, traps, and core must make constant small corrections instead of holding a rigid bar stable. It is generally harder on stability but easier on the shoulders than a bar across the traps.
How far or how long should I carry the bag?
A practical starting point is 20 to 40 meters, or 30 to 45 seconds per set. End the set when your posture breaks, not when the bag actually falls off your shoulders.
What is the most common mistake in this carry?
Rounding the upper back forward and letting the bag pull the head down. Fix it by pulling the bag firmly into your traps, lifting your chest, and keeping your eyes on a point straight ahead.
Can I use dumbbells or kettlebells instead if I do not have a sandbag?
A heavy sandbag across both shoulders can be approximated with a barbell or trap bar yoke walk, though you lose the shifting instability. Farmer's carries with dumbbells train similar grip and trunk demands but load the sides rather than the shoulders.
Why do my calves and legs feel so involved when the weight is on my shoulders?
Every step under a shifting load forces your quads, glutes, hamstrings, and calves to absorb and re-stabilize your body as it lands. Carries are whole-body strength work, not just a grip or trap exercise.
Is it safe for my lower back?
It is generally well tolerated when the bag is centered, your trunk is braced, and you take short steps. Avoid it if you cannot maintain a tall spine under the load, and lower the weight before lowering your standards.
Should I look down at my feet while walking with the bag on my shoulders?
No, keep your eyes forward on the horizon. Looking down rounds your upper back and encourages the exact hunching position this carry is meant to strengthen you out of.