Sitting Lower Back Stretch
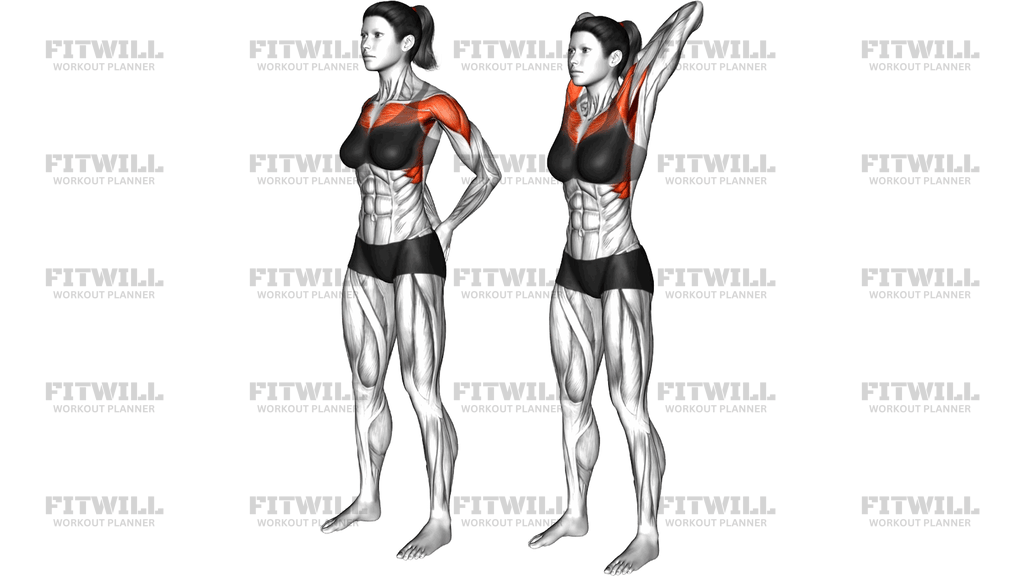
The Sitting Lower Back Stretch is a floor-based stretch performed from a seated position with the legs extended straight in front of you and the hands planted on the floor behind the hips. From there, you lean the torso back slightly and let the pelvis roll backward, rounding the lower spine so the erector spinae and surrounding tissue along the lumbar area are gently lengthened. A slight side bend or rotation toward one hand, as shown with one arm reaching out to the side, shifts part of the stretch into the obliques along the waist, which is why this variation is a favorite for people who feel tight through both the lower back and the sides of the trunk.
This stretch is useful for almost anyone who spends long hours sitting at a desk, driving, or training hard with deadlifts, squats, and back exercises. When the hips are flexed for hours, the lower back often stiffens up as a compensation, and a seated position lets you decompress and round the lumbar spine in a controlled way without loading it. It is also a common cool-down choice after lifting sessions and a gentle warm-up option on training-free days.
The setup matters more than it looks. Sitting tall with the legs extended and hands grounded behind you creates a stable tripod of support: the sit bones, the backs of the thighs, and the hands. That support is what allows you to tilt the pelvis backward and round the lower spine deliberately instead of just slumping. Keep the knees soft rather than locked, and let the feet stay relaxed so the hamstrings do not fight the position.
To execute the stretch well, exhale as you lean back onto the hands and gently tuck the tailbone under, letting the lower back round a few degrees. You should feel a mild pulling sensation across the lumbar area, not a sharp or pinching feeling. If you want to include the obliques, walk both hands a few inches to one side and let the torso drift in the same direction, or reach one arm out to the side as the supporting arm stays planted. Hold the position for twenty to forty seconds with slow breathing, then return to tall sitting before repeating on the other side.
Move into the stretch gradually and never bounce. Because the lumbar spine is being taken into flexion, forceful or jerky movement is the main thing to avoid. If you have a history of disc-related back pain, keep the rounding very small and stop well before any symptoms appear. The goal is a comfortable, sustainable stretch that leaves the lower back feeling looser and easier to move, not sore the next day.
[ Workout Log & Planner ]
Put your next workout in Fitwill
Keep your plan and training log ready when you are.


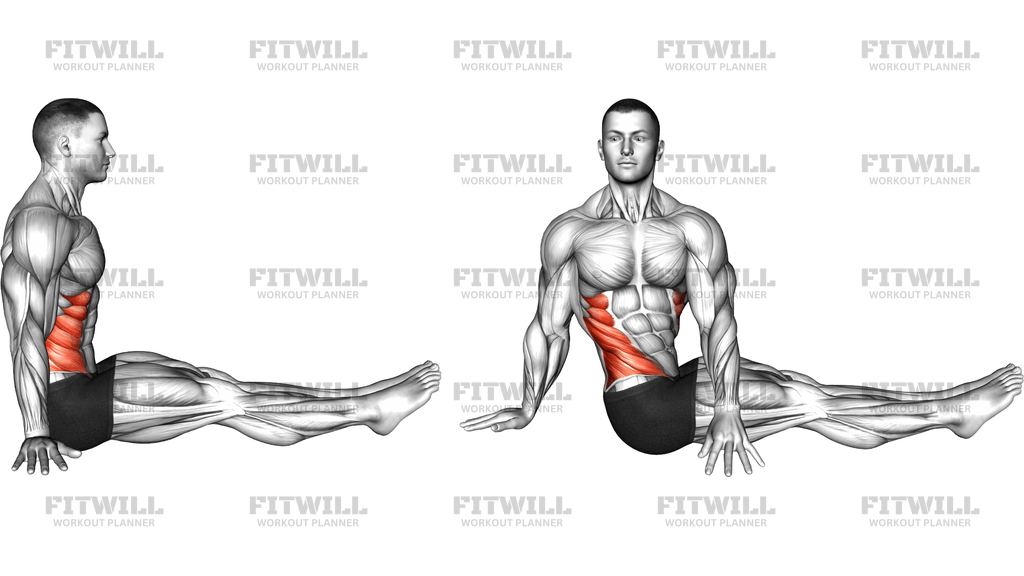
Instructions
- Sit on the floor with your legs extended straight in front of you and your feet about hip-width apart, resting on an exercise mat if the surface is hard.
- Place both palms flat on the floor behind your hips, fingers pointing away from or slightly out to the sides, with your arms straight enough to take some of your weight.
- Sit up tall at first, shoulders back, so your sit bones and the backs of your thighs are firmly grounded as your base of support.
- Keep your knees soft with a small bend rather than locked straight, and let your feet relax.
- Exhale and slowly lean your torso back onto the hands while tucking the tailbone under, letting the lower back round gently into a stretch.
- To involve the obliques, walk both hands a few inches toward one side, or reach one arm out to the side as pictured, and let the torso drift in the same direction until you feel it along the waist and flank.
- Hold the end position for twenty to forty seconds, breathing slowly and letting the stretch deepen slightly with each exhale.
- Inhale and press through the hands to bring the torso back up to tall sitting in a controlled manner.
- Reset your posture and repeat on the opposite side if you stretched with a side bend, completing two to three rounds total.
Tips & Tricks
- Initiate the stretch from the pelvis, not the shoulders. Tucking the tailbone under is what rounds the lower back; pushing the chest down just hunches the upper spine and misses the target area.
- A common mistake is locking the knees hard to 'feel more.' Bending the knees slightly actually lets the pelvis tilt backward more freely, which is where the lower back stretch comes from.
- If your hamstrings are tight and pull you out of the position, let the knees bend a few degrees or prop a small rolled towel under them so you can focus on the lumbar area.
- Do not sink into the shoulders. Keep a slight outward pressure through the palms so the arms support you instead of letting the shoulder joints take all your weight.
- When adding the side version, keep both sit bones on the floor. Lifting one hip turns it into a different movement and reduces the stretch along the waist.
- Round only a few degrees at a time. The seated lower back stretch works best as a mild, repeatable position, not a max-effort fold.
- Breathe out slowly as you settle into the stretch. Holding your breath tends to stiffen the trunk and fight the very muscles you are trying to lengthen.
- Avoid this as a sharp first movement after waking. Walk around or do a few gentle hip hinges first, then use the seated stretch once the back is warm.
Frequently Asked Questions
Which muscles does the Sitting Lower Back Stretch target?
The primary target is the lower back, especially the erector spinae along the lumbar spine. The side-leaning variation also lengthens the obliques along the waist, and the glutes and hamstrings work lightly to hold the seated position.
Is the Sitting Lower Back Stretch safe for beginners?
Yes, it requires no equipment beyond a floor and only needs a small range of motion. Beginners should start with a very gentle rounding and shorter holds of fifteen to twenty seconds.
Why are the hands placed behind the hips in this stretch?
The hands behind the hips act as a support so you can lean back and tilt the pelvis under in a controlled way. Without them, you would have to use the abdominals to hold the position, which makes it harder to relax into the stretch.
Should my legs be completely straight during the Sitting Lower Back Stretch?
Extended legs are the standard setup, but locked knees are not required. A small bend at the knees often makes the pelvis move better and improves the stretch in the lower back.
What is the most common mistake in the Sitting Lower Back Stretch?
Collapsing the chest and slumping from the shoulders instead of rounding from the pelvis. Focus on tucking the tailbone first, and let the lower back follow rather than forcing the torso down.
How does the seated version differ from standing lower back stretches?
Sitting removes the balance demand and lets the floor and hands support you, so you can isolate the lumbar rounding more precisely. Standing versions usually pull in the hamstrings and hips, which can dilute the stretch.
How long should I hold the Sitting Lower Back Stretch?
Twenty to forty seconds per hold works well, repeated two to three times per side. For a cool-down after training, longer holds of up to a minute with relaxed breathing are fine.
What can I use if sitting on the floor is uncomfortable?
Sit on an exercise mat, a folded towel, or a yoga block placed flat to cushion the sit bones. You can also perform a similar pelvic-tilt stretch seated on the edge of a sturdy chair or bench.
When should I avoid the Sitting Lower Back Stretch?
Skip it if rounding your spine causes sharp pain, radiating symptoms down the leg, or dizziness. Anyone with a diagnosed lumbar condition should keep the range minimal and follow the guidance of their healthcare provider.