Bear Crawl
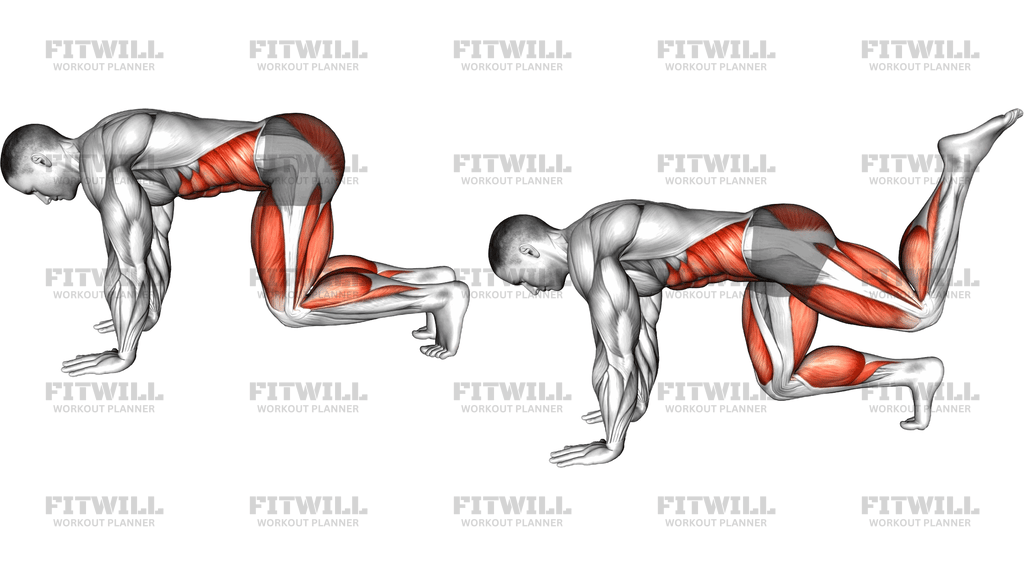
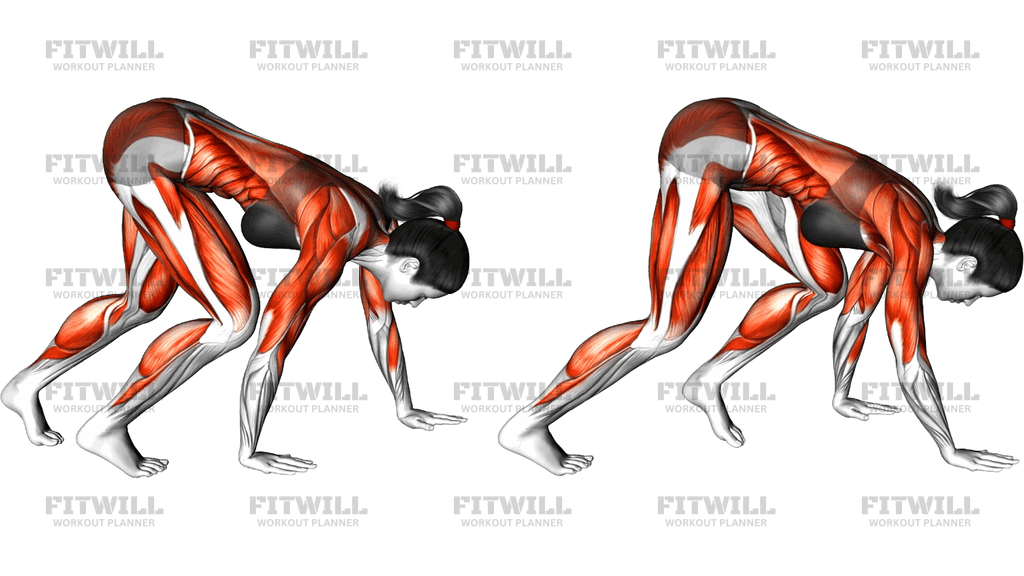
The Bear Crawl is a quadruped locomotion exercise where you hold yourself on hands and feet with the knees hovering just off the floor, then travel forward, backward, or sideways while keeping the hips low and the spine flat. Unlike a traditional hands-and-knees crawl, the knees stay suspended the entire time, which forces your arms and legs to share the load and your trunk to resist twisting with every step.
This movement earns its place in almost any program because it trains the deep core in a genuinely functional way. Instead of flexing or extending the spine, you are bracing against the challenge of moving opposite limbs, which is exactly what your trunk has to do when you run, carry, or lift in daily life. The shoulders also work hard to support and stabilize your upper body, and the thighs and glutes stay engaged to hold that bent-knee, hovering position.
Setup matters more here than most people expect. Your hands should sit directly under your shoulders, knees under your hips, and the back must stay neutral rather than sagging or rounding. When the hips drift high, the crawl turns into an easier hip-hinged shuffle and you lose most of the core demand. Keeping the knees only an inch or two from the floor is what makes the exercise honest.
To execute it well, move the opposite hand and foot together in small steps, placing each hand under your shoulder and each foot under your hip rather than letting limbs sprawl wide. Take your time: a slow, controlled crawl with a flat back is far more valuable than a fast, wobbly one. Breathe steadily throughout instead of holding your breath, and keep your gaze slightly ahead of your hands so the neck stays in line with the spine.
The Bear Crawl works well as a warm-up to wake up the shoulders and trunk, as a finisher for conditioning, or as a main drill in bodyweight and athletic training sessions. Because it needs no equipment beyond a little floor space, it is easy to scale: beginners can start with short holds or a few slow steps, while advanced trainees can crawl for distance or time, add directional changes, or carry light weight on the back.
The most common breakdown points are a rushing tempo, hips climbing toward the ceiling, and the lower back sagging as fatigue sets in. Stop the set when your form starts to slip rather than grinding through a sloppy crawl. If your wrists bother you, make fists with hands flat on the floor or use handles to keep them neutral.
[ Workout Log & Planner ]
Put your next workout in Fitwill
Keep your plan and training log ready when you are.


Instructions
- Clear an open strip of floor and, if the surface is hard, lay down an exercise mat for your hands and knees.
- Kneel on all fours with your hands directly under your shoulders and your knees directly under your hips, toes tucked under.
- Press the floor away, tuck your toes, and lift both knees one to two inches off the ground so your weight sits on your hands and the balls of your feet.
- Brace your trunk as if bracing for a light push, keeping your back flat and your hips level with or slightly below your shoulders.
- Step forward with your right hand and left foot together, placing the hand under the shoulder and the foot under the hip.
- Repeat with the left hand and right foot, keeping each step short so your hips stay low and do not sway side to side.
- Continue crawling forward with slow, even steps, then practice reversing the pattern to travel backward before turning around.
- Exhale steadily as you move and avoid holding your breath; aim for one smooth breath every two to three steps.
- When you finish, lower your knees gently to the floor, sit back on your heels, and shake out your wrists and shoulders before the next set.
Tips & Tricks
- Imagine balancing a glass of water on your lower back: if the hips climb up or the spine sags, the core is no longer doing the work.
- Keep your knees low enough that a sheet of paper could slide underneath them; hovering higher than that shifts the load off the trunk.
- Take small steps. Long reaches force your hips to rotate and dump tension out of your brace.
- If your wrists ache, form fists with your knuckles on the mat or grip two dumbbell handles so your wrists stay straight.
- Crawl backward for a few meters before turning around; reversing the pattern exposes and fixes asymmetries between sides.
- Common mistake: looking up toward the wall, which strains the neck. Keep your gaze a foot or two ahead of your hands.
- Another frequent error is letting the elbows flare outward. Screw your hands into the floor and keep the elbows softly angled back.
- If your form breaks down, rest a moment on your knees or end the set; crawling to total fatigue usually trains the sagging-spine pattern you are trying to avoid.
- Time your first few sets rather than crawling for distance so you can compare quality, not just how long you lasted.
Frequently Asked Questions
Which muscles does the Bear Crawl work?
The deep core, especially the trunk stabilizers that keep your spine flat while your limbs move, does most of the work. Your shoulders and arms support the upper body, while the glutes, quads, and hip flexors hold the hovering knee position.
Is the Bear Crawl good for beginners?
Yes, and it is actually one of the better crawling drills for beginners because the bent-knee, hovering position can be scaled. Start with 10 to 20 second holds or a few slow steps per set and build up gradually.
How high should my knees be during the Bear Crawl?
Keep them about one to two inches off the floor. If your hips rise toward the ceiling, the exercise turns into a much easier hip-hinge position and you lose most of the core demand.
Should I crawl forward, backward, or sideways?
Master forward first, then add backward crawling, which challenges coordination and exposes side-to-side imbalances. Lateral crawls are a useful third progression once both directions feel controlled.
Why do my wrists hurt when I do the Bear Crawl?
Your wrists are extended under your full upper-body load, which can be uncomfortable if they lack mobility or strength. Try making fists with the backs of the hands down, using dumbbell handles, or shifting more weight into your fingertips.
How long should I crawl for?
Prioritize a flat back and low hips over duration. Sets of 20 to 40 seconds with clean form are a good target, and you can add rounds or distance only while your spine position holds.
What is the most common Bear Crawl mistake?
Rushing the steps so the hips bounce and rotate with each move. Slow the tempo down and move opposite hand and foot as a matched pair to keep the trunk braced.
Can I do the Bear Crawl instead of planks?
It can complement or replace them in some sessions, because crawling adds moving-limb challenges that a static plank does not. That said, the two train bracing differently, so many programs use both.
Is the Bear Crawl safe if I have lower back discomfort?
The quadruped position is often comfortable because the spine is unloaded, but keep your steps small and stop if you feel your lower back sag or ache. Check with a qualified professional if you are unsure about your specific situation.