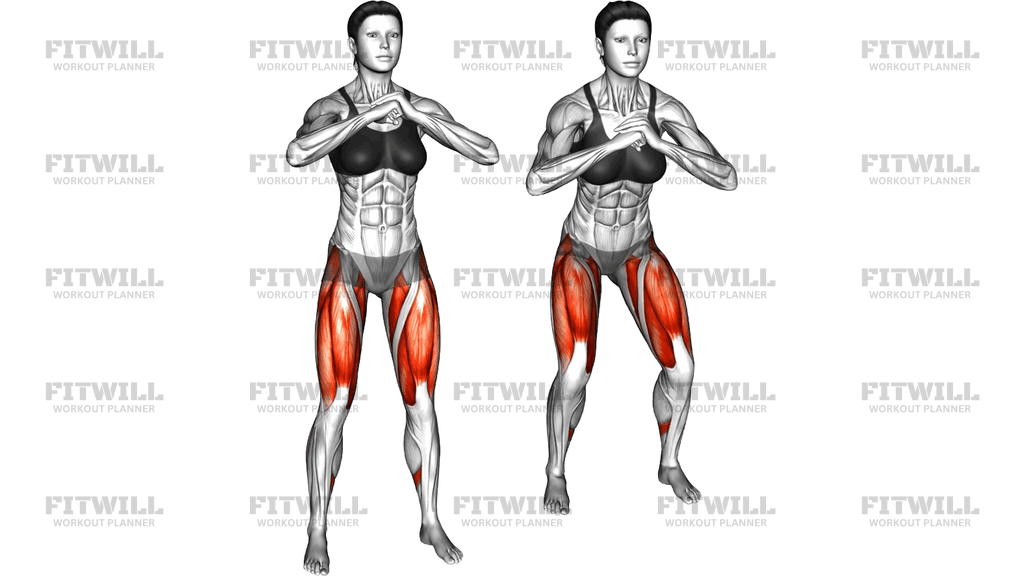
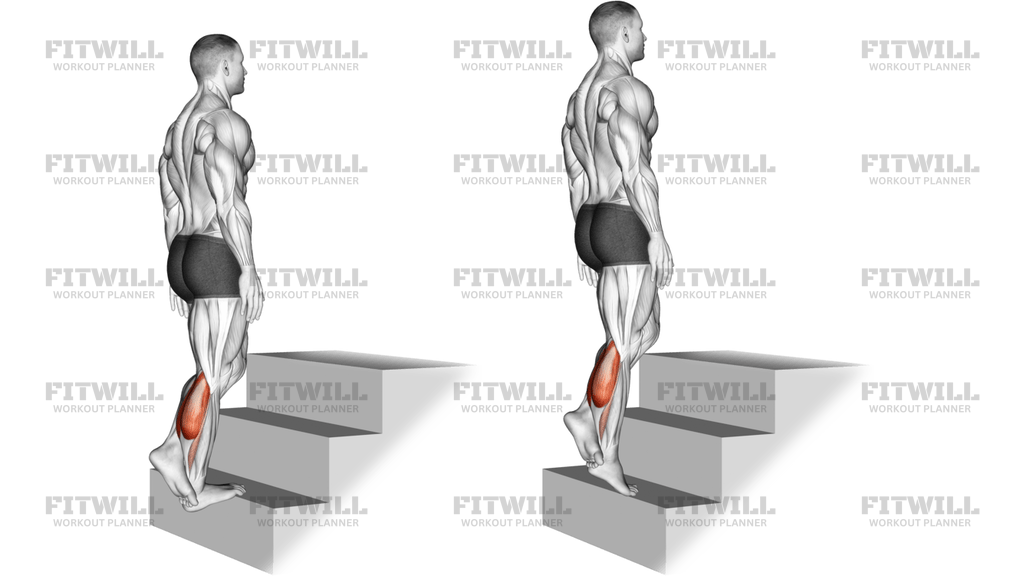
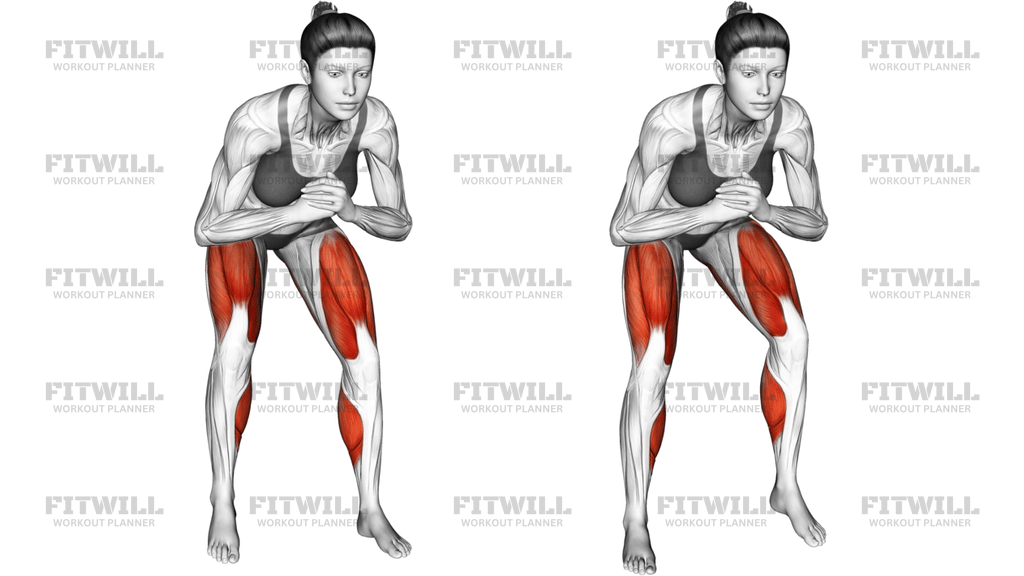
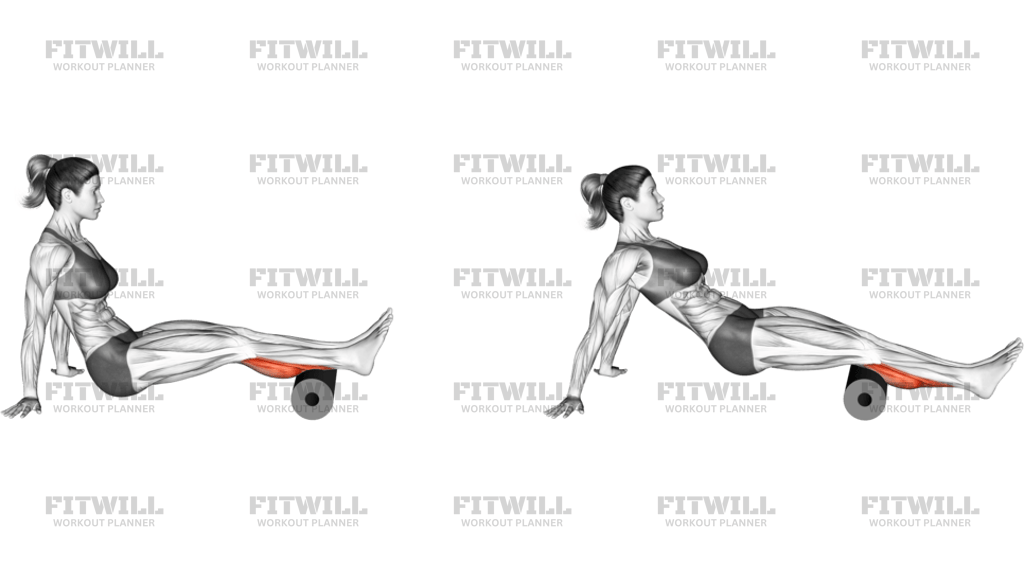
Standing Floor Tibialis Raise Wall Supported
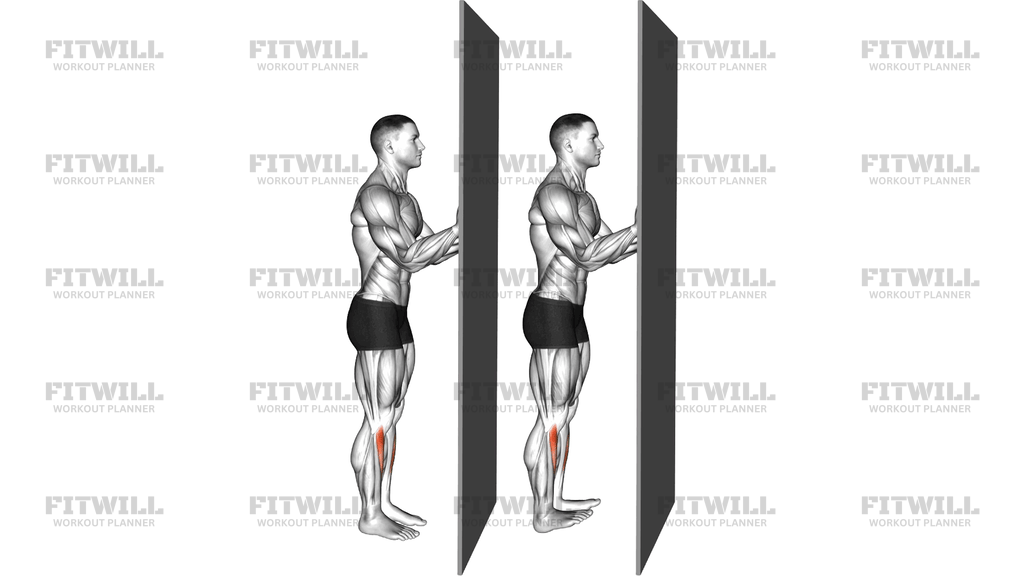
The Standing Floor Tibialis Raise Wall Supported is a simple body weight exercise that targets the tibialis anterior, the muscle running along the front of your shin. You stand upright facing a wall with your hands lightly placed on it for balance, keep your legs and torso still, and repeatedly pull your toes up toward your shins before lowering them back to the floor. The wall support removes the balance demand so you can focus entirely on clean, controlled reps at the ankle.
Most lower leg training is heavily biased toward the calves, which point the toes down. This exercise trains the opposite action, lifting the toes up, which is what the tibialis anterior does every time you swing your leg forward during walking and running. Because that muscle also helps absorb impact when your foot lands, strengthening it is useful for runners, hikers, jumpers, and anyone who spends long hours on their feet. It is also a common choice for people rehabbing shin soreness or building tolerance for activities like uphill hiking and sled work, though it is not a substitute for medical care if you have pain.
The setup matters more than it looks. Facing the wall with hands placed at roughly chest or shoulder height lets you steady yourself without leaning, and standing on the floor with your whole foot down keeps the movement isolated at the ankle joint. If you lean on the wall or rock your hips, you cheat the tibialis anterior out of the work, since it is a relatively small muscle that cannot move your body weight around. Keep the knees soft but still and let the ankles do everything.
To execute it well, lift your toes and the balls of your feet toward your shins as high as they will go while your heels stay planted. Pause briefly at the top, then lower your feet back down under control so your toes touch the floor lightly rather than slapping down. The range is short, so the tempo and the squeeze at the top are what make the set productive. Breathe steadily throughout and avoid holding your breath as fatigue builds.
You will usually see this movement used as a warm-up before running or lower body training, as a high-rep finisher after calf work, or as a standalone block for people building up their shin and ankle strength from a low base. Because it requires no equipment beyond a wall, it is easy to do at home, in a hotel room, or as a fill-in between other exercises.
Form and safety points are straightforward. Move within a range that feels comfortable at the front of the ankle, and if you feel pinching rather than muscular work, reduce the height of the lift. Expect a burning sensation in the front of your shins at higher reps, which is normal, but stop if you notice sharp pain. Start with one or two sets and progress gradually, since this muscle can get surprisingly sore when it is new to direct work.
[ Workout Log & Planner ]
Put your next workout in Fitwill
Keep your plan and training log ready when you are.


Instructions
- Stand facing a wall about arm's length away, feet hip-width apart and flat on the floor.
- Place both palms on the wall at chest or shoulder height, elbows slightly bent, so your hands can steady you without taking your weight.
- Stand tall with a soft bend in the knees, ribs down, and your weight evenly distributed across both feet.
- Brace your core lightly and keep your hips and torso completely still for the entire set.
- Pull your toes and the balls of your feet up toward your shins as high as you can while keeping your heels glued to the floor.
- Pause for a second at the top and consciously squeeze the muscle along the front of your shin.
- Lower your feet back to the floor slowly and under control, letting your toes touch down gently instead of dropping them.
- Exhale as you lift your toes and inhale as you lower them, keeping your breathing relaxed and rhythmic.
- Complete your reps, then shake out your ankles and reset your stance before starting the next set.
Tips & Tricks
- The most common cheat is leaning your hips toward the wall to help lift the feet; if you catch yourself rocking forward, lighten your hand pressure until only your fingertips touch the wall.
- Keep your heels firmly planted the whole time; if your heels drift up, the calves take over and the tibialis anterior stops doing its job.
- Do not rush the lowering phase. Dropping the feet back down wastes the eccentric part of the rep, which is where much of the strength benefit sits.
- If the front of your ankle pinches at the top, lower the height of your toe lift slightly instead of forcing the full range.
- Keep your knees slightly bent but motionless; locking the knees or bending and straightening them turns this into a body sway exercise rather than an ankle exercise.
- Spread your toes as you lift them to increase the work in the muscles supporting the arch and the front of the shin.
- This muscle responds well to higher reps, so sets of 15 to 25 controlled reps are usually more productive than grinding out a few heavy, sloppy ones.
- If balancing feels awkward at first, narrow the distance between your hands or stand slightly closer to the wall so the support feels more secure.
- Expect a burning feeling along the shin within 10 to 15 reps when you are new to the movement; that is the target muscle working, not a reason to stop provided the sensation is muscular and not sharp.
Frequently Asked Questions
What muscles does the Standing Floor Tibialis Raise Wall Supported work?
The primary muscle is the tibialis anterior on the front of your shin, which lifts your toes toward your shins. The smaller stabilizers around the ankle and arch assist, while the calves stay relaxed on the opposite side of the joint.
Why do I need to face a wall for this exercise?
The wall gives your hands a light anchor so balance is not the limiting factor. That lets you put all of your attention into a clean ankle movement, whereas a free-standing version often turns into a balance drill with shortened reps.
How far should I stand from the wall?
About arm's length, close enough that your palms rest on the wall with your elbows slightly bent. If you have to lean your body weight into the wall, you are too far away; step in until the support feels light.
Is the Standing Floor Tibialis Raise Wall Supported good for beginners?
Yes, it is one of the most beginner-friendly lower leg exercises because it is low load, low skill, and easy to regulate through rep count and range. Beginners should start with one or two sets and build up gradually to avoid unusual shin soreness.
How many reps should I do?
Because the tibialis anterior is a small endurance-oriented muscle, higher volumes work well. Aim for 15 to 25 controlled reps per set for two to three sets, adjusting based on how the front of your shin feels the next day.
Should my heels move during the exercise?
No. Your heels stay planted on the floor for the entire set. If your heels lift, the movement shifts toward a calf raise pattern and the tibialis anterior loses its role as the prime mover.
Can I do this exercise without a wall?
You can, but expect fewer quality reps because you will also be managing your balance. Holding a sturdy chair, counter, or rack works just as well as a wall if the setup allows you to keep your torso upright.
Will this exercise help with shin splints?
Strengthening the tibialis anterior is a common part of managing shin soreness from running and jumping, and many people use this movement for exactly that purpose. However, if you have persistent or sharp shin pain, get it assessed by a qualified professional before self-treating.
When should I do the Standing Floor Tibialis Raise Wall Supported in my training?
It works well as a warm-up before running or leg day, as a high-rep finisher after calf exercises, or as a standalone block on easy days. Because it requires no equipment, it is also easy to slot in at home whenever you have a free wall.
What should I do if the front of my ankle pinches at the top of the lift?
Reduce how high you lift your toes so the movement stays comfortable, and make sure your knees are soft rather than locked. If pinching continues even at a short range, stop and have the ankle checked before continuing.