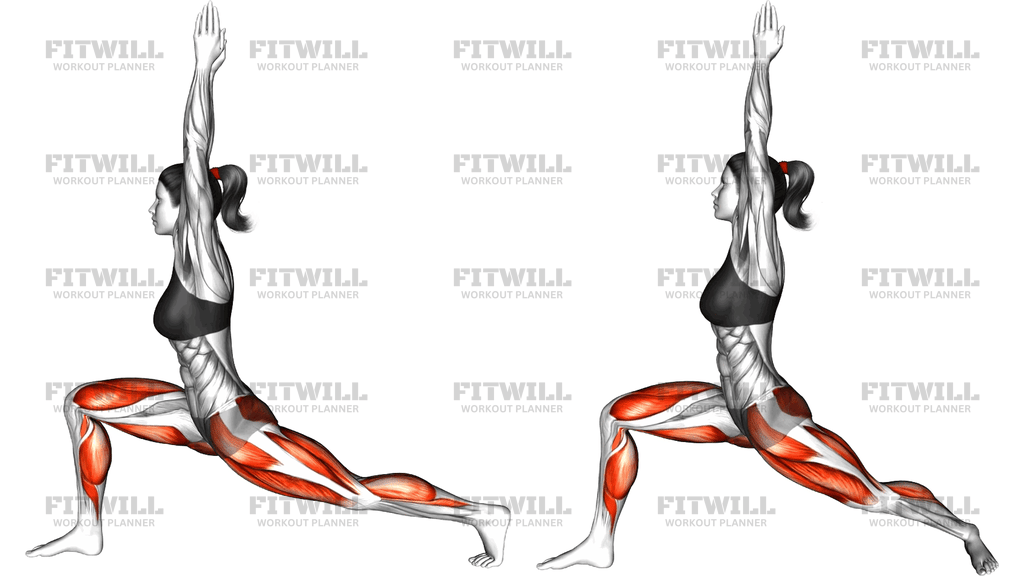
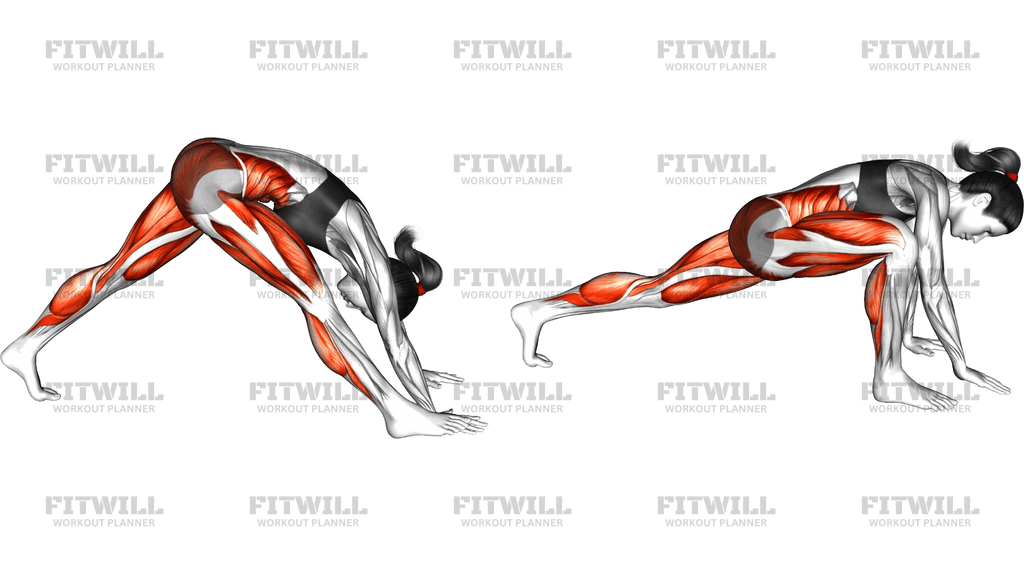
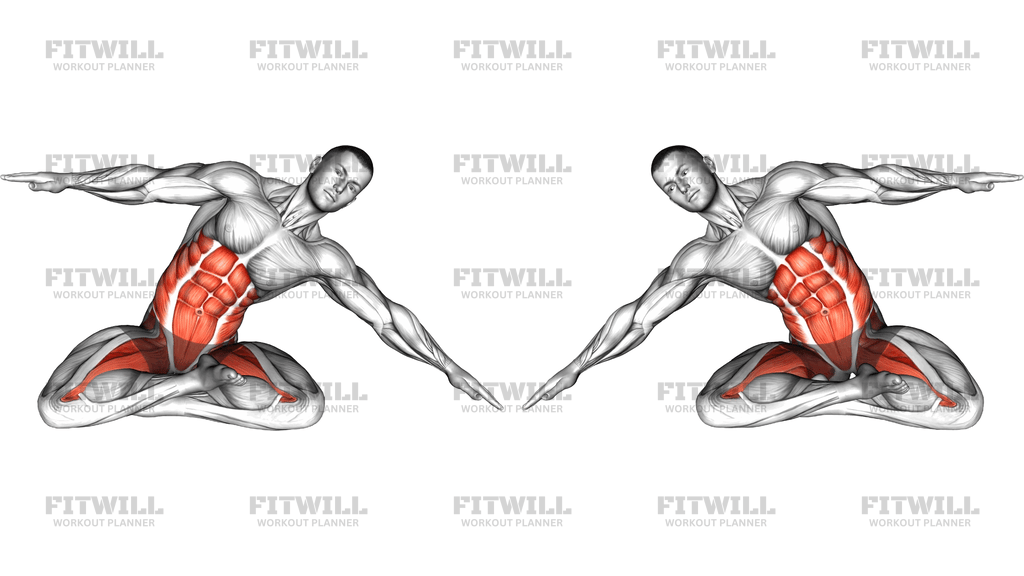
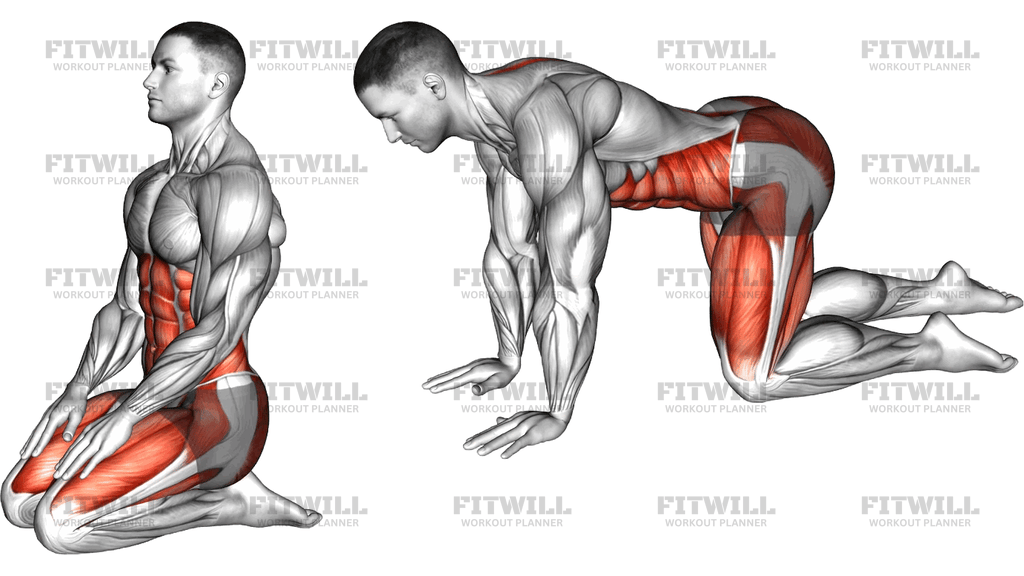
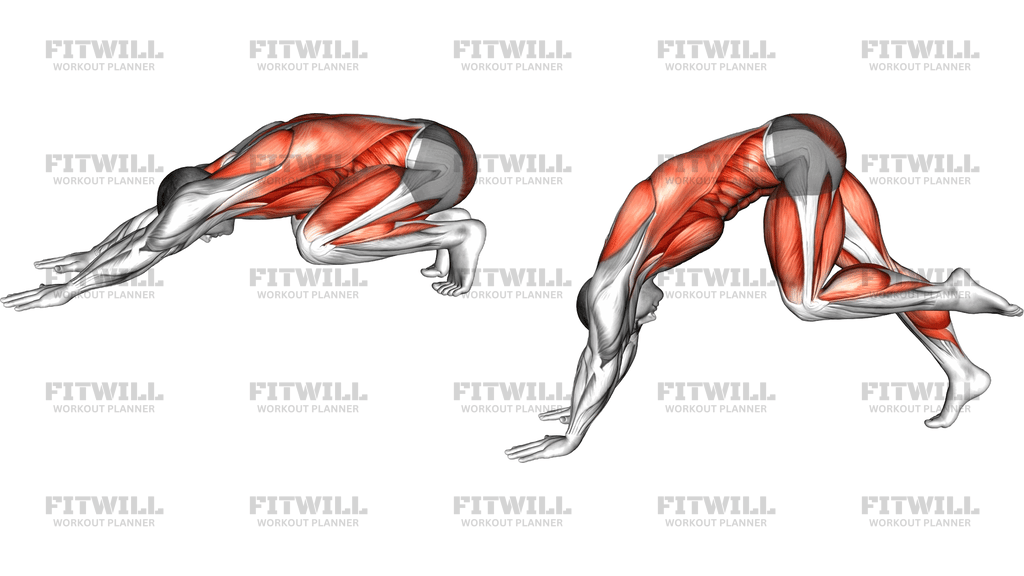
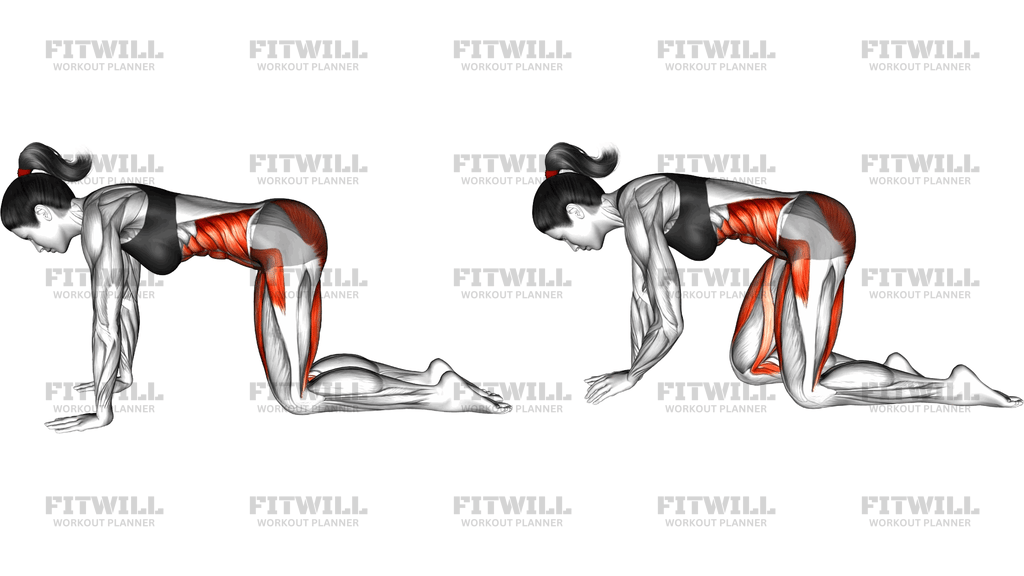
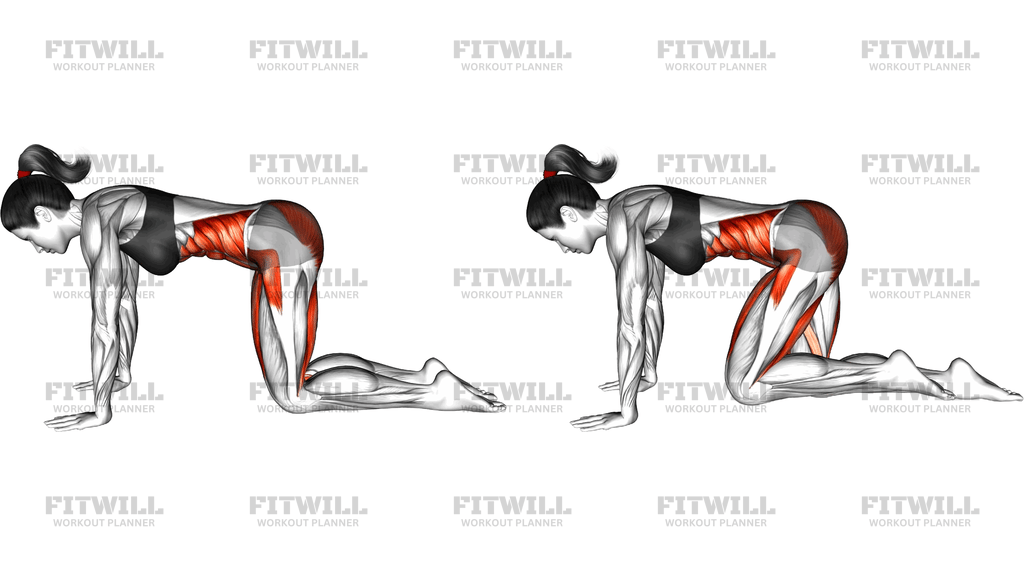
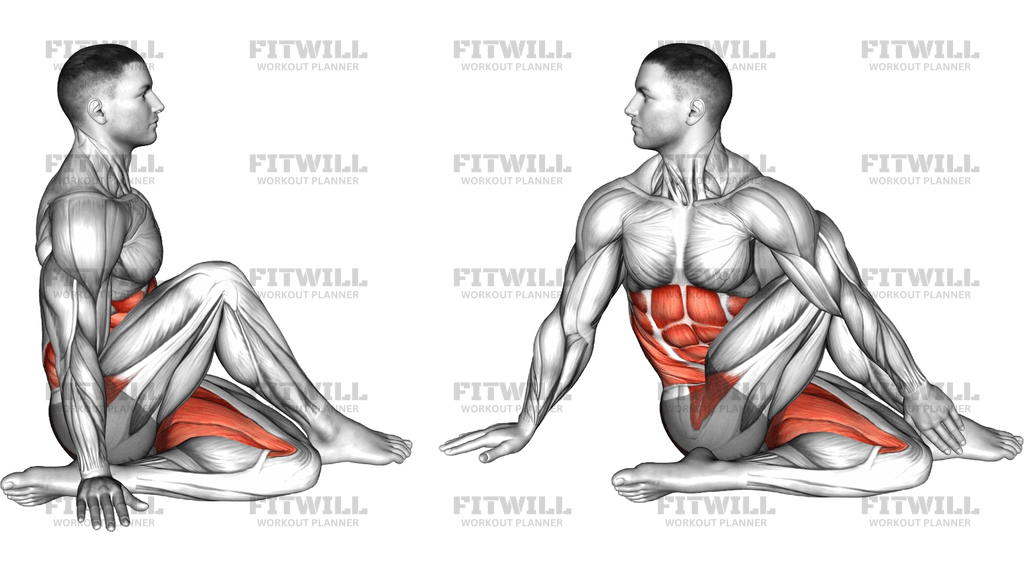
Upwards Facing Dog
Upwards Facing Dog is a classic yoga backbend performed from a prone position. You start lying face down with your hands planted under your shoulders and the tops of your feet on the floor, then press through your palms until your arms are fully straight, your chest lifts toward the ceiling, and your hips and thighs hover just off the ground. Unlike Cobra, which keeps the forearms or elbows down, this pose carries your full upper-body weight on straight arms, making it both a deep front-body stretch and a genuine upper-body strength hold.
The pose primarily opens the front line of the body. The abdominal wall, hip flexors, and quadriceps get a strong stretch as the spine extends and the legs reach back, which makes it especially valuable for anyone who spends long hours sitting. At the same time, the triceps, shoulders, chest, and the muscles along the spine work hard to hold you up, so you are training and stretching in the same breath.
Setup details matter more than most people expect. Your hands should sit roughly under your shoulders with fingers spread wide, and your shoulders should stack over your wrists as you press up. If your hands drift too far forward, your shoulders roll inward and the pose loads the shoulder joint awkwardly. Keeping the tops of the feet pressed down and the thighs engaged is what actually lifts the hips; without active legs, the pose collapses into the lower back.
To execute it well, press firmly through the entire hand, roll the shoulder blades down the back, and think about lifting the sternum rather than just throwing the head back. The hips stay a few inches off the floor with the knees pointing straight down, and the neck stays long as you gaze slightly upward or straight ahead. The backbend should feel like an even arc spread through the whole spine, not a hinge concentrated at one segment of the lower back.
You will see Upwards Facing Dog most often in vinyasa yoga, where it links a low push-up position to a downward dog on the exhale. Outside of yoga flows, it works well as a standalone mobility drill after heavy pressing days, long runs, or a full workday at a desk. Because it asks a lot from straight arms and an extended spine, it is worth building up through Cobra first if you are new to backbends or still developing pressing strength.
A few safety points are worth repeating. Keep the glutes and legs working so the hips control the depth of the backbend, and never force the neck into extension. If you feel pinching in the lower back or sharp pressure in the wrists, lower toward Cobra or shorten the hold. Pregnant women and anyone with acute wrist, shoulder, or spinal issues should choose a gentler variation instead of pushing through discomfort.
[ Workout Log & Planner ]
Put your next workout in Fitwill
Keep your plan and training log ready when you are.


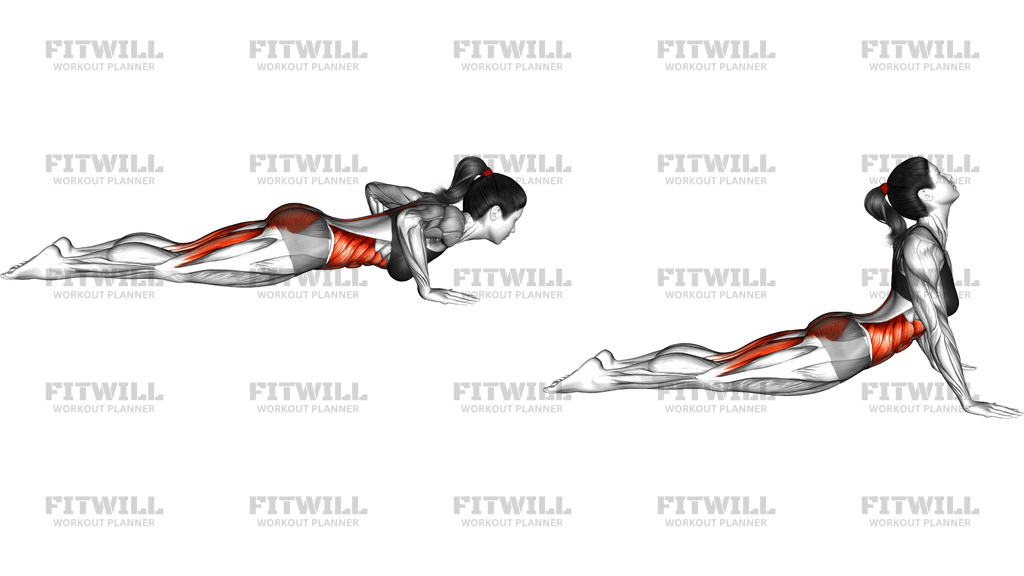
Instructions
- Lie face down on an exercise mat with your legs extended straight behind you and the tops of your feet resting on the floor.
- Place your palms flat on the mat beside your lower ribs, elbows bent and pointing back, with your fingers spread wide and fingertips roughly under your shoulders.
- Engage your thighs so your kneecaps lift slightly off the floor, and press the tops of your feet firmly down.
- On an inhale, push through your palms and straighten your elbows, sliding your chest forward and up as your torso rises.
- Let your hips and thighs lift a few inches off the floor so your weight rests on your hands and the tops of your feet, with your knees pointing straight down.
- Draw your shoulder blades down your back and open the chest, lifting the sternum toward the ceiling while keeping the neck long and the gaze slightly upward.
- Hold the position for two to five steady breaths, keeping even weight across both hands and both feet.
- Exhale as you bend your elbows and lower your torso back toward the mat with control, or push your hips up and back into a downward dog if you are flowing.
- Rest briefly on your stomach before repeating, and shake out your wrists between sets if they feel loaded.
Tips & Tricks
- If your shoulders creep up toward your ears, consciously press the floor away and pull the shoulder blades down before you lift any higher.
- Hips that sink too low usually mean the legs are switched off; squeeze the thighs and press the tops of the feet down to lift them back to a hover.
- Bend from the whole spine, not just the waist. If you feel the backbend gathering at one point in your lower back, reduce the height slightly and lift the chest instead.
- Hands placed too far in front of the shoulders turn the pose into a wrist grinder. Shift your palms back so they sit beside the lower ribs before pressing up.
- Keep a micro-bend of awareness in the elbows rather than locking them hard, especially if you hyperextend at the joint.
- Point the toes so the tops of the feet and not the toes carry your weight; curled toes shift the load into the knees and make the pose unstable.
- If straight arms collapse your form, practice Cobra with the chest only a few inches up until your back and arms adapt.
- Do not yank the head back. The backbend comes from the chest and spine, and the neck simply follows in a long line.
- In a vinyasa, move through the pose in one breath rather than lingering at half height, which is where most shoulder strain happens.
Frequently Asked Questions
Which muscles does Upwards Facing Dog actually work?
It stretches the abs, hip flexors, and quadriceps across the front of the body while the triceps, shoulders, chest, and spinal extensors hold you up. So it trains and stretches at the same time.
How is Upwards Facing Dog different from Cobra?
In Cobra the elbows stay bent or the forearms stay down and the hips rest on the floor. In Upwards Facing Dog the arms are straight and the hips and thighs hover off the mat, which demands more strength and more spinal extension.
Can beginners do Upwards Facing Dog?
Yes, but most beginners get more from Cobra first. Once you can hold a full push-up position with straight arms and extend your spine without pinching, the full pose is a reasonable next step.
Why do my hips keep dropping to the floor in Upwards Facing Dog?
The legs are not doing their share. Press the tops of the feet down, engage the thighs, and think of reaching the crown of your head up and forward; that lift is what keeps the hips hovering.
My wrists ache in Upwards Facing Dog. What should I change?
Check that your hands sit under your shoulders rather than far ahead of them, spread your fingers and grip the mat slightly, and shift more weight toward the base of the palm and the thumb side. Shortening the hold also helps.
Should my thighs touch the mat in Upwards Facing Dog?
No. The knees point down and the thighs hover a few inches above the mat, with your weight shared between your hands and the tops of your feet. If the thighs rest down, you are in a low Cobra variation instead.
What can I use instead of Upwards Facing Dog if it is too intense?
Cobra with the forearms or hands down gives a similar front-body opening with far less load on the wrists and lower back. Sphinx pose is another gentle option for stiff spines.
How long should I hold Upwards Facing Dog?
Two to five calm breaths is plenty for most people. In a vinyasa flow it may only last one breath, while a standalone mobility session can use longer holds of fifteen to thirty seconds.
Is it safe to do Upwards Facing Dog every day?
For most people with healthy wrists, shoulders, and spine, a daily moderate-intensity practice is fine. Skip it on days when the lower back feels irritated, and always warm up before pushing into a deep backbend.