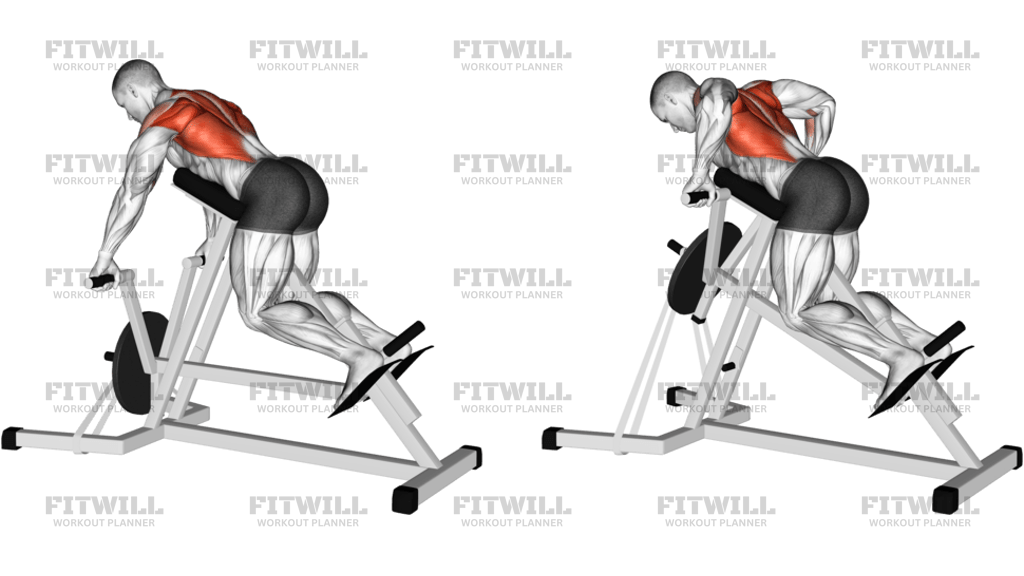
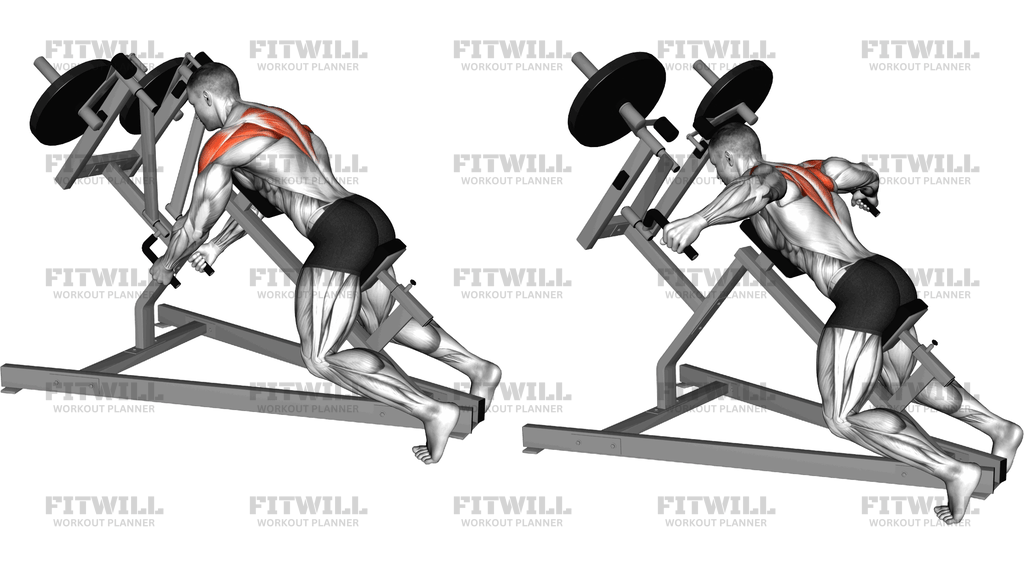
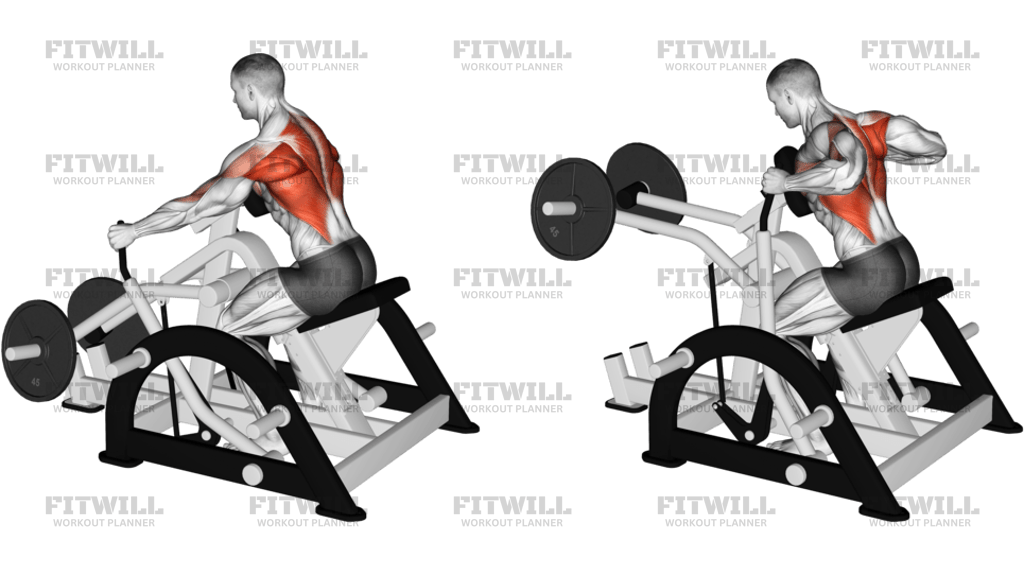
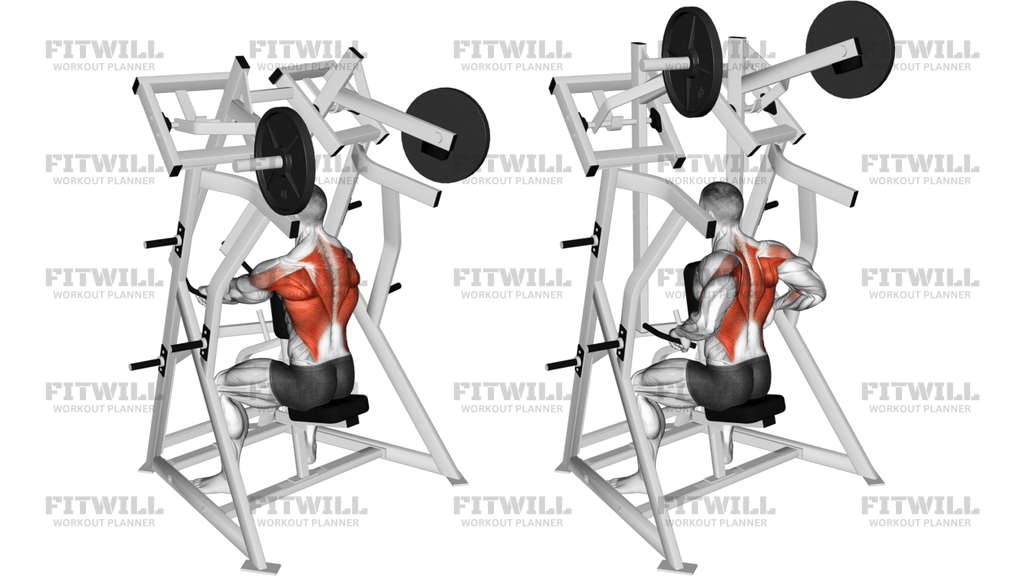
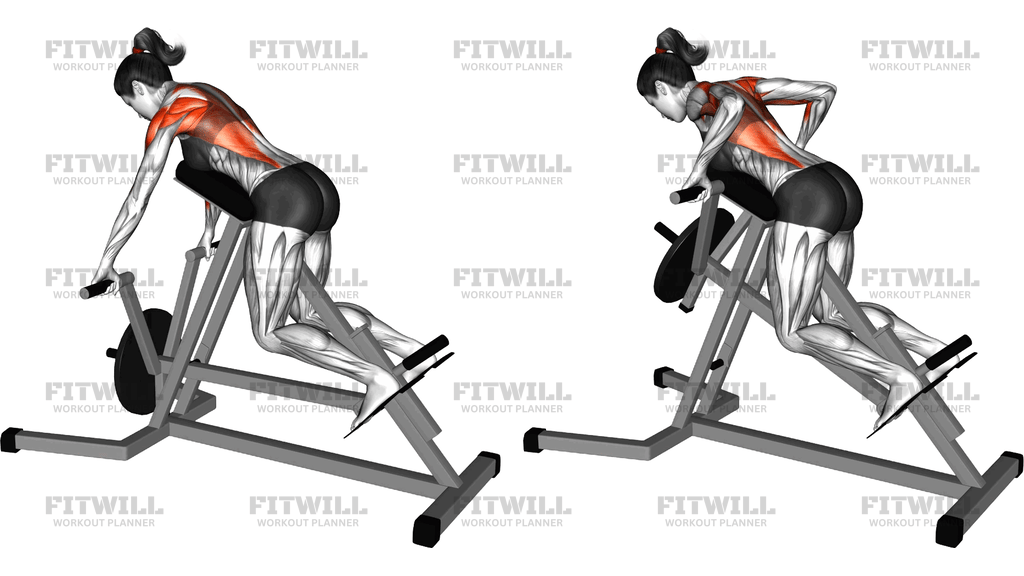
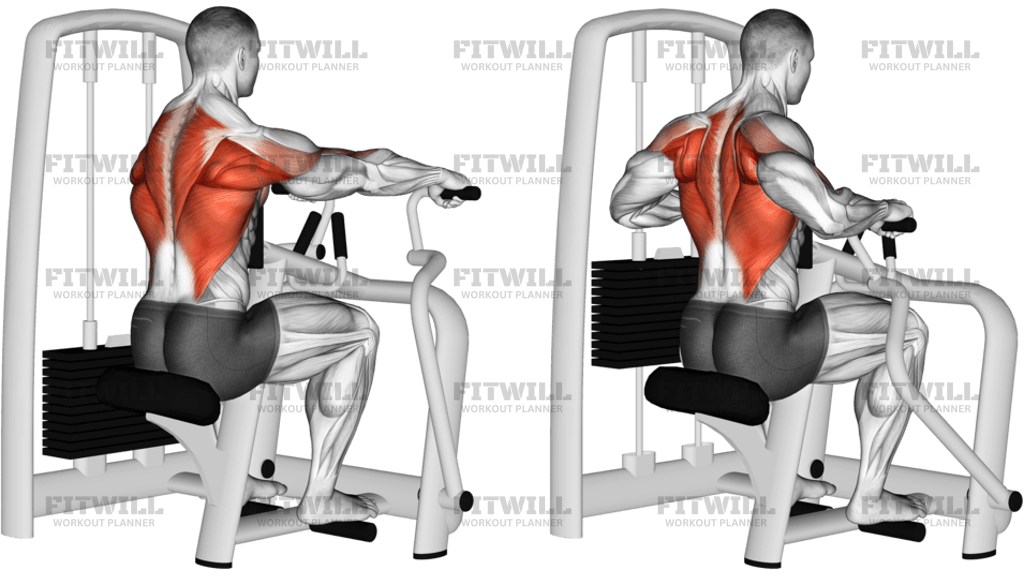
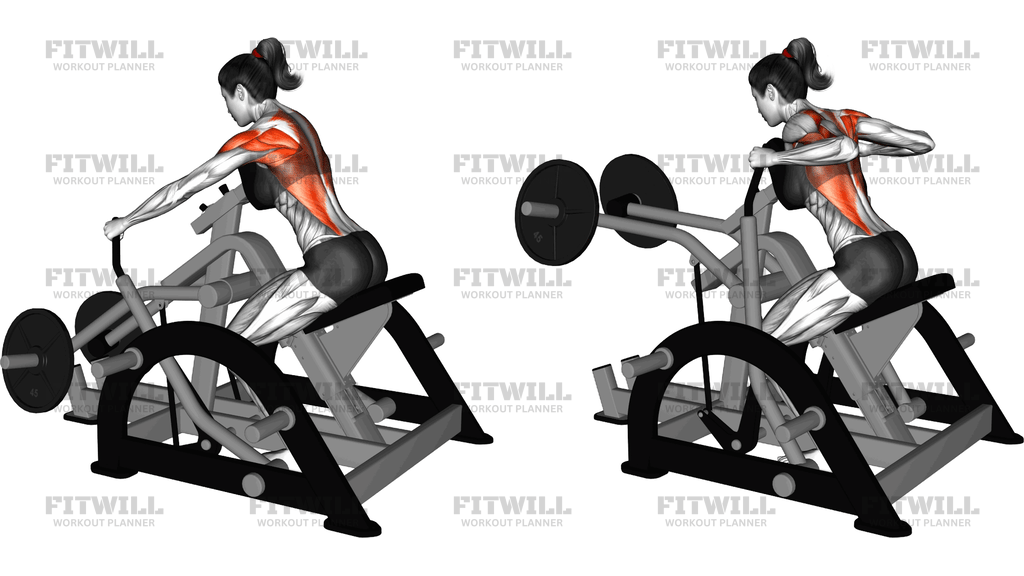
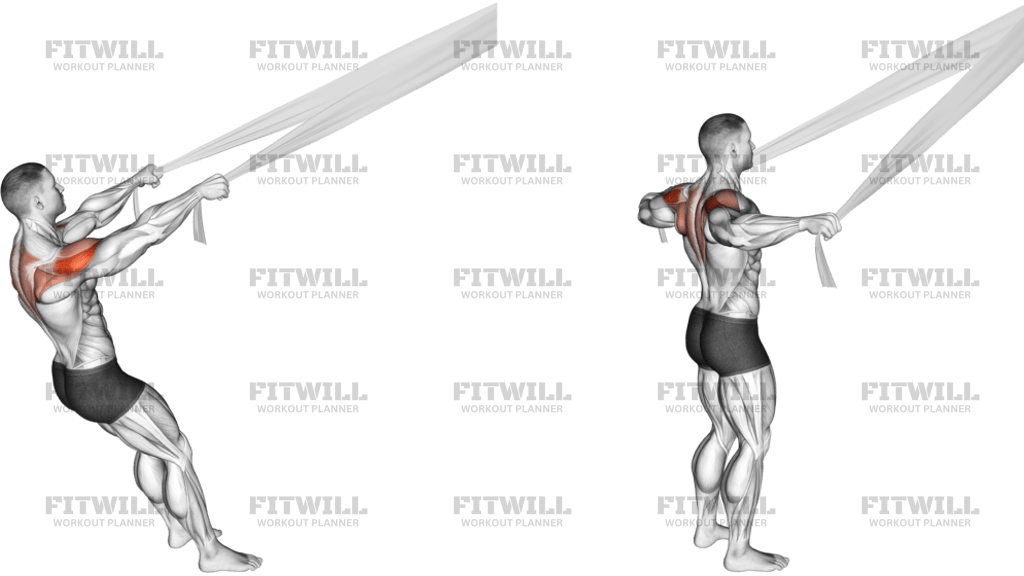
Lever Seated Delt Row
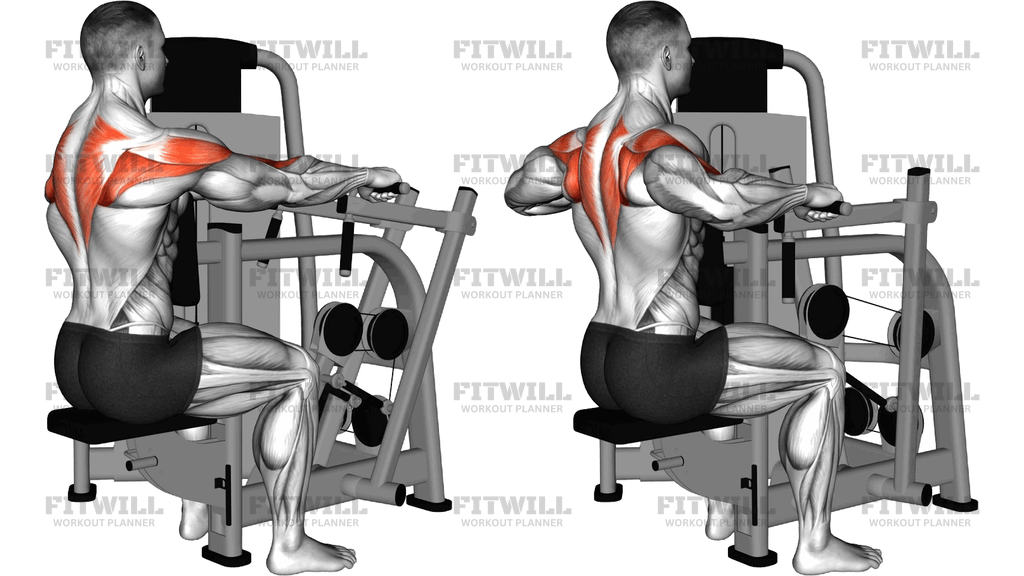
The Lever Seated Delt Row is a machine-based row performed on a plate-loaded leverage unit with a chest pad and fixed handles positioned at roughly shoulder height. Unlike a standard seated row where you pull toward your belly, this version has you draw the handles back with your elbows flared and high, so the movement finishes with your upper arms out to the sides at shoulder level. That elbow path shifts the workload away from the lats and onto the rear delts and the muscles between your shoulder blades.
The highlighted working areas are the posterior deltoids, together with the mid and lower traps and the rhomboids, which pull the shoulder blades back and together as you row. The biceps and forearms assist as gripping and pulling helpers, but the fixed lever arm limits how much they can take over. If your rear shoulders and upper back lag behind the front of your shoulders, this exercise is one of the most direct ways to catch them up.
The setup matters more than it might seem. Sitting with your chest firmly against the pad locks your torso upright so momentum cannot help you, and it keeps the shoulder joint at the height the handles were designed for. If the seat is too low or too high, the pull angle changes and the front of the shoulder or the lower back starts doing work the rear delts should be handling. Take a moment to adjust the seat so the handles line up just below shoulder height when your arms are extended.
Execution is simple but easy to rush. Grip the handles with a neutral or slightly pronated grip, pull by leading with the elbows rather than the hands, and aim to finish with your upper arms roughly parallel to the floor and your shoulder blades squeezed together. Pause briefly at the back, then let the weight return under control until your arms are extended and your shoulder blades have moved forward slightly. That controlled return is where a lot of the muscle-building value sits.
This exercise fits well as a primary rear delt and upper back movement on shoulder days or pull days, and it is particularly friendly to lifters who struggle to feel the rear delts with free weights. Because the machine stabilizes your torso and the path is fixed, you can focus entirely on squeezing the target muscles and push close to fatigue without a spotter, which makes it useful for both beginners and experienced lifters at the end of a hard session.
[ Workout Log & Planner ]
Put your next workout in Fitwill
Keep your plan and training log ready when you are.


Instructions
- Adjust the seat height so that when you sit down and extend your arms forward, the handles line up just below shoulder level.
- Sit with your chest pressed firmly against the chest pad and your feet flat on the floor about hip-width apart.
- Take a neutral overhand grip on the two handles with your arms extended in front of you, and keep a slight bend in the elbows.
- brace your torso lightly against the pad, lift your chest, and keep your neck in line with your spine before starting the pull.
- Pull the handles back by driving your elbows up and out to the sides, keeping the elbows higher than your hands throughout the rep.
- Continue until your upper arms are roughly level with your shoulders and your shoulder blades are pulled fully together, then hold that position for a beat.
- Slowly let the handles return forward, allowing the shoulder blades to spread and the arms to extend without letting the weight stack slam down.
- Exhale as you pull back and inhale as you return to the start.
- Complete your reps, then release the handles one at a time and stand up only after the lever arm has settled.
Tips & Tricks
- Think "elbows up and back," not "hands to chest." If your hands travel higher than your elbows, you have slipped into a regular row and the lats will take over.
- Do not drive your chest off the pad to start the rep. If you need to rock to move the weight, drop the load by one plate increment.
- Keep the shoulders down away from your ears as you pull. Shrugging early shifts work to the upper traps and away from the rear delts.
- A brief one-second squeeze at the fully pulled-back position does more for rear delt development here than adding extra plates, because the machine removes momentum anyway.
- Let the arms extend fully on the return, but keep a sliver of tension instead of letting the stack crash. Bouncing out of the stretch robs the muscle of time under load.
- If you feel the front of the shoulder working or pinching, check that the seat is not set too low, which forces the elbows to pull below the shoulder line.
- Grip the handles with your fingers rather than squeezing hard with the whole hand. A death grip fatigues the forearms before the rear delts get their work.
- Because the rear delts are a small muscle, moderate weight for 10 to 15 controlled reps usually builds them better than heavy, partial pulls.
Frequently Asked Questions
What muscles does the Lever Seated Delt Row work?
The primary movers are the rear delts, supported by the middle and lower traps and the rhomboids, which retract the shoulder blades. The biceps and forearms assist with the pull but stay secondary because the machine's fixed path limits elbow flexion.
How is the Lever Seated Delt Row different from a normal seated row?
In a normal seated row the elbows stay close to your ribs and you pull toward your stomach, which biases the lats. Here the elbows flare out and up so they finish at shoulder height, shifting the emphasis to the rear delts and upper back.
Is the Lever Seated Delt Row good for beginners?
Yes. The chest pad keeps your torso fixed and the lever arm controls the path, so beginners can learn to feel the rear delts without worrying about balancing a barbell or dumbbells. Start with a light weight and focus on the elbow position before adding load.
Why is my lower back sore after this exercise?
That usually means your chest is separating from the pad as you pull, letting your torso rock backward. Lighten the load and brace your chest firmly against the pad for every rep so the movement comes only from the arms and shoulder blades.
How high should the seat be set for the Lever Seated Delt Row?
Set it so the handles sit at or just below shoulder height when your arms are extended in front of you. If the seat is too low, the pull angle drops and the lats and lower back take over; too high, and the shoulders shrug into the ears.
Should I use a heavy weight and low reps on this machine?
Not usually. The rear delts are small and respond best to moderate loads in the 10 to 15 rep range with a full stretch and a firm squeeze. Heavy loads on this setup tend to turn it into a torso-swinging row that the bigger back muscles dominate.
What can I substitute if my gym has no leverage row machine?
A chest-supported dumbbell rear delt row on an incline bench is the closest free-weight match, since it also pins the torso and allows a high-elbow pull. Cable face pulls and bent-over dumbbell reverse flyes also hit the rear delts well.
Where should I place the Lever Seated Delt Row in my workout?
It works well after your main presses or heavy pulls, when the rear delts and upper back still need direct volume. Many lifters also use it as a finisher on shoulder day to balance out all the front-delt pressing.
Is it safe for the shoulders if I have a history of shoulder discomfort?
The fixed path and padded chest support make this one of the more controlled rowing options, but you should still keep the range within a pain-free arc and stop if you feel pinching at the front of the shoulder. Check the seat height first, and consult a qualified professional if discomfort continues.