Reverse Push Up
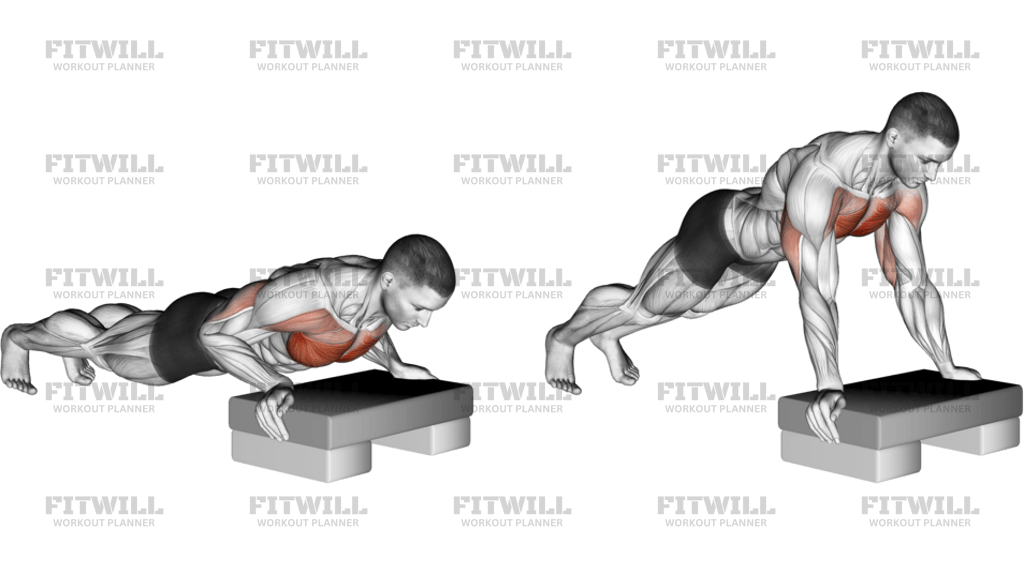
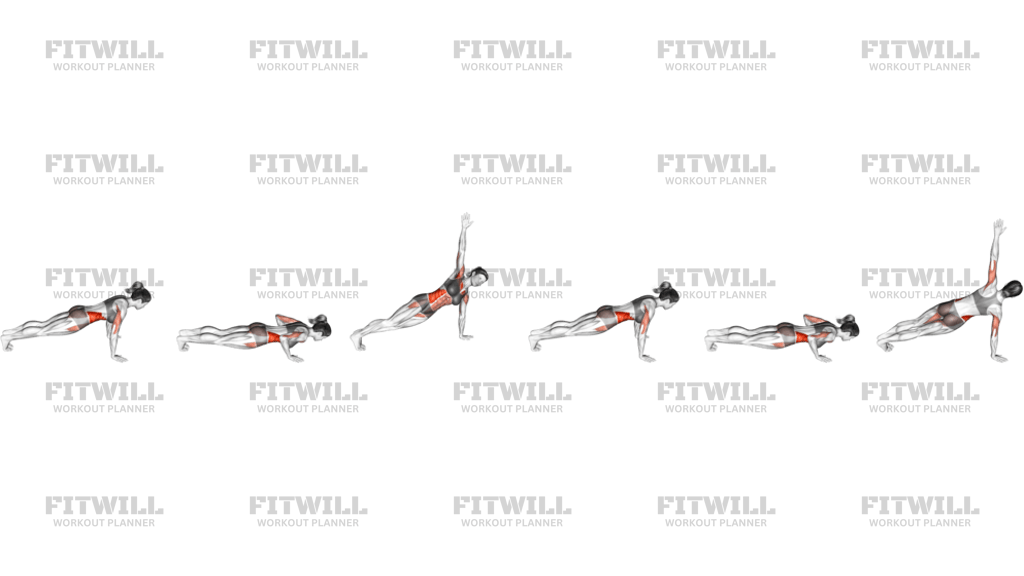
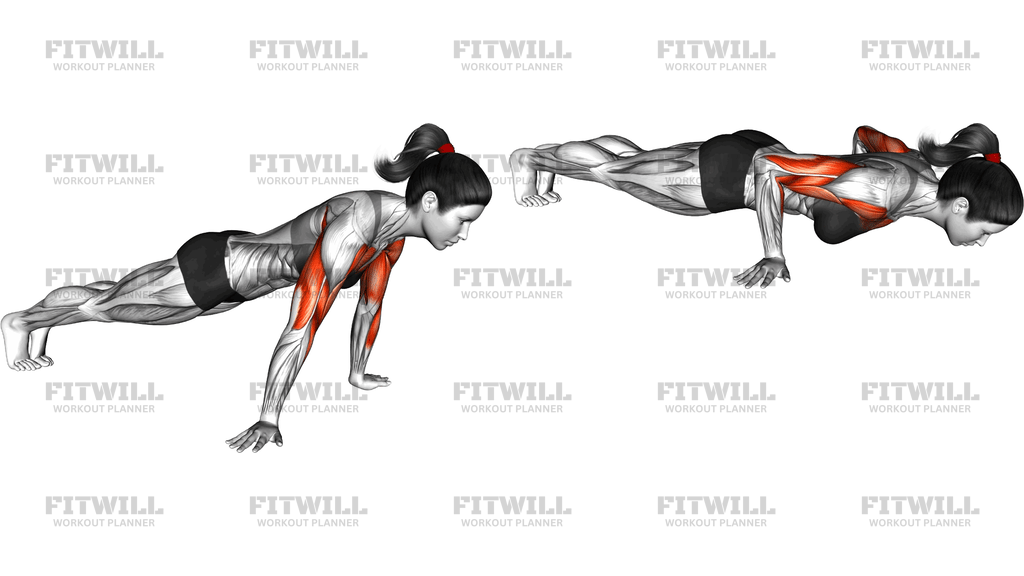
The Reverse Push Up takes the familiar push-up plank and flips the direction of travel. Instead of dropping the chest straight down and pressing back up, you start in a plank on the floor, drift your shoulders forward past your hands, and then press your body backward past them so your arms end up extended behind your torso. Because the shoulders travel behind the elbows at the end of the rep, the triceps are worked through a much longer range than in a standard push-up, which is why the backs of the arms do so much of the work here.
Alongside the triceps, the movement loads the chest and front shoulders as they control the body gliding over and past the hands, and the entire midsection has to stay braced while your weight shifts from in front of the wrists to behind them. The core work is easy to underestimate: a sagging or piked hip position instantly makes the rep sloppy, so keeping a rigid plank line is part of the exercise, not a side note.
The setup matters more than in a regular push-up because your hands stay planted while your body moves. Place them under or just outside your shoulders with fingers pointing forward, and expect your weight to rock up onto the heels of the palms as you press backward. A mat under the hands and knees-width area makes the floor kinder to your wrists and lets your palms stay put instead of sliding.
To execute well, think of the motion as a long arc over a fixed hand position: forward and down, then back and up behind you. Move slowly enough that you can feel the triceps take over as your arms straighten behind the body, and pull yourself forward with control rather than collapsing back onto your hands.
This is a useful addition for anyone who finds standard push-ups easy and wants to challenge the triceps and front delts with body weight alone, and for calisthenics-style programs that train pressing strength through unusual angles. It also carries over to movements that require strong, extended-arm shoulder positions.
Because the shoulder ends up behind the hand in a loaded position, build up gradually. If you feel pinching at the front of the shoulder or strain in the wrists, shorten the range by not pressing quite as far back, and only progress the distance once the movement feels smooth from start to finish.
[ Workout Log & Planner ]
Put your next workout in Fitwill
Keep your plan and training log ready when you are.


Instructions
- Set an exercise mat on the floor and place your palms flat on it slightly wider than shoulder width, fingers pointing forward, arms fully straight.
- Extend both legs behind you and rest on the balls of your feet so your body forms one straight line from head to heels, hands directly under your shoulders.
- Brace your abdominal muscles, squeeze your glutes, and let your gaze fall to a spot on the floor just ahead of your fingertips to keep your neck neutral.
- Shift your shoulders forward past your wrists, bending your elbows so your chest moves down and forward toward the floor, similar to the bottom of a push-up.
- From that forward position, press through your palms and drive your body backward past your hands, keeping the floor-cleared plank line as your hips travel back.
- Continue pressing until your arms are fully extended behind your torso and your shoulders sit behind your wrists, feeling the triceps finish the movement.
- Pause briefly in the back position without letting your hips sag toward the floor or pike up toward the ceiling.
- Bend your elbows and press the floor away to pull your body forward again until your shoulders return over your wrists at the top of the plank.
- Exhale as you press backward, inhale as you return forward, and reset your plank before starting the next repetition.
Tips & Tricks
- The most common fault is letting the hips sag as the body travels backward, which turns the rep into a lower-back strain. Lock the plank line first, then shorten the backward range if you cannot hold it.
- If your palms slide on a smooth floor, spread your fingers and grip the mat, or use knuckles on a cushioned surface so the hands stay anchored while the body moves past them.
- Elbows that flare wide at 90 degrees shift stress toward the shoulder joint. Keep them tracking back at roughly 45 degrees so the triceps and chest do the work.
- Going too far back on your first attempts is the usual reason the movement feels jammed at the shoulder. Build the range in small steps, stopping a few inches short of full arm extension at first.
- Move slower on the forward return than feels natural; most people lose tension by dropping back to the start, which removes most of the triceps and chest workload.
- If your wrists complain as weight rocks onto the heel of the palm, warm them up with wrist circles first and keep pressure through the whole palm rather than only the heel.
- Treat this as a harder sibling of the push-up, not a warm-up. If you cannot yet do eight to ten solid push-ups, build that base before adding long-range reps here.
- Keep your head in line with your spine. Craning the chin up to watch your hands makes the plank line break exactly when your body passes over the wrists.
Frequently Asked Questions
What muscles does the Reverse Push Up work?
The triceps do the bulk of the work because the arms straighten behind the body through a long range. The chest and front shoulders assist as your weight passes over and behind the hands, and the core holds the plank line throughout.
How is the Reverse Push Up different from a regular push-up?
In a regular push-up the hands stay under the shoulders and the body moves only up and down. In the Reverse Push Up the hands stay planted while your whole body travels forward past them and then presses back behind them, extending the shoulders fully behind the torso.
Is the Reverse Push Up suitable for beginners?
It is demanding because of the extended shoulder position behind the hands. Beginners should first build solid push-ups, then start with a shortened range where the body only travels slightly past the hands.
Where exactly should my arms finish at the end of the rep?
Your arms should be fully straight with your shoulders behind your wrists, so the hands end up trailing behind your torso. If you cannot get there without your hips sagging or shoulders pinching, stop at whatever depth you can hold with a straight body line.
Why do my wrists hurt during the Reverse Push Up?
As the body presses backward, a large share of your weight rolls onto the heels of the palms, which loads the wrists in extension under pressure. Spread your fingers, grip the mat, keep pressure distributed across the whole palm, and shorten the backward range if discomfort persists.
How can I make the Reverse Push Up easier?
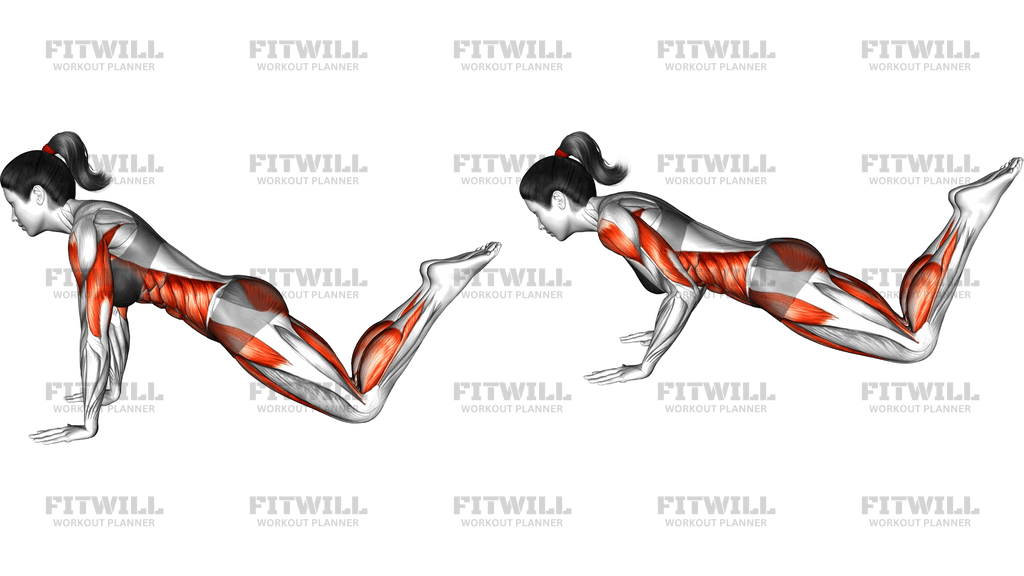
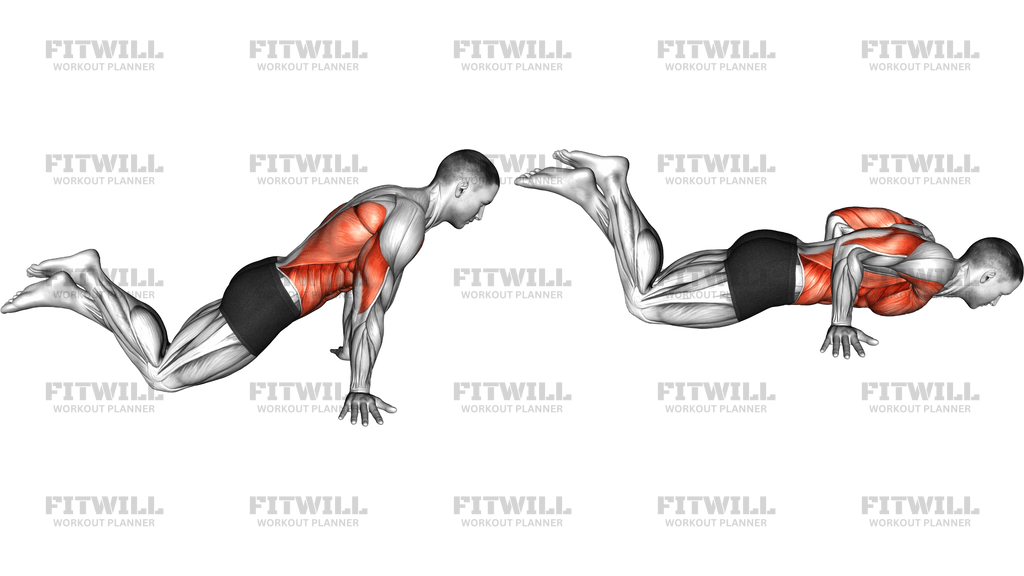
Reduce how far your body travels behind your hands, or start from your knees to learn the path with less load. Once the full arc feels controlled from the toes, extend the range gradually.
Do I need an exercise mat for the Reverse Push Up?
A mat is not required, but it helps in two ways: it cushions the wrists and hands as your weight rocks over them, and its texture gives your palms something to grip so they stay anchored while your body slides past.
How many reps of the Reverse Push Up should I do?
Because the triceps work through a long, demanding range, start with sets of 5 to 8 controlled reps and only add volume once you can complete each rep without sagging hips or a shortened path.
Can the Reverse Push Up replace triceps exercises like dips?
It can serve a similar role in a body-weight program because it loads the triceps in a fully extended shoulder position that dips do not cover. Many lifters use both, since each stresses the arms from a different angle.
Is it safe if I feel a pinch at the front of my shoulder?
A pinching sensation usually means the shoulder is traveling too far behind the hands too soon. Stop the rep there, reduce the range, and make sure your elbows stay tucked rather than flaring; if the pinch continues at a shorter range, switch back to regular push-ups.