Standing Ankle And Hip Drill
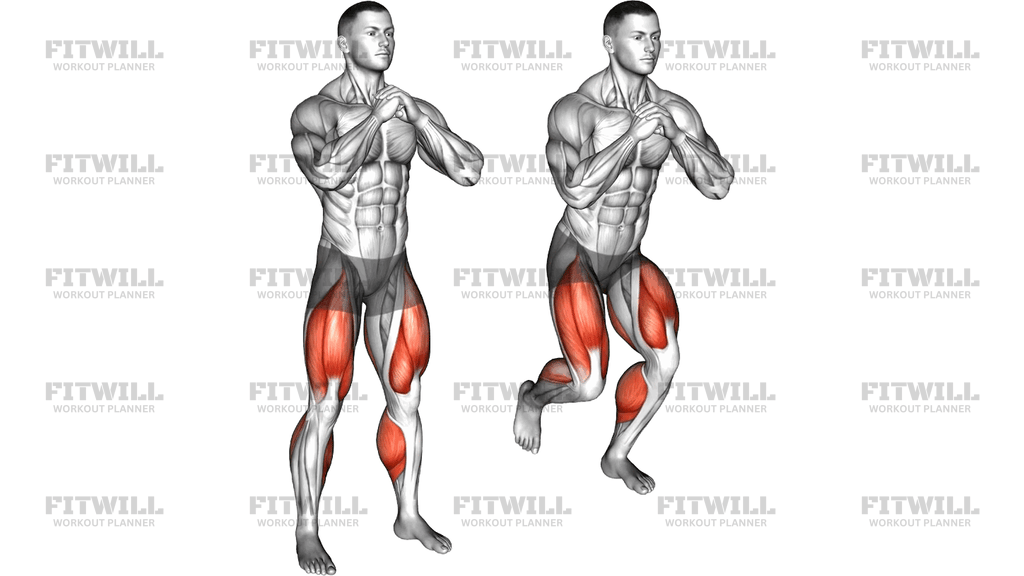
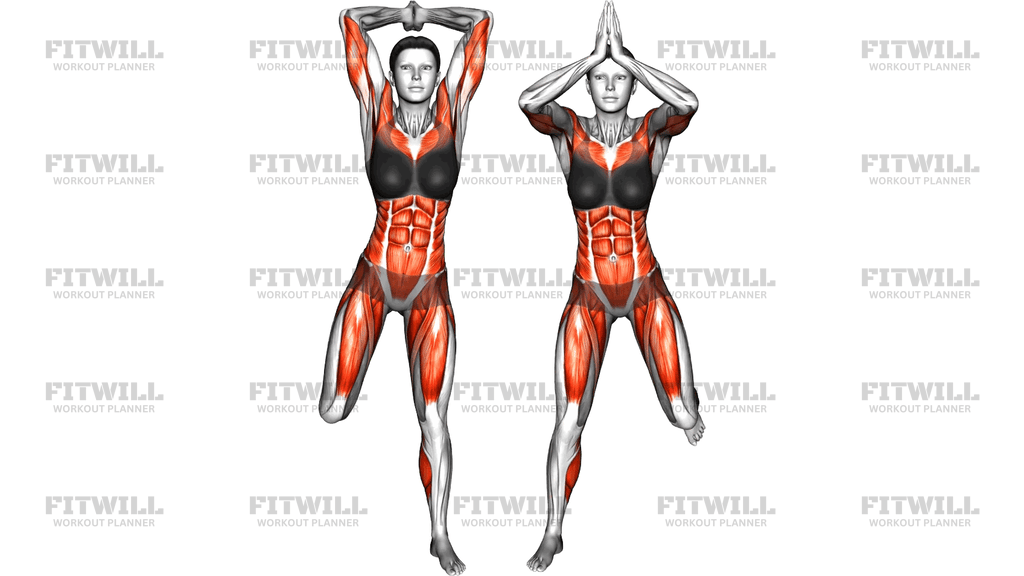
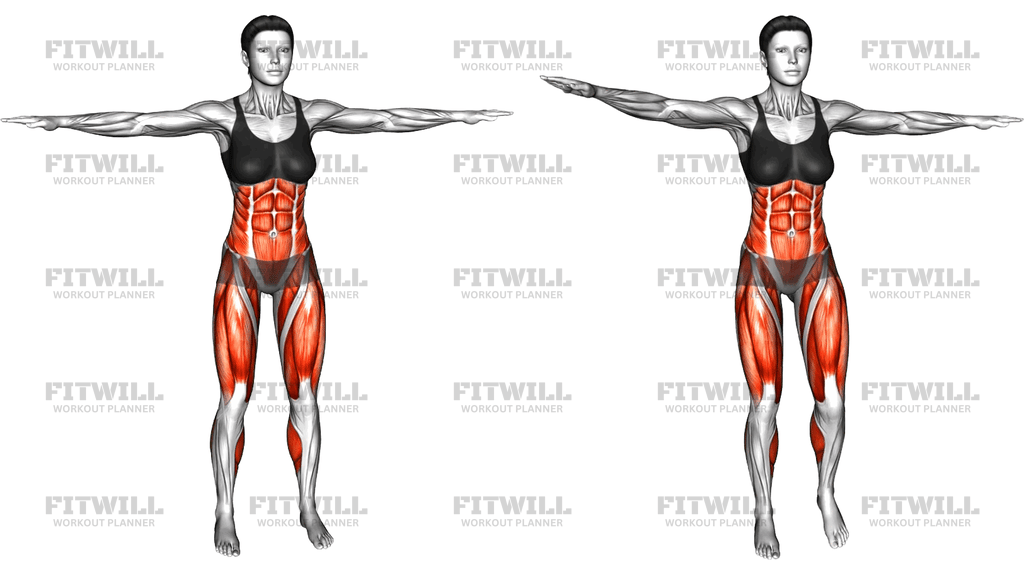
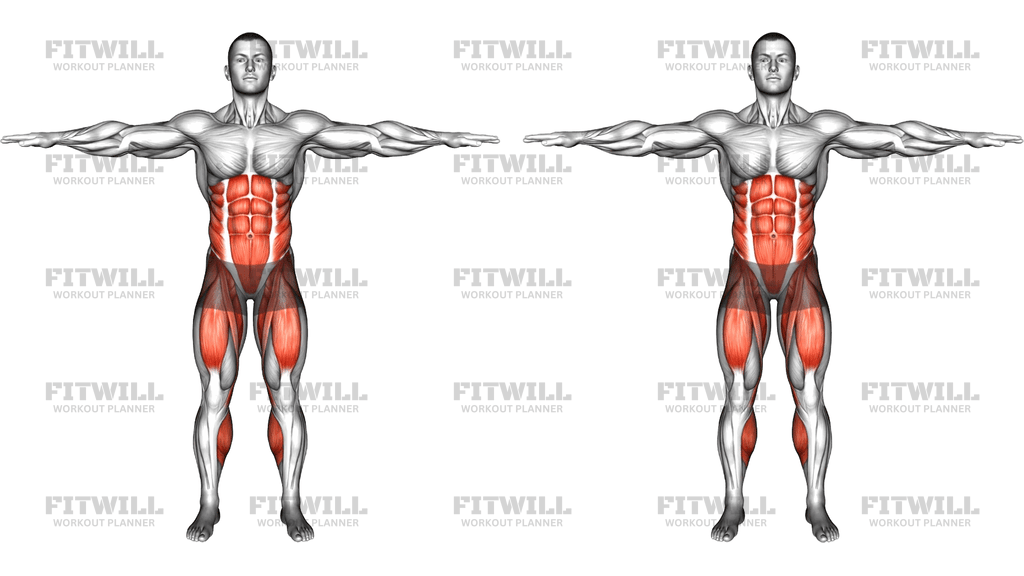
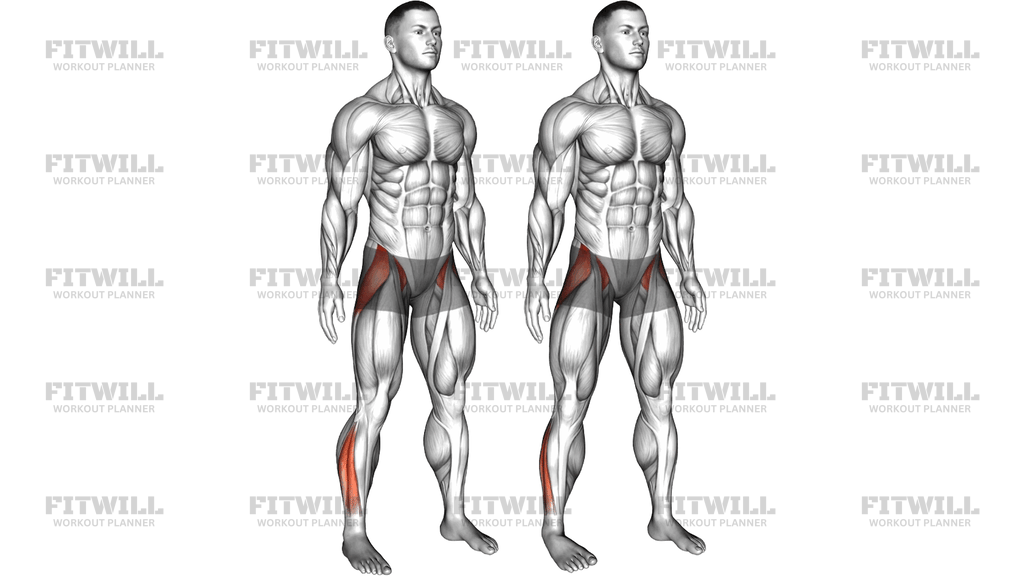
The Standing Ankle And Hip Drill is a bodyweight control exercise that links two joints most people train separately: the ankle and the hip. You stand tall with your feet on the floor and deliberately rock your shins forward over your toes while your hips counterbalance the movement, then reverse back to tall standing. It looks almost effortless from the outside, but the muscles highlighted along the outside of the lower leg and the side of the hip are doing steady, fine-tuned work the entire time.
This drill is especially useful for runners, lifters, and anyone who spends long hours sitting. Squatting, lunging, walking downhill, and changing direction all require the ankle to bend smoothly while the hip moves in coordination with it. When one of those joints is stiff or uncoordinated, the other usually compensates, which shows up as heels lifting in a squat, knees caving inward, or hips shifting sideways during a stride. Practicing the two joints together on your own two feet builds that coordination directly.
The main muscles doing the work are the stabilizers around the ankle, particularly the peroneus longus running down the outside of the lower leg, along with the deep calf muscles. On the hip side, the gluteus medius and tensor fasciae latae on the outer hip keep your pelvis level as your weight shifts. Because you are standing and loaded through your whole body, the drill also gently challenges balance and trunk control without any equipment.
Setup matters more than it appears to. Your stance width, weight distribution across the foot, and the tallness of your torso determine whether the ankle and hip actually share the movement or whether one joint dumps all the work on the other. Keep your full foot in contact with the floor, especially the big toe and heel, and let the shin travel rather than letting the whole body lean like a plank falling forward.
To execute it well, move slowly and think of the shin and hips as two ends of a seesaw: as the knees drift forward over the toes, the hips travel slightly back and down, and as you return to standing tall, the hips come back under the shoulders. The entire rep should take a few seconds each way. Fast, bouncy repetitions defeat the purpose, because the stabilizing muscles you are training respond best to slow, deliberate shifts of pressure.
Use this drill as a warm-up before lower body training, as a standalone mobility-and-control session, or as a reintroduction to loading after long periods of sitting. Two to three sets of eight to ten slow repetitions is plenty. If you feel pinching in the front of the ankle, reduce the range slightly rather than forcing depth, and keep the movement pain-free throughout.
[ Workout Log & Planner ]
Put your next workout in Fitwill
Keep your plan and training log ready when you are.


Instructions
- Stand with your feet about hip-width apart, toes pointing forward or turned out very slightly, and your arms relaxed at your sides.
- Spread your weight evenly across each foot so you feel pressure at the big toe, little toe, and heel, then gently engage your core as if bracing for a light push.
- Soften your knees a few degrees so they are ready to move rather than locked straight.
- Inhale, then slowly let your shins travel forward so your knees drift over your toes, keeping your heels and the balls of your feet glued to the floor.
- As the knees move forward, push your hips slightly back and down so the hips and ankles share the movement instead of one joint collapsing.
- Keep your chest tall and your gaze forward; do not let your upper body hinge forward like a falling board.
- Pause briefly at the deepest point where both heels stay down and no joint feels pinched.
- Exhale and press through the floor to return to tall standing, letting the hips come back under the shoulders as the shins return vertical.
- Reset your weight distribution across both feet, then repeat for 8-10 slow, controlled repetitions.
- Keep your breathing steady throughout, inhaling as you sink and exhaling as you stand back up.
Tips & Tricks
- If your heels lift as your knees travel forward, you have gone past your available ankle range; shorten the depth and gradually earn more range over weeks, not in one session.
- Watch for your knees caving toward each other as you sink. Cue your knees to track over your second and third toes so the outer hip muscles, not the ligaments, control the position.
- A common error is turning this into a squat. The movement is a forward shin glide with a small hip shift, not a deep bend, so keep the travel modest and the emphasis on pressure moving through the foot.
- If the front of your ankle pinches instead of stretching, stop at the point just before the pinch. Forcing through it trains nothing useful and irritates the joint.
- Do this barefoot or in flat, flexible shoes. Thick, cushioned soles mute the foot feedback that makes the drill effective.
- Film yourself from the side once. Most people are surprised how far their torso leans forward; aim for a vertical line from ear through shoulder to hip.
- Move slowly enough that you could pause at any point in the rep. If you cannot, the shift is being driven by momentum rather than by the ankle and hip stabilizers.
- If balance feels shaky, reduce the range or stand within arm's reach of a wall for confidence, but avoid actually leaning on it once you can stand steady.
Frequently Asked Questions
What muscles does the Standing Ankle And Hip Drill work?
The main work comes from the ankle stabilizers, especially the peroneus longus on the outside of the lower leg and the deep calf muscles, together with the outer hip muscles like the gluteus medius and tensor fasciae latae that keep your pelvis level as you shift.
Is the Standing Ankle And Hip Drill suitable for beginners?
Yes, it is a low-load bodyweight drill and one of the safest ways to practice ankle and hip coordination. Beginners should simply use a smaller range and prioritize keeping the heels down and the knees tracking over the toes.
How does this drill differ from a calf raise?
A calf raise pushes the heel up and mostly trains the calf muscles concentrically. This drill keeps the whole foot planted and moves the shin over the foot, training ankle dorsiflexion range and the stabilizers that control it, which is a different job entirely.
Why do my heels lift during the Standing Ankle And Hip Drill?
Lifting heels usually means your knees are traveling further forward than your ankle range currently allows. Reduce the depth until both heels stay down, and improve the range gradually with consistent practice.
How many reps and sets should I do?
Two to three sets of 8-10 slow repetitions works well, either as a warm-up before leg training or as a standalone session. Because the drill is about control rather than fatigue, quality matters far more than volume.
Can I use the Standing Ankle And Hip Drill before squatting or running?
Yes, it works well as a warm-up because it rehearses the exact ankle and hip coordination those activities demand. A couple of easy sets beforehand can help your knees track better and your heels stay down under load.
What can I substitute if standing is uncomfortable?
You can perform a similar shin-over-toes glide facing a wall with your hands on it for support, which removes most of the balance demand while keeping the same ankle and hip path. Return to the standing version as your stability improves.
Should I feel a stretch at the front of my ankle?
A mild stretch across the front of the ankle is normal as the shin travels forward. Sharpness, pinching, or pain is not, so stop short of any painful point and work within a comfortable range.
Is it normal to wobble during this drill?
Some wobble is expected at first and is actually the small stabilizing muscles around your ankle and hip learning their job. It should settle within a few sessions; if it does not, narrow your focus to slow, even pressure through the big toe, little toe, and heel.