Back Crossover Foot Tap
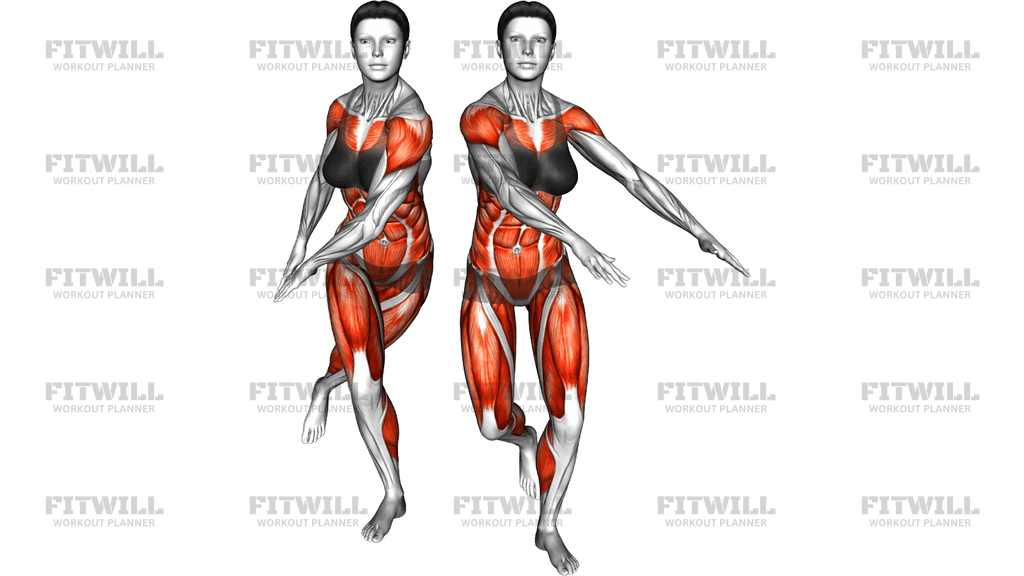
The Back Crossover Foot Tap is a standing balance drill where you tap one foot behind and across your standing leg, then return it to a normal stance, repeating on each side. It looks simple, but crossing the midline behind your body while balancing on one leg forces the hip stabilizers, quads, calves, and core to work together in a way that straight-line exercises never ask for. The arms move in a natural counter-swing opposite the working leg, which helps you stay oriented and adds a light coordination element.
This movement is especially useful for anyone who wants better single-leg stability: runners, hikers, racket-sport players, and older adults working on fall prevention all benefit from it. Everyday walking and climbing stairs are essentially repeated single-leg balances, and the crossover tap trains the exact hip and ankle control those activities depend on. Because it requires no equipment and very little space, it works well as a warm-up primer, an active recovery drill, or part of a home balance routine.
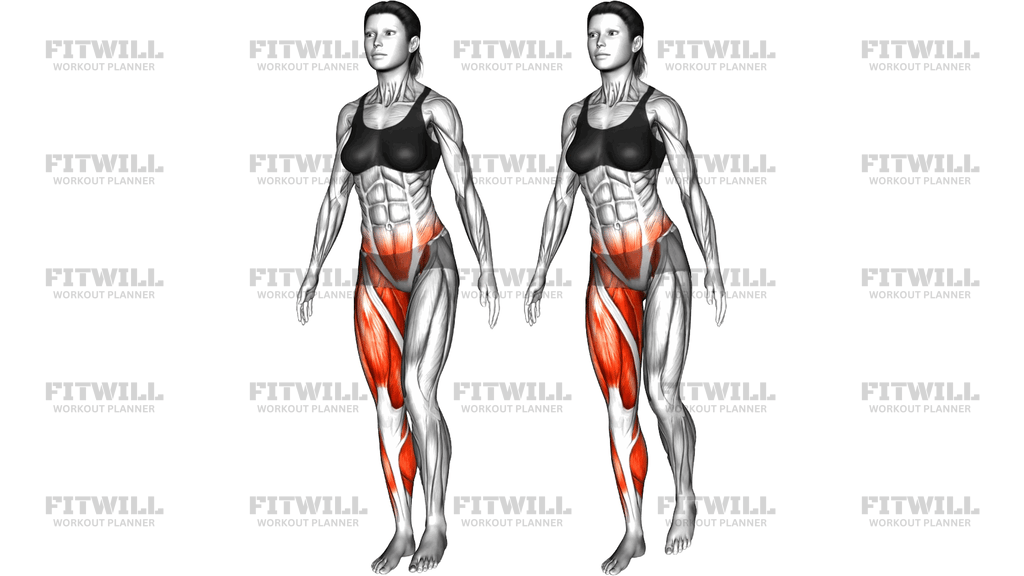
The main work comes from the standing leg. The quads and calf muscles keep the knee and ankle steady while the glute medius on the outer hip stops your pelvis from dropping or twisting as the free leg swings behind you. Your core, particularly the deep abdominals and obliques, quietly controls the rotation that the crossover position creates. If you feel these smaller stabilizing muscles working harder than your big prime movers during the set, that is exactly the point of the drill.
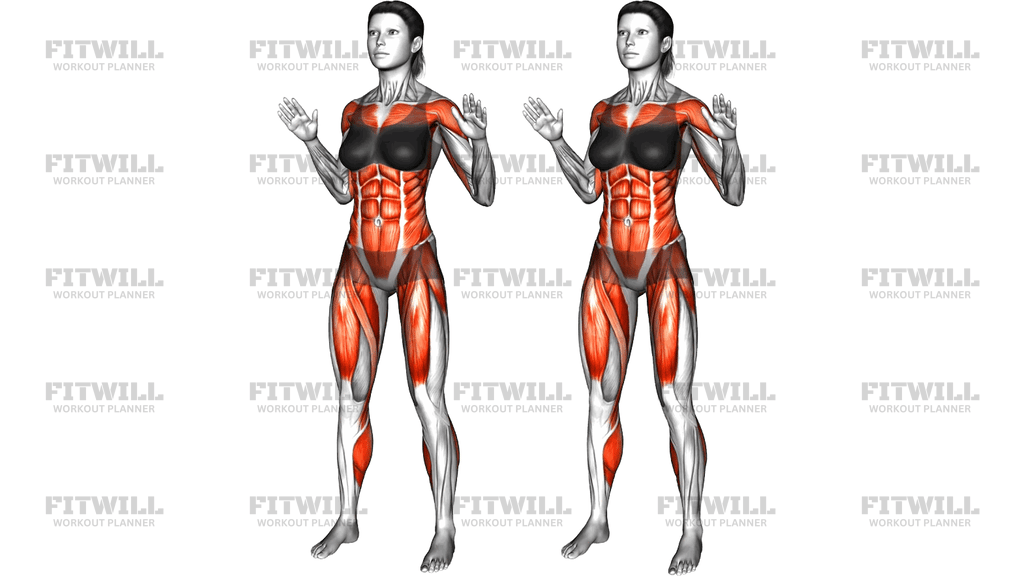
Setup matters more than speed here. Stand tall with your feet hip-width apart, weight spread evenly across the whole foot of the standing leg, and your gaze fixed on a point at eye level a few feet away. A soft, slightly bent knee on the support leg protects the joint and gives your stabilizers something to do; a locked knee makes balancing harder and less safe. Keep your ribs stacked over your pelvis so the tap comes from the hip, not from leaning your torso sideways.
To perform the tap, shift your weight onto one leg, then reach the other foot back and across the midline of your body, lightly touching your toe to the floor behind and to the outside of your standing ankle. Return the tapping foot to the starting stance with control, then repeat, either alternating sides or completing all reps on one leg before switching. The tap should be light, like testing thin ice, not a weight transfer.
A few practical points will keep the drill productive. Move slowly enough that you could pause at the tap without wobbling, breathe steadily throughout, and expect your balance to be noticeably better on one side than the other. That asymmetry is normal and worth training evenly. If balance is a real challenge, do the drill near a wall or chair so a fingertip is available for emergencies rather than constant support.
Fitwill
Log Workouts, Track Progress & Build Strength.
Achieve more with Fitwill: explore over 9600 exercises with images and videos, access built-in and custom workouts, perfect for both gym and home sessions, and see real results.
Start your journey. Download today!




Instructions
- Stand tall with your feet hip-width apart, arms relaxed at your sides, and pick a fixed point at eye level to focus on.
- Shift your weight onto one leg and unlock the standing knee slightly so it is soft and ready to absorb small shifts.
- Brace your abdominal muscles gently, as if bracing for a light nudge, and keep your ribs stacked over your pelvis.
- Swing your arms naturally so the opposite arm moves forward as the free leg moves back, mirroring a walking rhythm.
- Reach the free foot back and across your body's midline, lightly tapping your toes to the floor behind and slightly outside your standing ankle.
- Pause for a beat at the tap with only the weight of the foot on the floor, keeping your hips level and squared forward.
- Lift the tapping foot and return it to the hip-width stance with a controlled motion, without letting it thud down.
- Exhale as you reach the foot back to tap and inhale as you return to the starting stance.
- Continue alternating legs, or complete all reps on one side before switching, keeping the pace slow enough to stay balanced.
- Reset your posture and your gaze between reps if you wobble, and step out of the drill rather than hopping to catch yourself.
Tips & Tricks
- The most common mistake is turning the whole body toward the tapping side. Face forward the entire time and let only the leg travel behind you.
- Avoid loading weight into the tapping foot. The toe should kiss the floor; if you lean onto it, you are cheating the standing leg out of the balance work.
- If your torso leans sideways as the leg crosses back, your outer hip is tiring. Reduce the range of the tap or lightly touch a wall with one fingertip until control improves.
- Keep the standing knee bent a few degrees the whole set. A locked knee makes you wobble more and stresses the joint.
- Slower is harder here. Pause for one full second at the tap before returning to get more out of each rep.
- Expect one side to feel shaky. Start every session with your weaker side so the difference narrows over time.
- Look at a fixed point, not down at your feet. Dropping your head forward tends to pull your balance forward onto the toes.
- Stay on a firm, level surface when learning. A gym floor or hardwood works better than carpet or an unstable mat for this drill.
- If you feel the front of your standing hip gripping hard, you may be tapping too far across. Shorten the crossover until the hip stays relaxed.
Frequently Asked Questions
What muscles does the Back Crossover Foot Tap work?
The standing leg's quads and calf muscles handle most of the support work, while the glutes, especially the glute medius on the outer hip, control your pelvis as the leg crosses back. The core stabilizes the rotation the crossover creates.
Is the Back Crossover Foot Tap good for beginners?
Yes, it is a low-impact body weight drill that scales easily. Beginners can shorten the reach, tap closer to the standing ankle, or keep a fingertip on a wall for light support.
Why does my standing hip feel sore during Back Crossover Foot Taps?
The outer hip muscles are working hard to keep your pelvis level while the other leg crosses behind you, so mild muscle fatigue there is expected. Sharp or pinching discomfort means you are reaching too far and should reduce the range.
Should I alternate legs or do all reps on one side?
Both work. Alternating keeps the rhythm natural, but doing all reps on one leg first makes the balance demand greater and highlights side-to-side differences.
How many reps and sets of the Back Crossover Foot Tap should I do?
A common dose is 8 to 12 taps per leg for 2 to 3 rounds. Prioritize steady, controlled reps over speed, since rushing turns a balance drill into sloppy leg swings.
What is the most common mistake in this exercise?
Putting real weight onto the tapping foot and rotating the torso toward the tapping side. Keep the tap light, face forward, and let the standing leg do the stabilizing.
Can I substitute the Back Crossover Foot Tap with another exercise?
A single-leg stand with a slow rear-foot reach gives a similar balance challenge with less coordination demand. Front and side foot taps in the same standing position are also good easier progressions before adding the crossover.
Is the Back Crossover Foot Tap safe for people with knee problems?
The drill is low impact, but the standing knee should stay slightly bent rather than locked, and the movement should stay pain-free. Anyone with a recent knee injury should get clearance from a qualified professional before adding it.
Where should I put this exercise in my workout?
It works well near the start of a session as a warm-up to wake up the hip stabilizers, or as a standalone balance block on lower-body or recovery days. Avoid doing it first thing when you are still cold; take a minute of easy marching or walking before you begin.