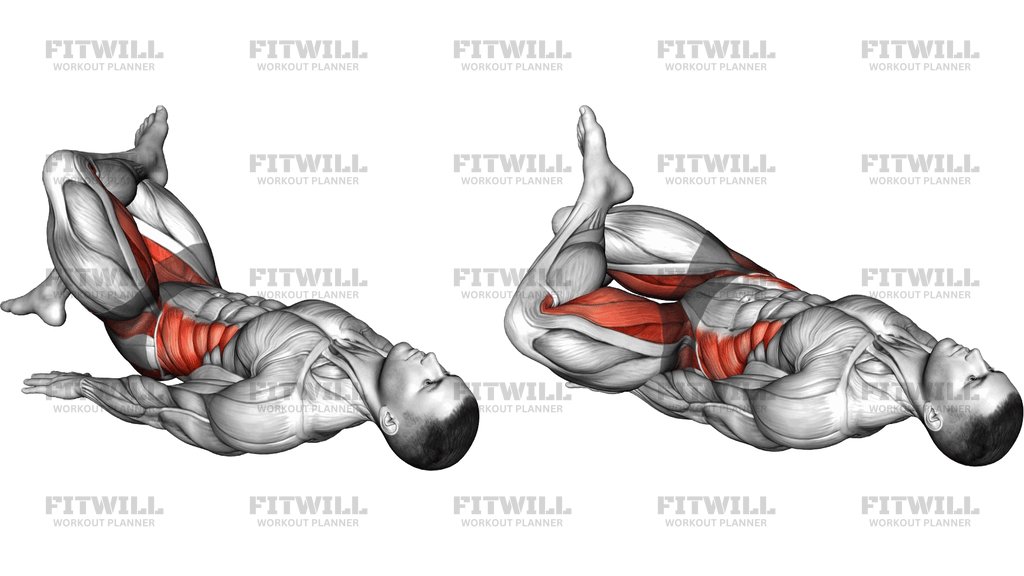
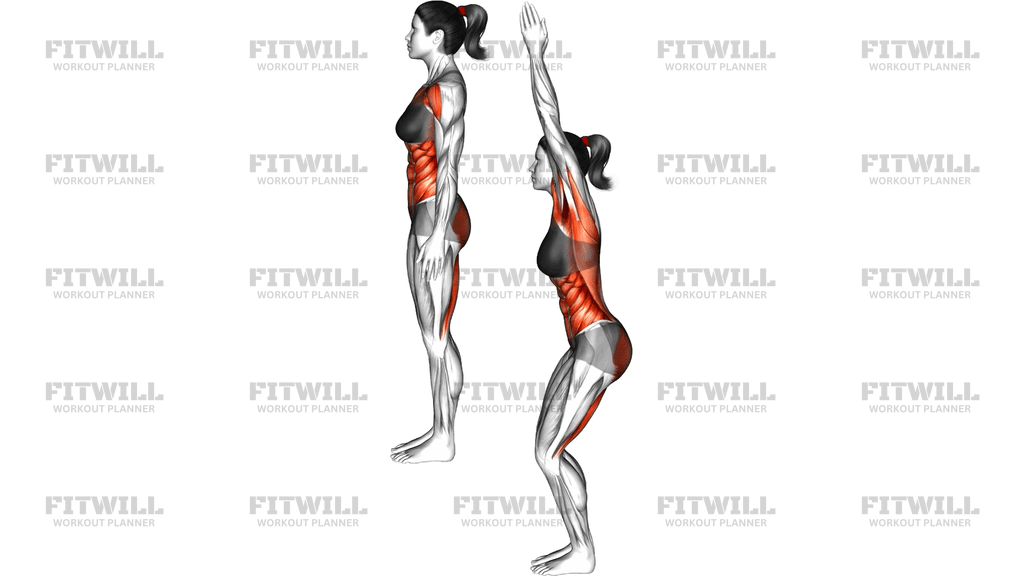
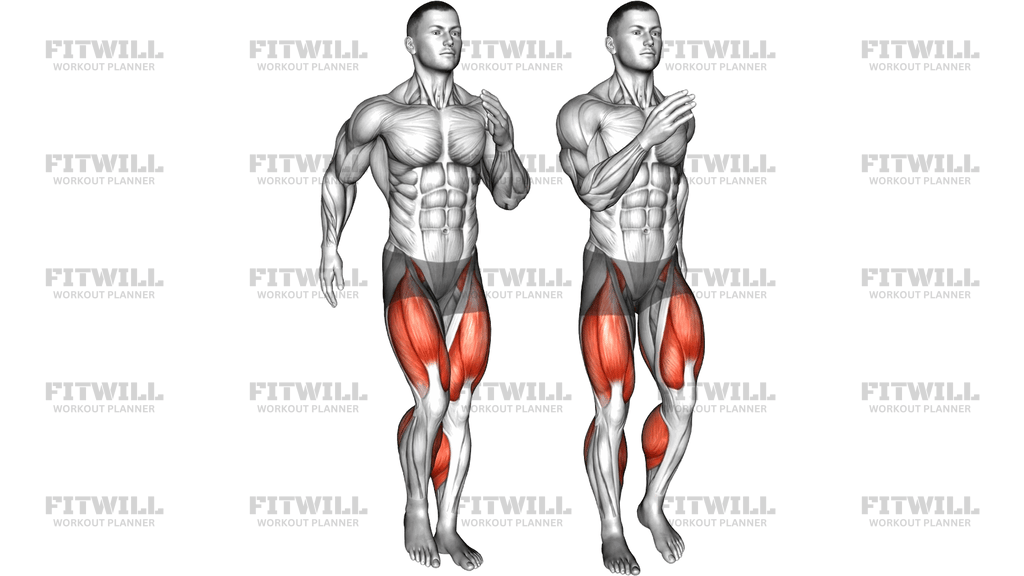
Single Leg Sprinter
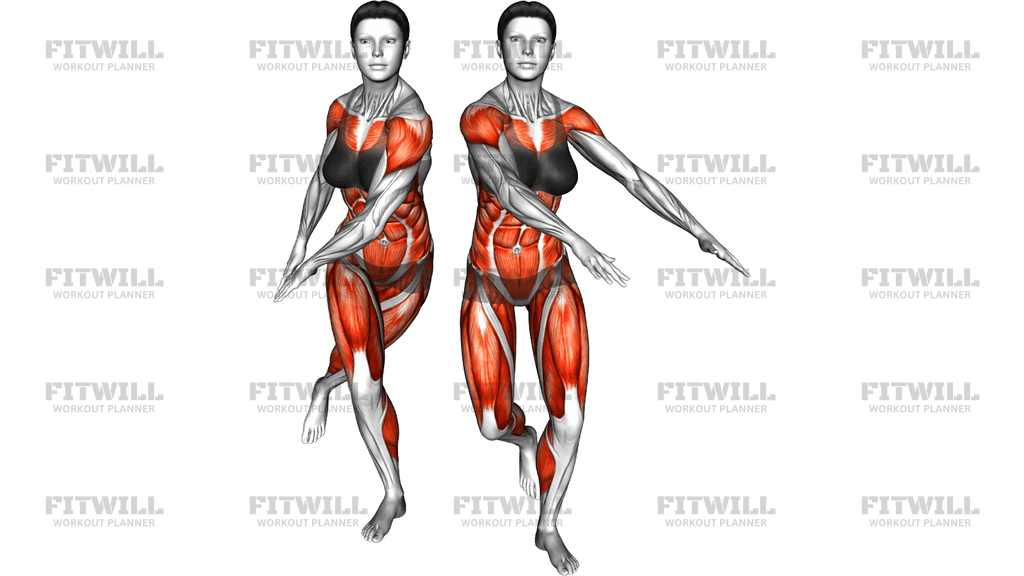
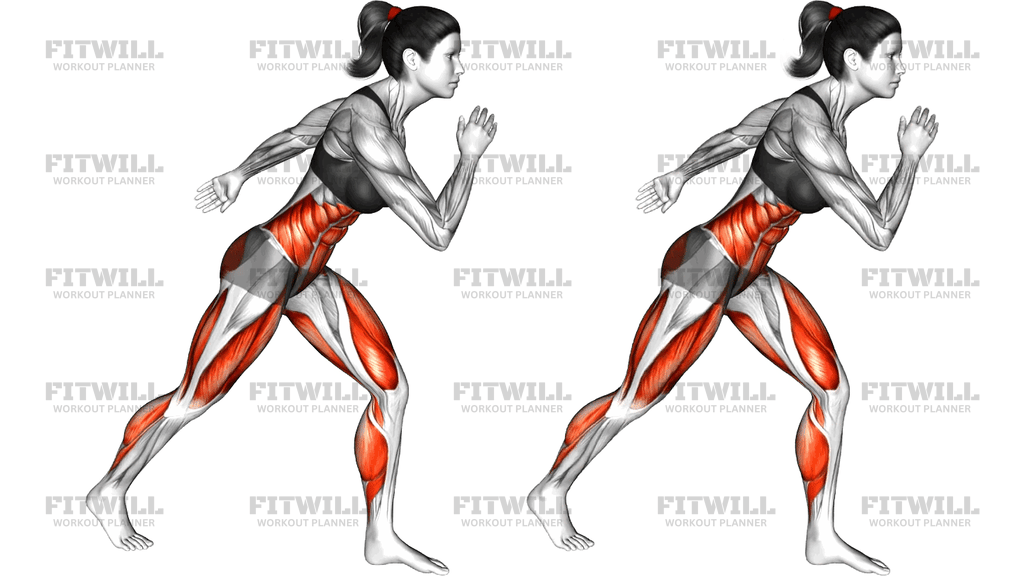
The Single Leg Sprinter is a bodyweight balance and strength exercise that puts you in the classic sprint drive position: standing on one leg, torso hinged forward, one arm driving up front while the other swings back, and the rear leg extended behind you. It looks simple, but holding that shape demands coordination between your standing glutes, hamstrings, core, and the stabilizers in your foot and ankle all at once.
This movement is especially useful for runners and sprint athletes because it trains the exact joint positions of the acceleration phase, but it works just as well for anyone who wants better single-leg balance and hip stability. The standing leg has to resist collapse at the hip, knee, and ankle while your arms and free leg move, which is far more demanding than standing still on one foot.
Setup matters here because the position itself is the exercise. Your weight should sit over the middle of your standing foot, with a soft bend in the knee and your torso tipped forward from the hips rather than rounded at the lower back. If your hips drift behind your heel or your torso collapses, the balance challenge disappears and the movement turns into a strained reach.
To perform it well, think of your body as one long line from head through the extended rear leg. Drive the front arm up with a bent elbow, press the back arm long behind your hip, and let the rear leg reach straight back with the toes pointed down. Your core braces to keep your ribcage from flaring as your arms move. Hold the position for time or move in and out of it with control, switching sides after each set.
You will commonly see the Single Leg Sprinter in warm-ups, sprint drills, and balance-focused circuits. It needs no equipment and very little space, so it fits easily into home workouts, track-side warm-ups, or hotel room training.
The main safety point is controlling the hinge. Because you are on one leg with your torso tipped forward, losing balance is the most likely problem, not excessive load. Keep the knee tracking over the foot, avoid locking the standing knee, and stay near a wall or sturdy surface until the position feels steady.
[ Workout Log & Planner ]
Put your next workout in Fitwill
Keep your plan and training log ready when you are.


Instructions
- Stand with your feet hip-width apart and pick the leg you will balance on first.
- Shift your weight fully onto that standing leg, placing pressure across the whole foot with the arch active, and keep a soft bend in the knee.
- Hinge forward from the hips until your torso is angled roughly 30 to 45 degrees toward the floor, keeping your back flat rather than rounded.
- Reach the opposite leg straight behind you with the toes pointed, so your head, torso, and rear leg form one long line.
- Bend one elbow and drive that hand up toward chest height, then extend the other arm straight back behind your hip, as if frozen mid-sprint.
- Brace your core and hold the position, keeping your hips level instead of letting the raised-leg side drop.
- Hold for a set time, or slowly return to standing and re-enter the position for repetitions, moving your arms and rear leg with control.
- Exhale as you settle into the position and keep your breathing steady while you hold; avoid holding your breath.
- Lower the rear leg back to the floor under control, reset your stance, and repeat on the other leg.
- Perform the same number of holds or reps on each side.
Tips & Tricks
- The most common mistake is letting the standing hip drift sideways or collapse inward; cue yourself to press the standing hip slightly out and keep the knee stacked over the second and third toes.
- If you wobble badly, start with your fingertips against a wall or the back of a chair and reduce that support as your balance improves.
- A rounded lower back during the forward lean usually means you are hinging from the spine instead of the hips; think about tipping your chest forward while keeping your ribs down.
- Keep the rear leg actively reaching back rather than hanging limp, which helps lengthen your line and steadies the position.
- Driving the front hand too high above shoulder height tends to flared ribs; stop the hand around eye or chest level.
- Grip the floor lightly with your toes to wake up the small stabilizers in the foot, but do not claw so hard that your whole foot tenses.
- If your standing calf burns quickly, shorten the hold and soften the knee slightly; the calf often fatigues before the hips do.
- Keep your gaze on a fixed point on the floor about a meter ahead of you rather than looking straight down, which helps your balance.
- For a harder version, add a slow arm switch, bringing the front hand back and the rear hand forward while holding the stance.
Frequently Asked Questions
What muscles does the Single Leg Sprinter work?
The standing leg's glutes, hamstrings, and calves do most of the support work, while the quads and ankle stabilizers control the knee and foot. The core, especially the obliques, works to keep your torso from twisting as your arms and rear leg hold the sprint position.
Is the Single Leg Sprinter good for beginners?
Yes, as long as you start with a smaller forward lean or use a wall for fingertip support. Beginners often benefit from holding the position for shorter intervals, around 10 to 15 seconds, before extending the duration.
Why does my torso lean forward in the Single Leg Sprinter?
The forward lean recreates the acceleration angle of sprinting, shifting load into the standing glute and hamstring. It also lengthens the line from your head to your rear foot, which makes the balance and core demands specific to running mechanics.
How long should I hold each Single Leg Sprinter position?
Start with 10 to 20 seconds per side and build toward 30 to 45 seconds as your balance improves. If your form breaks down, such as your hip dropping or knee caving in, stop the set rather than pushing through the wobble.
Should my rear leg be straight or bent?
Keep the rear leg straight and actively reaching back with the toes pointed, matching the extended position of a sprint drive phase. A bent or limp rear leg shortens your line and makes it harder to hold a stable torso angle.
Can I use the Single Leg Sprinter as a warm-up?
Yes, it works well early in a lower-body or running warm-up because it activates the glutes and ankle stabilizers without fatiguing them. One or two controlled sets per leg is plenty before harder training.
What can I substitute if I cannot balance on one leg?
Practice the same arm and torso position with your rear toes lightly touching the floor for support, or hold a wall with one hand. You can also regress to a static single-leg stand with a slight forward lean until the full position is stable.
Is it normal to feel this in my standing foot and calf?
Yes, the foot and calf work hard to keep you steady over a single base of support. Mild fatigue is expected, but sharp pain or cramping means you should shorten the hold and rest.
Can I add resistance to the Single Leg Sprinter?
Light dumbbells or ankle weights can be added once you can hold the position steadily for 30 seconds or more, but progress balance first. Adding load before you control the position usually amplifies hip drop and torso collapse rather than building strength.
How is the Single Leg Sprinter different from a single-leg deadlift?
The Single Leg Sprinter holds a static sprint position with the rear leg extended and arms in a running drive, while a single-leg deadlift is a hinging repetition where the torso lowers and rises. The Sprinter emphasizes isometric balance and sprint-specific posture rather than a hip hinge range.