Bicycle V Up
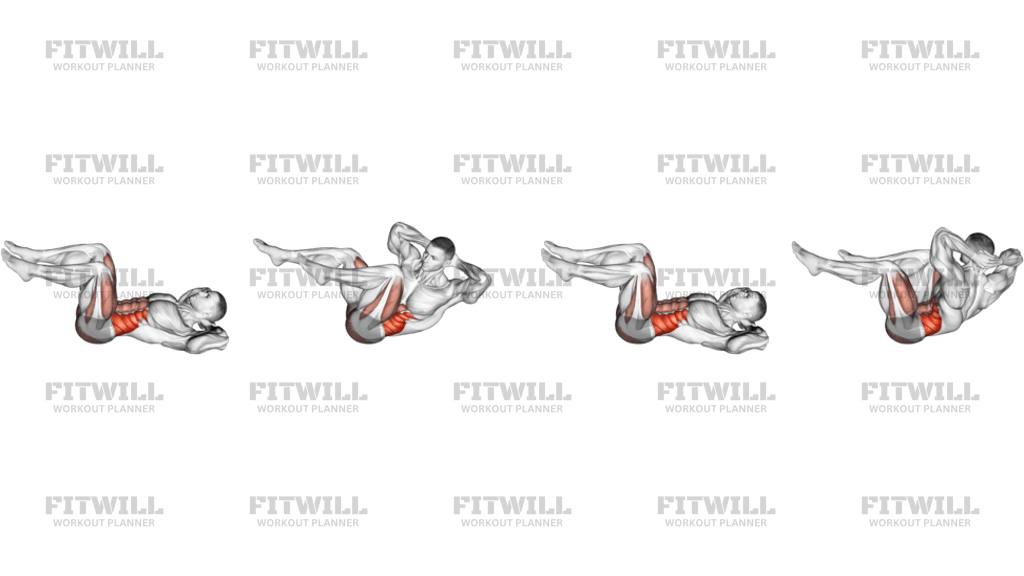
The Bicycle V Up is a floor-based bodyweight core exercise that merges two proven abdominal movements into one: the rotational knee-to-elbow drive of a bicycle crunch and the trunk-raising reach of a V up. You lie on your back with your hands lightly behind your head and your legs hovering just off the floor, then crunch your torso upward while pulling one knee in and rotating the opposite elbow toward it, all while the other leg stays extended. You repeat the motion to the opposite side in a continuous, pedaling rhythm.
Because each rep demands spinal flexion, rotation, and hip flexion at the same time, the Bicycle V Up works the abs and obliques through a larger range than either movement alone. The rectus abdominis lifts the torso, the obliques handle the cross-body rotation, and the hip flexors control the legs as they alternate between tucked and extended positions. The extended leg also forces your deep core to work overtime to keep your lower back from arching off the floor.
This is a solid choice for anyone who has already built a base with standard crunches and leg raises and wants a more demanding midsection exercise without equipment. It fits well at the end of a strength session, in a home core circuit, or as part of a conditioning finisher. Martial artists and field-sport athletes often find the cross-body pattern carries over well to rotational and diagonal movements.
Setup and position matter more than speed here. Your lower back should stay pressed toward the floor throughout, and the height of your extended leg should match your current control — the lower the leg hovers, the harder the exercise gets. If your back arches or your neck takes over the work, raise the extended leg slightly or reduce the range of the crunch.
Move deliberately rather than chasing reps. A common error is yanking the head forward with the hands or turning the drill into a fast leg-flailing race, both of which shift tension away from the abs. Think of driving the ribs toward the opposite hip and letting the knee come to meet the elbow, then lower back down with control before switching sides.
Start with two or three sets of 8 to 12 controlled reps per side, resting as needed between sets. As your strength improves, add reps or slow the tempo before adding sets. If you feel the work in your neck or lower back rather than your midsection, regress to alternating bicycle crunches or knee tucks until your control improves.
Fitwill
Log Workouts, Track Progress & Build Strength.
Achieve more with Fitwill: explore over 9600 exercises with images and videos, access built-in and custom workouts, perfect for both gym and home sessions, and see real results.
Start your journey. Download today!




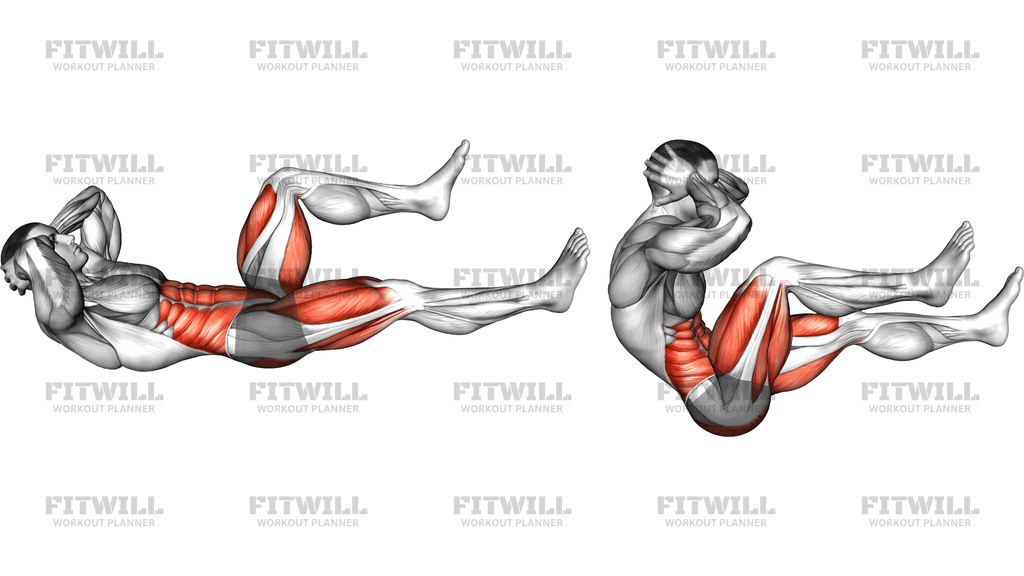
Instructions
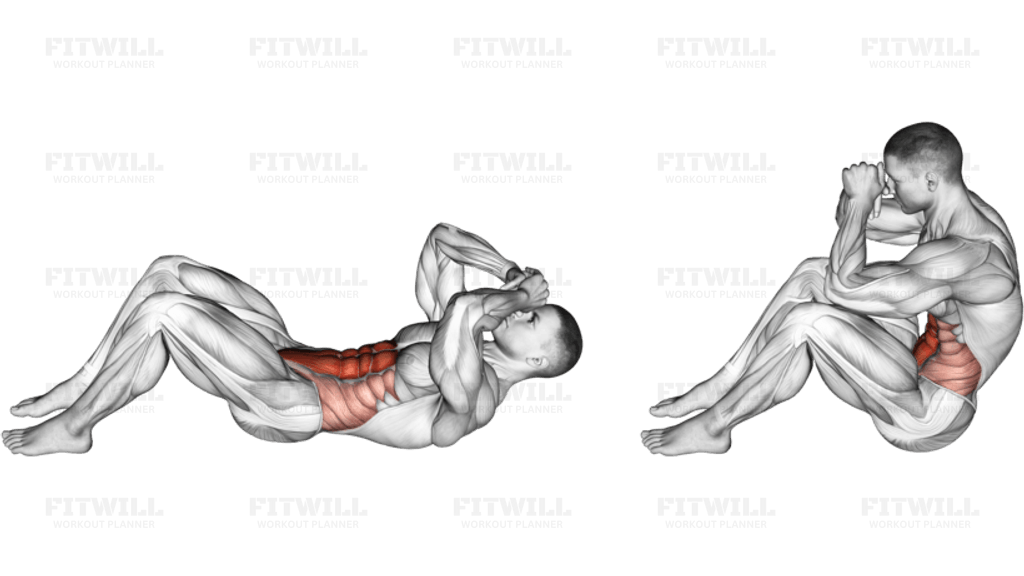
- Lie flat on your back on an exercise mat with your legs fully extended and your hands placed lightly behind your head, elbows flared open to the sides.
- Lift both feet off the floor so your legs hover a few inches above the ground, and raise your shoulder blades off the mat to create tension before your first rep.
- Brace your midsection and press your lower back gently into the floor so it does not arch as your legs move.
- Pull one knee in toward your chest while curling your torso up and rotating the opposite elbow across your body toward that knee.
- Keep the opposite leg straight and hovering above the floor, reaching it long rather than letting it drop toward the mat.
- Squeeze briefly at the top when your elbow and knee are closest, feeling the abs and obliques do the work instead of your arms.
- Lower your torso partway back down while switching legs, extending the bent leg and drawing in the other knee to begin the next rep.
- Continue alternating sides in a smooth, controlled pedaling rhythm, one full elbow-to-knee touch per side counting as a rep.
- Exhale as you crunch up and rotate, inhale as you lower and switch sides.
- When your set ends, lower your legs and torso fully to the mat, shake out your neck and shoulders, and reset before starting the next set.
Tips & Tricks
- Your hands are there to support your head, not pull it. If your chin dives toward your chest, your neck is taking over — imagine holding an apple under your chin and let the abs lift you.
- The height of the extended leg is your intensity dial. If your lower back peels off the mat, hover the straight leg higher; if you want more challenge, lower it closer to the floor.
- Do not let the working knee drift sideways. Pull it straight up toward your chest so the rotation comes from your ribs and obliques, not from your hips rolling.
- Slow down if you catch yourself swinging. A Bicycle V Up done at half speed with a real pause at each elbow-to-knee point builds more control than twenty rushed reps.
- Keep both elbows wide and out of your peripheral vision. Tucking the elbows forward makes it easier to cheat by reaching with the shoulder instead of rotating the trunk.
- If your hip flexors burn before your abs, lighten the leg action by bending both knees slightly or reducing how far you extend the straight leg.
- Breathe out sharply at the top of each crunch. Holding your breath through the rotation is common and tends to make the movement feel heavier than it is.
- Stop the set when your form changes, not when you hit a rep target. Sloppy reps near fatigue usually show up as lower-back arching or neck pulling first.
Frequently Asked Questions
Which muscles does the Bicycle V Up work the most?
The abs and obliques do most of the work, with the rectus abdominis lifting the torso and the obliques driving the elbow-to-knee rotation. The hip flexors assist as your legs alternate between tucked and extended positions.
How is the Bicycle V Up different from a regular bicycle crunch?
A regular bicycle crunch keeps your upper back close to the floor and relies mainly on rotation. The Bicycle V Up adds a full trunk raise on every rep, so your torso curls much higher and the abs work through a longer range.
Is the Bicycle V Up suitable for beginners?
It is a challenging intermediate progression. Beginners should build up with standard bicycle crunches, dead bugs, and basic crunches first, then add the Bicycle V Up once they can keep their lower back pressed to the floor with legs extended.
Why does my neck hurt when I do the Bicycle V Up?
This usually means your hands are pulling your head forward instead of your abs lifting your torso. Keep your fingertips light behind your head, elbows wide, and focus on curling your ribs toward your opposite hip.
My lower back arches when my straight leg drops low. What should I change?
Hover the extended leg higher, closer to 45 degrees, so your back stays pressed into the mat. As your deep core gets stronger, gradually lower the leg to increase the difficulty.
Can I do the Bicycle V Up without a mat?
Yes, as long as you are on a surface with some cushion, like carpet or grass. A mat is recommended on hard floors because it protects your tailbone and spine during the repeated crunching motion.
What can I substitute for the Bicycle V Up if it is too hard?
Alternating bicycle crunches, bent-knee V ups, or dead bugs all train similar patterns with less load. Once those feel controlled, work up to the full Bicycle V Up.
How many reps and sets should I do of the Bicycle V Up?
Two to three sets of 8 to 12 controlled reps per side is a good starting range. Prioritize clean elbow-to-knee contact and a lower back that stays flat over hitting a high rep count.
Should the Bicycle V Up be done fast for conditioning or slow for strength?
Both work, but learn it slow first. A moderate, controlled tempo builds the coordination and core strength the pattern requires, and you can speed it up later for conditioning once your form holds together.