Assisted Sit Up
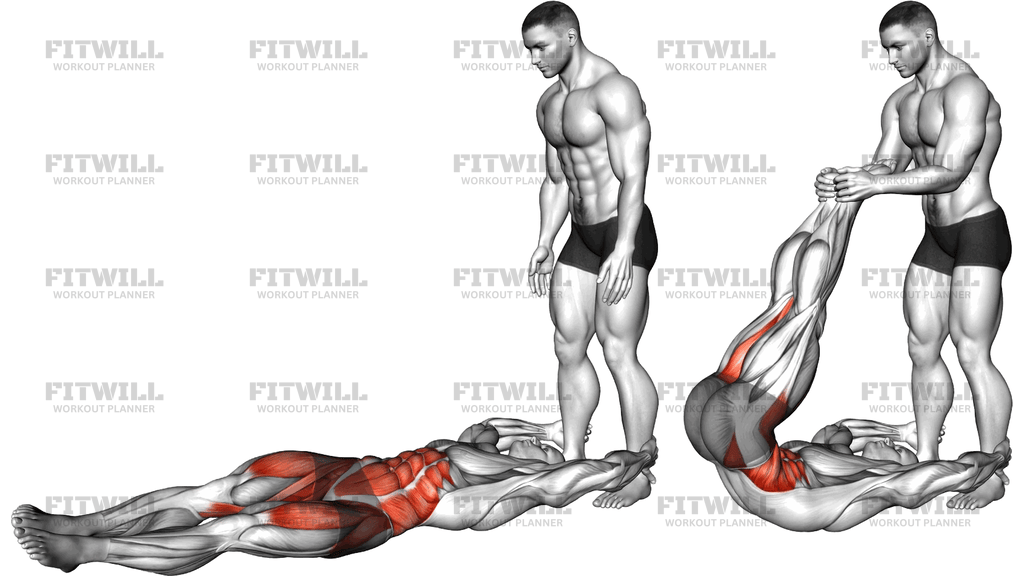
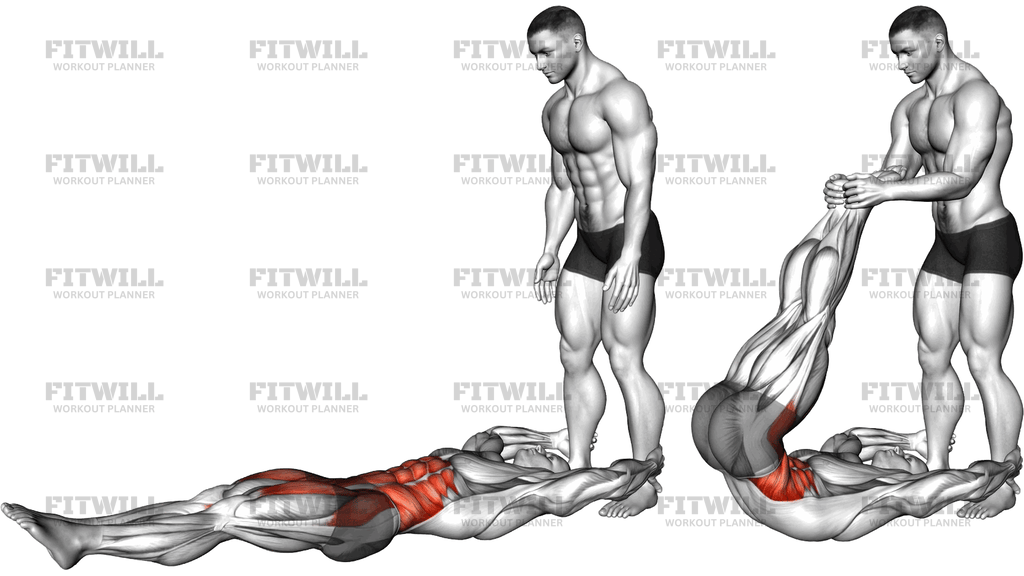
The Assisted Sit Up is a partner-supported version of the classic sit-up. You lie on your back with your knees bent, place your hands lightly behind your head, and a partner kneels at your feet and pins your ankles to the floor so your feet stay grounded through the whole rep. That anchored foot position is what makes this version work: it removes the struggle of keeping your heels down and lets you focus entirely on curling your torso up under control.
The main muscle at work is the rectus abdominis, the long sheet of muscle running down the front of your belly that flexes the spine. As you rise, the hip flexors assist by pulling your torso toward your thighs, and the obliques work to keep your trunk from twisting as you lift. This makes the movement a solid choice for anyone building general midsection strength with a training partner available.
Because a partner holds your feet, the Assisted Sit Up is friendlier to beginners who find unassisted sit-ups awkward or who lose their footing on every rep. It is also useful in partner-based circuits, bootcamp-style sessions, and ab finishers where one person works while the other rests and counts reps. The assistance lets you complete more clean repetitions than you could alone, but keep in mind it also makes the movement easier than an unassisted sit-up, so progress toward doing them on your own as you get stronger.
Setup quality matters here. Lie far enough from your partner that your knees stay bent at roughly 90 degrees, and make sure they anchor your ankles rather than the tops of your feet or shins, which can be uncomfortable or unstable. Keep your hands cradling the back of your head, not pulling on your neck. The lift itself should come from your abs peeling your shoulders and upper back off the floor first, then continuing until your torso approaches your thighs.
The common failure points to watch are yanking the head forward, bouncing off the floor on the way down, and letting momentum do the work on later reps. Lower yourself slowly with your abs resisting the whole way, reset your brace, and only then start the next rep. If your neck gets tired before your abs do, that is a clear sign of pulling with the hands rather than curling with the trunk, so back off and rebuild the pattern at a slower tempo.
[ Workout Log & Planner ]
Put your next workout in Fitwill
Keep your plan and training log ready when you are.


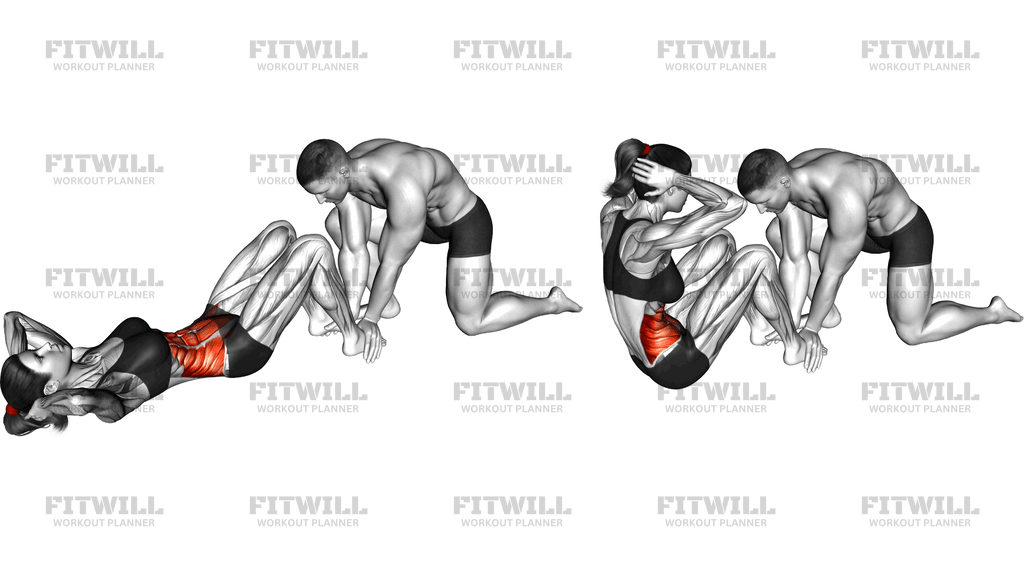
Instructions
- Lie on your back on the floor with your knees bent to about 90 degrees and your feet flat, positioned so your partner can comfortably kneel at your toes.
- Have your partner kneel facing you and press both hands down firmly on your ankles or the tops of your feet, anchoring them to the floor.
- Cradle the back of your head with your fingertips, elbows flared out to the sides, and let your head rest into your hands rather than pushing forward.
- Brace your abs and gently flatten your lower back into the floor before you start each rep.
- Exhale as you curl your shoulders and upper back off the floor, leading with your chest and ribs toward your knees until your torso is near upright.
- Pause briefly at the top with your abs squeezed, keeping your feet flat and your elbows wide.
- Inhale as you lower your torso back down in a slow, controlled arc, letting your upper back touch down lightly instead of dropping or bouncing.
- Reset your brace while your back is on the floor, then begin the next rep without pushing off the floor with your feet.
- After your final rep, signal your partner before removing the ankle support and sit up carefully.
Tips & Tricks
- The most common mistake in the Assisted Sit Up is pulling the head forward with the hands. Keep your fingertips light on the back of your skull and imagine lifting your ribs to the ceiling instead.
- Ask your partner to hold at the ankles, not the shins or the tops of your shoes. Anchoring too high gives you leverage that lets you cheat with your legs.
- If your feet pop up as you rise, it usually means your hip flexors are dominating the lift. Slow the tempo down and emphasize curling your spine before your hips drive forward.
- Do not let your lower back slam into the floor on the descent. The lowering phase is where a lot of the ab work happens, so take two full counts to come down.
- Stop each rep short of resting between reps. Sitting fully upright and slouching at the top releases tension from your abs and turns the set into a series of single lifts.
- Breathe out forcefully as you curl up. Holding your breath through a full sit-up is unnecessary strain, especially on higher-rep sets.
- Keep your knees from collapsing inward as you rise; they should track straight up over your ankles for the whole rep.
- If your neck fatigues before your abs, try placing one hand behind your head and letting the other arm reach forward toward your knees as a regression.
- Progress by having your partner apply less pressure over time, moving eventually to a towel or dumbbell over the feet so the movement is self-anchored rather than partner-assisted.
Frequently Asked Questions
What muscles does the Assisted Sit Up work?
The rectus abdominis along the front of your torso is the primary mover, with the hip flexors assisting on the way up. The obliques work steadily to keep your trunk straight and prevent twisting.
Is the Assisted Sit Up good for beginners?
Yes, because having a partner anchor your feet removes the hardest coordination part of a regular sit-up, so you can concentrate on the curl itself. Beginners should still keep the range moderate and move slowly rather than chasing full sits.
Where exactly should my partner hold my feet during the Assisted Sit Up?
Your partner should kneel at your toes and press down on your ankles or the tops of your feet with both hands. Holding the shins gives too much leverage and makes it easier to pull yourself up with your legs instead of your abs.
Should I come all the way up to a sitting position?
Coming to a near-upright position is the standard goal, but stopping just after your lower back leaves the floor is a valid rep if that is where you lose control. Quality of the curl matters more than the height you reach.
Why does my neck hurt when I do the Assisted Sit Up?
Neck discomfort almost always means you are pulling your head forward with your hands. Rest your fingertips on the back of your skull without pulling, keep your elbows wide, and imagine your chest lifting instead of your chin.
Can I do the Assisted Sit Up without a partner?
You can wedge your feet under a heavy dumbbell, secure them under a couch or barbell, or use a towel looped around your feet anchored to something sturdy. These options give the same fixed-foot setup without needing a second person.
How is the Assisted Sit Up different from a crunch?
A crunch only lifts your shoulder blades off the floor and keeps your lower back down, while a sit-up continues the curl until your torso approaches your thighs. The longer range means more hip flexor involvement along with the abs.
How many reps should I do?
Two to four sets of 10 to 20 controlled reps works well for most people. If your form breaks down and you start yanking your head or bouncing off the floor, end the set even if you have reps left in the plan.
Is the Assisted Sit Up safe for my lower back?
When done with a controlled tempo, a braced trunk, and no bouncing off the floor, it is a reasonable exercise for most healthy trainees. If you feel sharp or radiating discomfort rather than normal muscle effort, stop the set and choose a shorter-range curl variation instead.